How to Use an Electric Stapler: Quick Guide
If you’re tired of hand cramps from stapling thick stacks or managing high-volume office tasks, an electric stapler can transform your workflow. Designed to fire staples automatically with minimal effort, electric staplers eliminate manual pressure and boost efficiency, especially when handling 50 or more staples daily. Whether you’re in a corporate office, school, or medical practice, knowing how to use an electric stapler correctly ensures fast, safe, and jam-free operation. This guide walks you through setup, loading, operation, troubleshooting, and maintenance so you get reliable performance every time.
Power Up Your Electric Stapler the Right Way
Before loading staples or stapling documents, proper power connection and configuration are essential for smooth operation. Most electric staplers operate via AC adapter, battery, or USB, and each option suits different workspace needs.
Connect to Power Source
Choose the right power option for your environment:
• AC-powered models: Best for desks or printer stations. Plug into a wall outlet and confirm the power indicator light turns on.
• Battery-powered models: Ideal for mobility. Insert fully charged batteries and test power response.
• USB-powered models: Low-power options that connect to laptops or power banks. Suitable for light-duty use.
Always verify the unit powers up before first use. No light? Check the outlet, cable, or battery charge level.
Select Trigger Mode
Many electric staplers offer two operating modes. Switch between them using the toggle on the body:
• Automatic mode: Sensor-activated. Insert paper and the stapler fires instantly. Best for speed.
• Manual mode: Button-triggered. Press after inserting paper for controlled stapling. Best for precision or irregular stacks.
Load Staples Safely in 5 Simple Steps

Loading staples incorrectly is a leading cause of jams and misfires. Follow these steps to load your electric stapler safely and effectively.
Safety First: Power Down
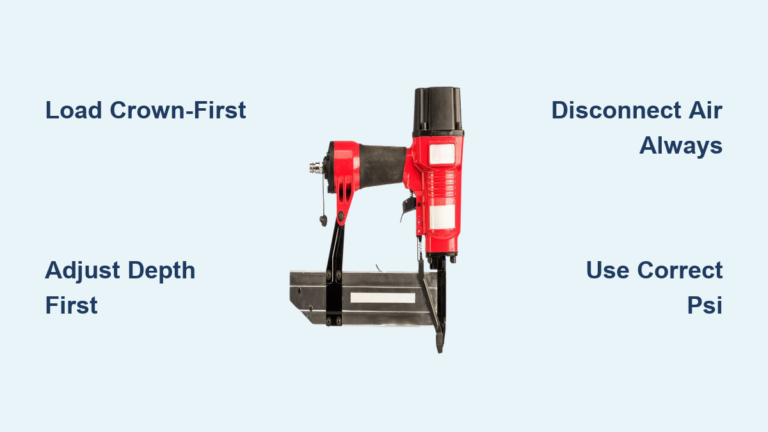
Unplug the stapler or remove batteries before opening the magazine. If equipped, engage the trigger lock to prevent accidental firing.
Open the Magazine
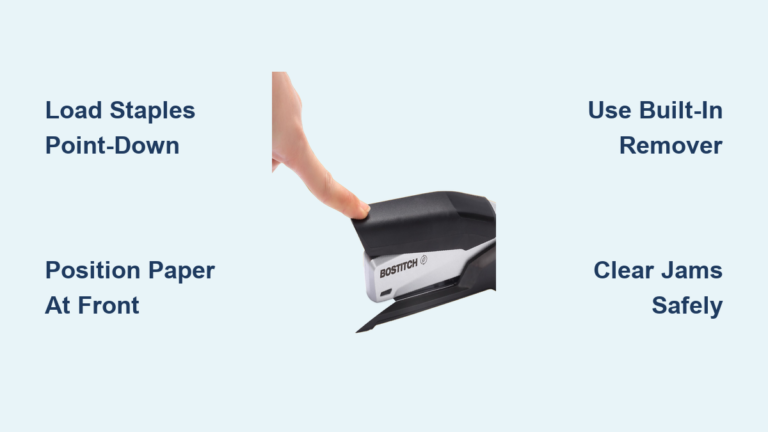
On Bostitch and front-load models, press the release button at the back and slide open the front chamber. On rear-load models, squeeze the latches on the housing and pull the magazine out. Never force the magazine. If it doesn’t open, double-check the release mechanism.
Insert Staples Correctly
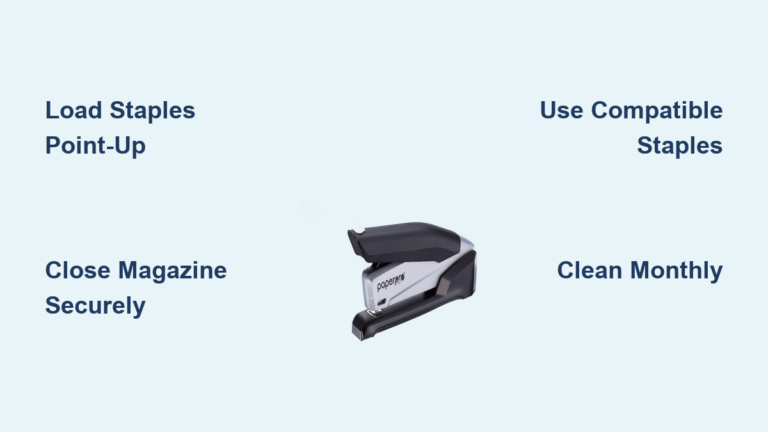
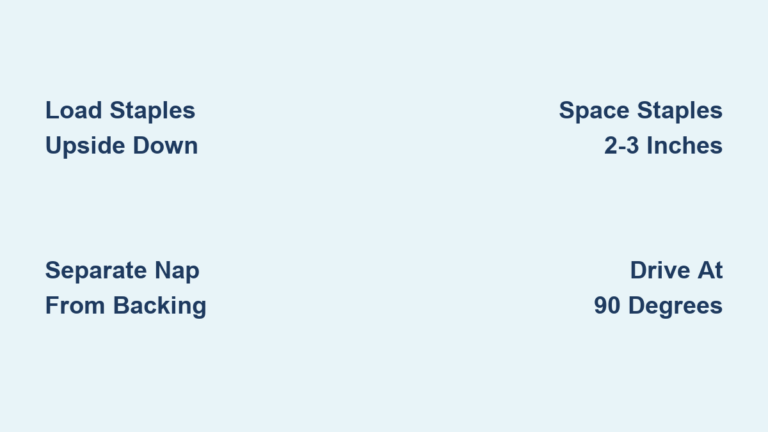
Take a standard staple stick such as 26/6, 24/6, or DS-10 for Bostitch models. Place the staples upside down in the magazine. This ensures proper feed alignment. For combo models that also accept brad nails, lean the nails against the designated side.
Confirm staples are fully seated and aligned with the feed mechanism. Misaligned staples cause jams.
Close and Lock
Slide or snap the magazine shut until it clicks securely into place. Some models have a refill alert light that turns off when staples are properly loaded. Many staplers include built-in storage for spare staple sticks, so keep them handy.
Prepare Documents for Flawless Stapling
Proper document preparation prevents misfeeds and ensures clean, consistent stapling every time.
Align Paper Neatly
Stack pages evenly with no ripples, curls, or misalignments. Tap the stack on a flat surface to square the edges before inserting.
Don’t Exceed Sheet Capacity
Standard models handle 20 to 30 sheets of 20 lb paper. Heavy-duty models can staple up to 50 sheets. For cardstock 67 lb and above, reduce capacity to 5 to 8 sheets and check your model’s rating. Overloading causes incomplete staple penetration and motor strain.
Choose Stapling Angle
Most electric staplers support 90-degree straight stapling for standard vertical binding and 45-degree angled stapling for corner stapling or tight spaces. Adjust the anvil or base if your model allows angle changes.
Fire Your Electric Stapler Correctly
Now that your stapler is loaded and documents are ready, it’s time to staple with confidence.
For Automatic Models
Insert the paper stack into the front feed slot. Gently push forward but do not force it. The sensor detects the stack and fires within a fraction of a second. Wait for the full cycle to finish before removing the document. Rushing causes double-fires or jams.
For Manual Models
Insert the stack into the feed slot. Press the trigger button to fire. Hold until the staple is fully driven and the mechanism resets.
Verify Staple Quality
After stapling, check that the staple is fully driven through the paper. The legs should be crimped evenly against the anvil. Ensure no partial staples or misfeeds occurred. Test on scrap paper first when starting a new job or after loading new staples.
Fix Common Electric Stapler Problems Fast
Even well-maintained electric staplers can encounter problems. Here’s how to resolve the most frequent issues quickly.
Stapler Won’t Fire
This issue usually stems from four causes. No power means reconnect the AC adapter, charge batteries, or test the USB port. An empty magazine requires opening and reloading staples. A blocked sensor needs cleaning with compressed air or a dry brush. Wrong mode means switching from manual to automatic or vice versa as needed.
Sensor location varies by model but is often near the paper entry point. Keep it dust-free for reliable operation.
Staple Doesn’t Penetrate Fully
This problem typically occurs because the stack is too thick for capacity, staples are too short for the stack thickness, or the drive mechanism is worn. Reduce stack size, use longer-leg staples such as 24/6 for thicker stacks, and contact support if the motor seems weak.
Frequent Jamming
Jams often result from using off-brand staples with inconsistent wire gauge, selecting the wrong staple size for stack thickness, or allowing paper dust buildup in the feed channel. Switch to manufacturer-recommended staples, clean the channel monthly with compressed air, and never use tweezers or metal tools to clear jams.
Improper jam clearing can permanently damage internal components.
Clear Stapler Jams Without Damaging Your Device

A jammed stapler stops productivity, but clearing it wrong can break the tool permanently.
Step-by-Step Jam Clearing
Unplug or remove batteries first. Open the magazine using the release mechanism. Visually inspect for stuck staples or debris. If visible, gently remove the obstruction with fingers or an approved tool. Never use metal objects like screwdrivers because they can damage sensors or gears. Close the magazine and test on scrap paper.
Some models have a clear jam mode. Consult your manual for specific instructions.
Maintain Your Electric Stapler for Years of Use
With proper care, an electric stapler can last 5 to 10 years. Regular maintenance prevents downtime and extends operational life.
Monthly Cleaning Routine
Power off and unplug the stapler. Open the magazine. Use compressed air to blow out paper dust from the staple channel, sensor area, and anvil and clinch plate. Wipe the exterior with a dry cloth. Avoid liquids or aerosol cleaners because they can damage electronics.
Check Key Components
Inspect the magazine spring for firm tension. Weak springs cause misfeeds. Test the staple feed mechanism by moving it by hand when powered off to ensure smooth travel. Check anvil alignment because misaligned anvils cause crooked staples.
Most modern electric staplers are sealed and require no oiling. Only lubricate if explicitly stated in the manual.
Choose the Right Electric Stapler for Your Workspace
Different environments demand different stapler setups. Choose the right model and placement for your needs.
Corporate and Mailroom Use
Use high-capacity AC models with 3,000 to 5,000 staple capacity. Place near printers for direct post-print stapling. Models with No-Jam technology reduce interruptions significantly.
Medical and Financial Offices
Choose compact 30-sheet models with quiet operation. These fit neatly on counters or desks and work well for client files, invoices, and insurance forms.
Schools and Teacher Workrooms
Install near printers in media centers or prep rooms. This allows teachers to staple handouts as they print, saving time and reducing manual handling.
Electric staplers are not recommended for individual student desks. Supervised use in labs or libraries is acceptable. For unsupervised areas, use spring-assisted manual staplers instead.
How Electric Staplers Work: Internal Mechanism Explained

Understanding the internal mechanism helps you use and troubleshoot smarter.
The Stapling Cycle
The sensor detects paper insertion first. This signal activates an electric motor or solenoid. The motor drives a piston or hammer to push a staple from the magazine. The staple pierces paper and bends against the anvil. The entire cycle completes in under a second.
Advanced models use Impulse Drive technology to optimize energy and speed.
Why Consistency Matters
Unlike manual staplers, electric models deliver uniform staple depth and crimping every time. There is no fatigue and no variation across hundreds of stapling cycles.
Pro Tips for Maximum Stapling Efficiency
Follow these expert-backed practices to maximize efficiency and avoid common mistakes.
Always Test First
Run a test on scrap paper before stapling important documents.
Insert at a Steady Pace
Do not shove paper in fast. Smooth, consistent motion prevents double-firing and jams.
Use the Right Staples
Stick to manufacturer-recommended types such as DS-10 for Bostitch. Off-brand staples often have inconsistent wire thickness, leading to jams.
Store Properly
Keep in a clean, dry place away from dust and moisture. Avoid extreme temperatures that affect battery or motor performance.
Train All Users
Ensure everyone knows how to load staples, how to clear jams safely, and when to switch trigger modes. Post a quick-reference guide near the stapler for shared workspaces.
Frequently Asked Questions About Using an Electric Stapler
How do I know what staple size my electric stapler accepts?
Most electric staplers accept standard staple sizes including 26/6, 24/6, and DS-10 for Bostitch models. Check your model’s specifications or the packaging of recommended staples. Using the wrong size causes jams and poor staple penetration.
Can I staple cardstock in an electric stapler?
Yes, but capacity is reduced. A standard 20-sheet electric stapler handles approximately 5 to 8 sheets of cardstock before penetration fails. Heavy-duty models offer better cardstock capacity. Always check manufacturer specifications for cardstock ratings separately from standard paper.
Why does my electric stapler keep jamming?
Common causes include using off-brand or incompatible staples, selecting wrong staple sizes for your stack thickness, and paper dust buildup in the feed channel. Switch to manufacturer-recommended staples, clean monthly with compressed air, and ensure you are not exceeding sheet capacity.
How often should I clean my electric stapler?
Perform monthly cleaning using compressed air to blow out paper dust from the staple channel and sensor area. Wipe the exterior with a dry cloth. Avoid liquids or cleaners that could damage electronics.
Can I use an electric stapler without plugging it in?
Yes, battery-powered models offer cordless operation. They are ideal for mobile work environments. USB-powered models also work without a wall outlet but are best for light-duty tasks.
How long do electric staplers last?
With proper use and maintenance, a quality electric stapler lasts 5 to 10 years. Primary failure points include the drive mechanism from overloading, sensor degradation from dust accumulation, and motor burnout from repeated jams or power surges.
Key Takeaways for Using Your Electric Stapler
An electric stapler is a productivity powerhouse for any high-volume office. By automating the stapling process, it reduces hand strain, increases speed, and delivers consistent results every time. To get the most from yours, always plug in and power up before use. Load staples upside down and close the magazine securely. Use only recommended staples to prevent jams. Unplug before loading or clearing jams for safety. Clean monthly with compressed air. Test on scrap paper before critical jobs.
With proper use and maintenance, your electric stapler can serve you reliably for 5 to 10 years, making it a smart investment for any busy workspace. Replace your manual stapler with an electric model if you staple more than 50 sheets daily. Look for AC-powered, high-capacity units with No-Jam technology and automatic sensors for the best return on time and effort.