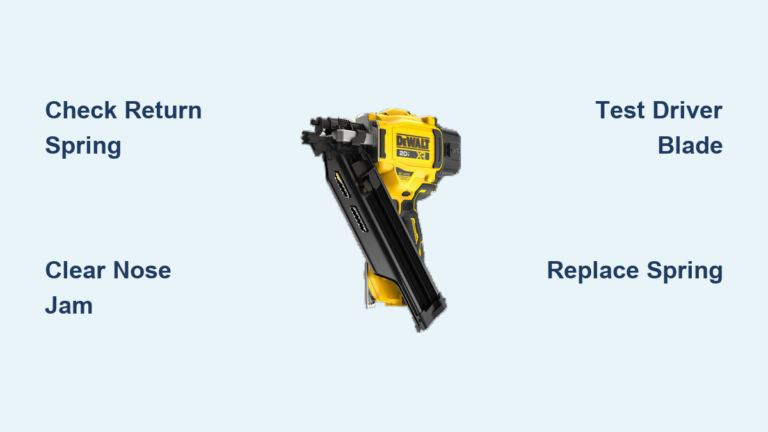
Fix DeWalt Brad Nailer: Quick Steps
If your Dewalt brad nailer won’t fire, jams constantly, or leaks air from the rear, you’re facing one of the most common tool frustrations in any workshop. These symptoms show up across popular models like the DWFP12233, DCN680D1, and D51238K, often after moderate use or long storage periods. The encouraging reality is that most Dewalt brad nailer repair tasks can be handled at home with basic tools and the right replacement parts. You don’t need a service center visit to restore full firing power.
This guide walks you through diagnosing the exact failure, safely disassembling your nailer, and applying targeted fixes for air leaks, trigger problems, and jamming issues. You’ll learn which parts fail most often, how to spot them quickly, and how to avoid repeat breakdowns. Whether you own a 2008 D51238K or a 2018 DCN680D1, the internal mechanics follow similar principles, so these steps apply broadly.
Identify the Failure Type
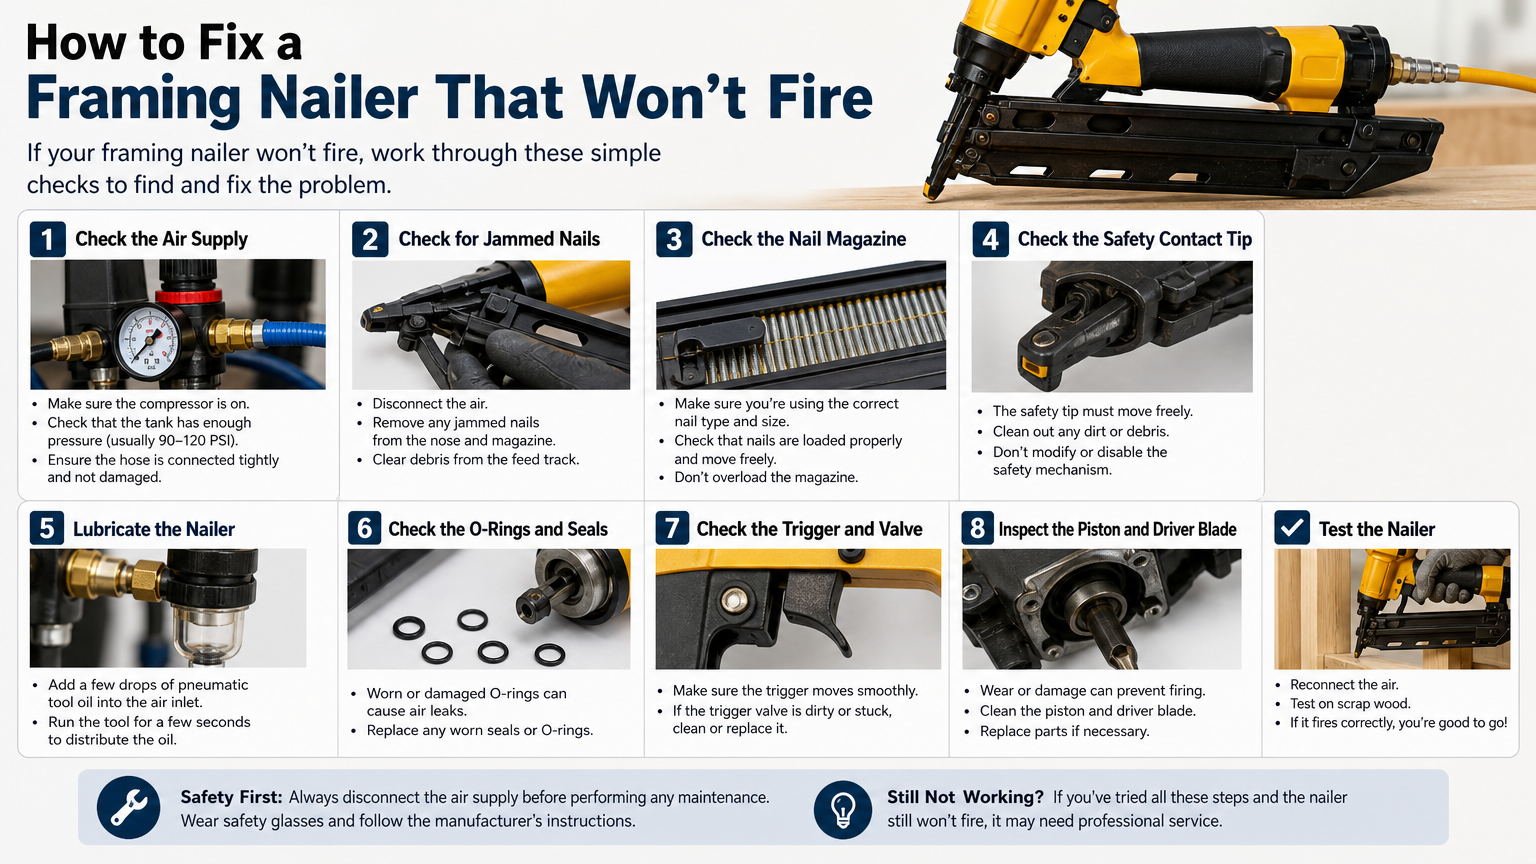
Before touching any internal components, pinpoint the exact symptom. Misdiagnosis leads to wasted time and unnecessary part replacements. Different failures point to specific internal problems.
No Firing Despite Air Supply
When pulling the trigger produces only a faint hiss but no nail drive, the issue usually lies in the valve piston or O-rings. Compressed air isn’t reaching the driver blade because of seal failure or blockage. Check if air escapes from the rear exhaust immediately after pulling the trigger. If it does, the timing may be off, or the trigger valve could be stuck.
Common culprits include:
– Worn or cracked O-rings on the piston
– Debris in the air passage
– Failed trigger valve spring
– Misaligned valve seat
Pro tip: Cycle the tool manually by pressing the air release pin to see if the driver moves. If it does, the problem is in the trigger mechanism.
Continuous Air Leak from Rear
A steady airflow from the rear exhaust while idle points to a failed bumper seal or worn cylinder. Over time, the bumper at the base of the driver blade loses elasticity, letting air bypass during compression. This reduces striking power and wastes compressor output.
What to check:
– Condition of the bumper (look for cracks or flattening)
– Scoring inside the cylinder wall
– Integrity of lower O-rings
– Proper seating of the nosepiece
Replace the bumper kit if it shows visible wear. On DWFP12233 models, OEM part #DW08250 delivers the best fit and durability.
Double Firing or Misfires
When the nailer fires twice per trigger pull or skips nails entirely, the sequential trigger mechanism is likely faulty. This issue commonly affects older D51238K and DC608B models. A loose spring or bent contact arm can cause unintended actuation.
Quick diagnostic steps:
– Remove all nails and dry-fire slowly
– Watch for double movement of the driver
– Inspect the contact trip linkage for play
If the contact arm spring is loose or detached, reattach or replace it right away.
Disassemble Safely and Correctly
Never skip safety preparation before opening your Dewalt brad nailer. Pressurized components can snap or eject forcefully if mishandled. Follow this sequence every time.
Disconnect Air and Clear Nails
Unplug from the compressor and pull the air hose completely. Engage the trigger to release any residual pressure. Open the magazine and remove all brad nails. Confirm the chamber is empty by looking through the nose.
Warning: Never point the nose at yourself during disassembly. Even an unpowered tool can fire under residual pressure.
Remove Nosepiece Assembly
Use a 3/32″ hex key to remove the nosepiece screw(s). On DWFP12233 and DCN680D1 models, there’s typically one screw at the front. Gently slide off the nosepiece, taking care not to lose the nose insert or nose gasket.
Visual cue: Look for debris buildup around the driver exit. Excessive shavings or bent nails here suggest chronic jamming.
Extract Driver Blade
Pull the driver fully upward and lift it out. Inspect for:
– Bent tip
– Worn edges
– Pitting from dry-firing
A damaged driver won’t seal the cylinder properly, causing weak performance. Replace if worn. For D51238K models, use replacement part #D51238.
Fix Air Seal Failures
The majority of Dewalt brad nailer repair work involves air leaks. When seals degrade, pressure drops prevent full driver stroke. Focus on these critical sealing zones.
Replace Bumper and O-Rings
The bumper sits at the base of the cylinder and cushions the driver’s return. It also acts as a secondary seal. Over time, it hardens and cracks.
Replacement steps:
1. Remove the cylinder retainer ring with snap ring pliers
2. Push out the old bumper and lower O-ring
3. Install a new OEM bumper
4. Reassemble with a fresh O-ring lubricated with pneumatic tool oil
Model-specific note: DCN680B and DCN680D1 use bumper kit #DCN680A-1. D51238K uses #DW08250.
Inspect Upper Piston Seal
Remove the head cap (usually two screws) to access the piston. Pull the piston rod upward and check the piston cup seal. If it’s torn or inverted, replace it immediately.
Signs of failure include:
– Air escaping from the top vent
– Slow return stroke
– A “mushy” trigger feel
Apply a drop of oil to the new seal before reassembly.
Repair Trigger Mechanism Issues
If the trigger feels loose, sticks, or doesn’t reset properly, the internal valve or spring is compromised.
Clean Trigger Valve Housing
Remove the trigger pin (often a roll pin) using a punch and hammer. Slide out the trigger assembly. Wash the valve housing in mineral spirits to remove grime and old oil.
Critical check: Ensure the valve plunger moves freely. If stuck, soak it in penetrating oil overnight.
Replace Trigger Spring
A weak or broken spring causes delayed firing or double shots. On DWFP12233 and DC608K models, the spring is prone to fatigue.
Replacement tip: Use tweezers to install the new spring. Position matters. The hook must engage both the trigger lever and housing correctly. Test movement before reassembly.
Fix Jamming and Feeding Problems
Brad nailers jam due to dirt, misaligned parts, or damaged feed components.
Clear Magazine Obstructions
Remove the side cover (if applicable) or slide out the follower. Check for:
– Twisted nails
– Rust or corrosion
– Bent feed pawl
Straighten or replace damaged parts. Lubricate the rail with dry silicone spray.
Adjust Feed Spring Tension
Too much tension causes jams. Too little leads to misfeeds. On DWFP12231 and DWFP12233 models, adjust via the rear magazine screw.
Correct setting: Nails should advance smoothly when pushed manually, but not fall forward freely.
Replace Worn Contact Trip Assembly
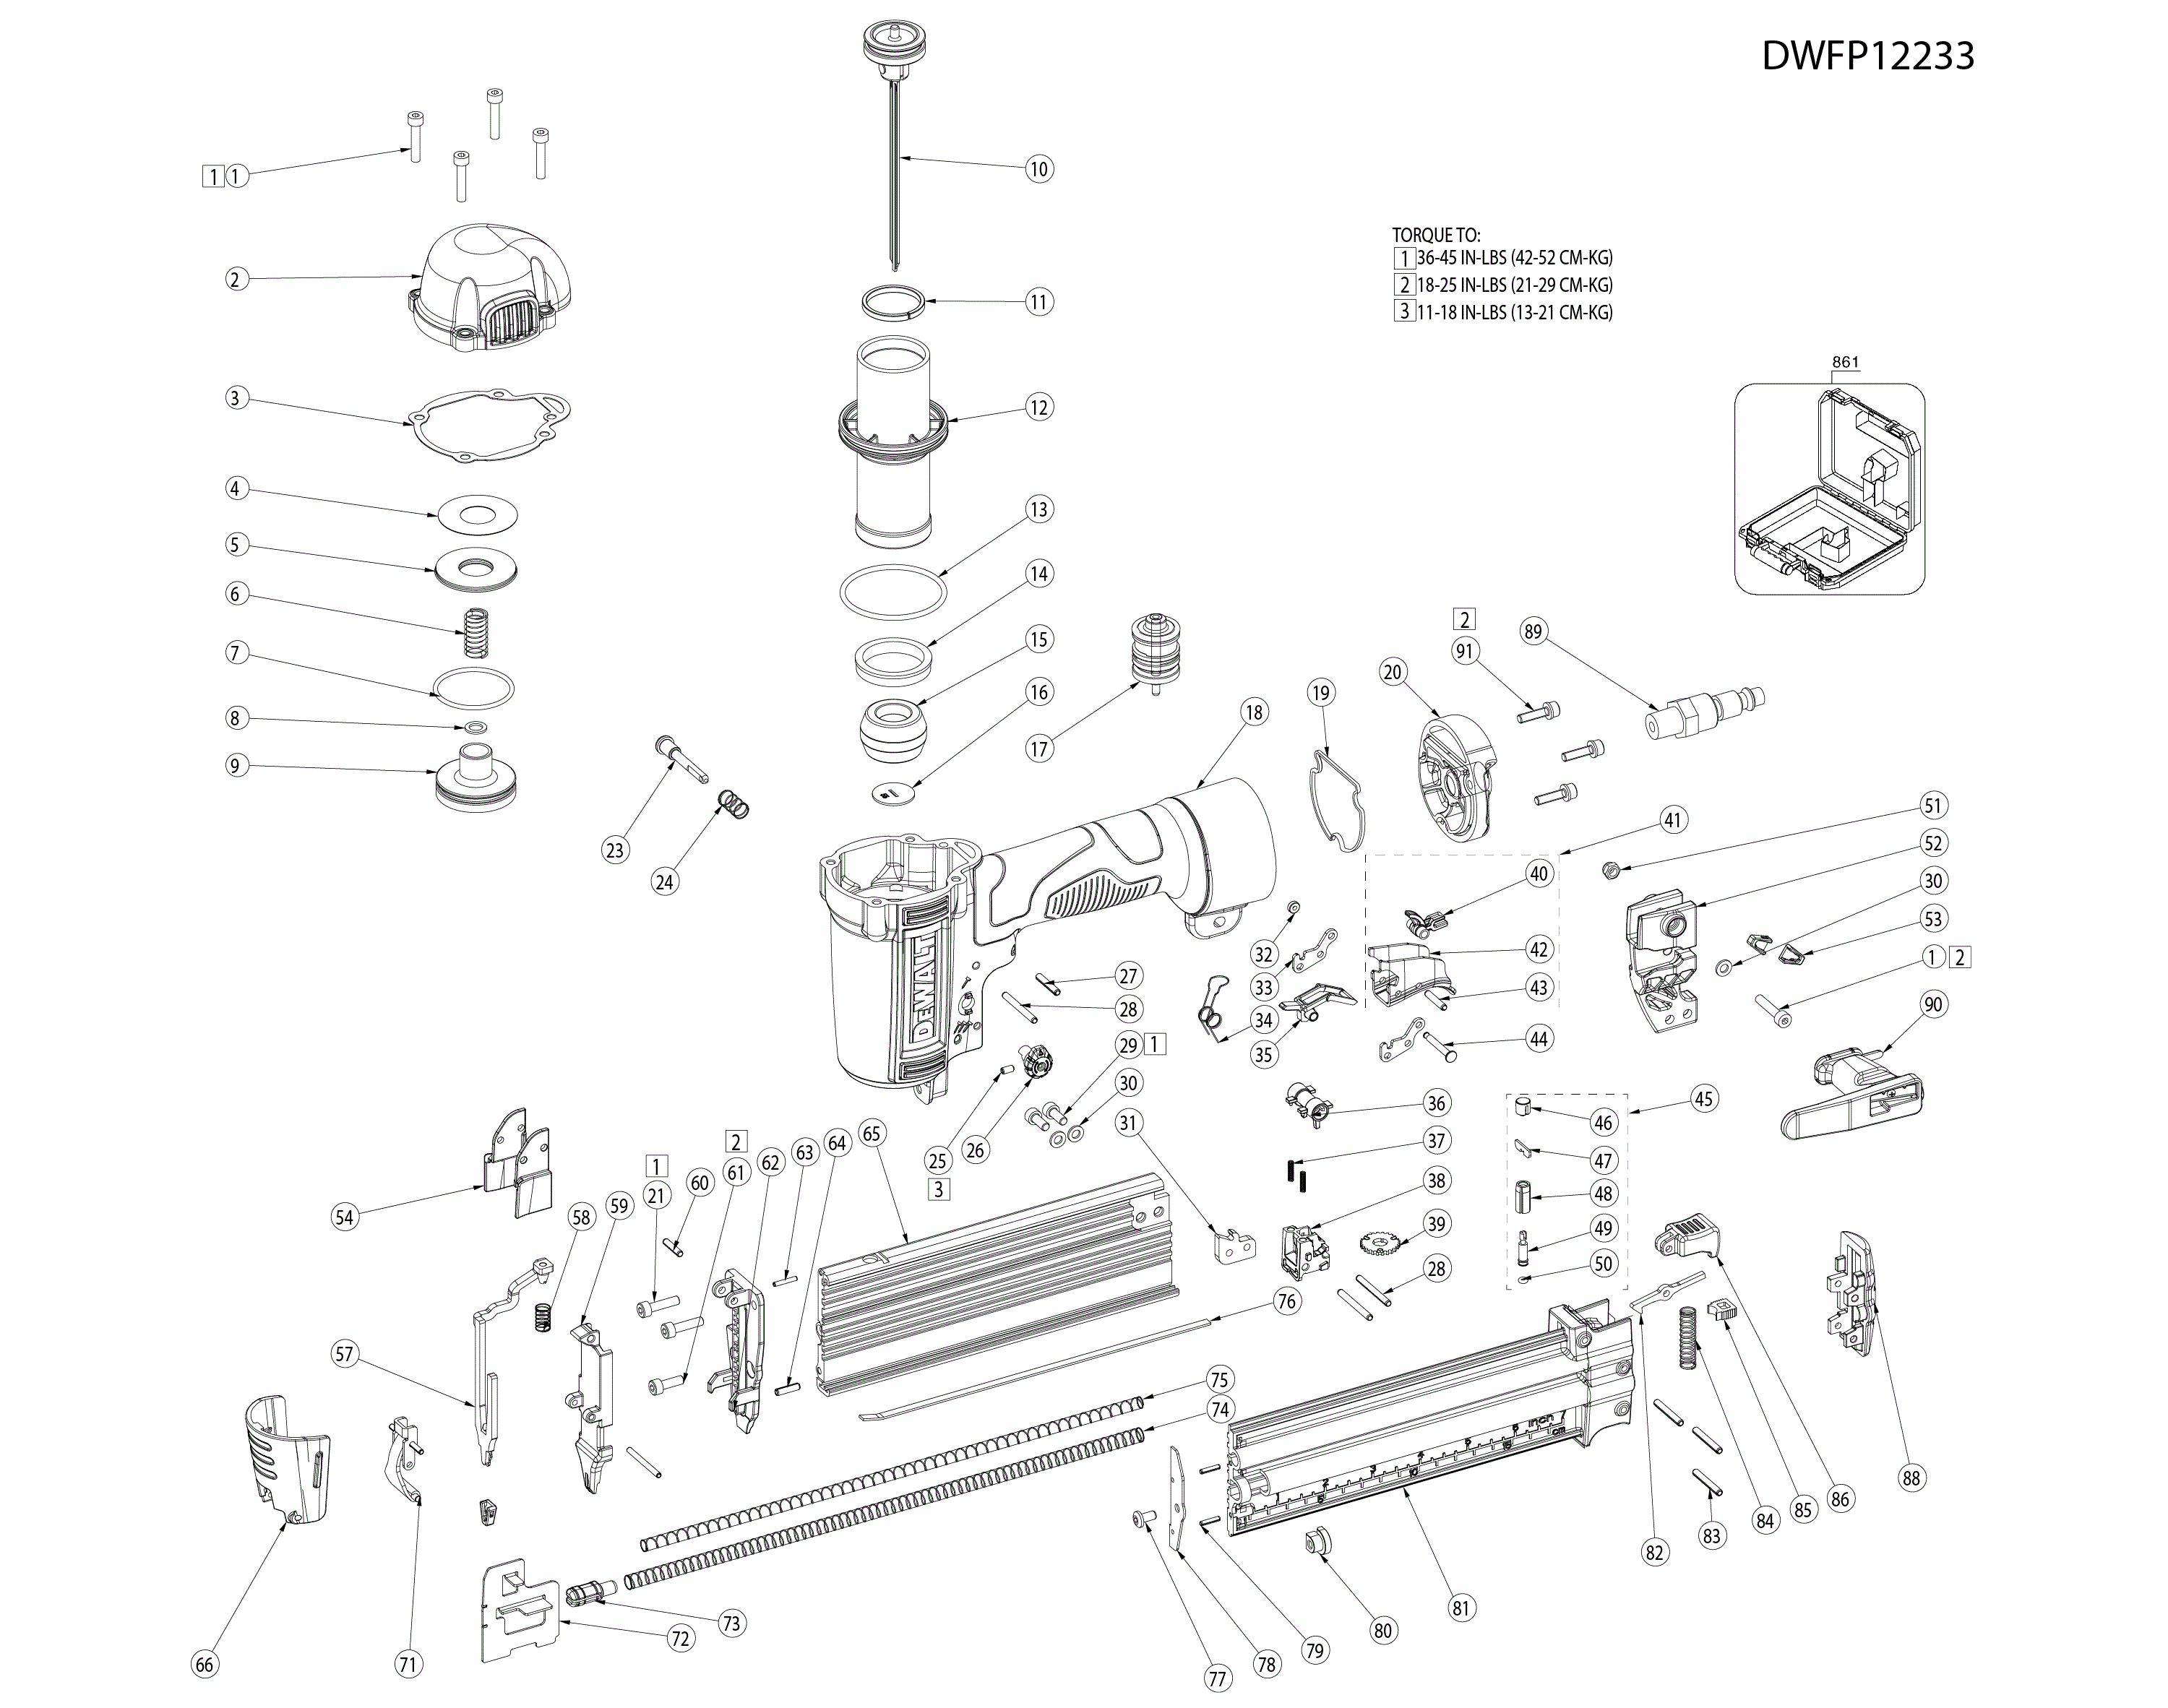
The contact trip (front safety) must engage before firing. If it wobbles or won’t stay in place, repair is urgent.
Reattach Loose Contact Arm Spring
For users wondering how to replace a loose contact arm spring, here’s the fix:
- Remove the nosepiece and driver
- Locate the small coil spring connecting the contact arm to the trigger linkage
- Use needle-nose pliers to rehook one end to the arm anchor
- Stretch and attach the other end to the trigger lever eyelet
Prevent recurrence: Apply a drop of thread locker to the anchor point. Avoid overtightening the nose screw, which can misalign the trip mechanism.
Upgrade to Durable Replacement
Aftermarket contact arms with reinforced plastic last longer than OEM on D51238K models. Look for units with metal hinge inserts.
Reassemble and Test
Once repairs are complete, reassembly must be precise.
Lubricate Moving Parts
Apply pneumatic tool oil (not WD-40) to:
– Cylinder walls
– Piston O-rings
– Driver blade shaft
– Trigger pivot points
Use 3 to 5 drops total. Over-oiling attracts dust.
Reinstall Components in Order
Reverse the disassembly steps:
1. Insert the driver
2. Slide on the nosepiece and tighten the screw
3. Reload nails
4. Reconnect the air supply
Test-Fire Safely
Point the nailer at a scrap wood block. Pull the trigger in contact mode and observe:
– Full nail penetration
– Single fire per pull
– No air leaks
If performance is weak, recheck seal installations.
Prevent Future Failures
Extend your Dewalt brad nailer’s life with simple habits.
Perform Weekly Maintenance
After each use:
– Blow out dust with compressed air
– Wipe down with a dry cloth
– Add 2 drops of oil to the air inlet
Monthly tasks:
– Inspect the bumper and O-rings
– Check fasteners for tightness
– Cycle without nails to verify smooth action
Use Clean, Dry Air
Moisture in air lines causes rust and seal swelling. Always use an in-line air dryer and drain your compressor daily.
Avoid Dry-Firing Excessively
Never fire the nailer more than 5 to 6 times without nails. This damages the driver tip and bumper.
Frequently Asked Questions About Dewalt Brad Nailer Repair
Why is air leaking from the rear of my Dewalt brad nailer but it’s not firing?
A continuous air leak from the rear exhaust typically indicates a failed bumper seal or worn cylinder O-rings. The compressed air bypasses before reaching full pressure, so the driver can’t complete its stroke. Replace the bumper kit and inspect the lower O-rings for cracks or flattening.
How do I replace a loose contact arm spring on a DWFP12233?
Remove the nosepiece and driver to access the trigger linkage. Locate the small coil spring connecting the contact arm to the trigger lever. Use needle-nose pliers to rehook one end to the arm anchor and the other to the trigger lever eyelet. Apply thread locker to prevent recurrence.
What causes a Dewalt brad nailer to double-fire?
Double firing usually points to a faulty sequential trigger mechanism, often from a loose or broken contact arm spring. This affects older D51238K and DC608B models most often. Inspect the contact trip linkage for play and replace the spring if fatigued.
Can I use WD-40 to lubricate my brad nailer?
No. WD-40 is a solvent, not a lubricant. It will strip away the protective oil film and damage rubber seals over time. Always use pneumatic tool oil specifically designed for nailers and air tools.
How often should I oil my Dewalt brad nailer?
Add 2 to 3 drops of pneumatic tool oil to the air inlet before each use, or at minimum after every few hours of operation. Most manufacturers recommend oiling daily for tools used regularly.
Are Dewalt brad nailer parts interchangeable across models?
Some parts like O-rings and bumper kits are model-specific due to size differences. Always verify the OEM part number for your exact model before ordering. Common cross-compatible parts include trigger springs and contact arms on similar generations.
Key Takeaways for Successful Dewalt Brad Nailer Repair
Most Dewalt brad nailer repair tasks take under 30 minutes once you’ve identified the failure. The three most common culprits are worn bumper seals, fatigued trigger springs, and loose contact arm springs. Keeping a spare O-ring kit and bumper on hand lets you handle most repairs immediately without waiting for parts. Start your next repair by disconnecting air, clearing the magazine, and identifying the exact symptom before opening the tool.