How to Fix PaperPro Stapler Not Working
Your PaperPro stapler jams, won’t staple, or the rod shoots backward when you release it. You are not alone. Thousands of users report the same issues, especially with popular models like the PaperPro 3200 and Prodigy One Finger Stapler. The good news? Many of these problems have quick fixes. The bad news? Some failures mean it is time for a replacement.
This guide covers the exact reasons your PaperPro stapler is not working, using real user reports, teardown insights, and model-specific repair steps. You will learn how to diagnose jams, fix misaligned drivers, prevent rod ejection, and know when repair is not worth it. Whether you use it daily or weekly, this guide gets your stapler back in action or tells you when to walk away.
Diagnose Your PaperPro Stapler Problem
Before disassembling or forcing parts, identify what is wrong. Most PaperPro stapler issues fall into one of five categories. Pinpointing the symptom saves time and prevents further damage.
The common failure modes include driver that will not actuate, rod that fails to lock after reloading, staples that jam mid-cycle, internal component that is broken, and misfire with no staple ejection. Each problem has a specific cause and solution.
No Stapling After Reload
This happens most often on the One Finger 15 Sheet model. After refilling staples, the small black metal driver piece can flip backward, blocking full retraction. This cuts power to the staple drive.
The piece is flat, black, and attached to a coiled spring. When inverted, it lies flat instead of standing at an angle. You will not hear a click when pressing the release button.
To fix this, open the staple cartridge and locate the spring-tensioned metal actuator on the rail. If it is facing backward, gently flip it forward toward the nose. Let it snap into place under spring pressure, then close and test.
Rod Shoots Back After Loading (PaperPro 3200)
The rod should click and lock after loading. If it flies back, the locking tab failed to engage. This happens when the locking tab is misaligned or damaged, debris blocks the staple channel, wrong staple size is used, or the rod was not fully inserted.
To fix this, remove the rod and empty the cartridge. Shine a light into the channel and look for obstructions. Clean with compressed air or a soft brush. Reinsert the rod slowly and firmly until you hear a click. Test with five staples first.
Fix a PaperPro Stapler That Will Not Staple
When your stapler refuses to staple despite correct loading, the problem is usually the driver mechanism. Two issues cause this: the driver piece flipping backward during reload, or the flat steel staple driver cracking from metal fatigue.
Flip the Driver Piece Forward
This is the most common instant fix for PaperPro stapler not working. The driver piece sits at the top of the internal rail. During reloading, it can rotate 180 degrees, losing mechanical advantage.
Locate the flat black metal piece attached to a coiled spring. If it is facing the wrong direction, flip it so it points toward the stapling nose. It should snap into place under spring pressure. Test by pressing the release button. You should hear a click.
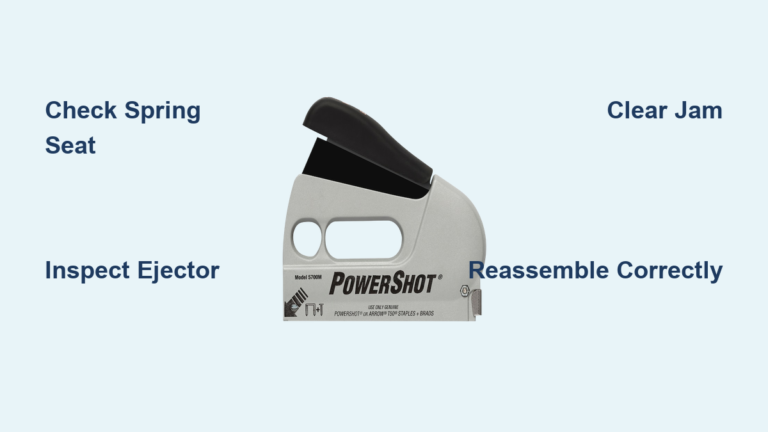
Check for a Broken Staple Driver
If flipping the driver does not work, the flat steel staple driver may be cracked or broken. This component sits on the left side of the mechanism and connects to two springs. Over time, repeated impact force causes metal fatigue.
To inspect this, remove the bottom cover with a flat-head screwdriver. Carefully pry the two plastic halves apart. Look at the metal plate connected to two springs. Check for cracks, especially near the holes where springs attach.
If the driver is broken, repair is not economically viable. No official replacement parts exist. Custom fabrication by a metalworker costs more than a new stapler.
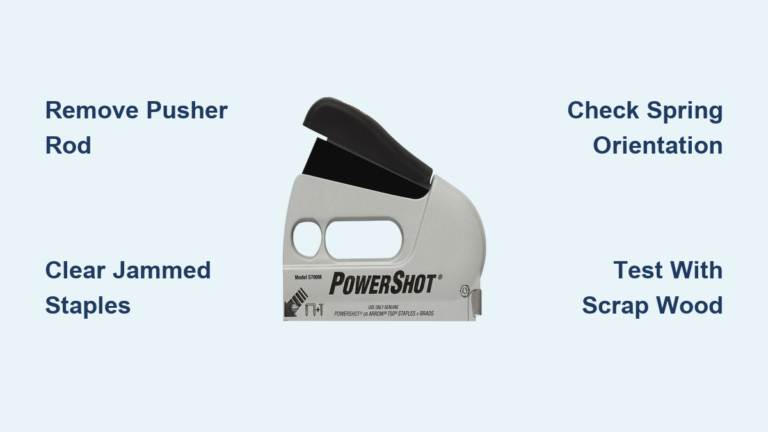
Clear a Staple Jam in Your PaperPro Stapler

Jam symptoms include partial staple ejection, stiff lever movement, and clicking sound without stapling. Jams are common in high-use environments.
To clear a jam, open the staple cartridge. Use a plastic pick or non-metal tool. Gently push the driver backward to release tension. Inspect for bent staples, loose fragments, or staple pile misalignment. Remove debris carefully. Manually cycle the mechanism before reloading.
Avoid using metal tools that scratch rails. Do not force the driver forward under blockage. Skip post-jam cleaning and you risk repeated jams.
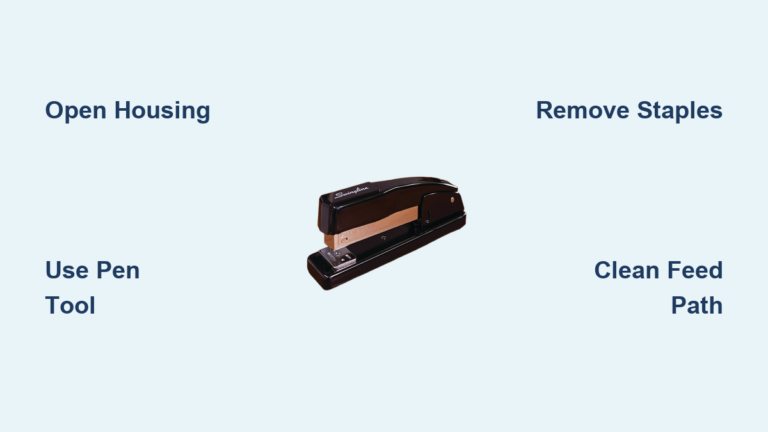
Safely Disassemble Your PaperPro Stapler

Only disassemble if a jam will not clear, you suspect internal breakage, or you need visual confirmation. The process is straightforward but requires care.
Remove the bottom rubber pad if present. Insert a flat-head screwdriver into the seam between halves. Apply moderate pressure to separate the casing. Work around the edges and do not force one spot. Once open, springs stay seated and levers remain attached. No small parts should fly out if handled right.
For reassembly, align rail guides before closing. Ensure spring ends are seated. Snap halves together evenly, starting from the front. If the housing cracks during reassembly, the stapler may become unusable.
Prevent Future PaperPro Stapler Failures
Load Staples Correctly
Use size 26/6 staples, which are standard for most PaperPro models. Align legs down and crown up. Do not overfill. Maximum is 100 staples. Push the stack fully into the magazine.
Clean Regularly
Clean every six months for light use (one to five times per week). Clean every three months for daily use. Clean monthly for heavy use (multiple times per day). Use compressed air or a dry brush. Never use liquids.
Avoid Lubrication
Despite sticky movement, do not oil internal parts. Lubricants attract dust and gum up rails. Dry sliding surfaces are by design. If movement is stiff, clean first.
When to Replace Your PaperPro Stapler
Signs it is beyond repair include a cracked or broken staple driver, damaged locking tab, housing that split during disassembly, and no parts available.
PaperPro models last up to eight years with regular use, then fail suddenly. The typical failure mode is the driver breaking from metal fatigue. Repair time is 30 to 60 minutes. Parts cost ranges from unavailable to 50 dollars or more for custom fabrication. A new stapler costs 20 to 40 dollars. Replacement is faster and cheaper.
Best Replacement Options
If your PaperPro stapler cannot be saved, consider these alternatives.
The Swingline Optima 150 offers 15-sheet capacity and jam-resistant design at around 25 dollars. The Bostitch B8 Premium features all-metal construction and 20-sheet capacity but is heavier. The AmazonBasics Manual Stapler is a budget pick at around 12 dollars, reliable for light use, and uses standard 26/6 staples.
All these use common staples that are widely available at office supply stores.
Frequently Asked Questions About PaperPro Stapler Issues
Why does my PaperPro stapler not staple after reloading?
The most common cause is the driver piece flipping backward during reload. This small black metal component sits on the internal rail. When it rotates 180 degrees, it blocks full retraction. Simply flip it forward toward the nose to restore function.
How do I fix a staple jam in my PaperPro stapler?
Open the cartridge and use a plastic pick to gently push the driver backward. Remove any bent staples, fragments, or debris from the path. Manually cycle the mechanism before reloading to ensure smooth operation.
Can I replace the broken staple driver in my PaperPro stapler?
No. PaperPro does not sell replacement parts. No third-party suppliers list the driver plate. The only option is custom fabrication by a metalworker, which costs more than buying a new stapler.
Why does the rod shoot back after loading my PaperPro 3200?
The locking tab failed to engage. This happens when the tab is misaligned, debris blocks the channel, wrong staples are used, or the rod was not fully inserted. Clean the channel and reinsert slowly until you hear a click.
How long do PaperPro staplers last?
With regular use, PaperPro staplers typically last up to eight years. The most common failure is the flat steel staple driver cracking from metal fatigue after repeated high-impact cycles.
Key Takeaways for Fixing Your PaperPro Stapler
A PaperPro stapler not working usually has a simple cause: misaligned driver, jam, or broken plate. Most issues can be diagnosed in under five minutes. Flipping the driver piece is an instant fix for many failures. A cracked staple driver means the end of the road, since no parts are available.
You now know how to fix common failures, when to stop repairing, and what to replace it with. If it is broken beyond repair, do not waste time. These staplers are high-performing but not repairable. Replace it and remember: for nearly a decade, it did its job better than most.