How to Fix a Jammed Swingline Stapler
Nothing halts productivity faster than a stapler that refuses to fire. You press down, hear that hollow click, and realize no staple emerged. A jammed Swingline stapler is one of the most common office frustrations, but most blockages clear in under five minutes with basic tools and the right technique. This guide covers every jam type, from partial obstructions to stuck electric mechanisms, with model-specific fixes for the Swingline 747, Optima Grip, and other popular models.
You’ll learn exactly where jams hide, which tools work best, and how to prevent future blockages. The secret is precision over force. Forcing a jammed stapler can damage the driver blade, spring, or pivot mechanism, turning a simple fix into a permanent problem.
Diagnose the Jam Before You Begin
Understanding what caused the jam saves time and prevents repeat mistakes. Most Swingline jams fall into three categories: visible staple obstruction, hidden fragment, or mechanical binding.
Check for Visible Obstructions
Place your stapler on a hard, flat surface under bright lighting. Open the top housing or magazine tray and shine a flashlight into the feed path, especially the rear corner where tiny fragments hide.
Look for these common signs:
- A staple caught halfway in the driver with bent legs
- Paper dust clogging the feed rails
- Broken staple pieces wedged behind the follower
- Bent metal blocking the anvil
Test the Mechanism
Press down gently on the cap. Notice whether it feels completely locked, moves slightly but won’t reset, or clicks without driving a staple. If the head is stuck in the down position with no staples inside, lubrication rather than extraction is the fix.
Gather the Right Tools

Using the wrong tool risks damaging internal parts or injuring your hand. Reach for narrow, rigid, non-abrasive instruments.
Essential Tools for Stapler Jam Clearance
- Small flathead screwdriver for prying open housing
- Fine-point tweezers for extracting small fragments
- Needle-nosed pliers for gripping stubborn staples
- Pen or pencil for non-invasive ejection tricks
- Bent paperclip for hooking rear-corner jams
- Compressed air can for blowing out dust
- Lint-free cloth for wiping rails and contacts
- Silicone-based lubricant for freeing stuck mechanisms
Never use your fingers to push or pull a jammed staple. Staples are sharp, and sudden movement causes cuts or puncture wounds.
Clear a Partial Jam Without Disassembly
If the stapler clicks but doesn’t eject a staple, try this quick fix first.
Use a Pen to Complete the Staple Drive
This method works when a staple is stuck mid-ejection.
- Insert a pen or pencil under the anvil, between the base and metal plate.
- Press down firmly on the stapler cap.
- The pen lifts the anvil slightly, allowing the jammed staple to clear.
- Repeat if needed.
This mimics the natural flex of a soft surface, helping staple legs form properly without damaging internal components.
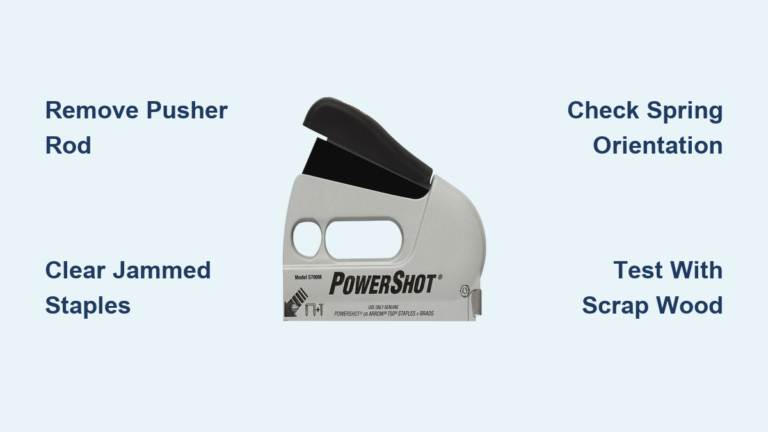
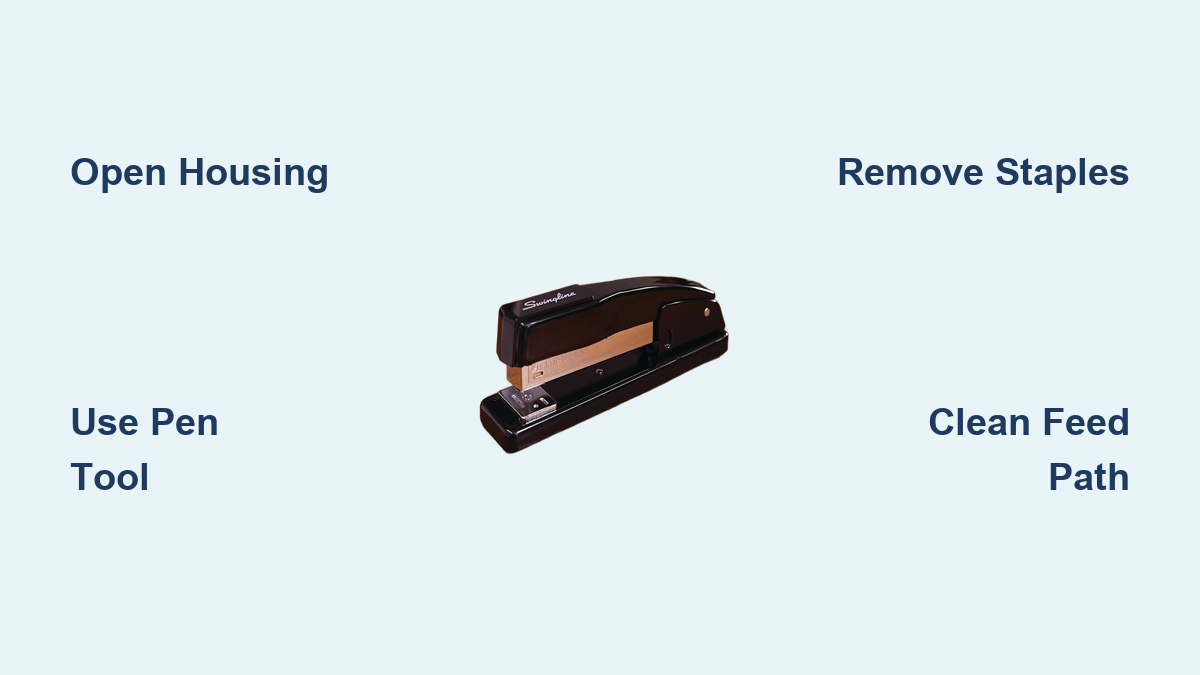
Open the Stapler and Remove the Jam
When non-invasive methods fail, open the housing to access the blockage directly.
Open the Housing Safely
Locate the hinge at the back of the stapler. Lift the top cap. If it resists:
- Insert a paperclip, flathead screwdriver, or nail file between the base and top near the hinge.
- Gently twist to create a small gap.
- Once loose, lift the housing fully.
Swingline 747 and Optima models often hide jams in the rear corner of the feed path. Inspect carefully with magnification if needed.
Empty the Magazine First
Remove all staples from the magazine before attempting extraction. This clears the path and prevents new staples from interfering with jam removal.
Extract the Jammed Staple

With the stapler open, choose the extraction method that matches your jam type.
Pry Up from Below with a Pen or Key
Best for staples stuck under the anvil.
- Insert the tip of a pen or key under the bent staple from the anvil side.
- Use the ridge beneath the anvil as a fulcrum.
- Gently pry upward to lift the staple out.
This method avoids touching the driver blade, keeping delicate parts safe.
Grip and Pull with Tweezers or Pliers
For accessible staples or fragments.
- Use fine-point tweezers to grab the top of the staple.
- If too tight, switch to needle-nosed pliers for more grip.
- Pull straight up without twisting or tilting.
Magnetic tweezers hold small metal pieces that might otherwise fall back into the mechanism.
Pry from the Side with a Screwdriver
When the staple is wedged sideways.
- Insert a small flathead screwdriver into the end slot of the stapler.
- Gently pry open the housing or nudge the staple forward.
- Push the jam toward the front for easy removal.
A screwdriver offers better control than a butter knife and less chance of damaging rails.
Hook with a Bent Paperclip
Perfect for rear-corner jams that tweezers cannot reach.
- Straighten a paperclip and bend the tip into a small hook.
- Insert from the front or side.
- Snag the staple and pull it backward into the magazine.
- Remove with fingers or tweezers.
Swingline 747 users report this method clears ninety percent of hidden jams in the feed channel.
Push the Jam Backward with a Pencil
Reverse the blockage when other methods fail.
- Insert a pencil or slender rod from the front (teeth side).
- Push the obstruction backward into the magazine.
- Retrieve it from the top.
This works when the jam sits too deep for tweezers to grip.
Fix a Stuck Mechanism Without Staples
Electric models like the Swingline Optima Grip sometimes stop working with no visible staples inside. This indicates mechanical binding, not a jam.
Diagnose Mechanical Binding
If the head won’t rise and the magazine is empty, the issue is likely dried grease or internal friction. The mechanism is seized, not blocked.
Lubricate the Moving Parts
- Remove batteries or unplug the stapler.
- Apply one to two drops of silicone-based dry lubricant or light machine oil to pivot points, sliding rails, and the driver blade shaft.
- Manually move the head up and down to distribute the lubricant.
- Let sit for one to two minutes.
- Reconnect power and test.
A Swingline Optima Grip with a permanently down head was fully restored after lubrication with no parts replaced. Clean and lubricate every six months to prevent binding.
Clean the Feed Path Thoroughly
Debris causes repeat jams. Clean thoroughly after every clearance.
Blow Out Dust and Lint
Use compressed air to blast out the magazine chamber, feed rails, anvil area, and rear corner of the channel. Hold the can upright and use short bursts.
This removes invisible paper fibers and metal shavings that accumulate over time.
Wipe Internal Surfaces
Dampen a lint-free cloth slightly or use dry. Wipe the driver blade, feed rails, and anvil contact points. Ensure no moisture remains before reassembling.
Reassemble and Reload Correctly
Putting the stapler back together properly prevents future problems.
Load Compatible Staples
Use Swingline No. 10, No. 134, or Optima Premium staples. Never mix brands or sizes. Inconsistent dimensions cause jams. Fill the magazine to eighty to ninety percent capacity. Overfilling increases pressure and causes misfires.
Off-brand staples are two point three times more likely to jam due to poor quality control.
Close the Housing Securely
Snap the top cap shut until it clicks. Ensure it sits flush against the base. Misalignment causes immediate future jams.
Test the Stapler Before Heavy Use
Rushing into full use risks re-triggering a jam or damaging springs.
Step-by-Step Testing Protocol
- Test without paper first. Press the cap. The driver should cycle smoothly.
- Test with one to five sheets. Confirm staple ejection and formation.
- Gradually increase load up to twenty sheets or the model limit.
- Watch for smooth cap depression, complete staple curl, and no resistance or misfires.
Never force the stapler. If it resists, stop and recheck for remaining fragments.
Prevent Future Jams
Most jams are avoidable with simple habits.
Use High-Quality Staples Only
Stick to OEM or premium-compatible brands. Avoid dollar-store or recycled-metal staples. Match the model. The 747 uses Swingline 747 staples. Optima uses Optima Premium.
Never Overload the Stapler
Standard models handle a maximum of twenty sheets. Heavy-duty and electric models handle up to forty sheets. Stapling beyond capacity bends staples and causes jams.
Staple on Hard Surfaces Only
Always use a solid desk or table. Never staple on laps, notebooks, or cushions. Uneven pressure causes misfires and bent staples.
Perform Monthly Maintenance
Blow out the feed path with compressed air. Wipe internal rails with a dry cloth. Cycle electric models occasionally if unused. A thirty-second monthly clean prevents eighty percent of jams.
Model-Specific Fixes
Swingline 747 Electric
Hidden jams in the rear feed corner are common. Use magnification and tweezers for tiny fragments. The bent paperclip hook combined with compressed air clears most blockages.
Swingline Optima Grip
A stuck head with no staples visible indicates lubrication failure. Apply silicone lubricant to pivot and rails. The stapler is warranty-covered if under one to three years with proof of purchase.
Other Compatible Models
This guide works for the Swingline 757, Optima series, Executive models, and any rear-loading, hinged-top desktop stapler.
Know When to Replace
Some damage isn’t worth fixing.
Replace If You Notice
- Bent or cracked driver blade
- Spring that won’t reset the cap
- Cracked or warped housing
- Motor that hums but doesn’t move (electric models)
- Frequent jams despite correct use and quality staples
A new Swingline stapler costs five to fifteen dollars. Many offices simply replace rather than repair.
Claim Warranty If Eligible
Swingline offers limited warranties on electric models.
To File a Claim
- Keep your original receipt.
- Contact Swingline customer support.
- Provide model number and proof of purchase.
- Many users report free replacements for mechanical failures within the warranty period.
This works especially well for Optima and 747 models within one to three years of purchase.
Final Safety Reminders
Stay safe during every repair.
Critical Safety Rules
- Never use fingers to remove jams. The risk of cuts is high.
- Disconnect power before servicing electric models.
- Wear eye protection when using pliers. Staples can snap unexpectedly.
- Point sharp tools away from your body.
- Never operate a damaged stapler. Risk of malfunction and injury increases significantly.
Complete Fix Protocol Quick Reference
- Unplug or remove batteries
- Open the housing
- Remove all staples
- Inspect entire feed path, especially rear corner
- Extract jam using pen, tweezers, screwdriver, or bent paperclip
- Check for fragments. Remove every piece.
- Clean with compressed air and lint-free cloth
- Lubricate moving parts if mechanism was stuck
- Reload with correct, high-quality staples
- Close and test. Start light, build up gradually.
- Prevent recurrence. Clean monthly. Avoid overloading.
Key Takeaways for Fixing Your Jammed Swingline Stapler
A jammed Swingline stapler is rarely a permanent problem. Most jams clear in two to five minutes using basic household tools like tweezers, a pen, and compressed air. The key is diagnosing correctly. Visible obstructions require extraction. Hidden fragments need magnification and patience. Stuck mechanisms in electric models usually need lubrication, not disassembly.
Prevention matters more than repair. Using quality OEM staples, avoiding overload, stapling on hard surfaces, and performing thirty-second monthly cleanings prevents eighty percent of future jams. When damage is beyond repair, a new Swingline costs less than most office supplies.
Now you have the knowledge. Grab your tools, work with precision, and get back to stapling with confidence.
Frequently Asked Questions About Fixing a Jammed Swingline Stapler
Why does my Swingline stapler keep jamming even with new staples?
Using off-brand or low-quality staples is the most common cause. Inconsistent dimensions and poor metal quality make jams two point three times more likely. Switch to Swingline No. 10, No. 134, or Optima Premium staples for reliable performance.
Can I fix a jammed Swingline stapler without opening it?
Yes. Try the pen method first. Insert a pen under the anvil and press down firmly. This often clears partial jams where the staple is stuck mid-ejection. If this fails, full disassembly is necessary.
How do I fix a Swingline Optima Grip that won’t reset?
This usually indicates mechanical binding, not a jam. Remove batteries, apply one to two drops of silicone-based lubricant to pivot points and sliding rails, then manually cycle the mechanism several times before reconnecting power.
What causes a stapler to jam in the same spot repeatedly?
Repeatedly stapling in the same spot when a previous staple failed to eject creates a cycle of jams. Also check for bent driver blade, overloaded magazine, or stapling on soft surfaces. Address the root cause before continuing use.
Is it worth repairing a jammed stapler or should I replace it?
For basic models costing five to fifteen dollars, replacement is often more practical. However, premium electric models like the Swingline 747 and Optima Grip are worth fixing, especially if under warranty. Repair costs nothing but time when you follow these DIY methods.
How often should I clean my Swingline stapler to prevent jams?
Perform a thirty-second clean monthly. Blow out the feed path with compressed air and wipe internal rails with a lint-free cloth. This simple habit prevents eighty percent of jams and extends the stapler’s life significantly.