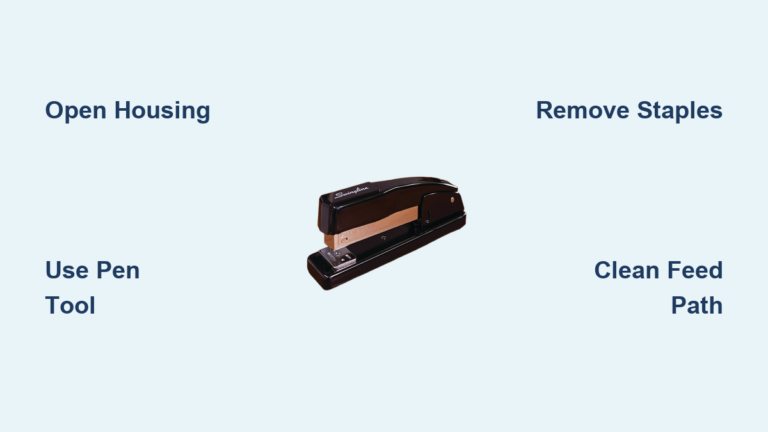
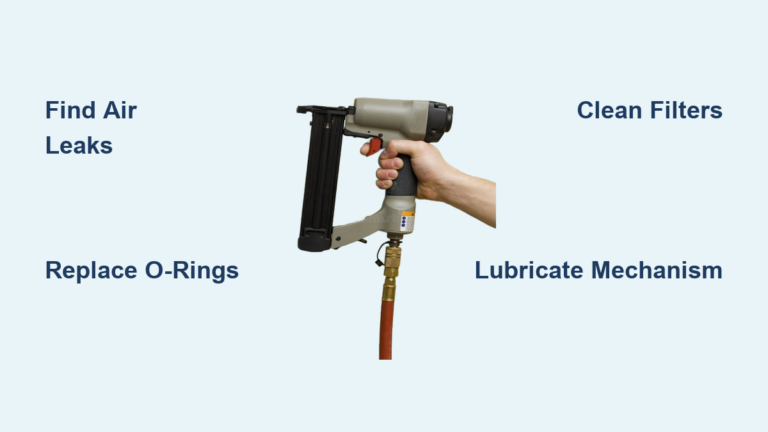
Fix Air Nailer Piston Not Retracting
You pull the trigger, hear the shot, but the driver stays stuck down by a stubborn fraction of an inch. Now your nailer won’t feed the next fastener, and your project grinds to a halt. This is the classic air nailer piston not retracting problem, and it almost always traces back to one of four culprits: bad seals, a sticky valve, contamination, or plain old neglect.
The good news? You don’t need a shop full of specialty tools to fix it. Most retraction failures come down to a $30–$60 rebuild kit, an hour of careful work, and avoiding one catastrophic mistake (using oil on oil-free tools). This guide walks you through diagnosing the exact cause, fixing the right component, and deciding when repair beats replacement.
Verify Air Pressure and Nail Compatibility
Before you crack open the housing, rule out the two operational errors that mimic mechanical failure and waste your afternoon.
Check Compressor Output
A pressure drop is the most common hidden cause of retraction failure. Most nailers need 90–120 PSI to complete the full pneumatic cycle. If your compressor sags under load, the piston fires but lacks the volume to push back up.
- Use an inline gauge to measure pressure right at the tool’s inlet, not just at the tank.
- Keep your air hose at least 3/8″ in diameter and under 50 feet long to minimize pressure drop.
- Listen when you fire: a rapid “double-fire” hiss means healthy pressure. A slow hiss lasting about a second signals weak supply or a leak.
Confirm Nail Gauge and Size
Wrong fasteners jam the internal cycle and keep the piston from resetting.
- 18-gauge nails in a 16-gauge tool cause binding that blocks full retraction.
- Nails that are too long or too short interfere with driver travel.
- Always match the gauge and length printed on your tool’s specification plate.
Identify the Failure by Sound and Behavior
Your nailer tells you exactly what’s wrong if you listen and watch. Use these cues to skip unnecessary disassembly.
Listen for the Hiss Pattern
- Instant double-fire hiss: Normal. Air cycles quickly for drive and return.
- Slow hiss after firing: Air is leaking past a seal or valve instead of pushing the piston up.
- Continuous hiss from the top cap or trigger: A blown O-ring or stuck valve is bleeding air constantly.
- No sound but piston stuck down: A blocked exhaust path or mechanical bind.
Watch for Unusual Behavior
- Piston returns after a long delay: Minor leak or restricted exhaust.
- Tool fires uncontrollably when connected to air: Dangerous valve failure. Disconnect the hose immediately.
- Piston moves freely when pushed up by hand: Lack of pneumatic return force, not mechanical binding.
Inspect and Replace Worn O-Rings and Seals
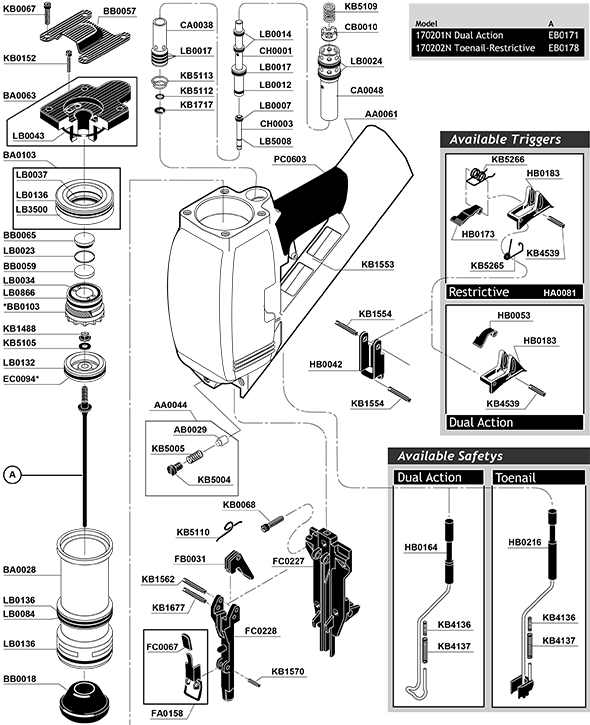
Failed seals cause the majority of retraction issues. They let air escape, breaking the pressure differential that drives the return stroke.
Locate Critical Seals
Check these areas for cracks, swelling, or flattening:
- Piston head seal: If blown, air leaks into the top cap and kills return pressure.
- Cylinder O-rings: Found on the outer edge; they maintain the cylinder-to-housing seal.
- Trigger valve O-rings: Prevent leaks in the firing mechanism.
- Top cap gasket: A failed seal here causes continuous hissing.
Replace All Seals at Once
- Use a model-specific rebuild kit (Senco YK0376 or Porter Cable kits run $30–$60).
- Never reuse old O-rings, even if they look fine.
- Lubricate new seals lightly with Vaseline or pneumatic grease only. Never use oil on oil-free tools.
Pro Tip: When reinstalling the top cap, tighten screws in an alternating cross pattern to distribute pressure evenly and prevent leaks.
Clean or Replace the Head Valve
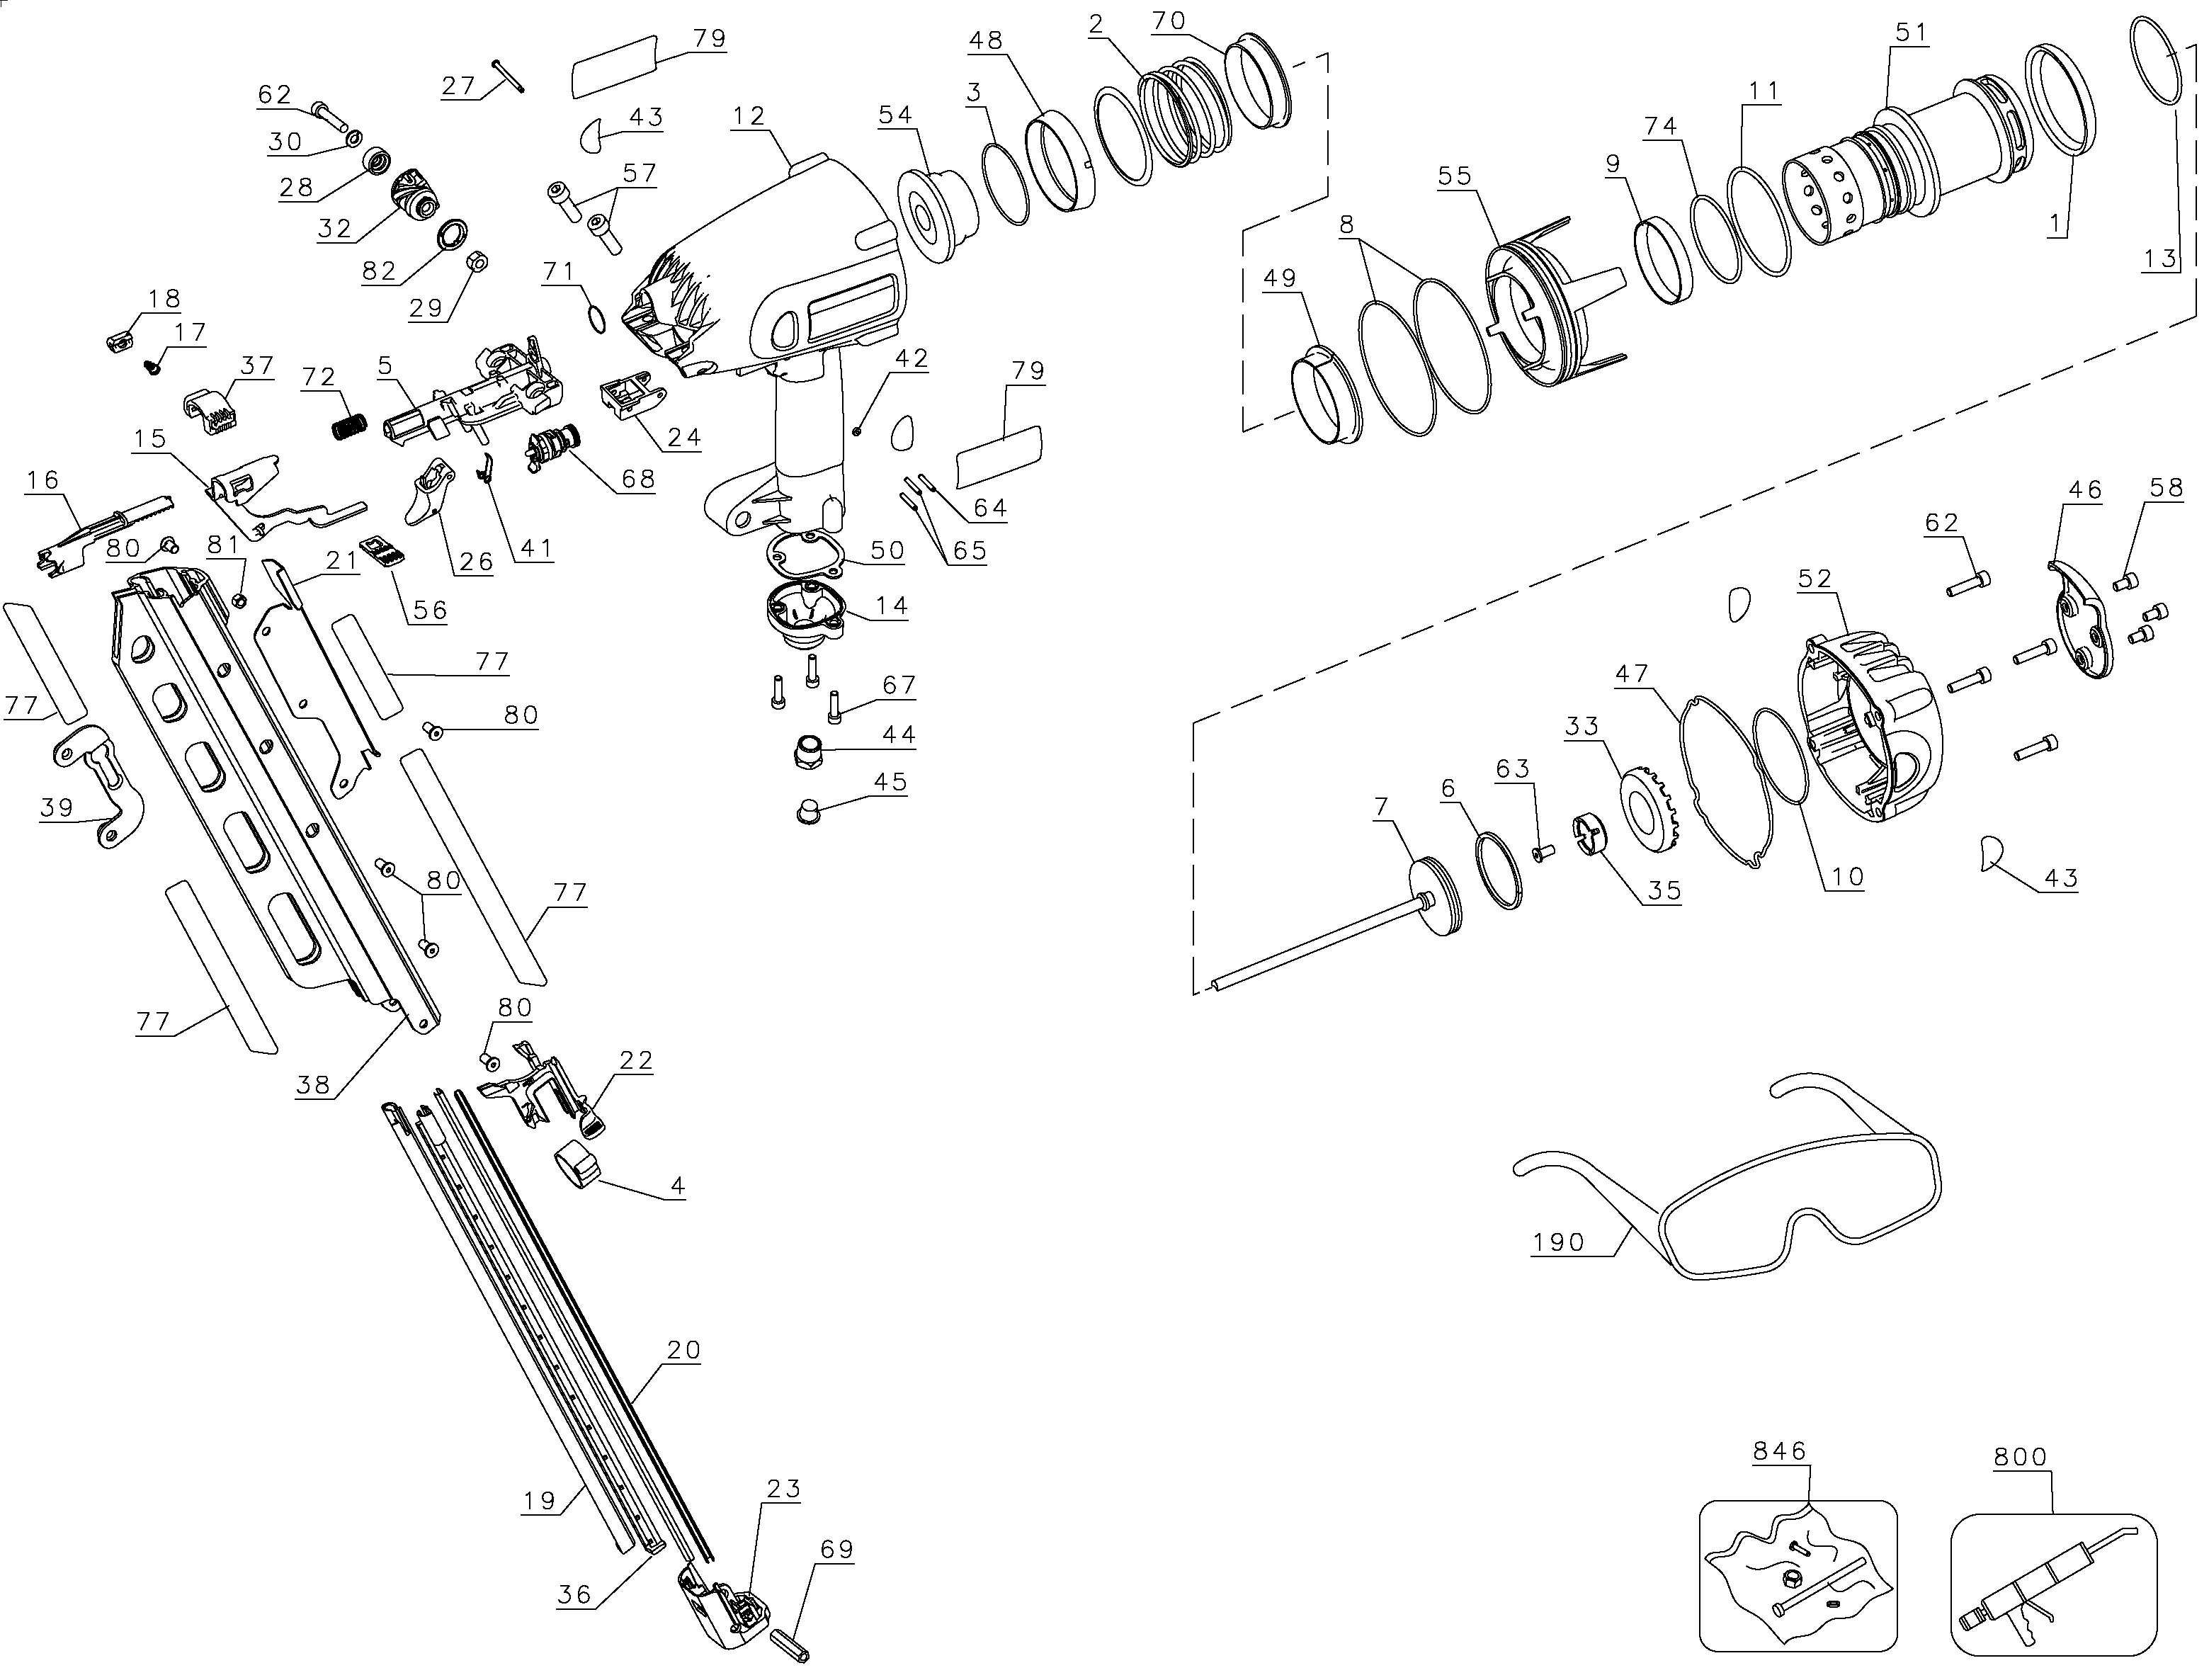
The head valve controls airflow to drive the piston down and trigger the return stroke. When it sticks or leaks, retraction fails.
Remove and Inspect the Valve
- Take out the top cap screws.
- Use a pick to pull out the piston head valve.
- Check for:
– Cracks or deformation in the diaphragm (common in Bostitch coil nailers).
– Broken or weak return springs.
– Gummed-up passages from improper lubrication.
Test Valve Function
- In models like the DeWalt D51844, a stuck-open valve keeps air flowing and holds the piston down.
- Separate inner and outer valve components to inspect internal seals.
- Replace the entire assembly if cracked or deformed. You cannot repair plastic valves reliably.
Warning: If your tool fires uncontrollably, stop using it. Replace the trigger or head valve before the next firing.
Diagnose Trigger Valve and Exhaust Issues
Two often-overlooked components can kill retraction without leaving obvious clues: the trigger valve and the exhaust plate.
Fix a Stuck Trigger Valve
- Locate the roll pin directly above the trigger.
- Drive it out with a small punch and remove the trigger.
- Pull the valve assembly out of the handle.
- Inspect for:
– Cracked plastic body.
– Swollen or torn O-rings (often from wrong lubricant). - Replace the entire unit if damaged. Repair kits rarely fix cracked plastic.
Check the Senco Exhaust Plate
- Found under the top cap in Senco SFN1 models (Part #BA0096).
- If it doesn’t seal, the tool can’t build return pressure.
- Replace if warped or cracked. This is a known failure point.
Examine Mechanical Components for Damage
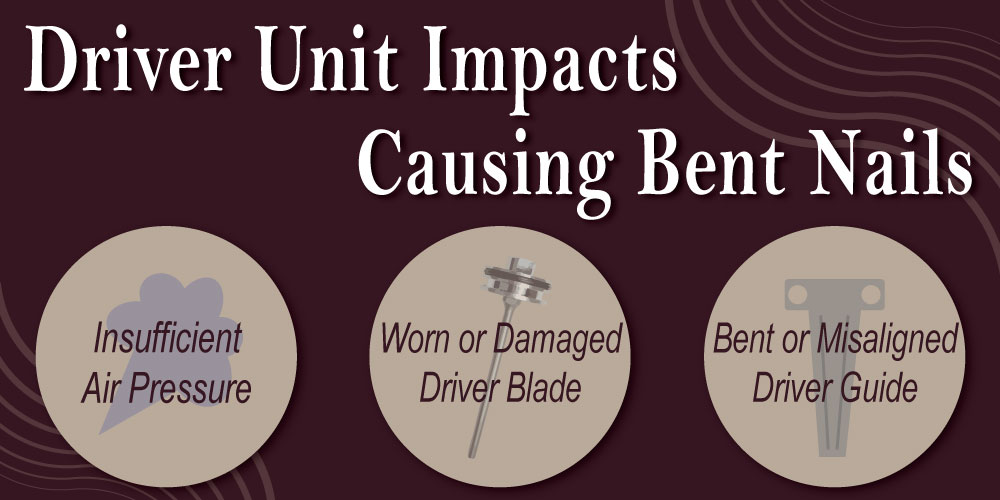
Even with perfect airflow, physical damage can prevent retraction.
Inspect the Driver (Piston Rod)
- Remove the cylinder and check the driver for bends.
- A slightly bent rod binds inside the cylinder and blocks return.
- Replace if damaged. Do not try to straighten a bent driver.
Evaluate the Cylinder
- Plastic cylinders (common in Porter Cable and Senco) wear internally and develop grooves.
- These grooves let air bypass the piston ring, killing pressure.
- Older models use a flat seal on the cylinder edge. If damaged, upgrade to an O-ring-style cylinder (Senco BC0232).
Check the Bumper and Spring
- Bumper: Located at the cylinder base, it cushions impact and aids rebound. Replace if cracked or missing.
- Return spring: Inside the head valve, a broken spring can jam the valve open.
Note: Some pistons use a split ring (graphite) with an internal O-ring. If the O-ring fails, the split ring loses tension. Always replace both.
Avoid the #1 Cause: Wrong Lubrication
Using oil on oil-free tools is the fastest way to destroy your nailer permanently.
Oil-Free Tools: Keep Them Dry
- Models like the Senco SFN1 and many Porter Cable finish nailers are oil-free.
- They use graphite-impregnated seals and plastic cylinders.
- Never add oil. It causes:
- Gumming and sludge.
- Plastic cylinder shrinkage, cracking, or swelling.
- Permanent seal failure.
Lubricated Tools: Oil Correctly
- Older or heavy-duty models need oil.
- Use 5–6 drops of pneumatic tool oil in the air inlet daily.
- Fire the tool to distribute oil.
- Avoid 5-in-1, WD-40, or motor oil. They degrade seals and leave residue.
Follow Step-by-Step Repair Procedures
Use this sequence to fix your nailer safely and get it back in action.
1. Disconnect Air and Disassemble
- Unplug from the compressor.
- Remove screws from the top cap, nose piece, or rear vent cover.
- Push a thin rod through the nose to slide the cylinder out the back (Porter Cable method).
2. Clean All Components
- Wipe the cylinder bore and piston with a lint-free cloth.
- Use compressed air to blow out valve chambers and exhaust ports.
- Remove any sludge or debris, especially in oil-contaminated tools.
3. Replace Seals and Valves
- Install new O-rings, gaskets, and valves from your rebuild kit.
- Lubricate seals with Vaseline only.
- Reassemble in reverse order.
4. Reassemble with Care
- Tighten screws in a cross pattern.
- Ensure all parts align correctly (cylinder notches with housing).
- Test dry (without air) before reconnecting the compressor.
Decide: Repair or Replace?
For low-cost tools, repair may not be worth the time or money.
Cost Comparison
| Option | Typical Cost |
|---|---|
| Rebuild Kit (Senco YK0376) | $60 |
| Rebuild Kit (Porter Cable) | $30 |
| Used Functional Nailer (eBay) | $40–$60 |
| New Entry-Level Tool | $60–$100 |
When to Replace
- Tool cost under $100.
- Cylinder is worn or cracked.
- No parts available (common with revised Porter Cable models).
- You lack time or tools for the repair.
Exception: High-end or long-term professional tools are worth rebuilding. Senco tools, for example, can last 45+ years with proper care.
Prevent Future Retraction Failures
Keep your nailer running smoothly with these simple habits.
Use Clean, Dry Air
- Install an in-line filter to remove moisture and debris.
- Drain your compressor regularly.
- Never use oil in oil-free tools.
Stick to Correct Nails
- Always match gauge and length to your tool.
- Avoid off-brand or warped nails.
Perform Monthly Checks
- Inspect O-rings during cleaning.
- Listen for changes in hiss pattern.
- Replace seals proactively every 6–12 months with heavy use.
Frequently Asked Questions About Air Nailer Piston Not Retracting
Why does my nailer fire but the piston stays stuck down?
The piston usually stays down because air is leaking past a worn seal or a stuck valve, preventing the pressure shift needed to push it back up. Check O-rings, the head valve, and your air pressure first.
Can I use WD-40 on my nailer?
No. WD-40, 5-in-1 oil, and motor oil all degrade rubber seals and leave gummy residue. Use only pneumatic tool oil for lubricated models, and never oil oil-free tools.
How do I know if my nailer is oil-free?
Check your owner’s manual or the manufacturer’s website. Oil-free models typically have plastic cylinders and graphite-impregnated seals. Senco SFN1 and many Porter Cable finish nailers are oil-free.
What PSI does my nailer need to retract properly?
Most nailers need 90–120 PSI at the tool inlet. Below 90 PSI, the piston may fire but lack the volume to return fully. Measure pressure with an inline gauge, not just at the tank.
Is it worth rebuilding a cheap nailer?
Usually not. If your tool cost under $100 and the cylinder is worn, a replacement often costs less than a rebuild kit plus labor. Reserve rebuilding for high-end or professional-grade tools.
How long does a rebuild take?
A straightforward seal and valve replacement takes about one hour with basic tools. Add more time if you need to clean heavy sludge or replace the cylinder.
Key Takeaways for Fixing an Air Nailer Piston Not Retracting
Start with the basics: verify your air pressure stays above 90 PSI and confirm you’re using the correct nails. If those check out, listen to the hiss pattern to narrow down whether you’re dealing with a seal leak, a stuck valve, or a blocked exhaust. Most retraction failures come down to worn O-rings or a gummed-up head valve, both fixable with a $30–$60 rebuild kit and about an hour of work.
Above all, respect the oil-free versus lubricated distinction. Adding oil to an oil-free tool is the single fastest way to destroy plastic cylinders and graphite seals permanently. Keep your air supply clean and dry, replace seals proactively, and your nailer will deliver reliable performance for years. If repair costs approach the price of a new tool, replacement is the smarter move for budget models.