How to Fix Brad Nailer Jammed Issue
Few things stall a project faster than a brad nailer jammed mid-task. Whether a nail is wedged in the nose or the driver blade refuses to retract, the right diagnosis saves you hours of frustration. This guide covers both pneumatic and cordless models, walking you through identifying the jam type, clearing it safely, and preventing future stalls. You’ll also learn the specific reset trick that revives most stuck cordless nailers in under a minute.
Identify Your Brad Nailer Jam Type
:max_bytes(150000):strip_icc()/BradNailercutaway20copy-2e052d67201e4700bd0670e8496907c1.jpg)
Before grabbing pliers, figure out what you’re dealing with. Jams fall into two main categories, and the fix for one won’t work on the other.
Physical Nail Obstruction Signs
A physical jam means a fastener is blocking the firing path. Look for these clues:
– A nail partially sticking out of the nose
– Two nails jammed together in the track
– Trigger pulls but nothing fires
– On cordless models like the Craftsman 9418A, a flashing red light confirms a jam
These issues usually trace back to misfed fasteners, low nail count, or wrong brad size.
Stuck Driver Blade Symptoms
This is a mechanical failure, not a nail problem. The metal driver (also called piston, ram, or hammer) stays extended after firing. Key indicators:
– No nail visible in the nose, yet the tool won’t cycle
– The driver is visibly stuck in the down position
– The gun fires once or twice, then locks up
– Manual reset attempts fail
This issue is common in Milwaukee M18 Fuel models and stems from cam misalignment, low gas pressure, or electronic faults.
Root Causes at a Glance
| Jam Type | Common Triggers |
|---|---|
| Physical Nail Jam | Low nail count, bent nails, wrong brad size, overloaded magazine |
| Stuck Driver Blade | No lubrication, cam sync failure, circuit board fault, low nitrogen pressure |
Clear a Physical Nail Jam

When a brad is lodged in the nose or feed track, follow this sequence to remove it safely.
Power Down the Tool First
Accidental discharge causes injuries. Always isolate power before touching internals:
– Cordless models: Remove the battery pack
– Pneumatic models: Disconnect the air hose
– Keep fingers clear of the trigger and nose during clearing
Open the Nose Assembly
Access the jammed area using whichever method your tool offers:
– Tool-free latch: Flip the release lever above the nose to expose the driver channel
– Screwed noseplate: Use an Allen wrench or screwdriver to remove screws and detach the cover
For magazine jams, pull back the nail pusher to fully extend the track and check for double feeding or bent nails.
Remove the Stuck Nail
Match your tool to the nail’s position:
– Needle-nose pliers: Grip the exposed end and wiggle gently while pulling straight out
– Nail punch or Allen key: If the nail sits too deep to grip, push it backward into the nose from the front
– Impact method (last resort): Firmly strike the nose against concrete to dislodge a stuck mechanism
Avoid metal tools inside the driver chamber unless necessary, since they can scratch internal surfaces.
Inspect and Reset the Driver
After clearing the nail, take these steps:
1. Check whether the driver blade is stuck down
2. If yes, push it upward with a wooden dowel or plastic tool (never metal on the blade)
3. Wipe out splinters, debris, and bent nail fragments
4. Reassemble the noseplate and reload with fresh, straight brads
Test fire into scrap wood to confirm smooth cycling.
Fix a Stuck Driver Blade
When the piston won’t retract despite no nail jam, you’re dealing with a mechanical issue. This is most common in cordless fuel nailers and responds to a specific reset sequence.
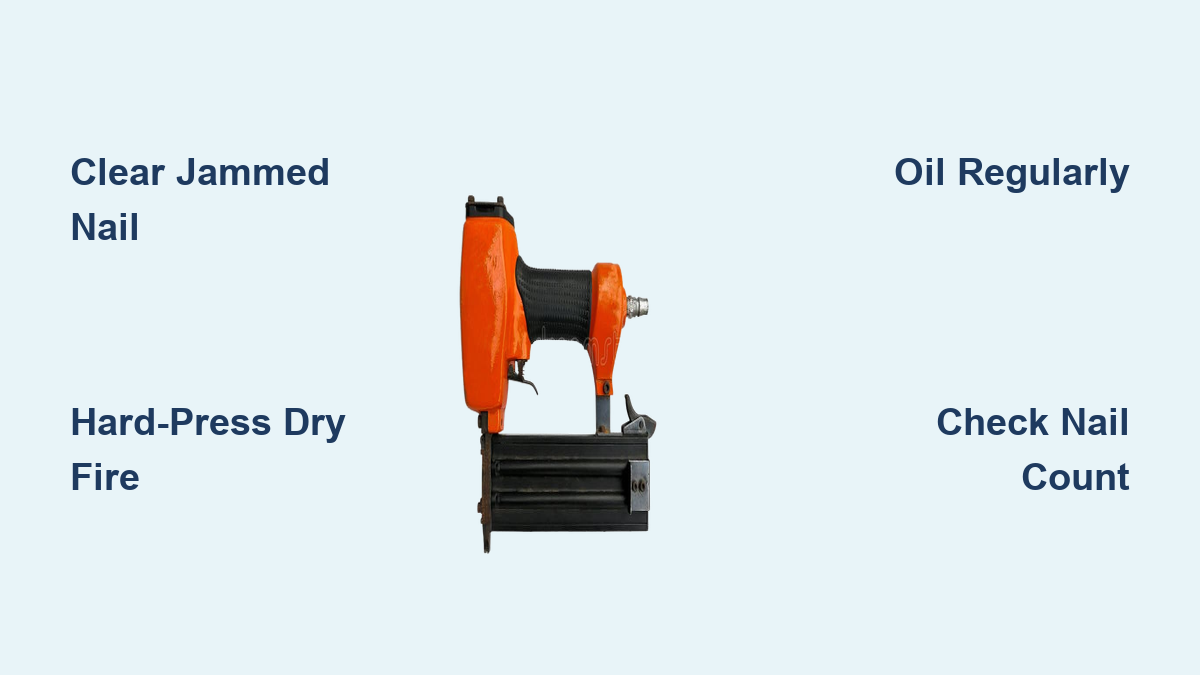
Perform the Hard-Press Dry Fire
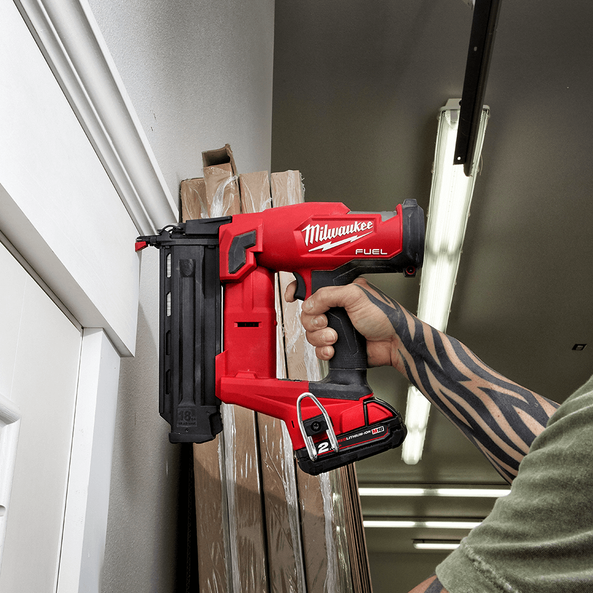
This is the primary fix for Milwaukee and similar cordless models where the ram stays forward.
Step 1: Prepare the Tool
– Remove the battery
– Open the magazine fully by pulling the slide back
– Ensure no nails are loaded
– Leave the magazine latch open so you can watch internal movement
Step 2: Reinstall Power
– Reinsert the battery
– Turn the tool on
– Set the depth dial to minimum (nose fully extended) for maximum travel
Step 3: Execute the Reset
– Press the safety nose firmly against scrap wood
– Push down hard with significantly more force than normal use
– While maintaining full pressure, pull the trigger
– Listen for a distinct “pop” as the driver fires and retracts
The key to success is downward pressure. Light contact often fails. Users consistently report that pushing as hard as possible is what re-engages the mechanism.
Step 4: Verify Operation
– If successful, the driver retracts fully
– Load a few nails and test fire into scrap
– If it jams again, repeat the hard-press dry fire
Try Cam Re-Clocking (Advanced)
If dry firing doesn’t work, the cam may be out of sync with the rollers.
1. Remove the front cover and cam assembly
2. Rotate the cam 90–180 degrees to a new starting position
3. Reassemble and test
This realigns the motor’s rotational motion with the driver’s linear stroke and prevents binding.
Check Gas Cylinder Pressure
For fuel-powered models:
– Depress the valve on the nitrogen cylinder
– If the driver winds back easily afterward, low gas pressure was the culprit
– If not, the cylinder may be depleted or seals damaged
Warning: Fully discharging the cylinder to reset the piston renders the tool unusable until professionally refilled. Only attempt this if repair isn’t cost-effective.
Know When to Seek Professional Repair
If the driver remains stuck after all attempts, internal components may be faulty:
– Circuit board failure prevents the trigger signal from firing
– Gearbox damage stops mechanical cycling
– Seal or piston wear causes loss of compression
Repair costs (often $30+ for Milwaukee board or gearbox work) may exceed the tool’s value. Weigh replacement against repair based on your model and usage.
Maintain Pneumatic Nailer Performance

Pneumatic brad nailers jam frequently when neglected. Lubrication and moisture control keep them running smoothly.
Oil the Tool Properly
Lack of oil is the top cause of pneumatic jams.
Use the Right Oil
– Recommended: 20-weight machine oil, pneumatic tool oil, or sewing machine oil
– Avoid: WD-40 standard formula, heavy oils, or household lubricants, which attract dust and gum up internals
Apply Correctly
1. Disconnect the air hose
2. Add 2–3 drops into the air inlet
3. Reconnect air and fire into scrap wood to distribute oil
4. Repeat daily or every few hours of continuous use
Deep Clean a Stubborn Jam
If the tool won’t cycle due to dried debris:
1. Clear any nail jams first
2. Inject a generous amount of oil into the inlet
3. Reconnect air and let it sit for 1 hour
4. Point the inlet upward so gravity pulls oil into the cylinder
5. Fire repeatedly to flush out sludge
For models with removable caps, open the pressure chamber to oil moving parts directly.
Prevent Moisture Buildup
Water in the air line destroys lubrication:
– Drain your compressor tank after each use
– Install an inline water trap or filter
– Drain moisture from the hose before connecting
Moisture washes away oil and causes internal rust, leading to sticky pistons and misfires.
Prevent Future Jams
A few simple habits drastically reduce downtime and extend tool life.
Follow Nail Loading Rules
- Don’t fire below 5 nails since low counts cause the driver to strike the magazine track
- Reload early to prevent misfeeds
- Don’t overfill the magazine, as compressing the spring too much causes jams
Use Correct Fasteners
- Match nail gauge, length, and head type to your model
- Cheap or off-brand brads may be bent or inconsistently sized
- Strip-fed models jam less often than coil-fed
Set Depth Properly
- Adjust the depth dial so nails seat flush without blowing out
- Too shallow causes nails to bounce back and jam
- Too deep makes the driver over-penetrate and potentially lock up
Maintain Contact Pressure
- Always press the nose firmly against the workpiece
- Incomplete contact prevents the safety from engaging fully
- This interrupts the firing cycle and causes partial jams
Frequently Asked Questions About Brad Nailer Jams
Why does my brad nailer keep jamming with only a few nails left?
Firing when only 2–4 nails remain is a leading cause of jams. The driver can strike the magazine track instead of a nail head, causing misalignment or piston lock-up. Reload before the strip gets low.
Can I use WD-40 on my brad nailer?
No. WD-40 standard formula is a solvent, not a lubricant. It strips existing oil and attracts dust, which gums up internals. Use 20-weight machine oil, pneumatic tool oil, or sewing machine oil instead.
What does a flashing red light mean on a cordless brad nailer?
On models like the Craftsman 9418A, a flashing red light indicates a jam condition. Power down the tool, remove the battery, and clear any obstruction from the nose or magazine.
How do I unjam a Milwaukee M18 brad nailer?
For a stuck driver blade, perform a hard-press dry fire: remove the battery, empty the magazine, reinstall the battery, set depth to minimum, then press the nose firmly against scrap wood and pull the trigger. Maximum downward pressure is critical.
Is it worth repairing a jammed cordless nailer?
It depends on the failure. Basic jams and stuck pistons are user-fixable. But if the circuit board, gearbox, or gas seals are damaged, repair costs may approach the price of a new tool. Get a diagnosis before authorizing work.
How often should I oil my pneumatic brad nailer?
Add 2–3 drops of oil to the air inlet at the start of every workday, or every few hours during continuous use. Consistent lubrication prevents the seizing that causes most pneumatic jams.
Key Takeaways for Fixing a Jammed Brad Nailer

A brad nailer jammed mid-project usually isn’t broken. For physical jams, disconnect power, clear the nail with pliers or a punch, and reset the driver with a wooden dowel. For stuck pistons on cordless models, perform a hard-press dry fire with no nails loaded. This single technique resolves the majority of locked tools.
Pneumatic models need daily oiling and moisture control to prevent seizing. Avoid firing below five nails, use correct brads, and maintain firm contact with the workpiece. If basic fixes fail, internal electronics or gas systems may need professional service, but in most cases, a little pressure and patience gets your nailer back on track.