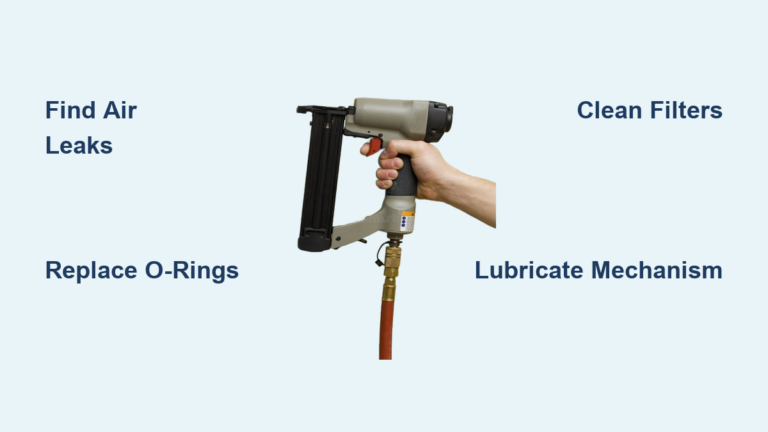
Fix Bostitch Nailer Not Firing
A Bostitch nailer that refuses to fire can stop any project in its tracks. Whether you’re framing, finishing, or roofing, that sudden silence or hiss means lost productivity and frustration. The root cause usually traces back to three areas: air leaks, worn internal seals, or simple jams. Most of these issues are fixable with basic tools and a clear diagnostic approach.
This guide walks you through identifying the symptom, targeting the repair, and getting your nailer back to firing reliably. You’ll learn how to decode air leaks by sound, replace trigger cartridges, clear stubborn jams, and adopt maintenance habits that prevent future breakdowns.
Decode the Symptoms Before Disassembly
Before reaching for tools, use what your nailer is telling you. The location of an air leak or the behavior of the driver points directly to the failing component.
Listen for Air Leak Locations
Air escaping from different parts of the tool signals distinct internal failures.
- Hissing from the nose means the piston isn’t retracting or its seal has failed. This often results from worn O-rings in the cylinder or a blocked exhaust port preventing proper cycling.
- Hissing at the trigger housing points to a failed trigger valve or degraded O-rings inside the cartridge. Even one flattened or cracked seal can stop airflow to the piston.
- No sound and no movement suggests a complete blockage, broken ram, or no air supply. Check compressor pressure and hose connections before disassembling.
Pro Tip: With an empty nail channel, press the trigger and watch the silver driver. If it doesn’t move, the issue is likely in the piston or trigger valve, not the feeding system.
Identify Mechanical Failures
Mechanical binding prevents the driver from resetting or striking properly.
- Driver won’t return after firing? Suspect a bent pin, lack of lubrication, or gummy buildup in the bore.
- Stuck in the extended position often results from dried lubricant, debris, or a warped driver plate.
- Intermittent firing at certain angles usually indicates a partial air leak or weak seal that fails under vibration.
Warning: Never force a stuck mechanism. Always disconnect air and release pressure before disassembly.
Fix Trigger Valve Leaks
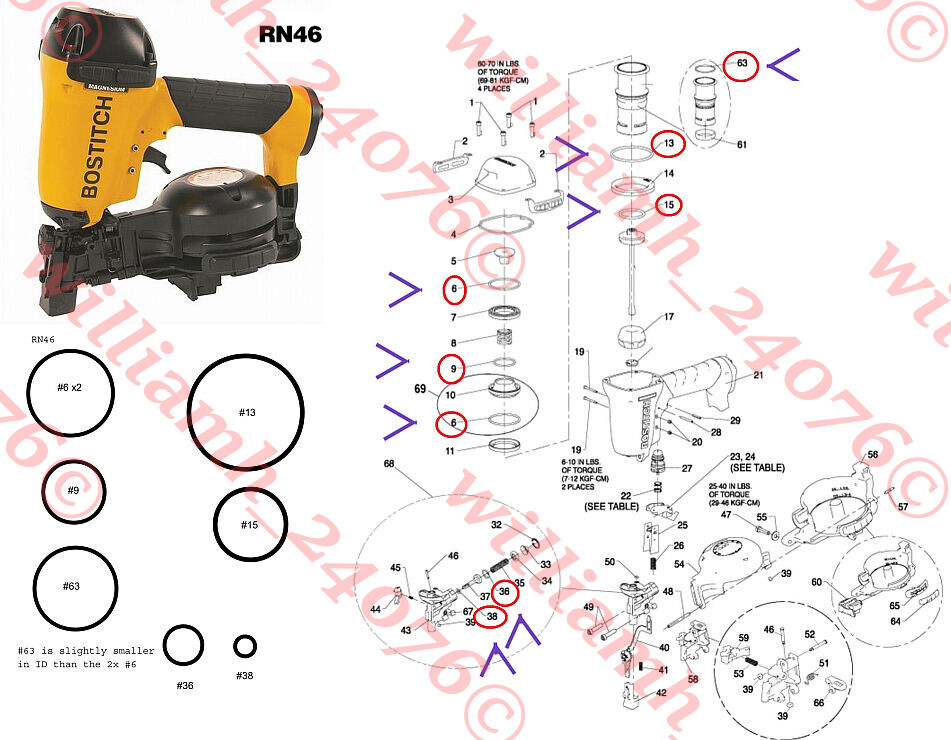
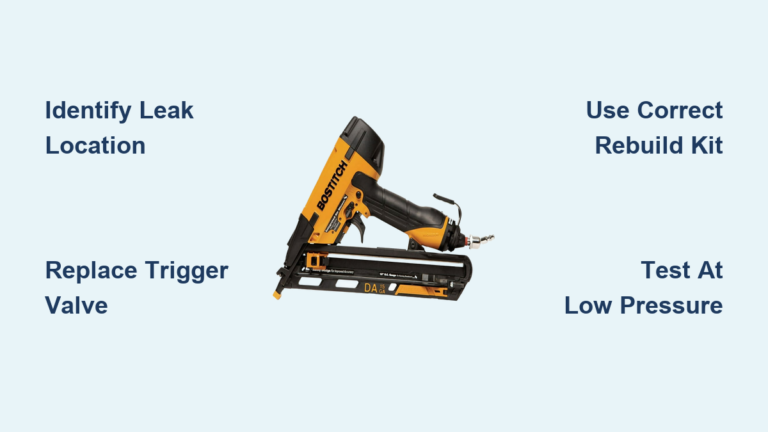
A faulty trigger valve is one of the most common reasons a Bostitch nailer won’t fire. Air escapes at the handle instead of powering the piston.
Replace the Trigger Cartridge
Swapping the entire trigger valve assembly is the fastest, most reliable fix.
- Disconnect air and release residual pressure.
- Remove screws or pins securing the trigger housing.
- Extract the cartridge and inspect O-rings for flatness, cracks, or hardening.
- Install a new OEM or third-party cartridge, which costs roughly $13 to $45.
- Reassemble and test with air connected.
Expert Note: Even if only one O-ring looks bad, replace them all. A single hardened ring can cause total system failure.
Swap Individual O-Rings as a Budget Fix
Bostitch rarely sells individual O-rings, but third-party suppliers like Titan Tool offer specific white O-rings for around $0.50 each.
- Use pliers to gently remove old rings, taking care not to scratch the housing.
- Apply silicone lubricant to new O-rings before installation.
- Ensure the piston-head ring is fully seated and aligned.
Avoid: Over-tightening screws during reassembly. This can deform new seals and create fresh leaks.
Repair Piston and Cylinder Issues

When air leaks from the nose or the driver won’t cycle, the problem lives in the piston-cylinder system.
Inspect and Replace Piston Seals
Worn seals allow air to bypass the piston, reducing power or halting movement entirely.
- Remove the nose assembly and upper air chamber.
- Examine the piston and cylinder walls for scoring or wear.
- Check rubber components in the bore for a gummy, degraded texture.
- Replace seals using a Bostitch cylinder reseal kit or full overhaul kit, which runs about $32.
Critical Step: Lubricate the piston and bore with air tool oil during reassembly to prevent friction and seizing.
Fix a Stuck or Bent Driver
A bent driver pin prevents proper retraction and firing.
- If the driver is visibly bent, replacement is required.
- Access the pin by removing the upper air chamber.
- Clean any nail dye or debris from the sliding channel.
- Apply oil directly to the hammer pin before reassembly.
Reality Check: A severely bent ram may require replacing major components. Some repairs aren’t cost-effective compared to a new tool.
Clear Jams and Feeding Problems

Many “not firing” complaints are actually feeding jams caused by incorrect nails or debris.
Verify Nail Gauge and Quality
Using the wrong gauge is a leading cause of jams.
- An 18-gauge nail in a 16-gauge tool (or vice versa) will bind immediately.
- Check your tool’s specification label and match nails exactly.
- Try a fresh box of nails from a reputable brand. Bent or poorly formed nails jam easily.
Pro Tip: Coil nailers are especially prone to dye buildup. Clean the magazine regularly to prevent clogs.
Clear a Jam Safely
Follow these steps to remove stuck nails:
- Disconnect the air supply.
- Open the nose and nozzle assembly.
- Remove the jammed nail with pliers or a cleaning tool.
- Inspect the driver plate for damage.
- Reassemble and test.
Emergency Method: For a single stuck nail, increase pressure to 120 PSI, point the tool safely, depress the nose, and pull the trigger to blow it out. Use extreme caution.
Unblock Exhaust and Airflow
Even a small obstruction in the airflow path can stop your nailer cold.
Clear the Exhaust Port
A plugged exhaust prevents air from escaping the cylinder, halting the piston’s return stroke.
- Blow compressed air through the exhaust port.
- Use a thin wire or cleaning pin if debris is visible.
- Ensure the port is fully open and free of paint or gunk.
Visual Cue: If the tool jerks slightly but won’t cycle, suspect a blocked exhaust.
Check the Head Valve
Damage or blockage in the head valve stops air from reaching the piston.
- Remove and inspect the head valve.
- Clean with air or replace if damaged.
- Reinstall and test for smooth operation.
Set the Correct Firing Mode

Misconfigured firing modes mimic mechanical failure and confuse users into thinking the tool is broken.
Choose Between Contact and Sequential
- Contact (Bump Fire): Hold the trigger and bump the nose to fire. Faster but riskier.
- Sequential: Press the nose down first, then pull the trigger. Safer for precision work.
Troubleshooting Tip: If the tool doesn’t fire when expected, check the mode selector. A mismatch between user expectation and tool setting feels exactly like a malfunction.
Lubricate Properly to Prevent Failure
Lack of oil is a silent killer of pneumatic tools. It causes friction, seizing, and premature seal wear.
Oil Before Every Use
- Add 3 to 5 drops of air tool oil into the air inlet.
- Cycle the tool without nails to distribute oil internally.
- For stuck drivers, apply oil directly to the hammer pin and let it sit.
Never Use: Engine oil or motor oil. These degrade rubber O-rings and cause premature seal failure.
Use the Right Oil
- Recommended: Kleen-Flo or any neoprene-safe air tool oil.
- Oil-Free Models: Still benefit from occasional oiling. “Oil-free” means less maintenance, not zero.
Caution: Do not use paint hoses with oiled tools. Oil can contaminate finishes.
Maintain Air Supply and Pressure
Your nailer is only as strong as your air source.
Check Compressor Output
- Set pressure between 70 and 90 PSI, the sweet spot for most Bostitch models.
- Below 70 PSI causes weak fires or misfires.
- Above 90 PSI risks damaging seals and internal parts.
Drain Moisture Regularly
- Water in the line causes rust and seal degradation.
- Drain your compressor tank daily.
- Use an inline filter to catch moisture and debris.
Checklist: Inspect hose fittings for tightness. Loose connections waste air and reduce performance.
Prevent Future Failures
A well-maintained Bostitch nailer can last decades, even with light use.
Clean and Store Correctly
- Wipe down the tool after each use.
- Periodically disassemble and brush out internal dust.
- Clean the magazine to remove nail dye and residue.
- Store in a dry, cool place with all air pressure released.
Why Release Air? Keeping seals under constant pressure causes compression set, a permanent deformation that ruins sealing ability.
Know When to Rebuild
Tools over five years old may fail due to age-related seal degradation, not wear.
- Rubber O-rings dry out and harden over time.
- Even lightly used tools need fresh seals every few years.
- Consider a full overhaul kit if multiple components show wear.
Retail Tip: Lowe’s and Home Depot often carry Bostitch repair parts. Some vendors offer free professional rebuilds with bulk nail purchases.
Fast Fixes by Symptom
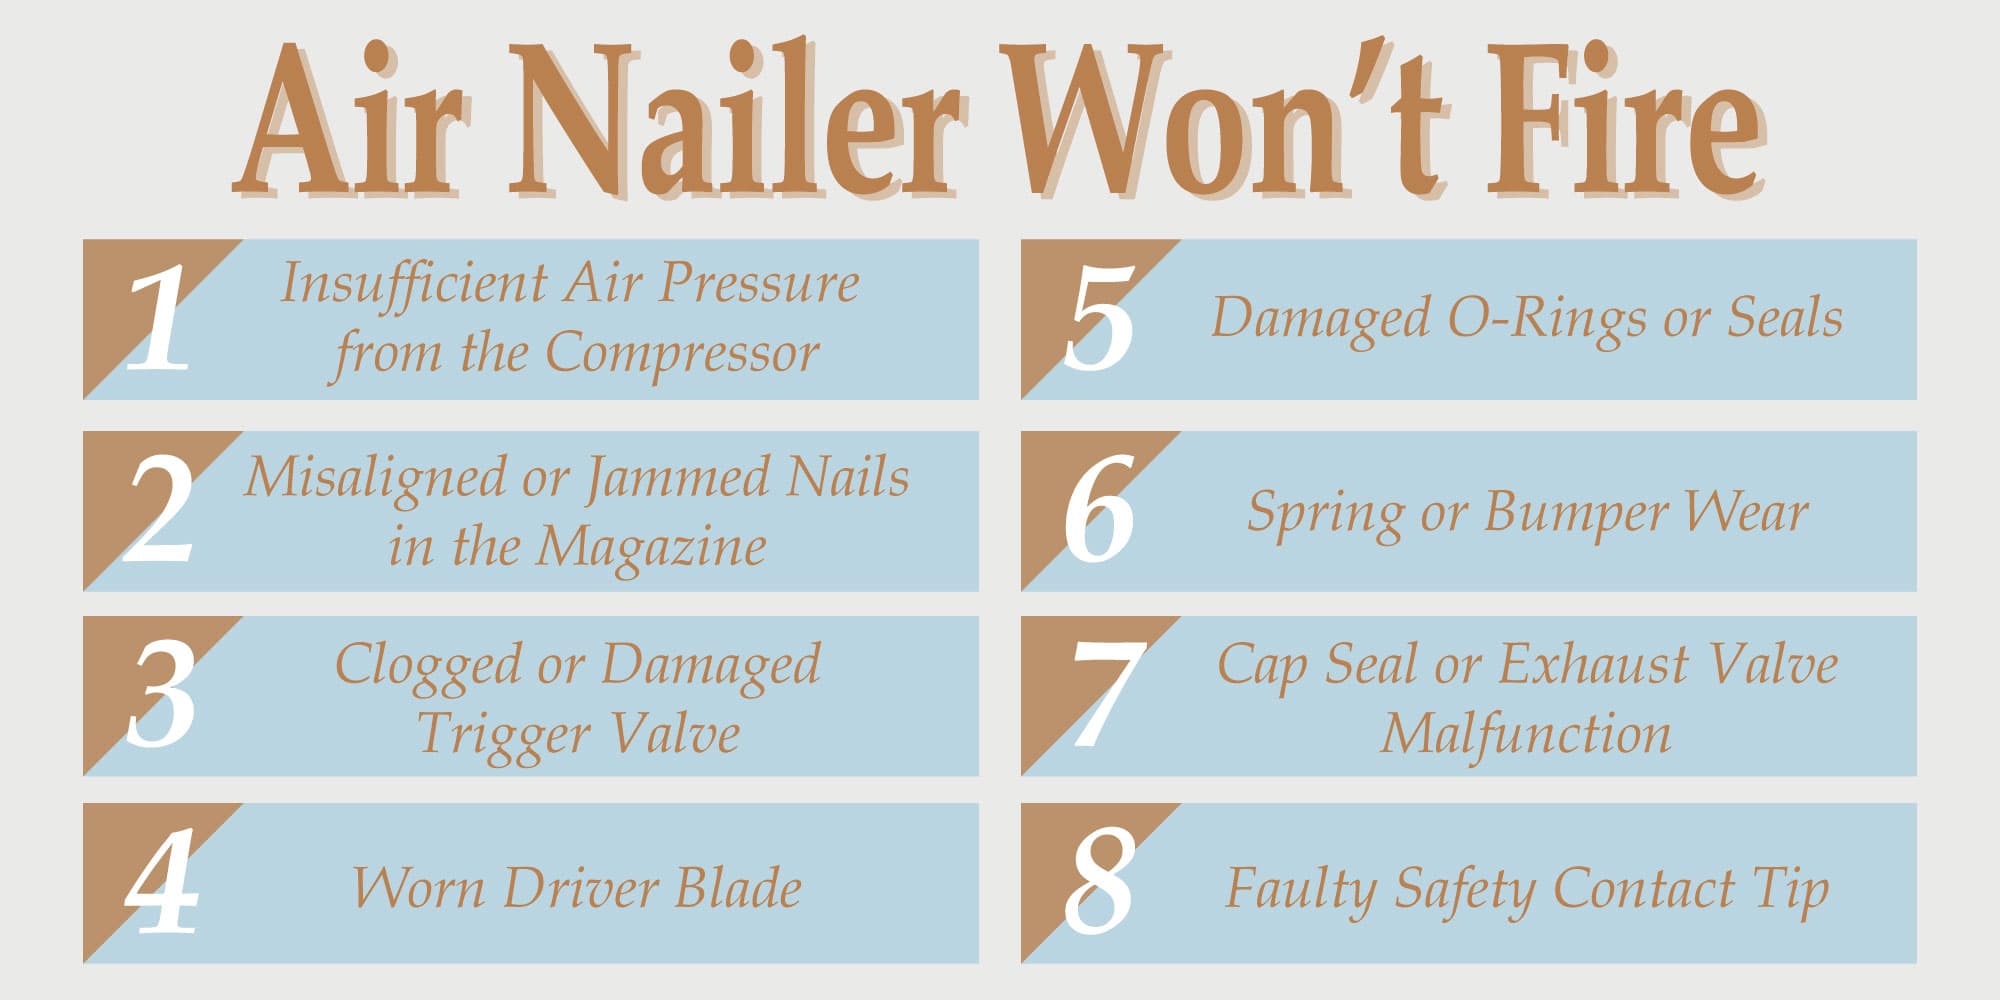
| Symptom | Likely Cause | Quick Fix |
|---|---|---|
| Air leaks from nose | Worn piston seals or plugged exhaust | Replace seals or blow out exhaust port |
| Hissing at trigger | Bad O-rings in cartridge | Replace trigger cartridge or individual rings |
| Driver won’t return | Bent pin or lack of oil | Lubricate heavily or replace driver |
| Frequent jams | Wrong nail gauge or dirty magazine | Match nails exactly and clean magazine |
| Weak or partial fire | Low PSI or worn seals | Check pressure, oil tool, replace seals |
| No response at all | Broken ram or no air | Verify air supply and inspect internal ram |
Frequently Asked Questions About Bostitch Nailers Not Firing
Why is my Bostitch nailer leaking air from the nose but not firing?
Air leaking from the nose usually means the piston isn’t retracting fully or its seal has failed. Worn O-rings in the cylinder or a blocked exhaust port are the most common culprits. Inspect the piston seals and clear the exhaust port with compressed air.
How do I fix a Bostitch nailer that won’t fire but has air?
Start by checking the trigger valve and O-rings in the cartridge. Even one hardened or cracked O-ring can stop airflow to the piston. Replacing the trigger cartridge (roughly $13 to $45) is the fastest fix. Also verify your compressor is delivering 70 to 90 PSI.
What causes a Bostitch nailer to jam constantly?
Jams typically result from using the wrong nail gauge, bent or poor-quality nails, or a dirty magazine. Verify your nails match the tool’s specifications exactly, and clean the magazine regularly to remove dye and debris.
Can I use regular oil in my Bostitch nailer?
No. Engine oil and motor oil degrade rubber O-rings and seals. Use only air tool oil rated as neoprene-safe, such as Kleen-Flo. Even “oil-free” models benefit from occasional drops of proper air tool oil.
Why is my nailer firing weakly or inconsistently?
Weak or inconsistent firing usually points to low air pressure (below 70 PSI), worn cylinder seals, or insufficient lubrication. Check your compressor settings, oil the tool thoroughly, and inspect seals if the problem persists.
Is it worth repairing an old Bostitch nailer?
Yes, in most cases. Most firing failures are caused by O-rings, trigger valves, or jams, all of which are repairable with basic tools and a rebuild kit (around $32). Even tools over five years old can be restored to reliable function with fresh seals.
Key Takeaways for Fixing a Bostitch Nailer That Won’t Fire
Start your diagnosis by listening for air leaks and watching the driver’s movement. Most Bostitch nailer failures trace back to trigger cartridge O-rings, piston seals, or simple jams. Replace the trigger cartridge if you hear hissing at the handle, and inspect piston seals if air escapes from the nose. Use only neoprene-safe air tool oil, maintain 70 to 90 PSI, and always release air pressure before storage. With systematic diagnosis and basic maintenance, your nailer will fire reliably for years to come.