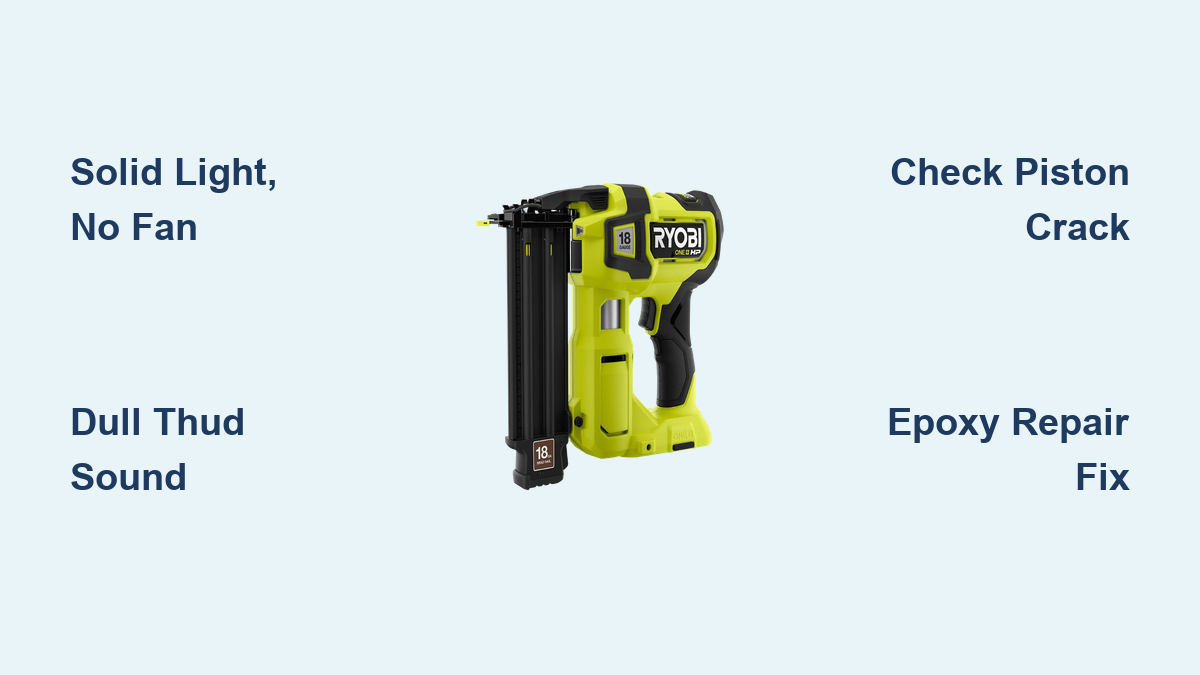
Fix Ryobi AirStrike Nailer Not Firing
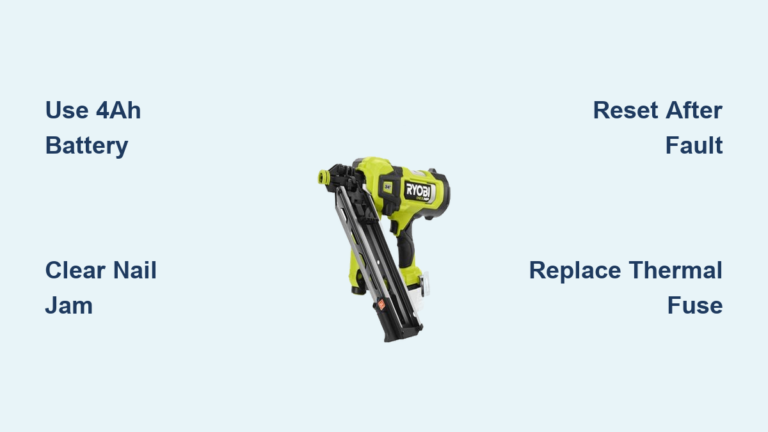
If your Ryobi Airstrike nailer isn’t firing, you’re not alone. This cordless 16-gauge P235 model can suddenly stop working or lose driving force, leaving nails proud and jobs incomplete. The problem usually falls into two categories: a total shutdown with no response, or weak firing that produces a dull thud instead of a sharp pop.
Each failure mode has a clear diagnostic path and solution. You’ll learn how to tell a dead motor from degraded mechanics, spot invisible hairline cracks, and even restore function with epoxy when replacement parts are unavailable or too costly.
Solid Light, No Fan? Diagnose Electronics

When your Ryobi Airstrike shows a solid status light and the fan doesn’t spin, the problem lies in the electronic or motor control system. This isn’t a battery or loading issue. It’s an internal failure that halts all operation.
Rule Out Power and Loading Issues First
Before assuming internal damage, confirm the basics:
– Test with multiple fully charged batteries. If none work, the issue isn’t power-related.
– Check for nail jams or misfeeds in the magazine.
– Ensure the nose is fully seated and the safety contact is engaged.
If the tool still does nothing and the fan remains silent, the fault is internal.
Identify the True Failure Point
A solid light with zero mechanical response points to one of three internal failures:
– Brushless motor control board malfunction
– Fan motor failure
– Safety circuit lockout triggered by an undetected electrical fault
These components are sealed and non-user-serviceable. The failure often strikes tools under one year old with minimal use, sometimes just ten minutes into a job.
Reset and Confirm the Fault
Try this quick reset:
1. Remove the battery.
2. Wait 5–10 minutes to discharge residual power.
3. Reinstall and test.
If the fan still doesn’t spin and the light stays solid, the defect is confirmed.
Activate Warranty Protection
Ryobi Airstrike models come with a 3-year warranty. If your tool is within that window:
– Bring it to Home Depot’s tool repair desk with the battery and serial number.
– Or contact a Ryobi authorized service center.
– Electronic failures like this are typically covered as factory defects.
You pay nothing out of pocket for a repaired or replaced unit.
Weak Fire, Dull Thud? Check for Piston Crack

When your nailer fires but drives nails only 10mm deep with a soft “thud,” the problem is mechanical. The motor runs, the fan spins, but power is lost before impact. This is classic upper piston failure.
Listen for the Telltale Sound
A healthy Ryobi Airstrike makes a crisp “pop” with each drive. A dull “thud” means compression is leaking, usually due to a cracked piston. This happens even with 2-inch nails and correct wood types.
Rule Out Simple Fixes First
Don’t jump to disassembly yet:
– Check the depth adjustment knob: Turn it toward the lower nail icon to increase drive force.
– Verify nail compatibility: Use 16-gauge, 1.25” to 2.5” nails.
– Clear jams: Remove any stuck nails from the nose.
If the problem persists, it’s time to inspect internally.
Disassemble and Inspect Pistons
To access the piston, remove the cylinder housing. This requires basic tools and careful handling of internal components.
Clean and Re-lubricate the Cylinder
Over time, especially in rarely used tools, factory grease thickens and hinders piston movement:
1. Remove both upper and lower pistons.
2. Wipe out old, gummy grease.
3. Apply a light-weight oil (not heavy grease) to cylinder walls and seals.
4. Reassemble and test.
If performance doesn’t improve, the issue isn’t lubrication.
Look for Hidden Piston Cracks
The real culprit is often a hairline crack in the top disk of the upper piston, the part with the striker pin. Because it’s white plastic, the crack is nearly invisible.
How to detect it:
– Hold the piston up to a bright light.
– Rotate slowly and look for thin lines radiating from the center.
– Focus on the underside where stress peaks during compression.
Even if O-rings look fine, a cracked piston will leak pressure and kill driving force.
Repair a Cracked Piston
Once the crack is confirmed, you have two options: replace or restore.
Replace the Upper Piston
The official fix is to install a new piston and striker assembly:
– Part required: Ryobi replacement upper piston (high-demand item).
– Cost: Expensive, with potential backorders and high shipping fees.
– Process: Install during full reassembly, re-lube all parts.
This restores factory performance but can be cost-prohibitive.
Restore with Epoxy (DIY Fix)
When parts are unavailable or too costly, epoxy repair works. Many users report full power return.
Step-by-Step Epoxy Repair
1. Prepare the Piston
– Clean thoroughly with degreaser to remove oil.
– Use a small tool to gouge out the crack, creating a V-shaped trench.
– Sand surrounding areas to roughen the surface.
2. Apply Epoxy
– Mix a two-part structural epoxy (such as J-B Weld).
– Pack the crack fully, then spread a reinforcing layer over the top surface.
– Let cure for 48 hours. Do not rush.
3. Finish and Reassemble
– Sand the cured epoxy flat, leaving it slightly proud for added strength.
– Re-lubricate the cylinder and pistons with light oil.
– Reassemble carefully, ensuring the lower piston slides freely.
Result: Many users report the “pop” returns and nails drive flush, effectively like new.
Adjust Drive Depth Correctly
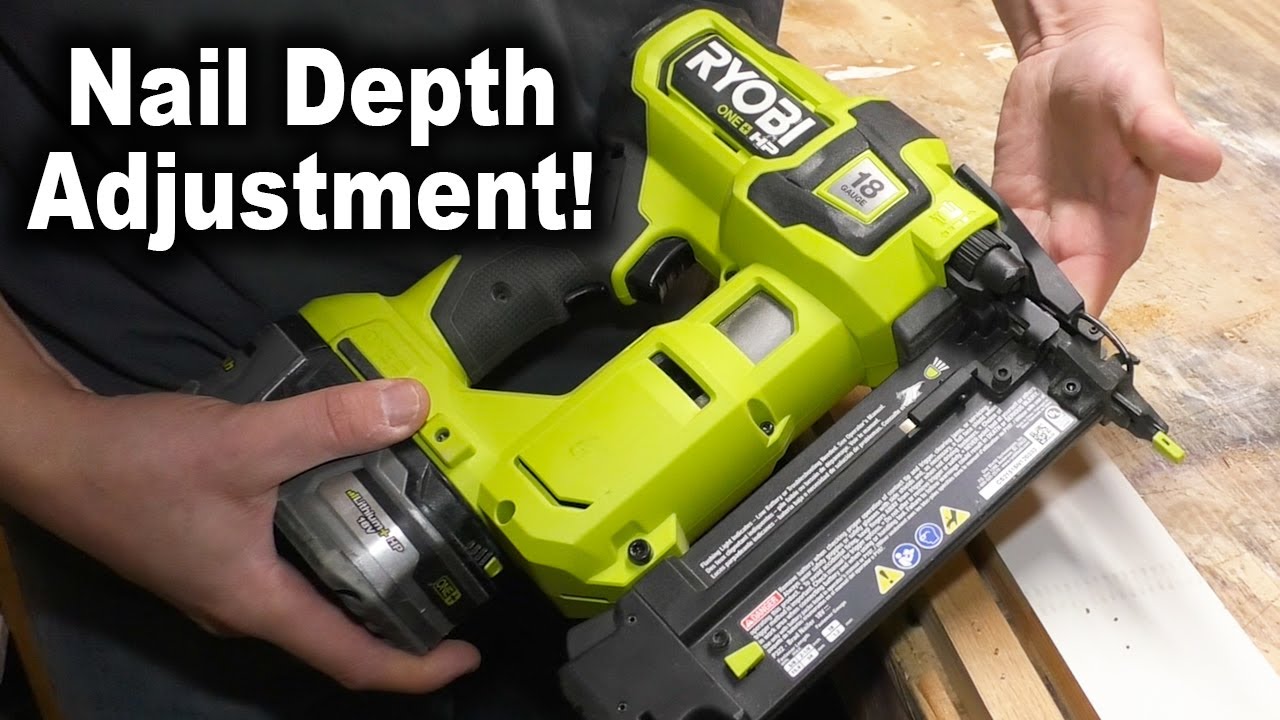
Even a healthy nailer may underdrive if the depth knob is misadjusted.
Use the Depth Knob Properly
- Located on the side of the tool.
- Features two nail icons: one higher, one lower.
- Turn toward the lower nail icon to increase drive depth.
- Turn toward the higher icon to reduce depth.
This compensates for hardwood versus softwood or long versus short nails.
Prevent Future Failures
Avoid repeat issues with smart maintenance and storage.
Lubricate During Long Storage
Tools stored for years develop thickened grease. Every 6–12 months:
– Run a quick cycle to circulate oil.
– If unused for over a year, disassemble and re-lube with light oil.
Avoid Dry Firing
Never pull the trigger without a nail. This shocks the piston and increases crack risk.
Store with Battery Removed
This prevents slow drain and protects internal circuits.
When to Seek Warranty vs. DIY
Know which path to take based on symptoms and age.
Go for Warranty If:
- Tool is under 3 years old.
- No fan spin, solid light, no sound.
- Multiple batteries tested.
- Reset failed.
Bring it to Home Depot or an authorized service center. This is a covered defect.
DIY Repair If:
- Tool is over 3 years old or out of warranty.
- Fan runs, but firing is weak.
- Dull thud, nails proud.
- Crack found in piston.
Epoxy repair is cost-effective and proven.
Frequently Asked Questions About Ryobi Airstrike Firing Problems
Why does my Ryobi Airstrike show a solid light but won’t fire?
A solid light with no fan spin indicates an internal electronic failure, usually the brushless motor control board, fan motor, or safety circuit lockout. This is a factory defect covered under the 3-year warranty, not a user-serviceable issue.
What causes the dull thud sound when firing nails?
A dull thud instead of a crisp pop means compression is leaking inside the cylinder. The most common cause is a hairline crack in the white upper piston, which is nearly invisible without backlighting.
Can I repair a cracked Ryobi piston with epoxy?
Yes. Clean the piston, gouge out the crack, roughen the surface, and pack it with two-part structural epoxy. Cure for 48 hours, sand flat, and reassemble. Many users report full power restoration.
How do I know if my nailer problem is warranty-covered?
If the tool is under 3 years old, shows a solid light with no fan, and fails after a power reset, it qualifies as a factory defect. Bring the tool, battery, and serial number to Home Depot or an authorized service center.
Why are my nails only going in 10mm deep?
Nails remaining proud about 10mm above the surface indicate lost driving force. This is typically caused by a cracked upper piston or thickened internal grease, not by nail length or wood density.
How often should I lubricate my Ryobi nailer?
If you use the tool regularly, light oiling every 6–12 months is sufficient. For tools stored longer than a year, disassemble the cylinder, remove thickened grease, and re-lube with light-weight oil before use.
Final Takeaways for Fixing Your Ryobi Airstrike Nailer

A Ryobi Airstrike nailer not firing isn’t always a death sentence. Solid light, no fan? That’s electronic. Use the warranty. Dull thud, weak drive? That’s mechanical. Inspect the piston.
A hidden crack in the white upper piston is the most common cause of power loss, often missed without backlighting. If replacement parts are too expensive or on backorder, epoxy repair is a legitimate, functional fix, not just a hack.
Clean old grease, re-lube with light oil, and adjust the depth knob correctly to keep your tool running strong. Start by identifying your symptom pattern today, then follow the matching repair path to restore full firing power.