How to Fix Powershot Stapler Not Firing
If your Powershot stapler is not firing, you are not alone. This common issue, where the handle compresses fully but no staple is driven, plagues both new and older Arrow PowerShot models. The root cause is often a misaligned internal component, dislodged spring, or bent ejector mechanism, not a permanent mechanical failure. With the right steps, most users can fix the problem in under 15 minutes without special tools. This guide walks you through diagnosing the failure, clearing jams, rebuilding the firing mechanism, and preventing future breakdowns.
Diagnose the No-Fire Issue
Before disassembling, confirm the exact failure mode. A Powershot that will not fire usually shows one of these patterns. The handle squeezes smoothly but nothing happens. The handle feels loose or disconnected. Staple jams are visible at the base. The tool worked briefly after assembly, then failed. If the stapler fired a few times and stopped, a jam or spring disengagement is likely. If it never worked, the T-shaped ejector or lever may be misinstalled from the factory.
Check for Jammed Staples
A blocked chamber often mimics a complete mechanical failure. Unload the stapler completely. Inspect the base opening for visible staples stuck mid-fire. Tilt the tool upward and gently shake. Sometimes partial jams fall out. If staples are stuck, proceed to clear the jam before reassembly.
Test Handle Feedback
Normal operation means the handle meets firm resistance, then snaps back with a click. Failed mechanism means the handle moves freely with no tension or return. No resistance means the spring is detached or misaligned. A weak return suggests spring fatigue or binding.
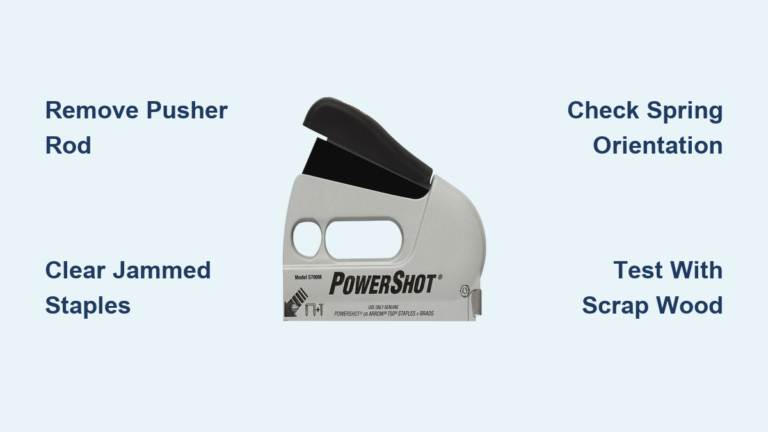
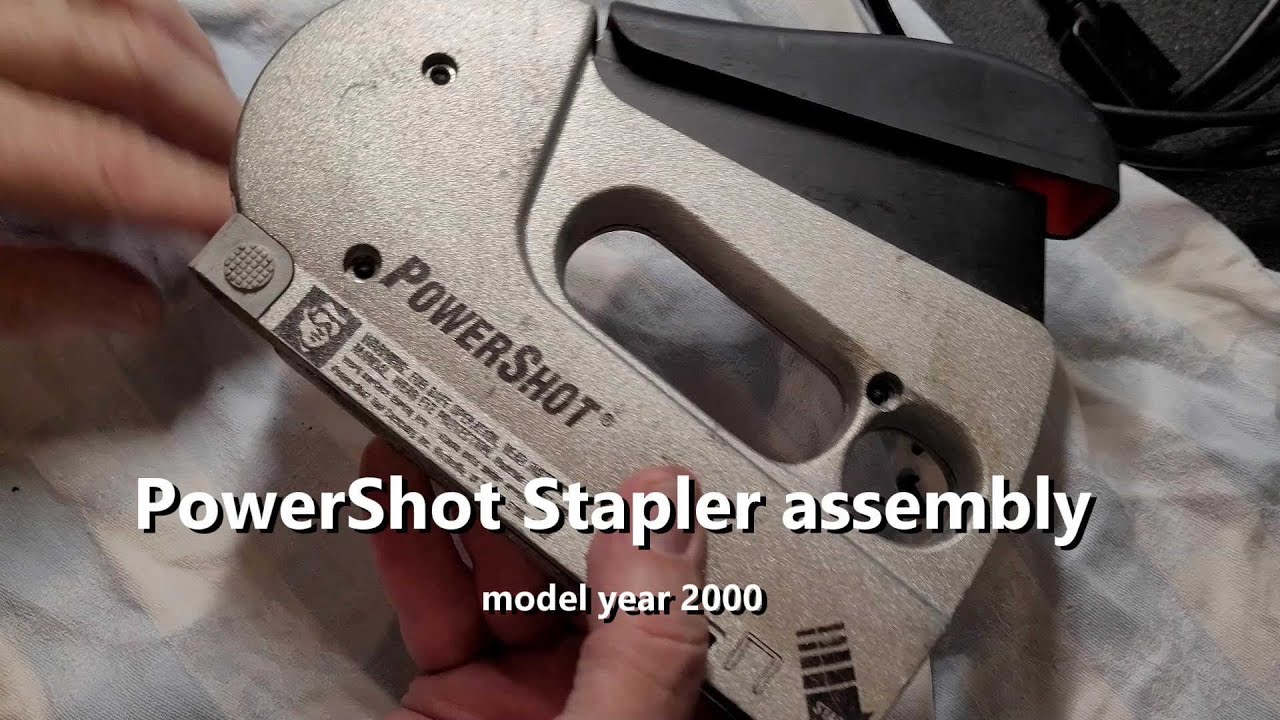
Clear a Staple Jam (Powershot 5700)
Jams are common and often fixable in minutes. Follow these steps to clear the blockage and restore function.
Remove Pusher Rod
Pull out the pusher rod from the magazine end. This releases pressure and allows full access to the chamber.
Unseat the Magazine
Use a screwdriver to remove the rear-bottom screw. Slide the magazine forward and out of the housing.
Extract Jammed Staples
Use pliers or a flat-head screwdriver to remove stuck staples. Check for bent metal fragments or debris in the groove. Clean the channel with a dry cloth.
Pro Tip: Never force a jammed staple through. This can bend the ejector. Always remove from the base opening.
Reassemble After Jam Clearing
Slide the magazine back in until it clicks. Replace the rear-bottom screw. Reinsert the pusher rod. Load 5 to 10 staples and test fire. If still not firing, the issue is internal. Time to disassemble.
Disassemble the Powershot
You will need only a small screwdriver and pliers for this procedure.
Remove Housing Screws
Turn the stapler over and locate the four screws on the base. Remove all screws carefully. Keep them in a safe place.
Separate the Halves
Gently pry the two plastic halves apart. Watch for springs. They may pop out under tension.
Identify Key Components
Lay out these parts in order. The T-shaped ejector is the toothed piece that pushes staples. The round spring is the elbowed metal spring. The horizontal bar connects lever to ejector. The plastic wedge is the top retainer with alignment mark. The L-shaped lever piece rises with handle squeeze. The spring holder is base-mounted and secures lower spring. Any bent, missing, or mispositioned part can stop firing.
Reassemble the Firing Mechanism
This sequence is critical. One wrong step prevents engagement.
Install Spring Holder
Slide the spring holder over the small metal loop at the base. Ensure the spring sits flush and does not wobble. Press down until it clicks into the housing.
Insert Guide with Slots
Take the guide piece with two slots. Insert from the right side of the frame. Push the bottom tab down until it locks into place. Verify it does not shift side-to-side.
Seat the T-Shaped Ejector
Slide the T-shaped piece into the staple exit groove. It must move up and down smoothly. The left-side metal tab should snap into a small spring catch. If it wobbles or will not stay, the ejector is bent or unseated.
Warning: A bent ejector is a common factory defect. If visibly warped, gently straighten with pliers or request a replacement.
Position Plastic Wedge
Place the plastic wedge over the guide and ejector. Align the back marking with the cast metal ridge. Do not press fully yet. Wait until the horizontal bar is in.
Attach Horizontal Bar and Pin
Insert the round pin into the side hole to hold the horizontal bar. Slide the bar into the groove on the right. Connect its right end to the T-shaped ejector hinge. It should click when properly engaged. This step often requires fine adjustment. Wiggle the bar until it locks.
Mount Lever and Handle
Position the L-shaped lever so it sits below the small lip inside the housing. When the handle is squeezed, this lever must rise and push the ejector up. Slide the handle onto the internal peg. Ensure the peg snaps securely into the handle body.
Install Round Spring
This spring powers the entire mechanism. The straight end hooks onto the left-side mounting point of the horizontal bar. The bent elbowed end inserts into the upward-facing elbow on the right. The retaining tab must drop fully to allow tooth engagement.
Key Check: When installed, the spring should hold tension. If loose, reseat both ends.
Final Alignment Check
Before closing, verify these critical points. The curved metal lip must be under the housing flange. The teeth on the T-piece must sit fully in the slot. The L-shaped lever must clear the lip and rise when handle is pressed. The plastic wedge should sit flat on both ends. If any part binds, adjust before screwing shut.
Test Fire and Troubleshoot
Reinstall the four screws and load staples.
First Test
Fire 3 to 5 staples into scrap wood. If firing, success. If not, disassemble and recheck.
Handle Moves but No Fire
Likely cause is the round spring not engaged. Recheck whether the bent end is seated in the right-side elbow. Verify the retaining tab is down.
Handle Will Not Compress
The plastic wedge is misaligned. Press both ends evenly until flat. The lever is stuck in a notch. Ensure it is below the lip, not jammed above.
Staple Fires Partially
A jam is still present. Recheck the chamber. The pusher rod is not seated. Fully insert it before loading staples.
Prevent Future Failures
Even repaired, the Powershot can fail again without proper care.
Use Correct Staples
Use T50 or compatible narrow-crown staples only. Avoid off-brand or bent staples. They cause jams and misfires. Load only when needed. Do not leave staples in for weeks.
Clean After Use
Blow out dust with compressed air. Wipe the magazine track with a dry cloth. Store in a dry place to prevent corrosion.
Avoid Drops and Impacts
The internal alignment is precise. A hard drop can dislodge the ejector or spring. Never toss in a toolbox loose.
Check Mechanism Monthly
Every 100 to 200 staples, disassemble briefly to inspect for spring fatigue. Confirm the T-piece moves freely. Clean the guide slots.
Contact Arrow for Support
If repeated repairs fail, Arrow Fastener stands behind their tools.
Get Replacement Parts
Email customerservice@arrowfastener.com or call 800.776.2228. You can order the T-shaped ejector, round spring, plastic wedge, or complete rebuild kits.
User Verified: One customer received a $3 spring plunger for a 1970s model. Shipping was $4, but the part worked perfectly.
Ask About Warranty Replacement
Even out-of-warranty units may qualify for discounted or free replacement. Explain that your new Powershot failed after 10 staples and the ejector was bent. Many users report receiving new tools due to known quality issues.
Historical Service Option
Arrow is located at 271 Mayhill Street, Saddle Brook, NJ 07663. In-person repair was once available. Call first to confirm current policy. Technicians may still rebuild on-site for legacy tools.
Consider Alternatives
If reliability is critical, explore better options.
Harbor Freight Three-Way Tacker
This tool costs $9 and fires staples from three angles. It is disposable-grade but functional for light use. There is lower risk if it fails.
Electric Staple Guns
Milwaukee M12 and DeWalt 20V models offer no mechanical failure. Just charge and fire. Ideal for roofing, insulation, and house wrap. Higher upfront cost of $80 to $120 means zero maintenance.
User Shift: Many former Powershot users now use cordless electric guns for consistency and safety.
Avoid Hand Injuries
The Powershot reverse-firing design is dangerous. Staples exit from the bottom. Never place your hand underneath. Use palm pressure on the top, not the base. One user suffered a half-inch staple in the thumb. Do not repeat the mistake. Always wear cut-resistant gloves when using.
Key Takeaways for Fixing Your Powershot Stapler
The Powershot stapler not firing is almost always fixable. The culprit is usually a misaligned T-shaped ejector or detached round spring. Both are repairable in minutes. Follow the precise reassembly order, clear jams early, and maintain the mechanism. For persistent issues, Arrow customer service is responsive and helpful. If you use the stapler heavily, consider upgrading to an electric model for long-term reliability. With care, your Powershot can last. Just do not trust it blindly.
Frequently Asked Questions About Powershot Stapler Not Firing
Why does my Powershot stapler not fire even when I squeeze the handle fully?
This usually happens because the internal spring is detached or the T-shaped ejector is misaligned. The handle may move freely with no resistance, indicating the spring has come loose. Open the unit and check that both ends of the round spring are properly seated in their mounting points.
Can a staple jam cause the Powershot to stop firing completely?
Yes. A jammed staple in the chamber can block the ejector mechanism and mimic complete failure. Unload the stapler, inspect the base opening, and clear any stuck staples or debris before assuming the internal mechanism is broken.
How do I know if the T-shaped ejector is bent?
Remove the housing and inspect the T-shaped piece that pushes staples. If it appears warped, twisted, or does not sit flat in its groove, it is likely bent. Gently straighten it with pliers or contact Arrow for a replacement part.
Is the Powershot worth repairing, or should I buy a new one?
Most failures are repairable in 15 minutes with basic tools. If the stapler is relatively new, attempting repair is worthwhile. For older units with repeated failures, consider upgrading to an electric model or a cheaper alternative like the Harbor Freight Three-Way Tacker.
Where can I get replacement parts for my PowerShot stapler?
Contact Arrow Fastener directly at 800.776.2228 or email customerservice@arrowfastener.com. They stock individual components including ejectors, springs, wedges, and complete rebuild kits, even for models from the 1970s.