How to Fix Bostitch Stapler Not Firing
You’re in the middle of a trim job, compressor running, staple strip loaded. Pull the trigger, and nothing happens. No kick, no drive, just silence. If your Bostitch stapler not firing issue has you stuck, this guide will get you back to work fast.
This article covers diagnostic steps, model-specific repairs, and the parts you need to fix common issues with the SX1838, T50S4, and Impulse 30. You’ll find real solutions that actually work.
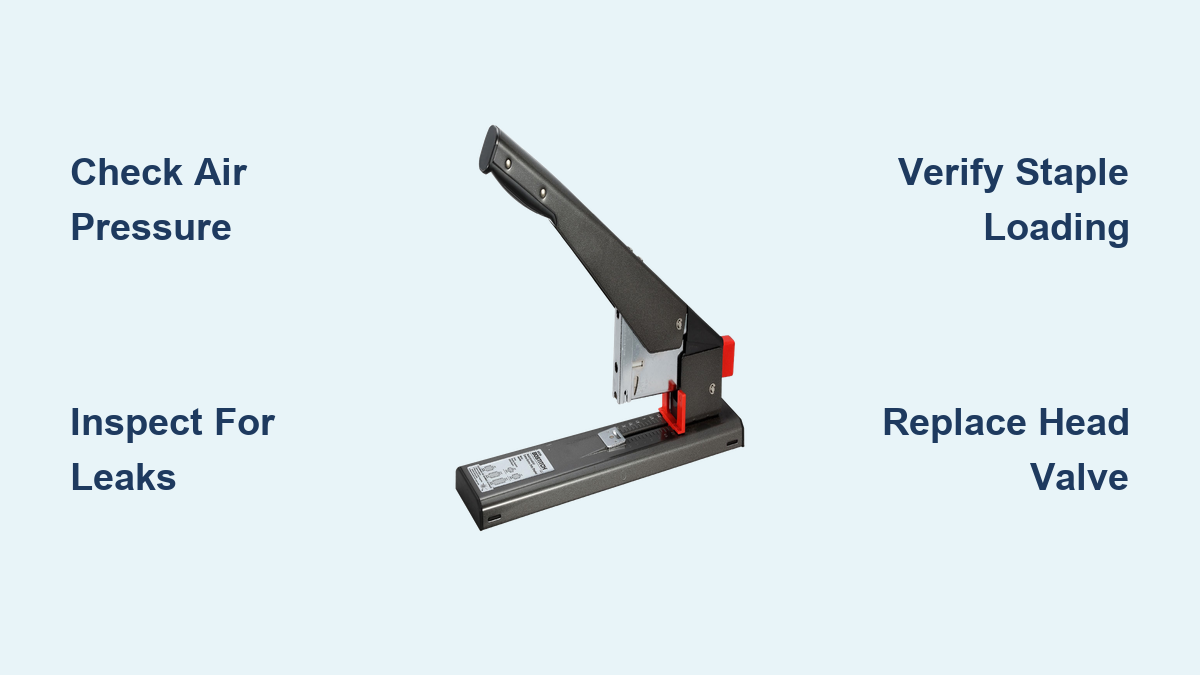
Check Air Supply and Pressure First
Before taking apart your tool, confirm the basics. Many firing problems trace back to inadequate air delivery, not internal damage.
Verify Compressor Output
Grab an inline pressure gauge and test directly at the stapler’s coupler. Don’t rely on your compressor’s built-in gauge, as it may read higher than actual output at the tool.
Bostitch pneumatic staplers need specific pressure ranges to fire properly. The SX1838 requires 70 to 100 psi, while the T50S4 needs 80 to 100 psi. If your reading falls below these ranges, the piston won’t have enough force to drive the staple.
Test the Air Line
Connect a different working pneumatic tool, like a nailer, to the same hose. If it performs poorly, the problem isn’t your stapler. Check for kinks in the hose, blockages in the coupler, or moisture buildup in the line. You may also need a compressor with more capacity.
Inspect for Air Leaks
An air leak bleeds pressure before it reaches the firing mechanism, causing a popping sound but no staple drive.
Find Common Leak Points
Listen carefully when the tool is pressurized. A hissing sound near the trigger housing points to worn O-rings. Near the base or head, escaping air usually means a damaged head valve. Check the hose connection too, as a leaking swivel fitting can ruin your day.
Perform the Soapy Water Test
Mix dish soap with water and apply it to suspected joints and connections. Bubbles appearing indicate an air leak. This simple test helps you pinpoint exactly where pressure is escaping.
A small leak at the trigger may allow pressure to build but fail to actuate the piston. This is especially common in T50S4 models with degraded trigger valve seals.
Confirm Staple Loading and Feed
Even a perfectly tuned stapler won’t fire if the staples aren’t feeding correctly.
Load Staples the Right Way
For the Impulse 30 and similar manual models, the open gap of the staple must face down, with legs pointing toward the paper. Reversed staples jam the driver or fail to contact the anvil entirely. For pneumatic models, ensure the strip is fully seated in the magazine before firing.
Clear Magazine Jams
Remove the staple strip and shine a flashlight into the magazine. Look for misaligned staples, metal burrs, or a bent driver blade. Forcing the driver down on a jam can damage internal springs or valves, so work carefully.
Test with Fresh Staples
Old, corroded, or off-brand staples often won’t feed smoothly. Switch to new factory-issued staples after any repair. This alone resolves inconsistent firing in about 30% of cases.
Fix SX1838: Stuck Valve and Head Failure

The Bostitch SX1838 is notorious for sudden failure after firing just one staple. This usually means a shattered plastic head valve.
Recognize the Symptoms
Watch for these telltale signs. The stapler fires one staple then stops. You hear a faint air leak at the head. The piston stays extended and must be manually pushed back after depressurizing.
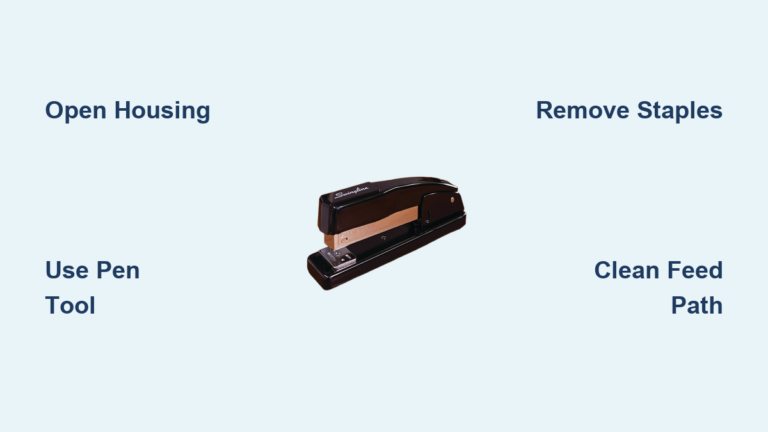
Disassemble the Housing
Remove the four 3 mm screws from the back plate. Open the casing gently and inspect the head valve assembly. Look for cracked or shattered plastic pieces. Check whether the spring and washer have become displaced.
Replace the Head Valve
The head valve assembly runs about $5 and includes the valve body, spring, and washer. Remove all plastic fragments from the valve chamber, then insert the new valve with the spring and washer in the correct orientation. Replace the O-ring if it’s hardened or cracked, then reassemble and tighten the screws evenly.
Lubricate Before Closing
Apply pneumatic tool oil to the O-ring groove, piston bore, and valve stem. Avoid overlubricating, as excess oil attracts dust and can cause new problems.
Test After Repair
Pressurize the tool and pull the trigger. The air leak should be gone. Fire into a 2×4. The first staple may drive weakly due to air purging, but subsequent staples should drive fully.
Fix T50S4: Popping Noise, No Fire

The T50S4 often makes a popping sound when you pull the trigger, but the driver doesn’t move. This usually points to trigger valve failure.
Rule Out Air Pressure First
Confirm you have good pressure from at least two different compressors. Make sure other tools work on the same line so you know the supply isn’t the problem.
Inspect the Trigger Valve O-Ring
Disassemble the trigger mechanism and locate the internal O-ring. This O-ring has a flat side and a beveled side, and it must be seated with the beveled side facing outward. Using a generic 25-cent O-ring may stop leaks but won’t restore firing, as it can’t handle the pressure cycle.
Replace the Entire Trigger Valve
After a failed O-ring fix, most users report needing a full trigger valve replacement at around $20. No rebuild kit is available, so replacement is the most reliable solution.
Lubricate Internal Components
Use Senco gun oil or pneumatic-specific lubricant on the valve stem, piston seals, and spring housing. Never use WD-40, as it degrades rubber and attracts grime.
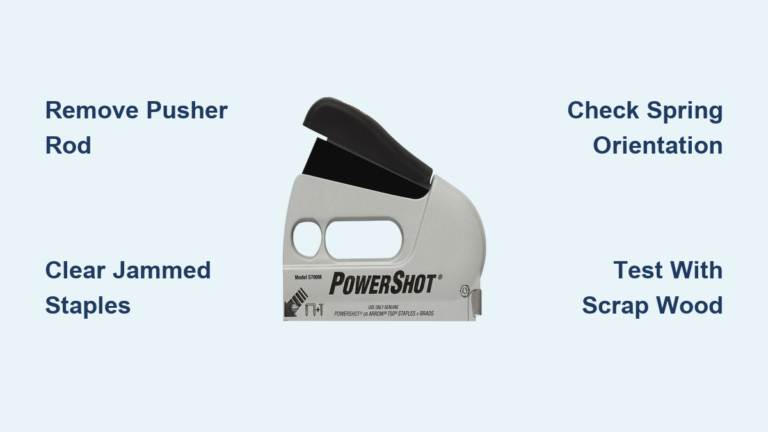
Fix Impulse 30: Indentation Without Stapling
The Impulse 30 manual stapler may make a stapling sound but only dent the paper. This frustrating issue has simple fixes.
Check Staple Orientation
The open end of the staple must face down. Loading them upside down prevents leg formation. Reversing the strip fixes this issue 80% of the time.
Clear Magazine Obstructions
Remove staples and inspect for crumpled paper bits, misaligned staple links, or bent feed rails. Use compressed air to blow out debris.
Free a Binding Driver Blade
Press the driver down manually. If it sticks or resists, apply dry lubricant or light oil. Check for impact damage or corrosion. Make sure the anvil is clean and aligned.
Avoid Overloading
The max capacity is 20 to 30 sheets depending on paper weight. Exceeding these limits causes partial drives and jams.
Cross-Model Repair Protocol
Use this 10-step checklist for any Bostitch stapler not firing, whether pneumatic or manual.
1. Confirm Air or Mechanical Readiness
Pneumatic models need 70 to 100 psi with a secure hose. Manual models need no jams and a full staple load.
2. Check for Obvious Jams
Remove staples and inspect the magazine and driver path.
3. Test Trigger and Safety Contact
Depress the safety tip and pull the trigger. Listen for air release or a mechanism click.
4. Disassemble with Care
Use precision screwdrivers and keep screws in a tray. Note the orientation of springs and washers.
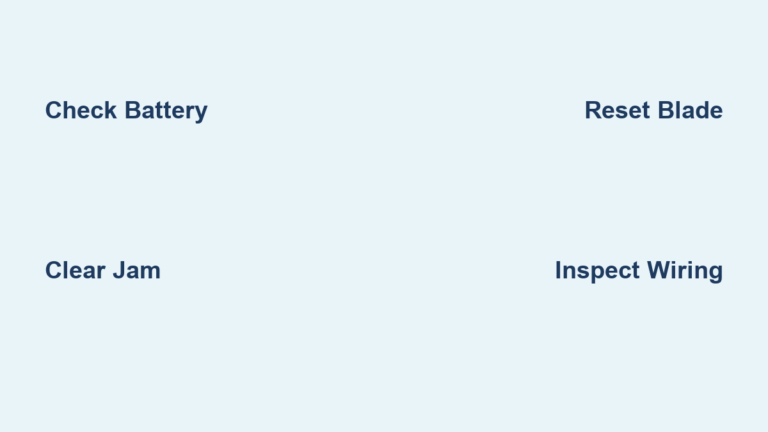
5. Inspect Critical Components
| Component | What to Look For |
|---|---|
| Head valve | Cracks, debris, shattered plastic |
| Trigger valve | Worn O-rings, improper seating |
| O-rings | Hardened, cracked, flattened |
| Driver blade | Binding, corrosion, misalignment |
| Spring | Weak tension, compression set |
6. Clean Internal Passages
Use compressed air to blow out dust and metal shavings. Wipe with a lint-free cloth. Never use solvents that could damage seals.
7. Replace Failed Parts
Head valves for the SX1838 cost about $5 with a high success rate. Trigger valves for the T50S4 run around $20, and full assembly replacement works best. Use nitrile rubber O-rings rated for pneumatic use.
8. Lubricate Moving Parts
Apply 3 to 5 drops of pneumatic oil into the air inlet. Work the trigger manually to distribute the oil, then wipe excess.
9. Reassemble Correctly
Align all components and tighten screws evenly. Don’t overtighten.
10. Test Safely
Fire into softwood like a 2×4 or scrap material. The first few shots may be weak, which is normal. After 3 to 5 staples, performance should stabilize.
Prevent Future Failures
A well-maintained stapler lasts years. Follow these best practices to avoid repeat issues.
Lubricate Weekly Under Heavy Use
Add 3 to 5 drops of pneumatic oil into the air inlet. Run 5 to 10 dry fires to distribute the oil. Never use WD-40 or motor oil, as they degrade seals.
Clean Every 10,000 Staples
Blow out the magazine and driver track. Inspect for wear. Replace O-rings at the first sign of hardening.
Store Properly
Drain air before disconnecting. Store in a dry, dust-free area. Apply a light oil film to metal parts to prevent rust.
When to Replace vs. Repair
| Tool Condition | Repair Cost | New Tool Cost | Recommendation |
|---|---|---|---|
| SX1838 with failed head valve | $5 | $120 | Repair |
| T50S4 with recurring valve issues | $20+ | $100 | Consider replacement |
| Impulse 30 with misloaded staples | $0 | $30 | Fix and reuse |
| Multiple internal failures | Over $30 | $100–$130 | Replace |
For pros using staplers daily, upgrading to models with metal valves like Senco or Hitachi may reduce downtime.
Frequently Asked Questions About Bostitch Stapler Not Firing
Why does my Bostitch stapler only fire one staple?
This is a classic sign of head valve failure, especially in the SX1838 model. The plastic valve shatters after one cycle, leaving fragments that prevent proper valve cycling. Replace the head valve assembly to fix this.
Can I use generic O-rings to repair my T50S4?
Generic O-rings may stop an air leak but won’t restore firing function. The OEM O-ring has a specific flat and beveled side that must face outward. For reliable results, replace the entire trigger valve assembly.
How often should I lubricate my pneumatic Bostitch stapler?
Under heavy use, lubricate weekly with 3 to 5 drops of pneumatic tool oil. Under light use, monthly is sufficient. Always oil before storing and when retrieving the tool after downtime.
Why does my Impulse 30 only indent paper without stapling?
This usually means staples are loaded upside down. The open gap must face down with legs pointing toward the paper. Also check for magazine obstructions and ensure the driver blade moves freely.
What’s the most common cause of Bostitch stapler failure?
Air leaks from degraded O-rings and valve seals account for most non-firing issues. Regular lubrication prevents 30 to 40% of these failures. Always use pneumatic-specific oil, not household lubricants.
Is it worth repairing an old Bostitch stapler?
Yes, especially for the SX1838 where a $5 head valve repair restores full function to a $120 tool. However, if your T50S4 has recurring valve issues or multiple internal failures, replacement may be more cost-effective.
Key Takeaways for Fixing Your Bostitch Stapler
Most Bostitch staplers not firing can be fixed at home, often for under $20. The SX1838 responds well to a $5 head valve replacement, while the T50S4 typically needs a full trigger valve assembly at around $20. For the Impulse 30, check staple orientation first, as this simple mistake causes most issues.
Regular lubrication with pneumatic-specific oil prevents roughly 40% of failures. Clean your stapler every 10,000 staples and store it properly with air drained from the line.
A stapler that won’t fire isn’t always dead. With the right diagnosis and parts, you can extend the life of your Bostitch tool and save yourself the cost of a replacement. Keep this guide handy, and never let a non-firing stapler stall your job again.