How to Reset Milwaukee Framing Nailer
Is your Milwaukee framing nailer refusing to fire? Blinking mode lights, repeated dry firing, or a stuck striker pin can stop your project cold. These symptoms usually point to an electronic lockout triggered by the tool’s built-in Dry Fire Protection system. The good news is that resetting your Milwaukee M18 framing nailer is straightforward once you know the correct steps.
This guide walks you through how to reset a Milwaukee framing nailer, diagnose common error patterns, clear jams, and prevent future lockouts. You will learn not just the reset procedure, but why the lockout happens and how to keep your nailer running reliably on every job.
Perform a Full Power Reset
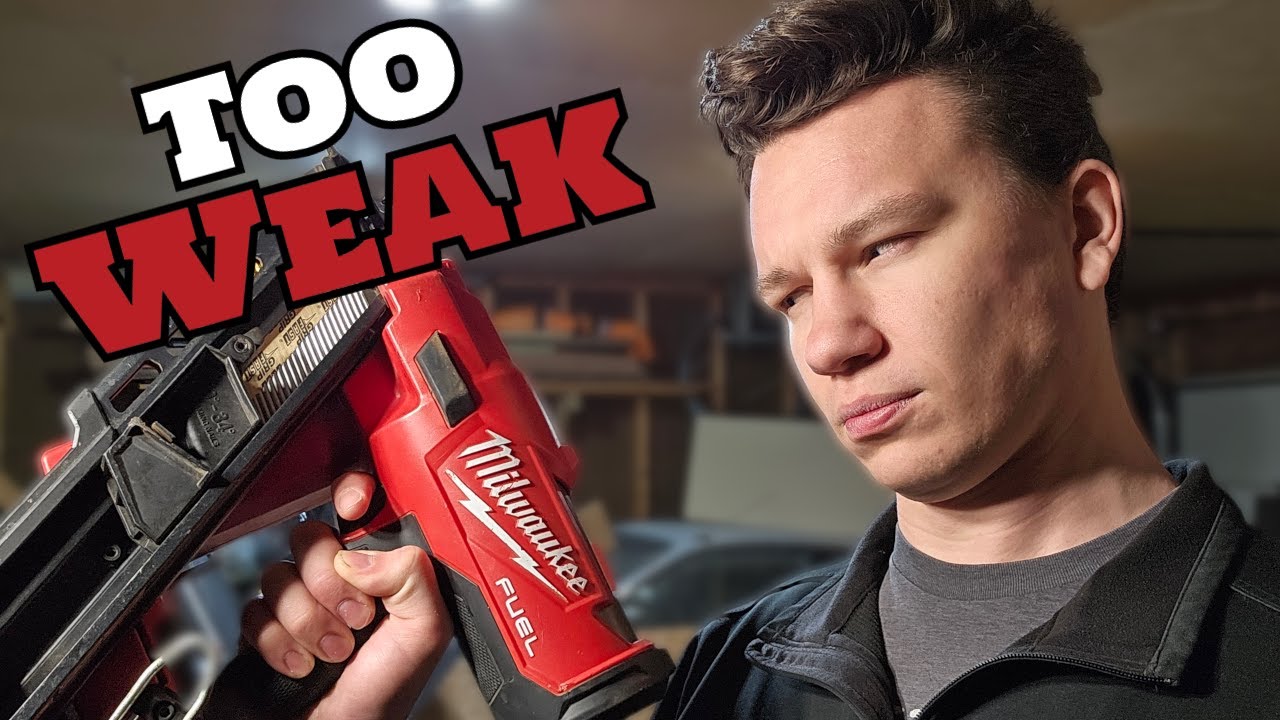
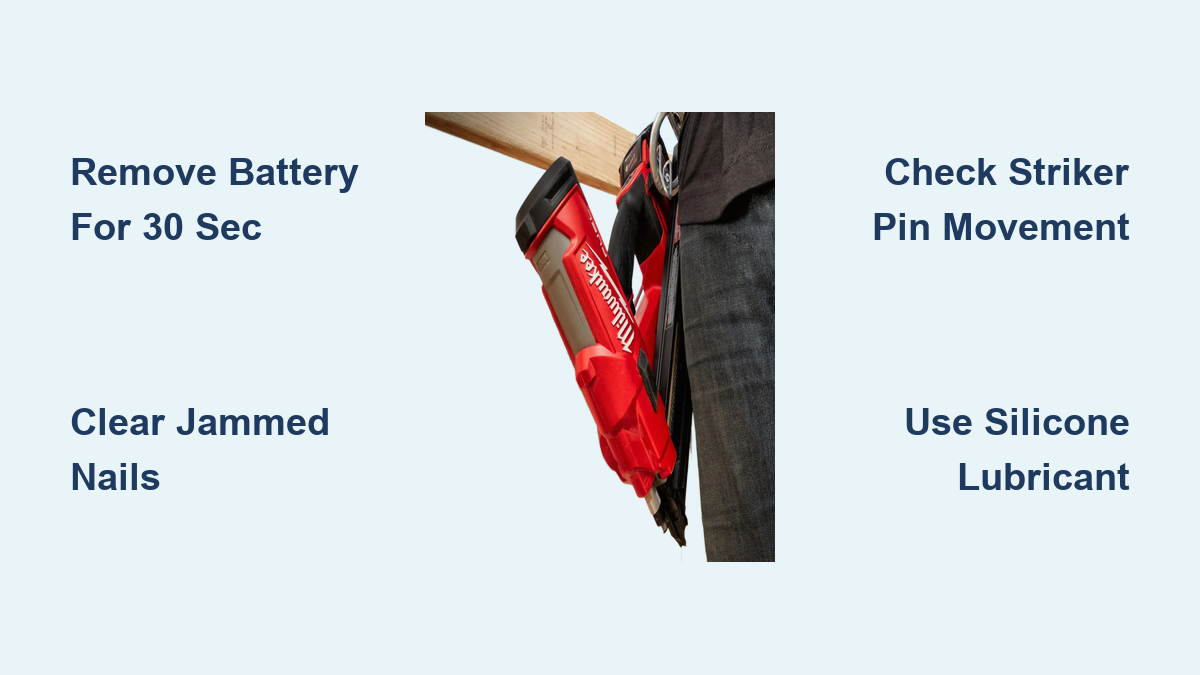
The most effective way to reset a Milwaukee framing nailer is through a complete power cycle. This clears the internal electronics and resets safety locks triggered by dry fires or jams.
Remove the Battery for 30 Seconds
To initiate the reset:
1. Remove the M18 battery pack from the tool.
2. Wait at least 30 seconds to allow internal capacitors to discharge and the control board to fully reboot.
3. Reinsert the battery firmly until it clicks into place.
This delay is critical after any jam or dry fire event. Skipping it may leave the error state active because the logic system has not fully reset.
Pro Tip: Use this reset when mode lights blink rapidly or the nailer fails to respond after a malfunction.
Test the Trigger After Reset
Once the battery is reinserted:
– Pull the trigger while pressing the nose safety tip.
– Listen for a single, strong motor response.
If the tool fires normally, the reset was successful. If it cycles multiple times without driving a nail or the lights keep blinking, a mechanical issue likely remains.
Warning: Never attempt a reset while the battery is still inserted. Always disconnect power before inspection.
Diagnose Error Light Patterns
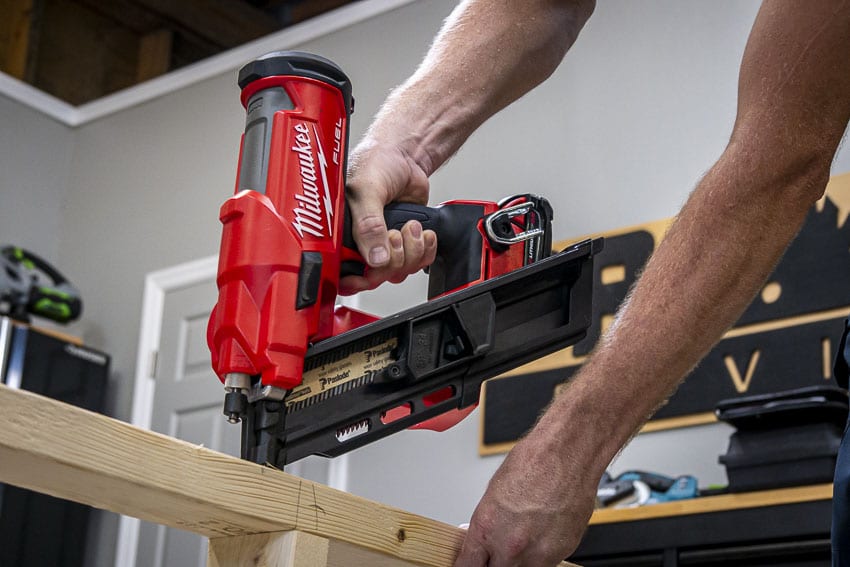
Milwaukee framing nailers use LED indicators to communicate fault conditions. Knowing what the lights mean helps determine whether a reset will work or whether physical intervention is required.
Rapid Blinking Means Dry Fire Lockout
When the mode lights blink rapidly between Single Fire and Triple Fire settings, the tool has activated its Dry Fire Protection feature.
This lockout triggers when:
– The tool cycles four to five times without discharging a nail.
– A jam prevents the driver blade from completing its stroke.
– The striker pin is stuck in the down position.
This is not a random glitch. It is a deliberate safety response. A simple reset will not fix the issue unless the root cause is resolved first.
Solid Lights vs. No Response
- Solid mode light: Tool is powered and ready (if it fires).
- No lights at all: Check battery charge and connection.
- Intermittent flickering: Could indicate a failing battery or poor terminal contact.
Expert Note: Blinking lights after a dry fire are intentional. Milwaukee designed this feature to prevent internal damage from repeated misfires.
Clear Jams and Mechanical Faults

An electronic reset will fail if a physical obstruction remains. Mechanical issues often cause the error state, so clearing jams is essential before resetting.
Open the Jam Access Door
- Remove the battery.
- Locate the jam access door near the nose of the gun.
- Slide or unlatch the door open to expose the driver blade path.
Inspect for:
– Bent or broken nails
– Wood debris or sawdust buildup
– Misaligned fasteners in the magazine
Remove all obstructions carefully with needle-nose pliers or a small pick.
Visual Cue: If the driver blade does not move freely, something is blocking it.
Check Striker Pin Movement
A stuck striker pin is a common precursor to dry fire errors.
To inspect:
1. Remove the nail magazine.
2. Look down into the driver chamber.
3. Observe whether the striker pin is stuck in the down position.
If it does not spring back:
– Clean around the pin with a dry brush.
– Apply a tiny drop of silicone-based lubricant.
– Manually work the pin up and down to free it.
Critical: Never force the pin. If it is seized, stop and contact support.
Verify Nail Loading and Compatibility
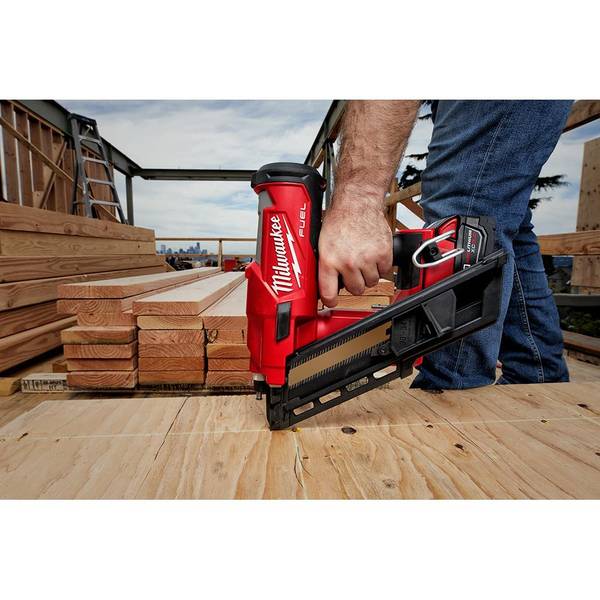
Even with a clean tool and fresh reset, incorrect nails can trigger immediate failure.
Use the Correct Nail Type
Milwaukee framing nailers require:
– Full-round head nails
– 30 to 34 degree clipped head nails
– Compatible plastic or wire collation
Using paper-tape collated or off-angle nails causes feeding issues that mimic electronic faults.
Ensure Proper Magazine Seating
- Load nails into the magazine with the heads facing the correct direction (check tool markings).
- Push the nail strip fully into the channel.
- Confirm the pusher spring is engaged and pressing forward.
A weak or dislodged spring leads to delayed feeding, which can trick the sensor into detecting a dry fire.
Common Mistake: Overloading the magazine. Nails should sit flush, not bulge.
Lubricate Moving Parts Correctly
Proper lubrication prevents binding and extends tool life. Using the wrong lubricant can make things worse.
Apply Silicone-Based Lubricant
After clearing a jam or during routine maintenance:
1. Wipe down the driver blade and striker area.
2. Apply one drop of silicone-based lubricant to the striker pin and guide rails.
3. Work the mechanism manually to distribute the lubricant.
Do this every 5,000 to 10,000 nails or after heavy use.
Avoid Oil-Based Products
Never use WD-40, motor oil, or grease. These attract dust and form gummy residues that:
– Cause binding
– Degrade O-rings
– Lead to premature wear
Pro Tip: Keep a small bottle of silicone lube in your tool bag for quick maintenance.
Test the Battery and Power Supply
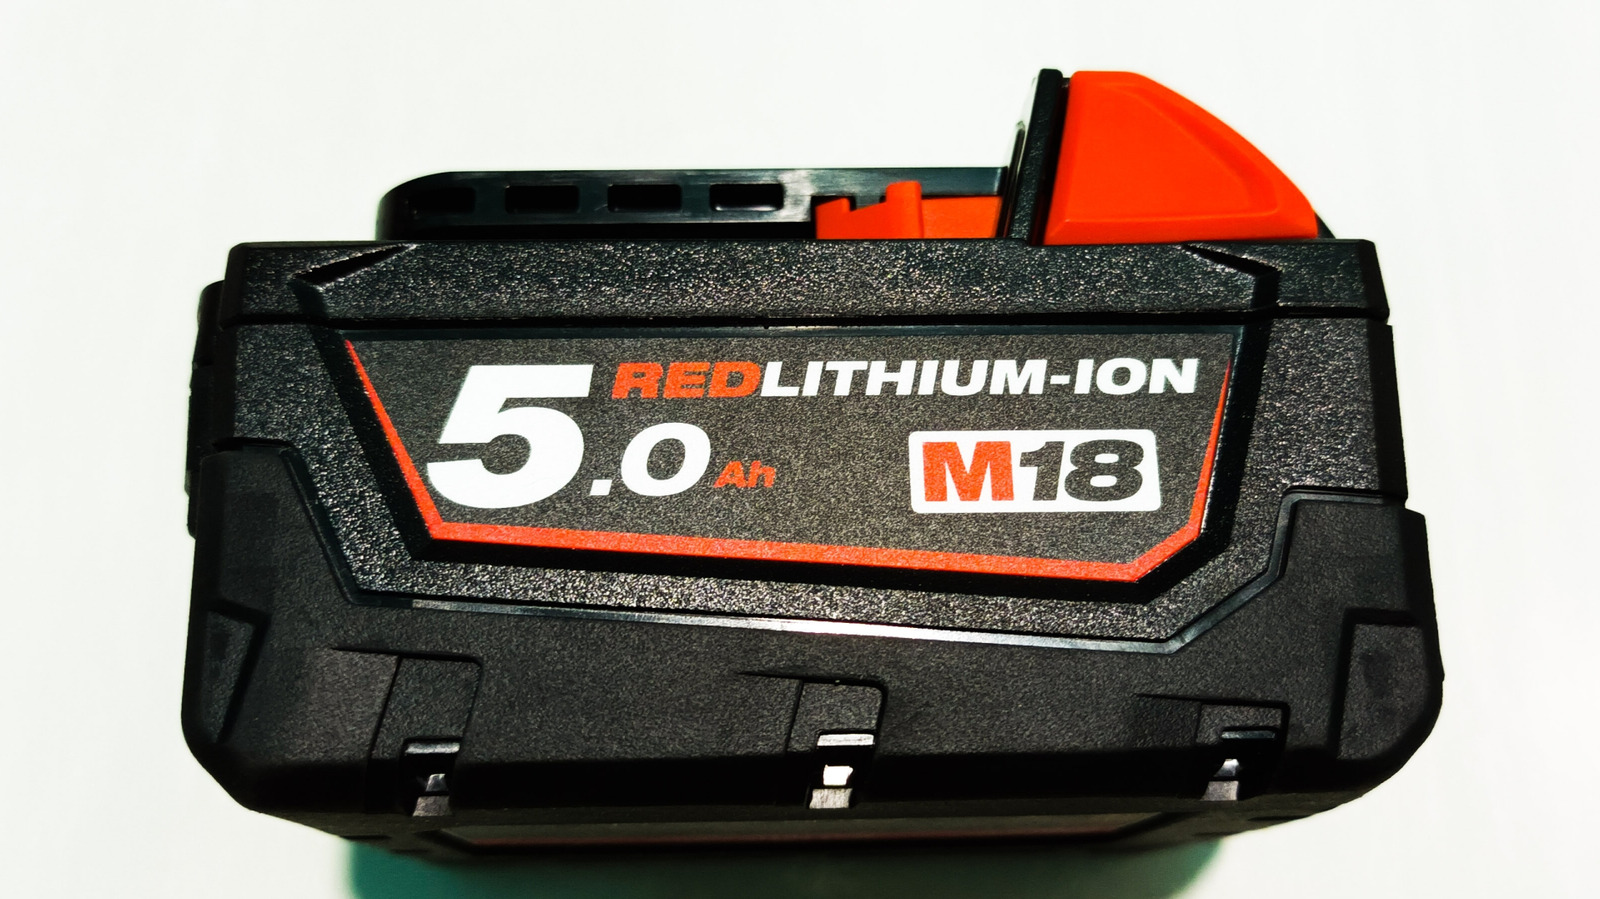
Low or unstable power can mimic mechanical jams and trigger false dry fire errors.
Check Battery Charge Level
Use a fully charged M18 battery. A weak battery may:
– Start the motor but fail to complete the drive stroke
– Cause inconsistent firing
– Trigger error lights after repeated partial cycles
Charge the battery completely before testing.
Swap Batteries to Isolate the Fault
If problems persist:
1. Try a different, known-good M18 battery.
2. Repeat the reset and test fire.
If the tool works with a second battery, the original pack may be failing.
Visual Cue: Corroded or dirty terminals? Clean with a dry cloth or contact cleaner.
Prevent Future Lockouts
Once your nailer is running again, take steps to avoid repeating the cycle.
Avoid Dry Firing
Never pull the trigger without nails loaded. Even one or two dry fires can trigger the protection system, especially if repeated.
Rule of Thumb: If you hear rapid cycling without driving nails, stop immediately.
Perform Routine Cleaning
After each job:
– Open the jam door and inspect the nose
– Blow out dust with compressed air
– Wipe down the magazine and driver area
Build this into your post-job checklist.
Store the Tool Properly
Keep the nailer:
– In a dry place
– With the battery removed
– Magazine empty in humid environments
Moisture and debris are silent killers of precision tools.
Know When to Seek Professional Help
Some issues go beyond user-level fixes. Know when to stop and get expert support.
Persistent Blinking After Reset
If the lights keep blinking after clearing all jams, lubricating the striker, and trying a fresh battery, there may be an internal sensor fault or driver blade wear.
Recurring Striker Pin Sticking
Frequent mechanical binding suggests:
– Worn internal components
– Damaged seals
– Misaligned parts
These require factory-level repair.
Tool Still Under Warranty
If purchased recently, contact Milwaukee Customer Support or visit an authorized service center.
Warning: Disassembling beyond the jam door may void your warranty. Stick to approved maintenance steps.
Frequently Asked Questions About Milwaukee Framing Nailer Resets
Why are the mode lights on my Milwaukee framing nailer blinking rapidly?
Rapid blinking between Single Fire and Triple Fire settings indicates the Dry Fire Protection feature has activated. This happens after repeated dry fires or a jam that prevents the driver blade from completing its stroke.
How long do I need to remove the battery to reset the nailer?
Remove the M18 battery for at least 30 seconds. This allows the internal capacitors to discharge and the electronic control system to fully reboot before you reinsert the pack.
What causes a Milwaukee framing nailer to dry fire repeatedly?
Dry firing typically results from a jam, a stuck striker pin, a weak battery, or incompatible nails. The tool cycles four to five times trying to discharge a fastener that is not present or cannot move through the nose.
Can I use WD-40 to lubricate my Milwaukee framing nailer?
No. Milwaukee specifies silicone-based lubricant only. Oil-based products like WD-40 attract dust, form gummy residues, and can damage internal O-rings and seals.
What type of nails should I use in a Milwaukee M18 framing nailer?
Use full-round head or 30 to 34 degree clipped head nails with compatible plastic or wire collation. Paper-tape collated nails or off-angle fasteners will cause jams and feeding errors.
When should I stop troubleshooting and contact Milwaukee support?
If the tool continues to blink, dry fire, or fail to drive nails after a 30-second reset, jam clearing, lubrication, and battery testing, stop troubleshooting. Continuing may void your warranty. Contact Milwaukee Customer Support or an authorized service center.
Key Takeaways for Resetting Your Milwaukee Framing Nailer
Resetting a Milwaukee framing nailer is more than pulling the battery. It requires understanding why the lockout happened in the first place. Start with a 30-second power cycle, then inspect for jams, a stuck striker pin, and nail compatibility. Lubricate with silicone-based products only, and always verify battery health before deeper troubleshooting.
Your next step: bookmark this guide and run through the checklist the next time your nailer locks up. A few minutes of systematic diagnosis will save you hours of frustration and keep your projects moving forward.