Fix Milwaukee Framing Nailer Clicking
You pull the trigger on your Milwaukee M18 Fuel framing nailer—click—but no nail fires. You pull again—click, click—still nothing. Then, maybe on the third try, it finally drives a nail. This frustrating clicking without firing is one of the most common complaints among users of the Milwaukee M18 framing nailer, especially early production models. The issue often comes with blinking mode lights, inconsistent trigger response, or a striker pin stuck in the down position.
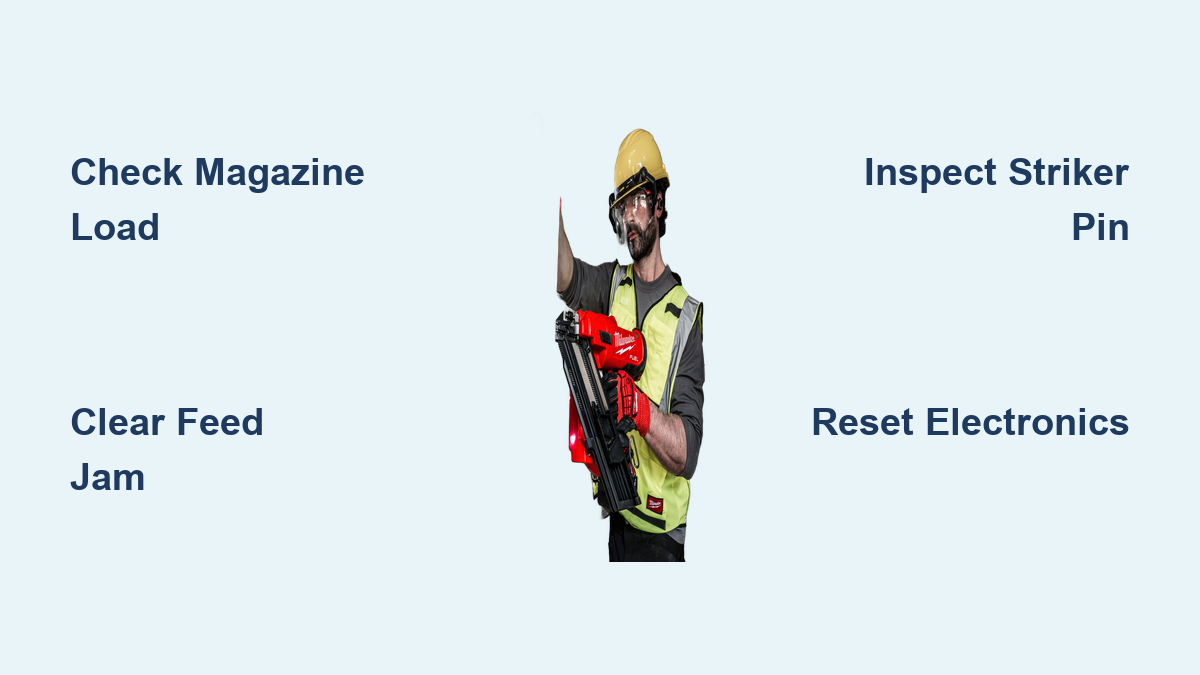
This guide cuts through the noise to deliver a clear, step-by-step breakdown of why your Milwaukee framing nailer is clicking but not firing, how to fix it fast, and when to get manufacturer support. Whether it is a simple jam or a deeper electronic fault, you will learn how to diagnose and resolve the problem—often in under 10 minutes. We will cover nail compatibility, jam clearing, striker pin inspection, system resets, and when to request a replacement from Milwaukee.
Confirm the Magazine Is Properly Loaded
Before diving into mechanical or electrical causes, start with the most basic check: is the tool actually loaded with nails?
Even if the magazine looks full, a misfeed or weak spring pressure can prevent nails from advancing into the firing position. This triggers a safety lockout that results in clicking without discharge.
Verify Nail Load and Feed
- Open the magazine and visually inspect nail alignment.
- Ensure nails are seated fully and moving freely.
- Verify the pusher block is engaged and applying forward pressure.
- Look for twisted or bent nails blocking the feed path.
Pro Tip: If the pusher spring is compressed too far back, it may lack the force to advance the next nail. Cycle the magazine release to reset tension.
Use Only Compatible Nails
Milwaukee M18 framing nailers are designed for specific nail types:
- Head Type: Full-round head only
- Angle: 30° to 34° clipped head nails
- Length: Typically 2″ to 3-1/2″ (check model specs)
Using off-brand or incorrect nails, such as clipped head instead of full-round, is a leading cause of misfeeds and clicking malfunctions.
Avoid: Paper-collated, wire-collated, or off-angle nails not listed in the manual.
Clear Nail Jams in the Feed Path
A bent nail or debris blockage in the feed mechanism is a frequent cause of clicking and failure to fire. Even small fragments can halt operation.
Open and Inspect the Jam Access Door
- Remove the battery—always start with power disconnected.
- Open the jam access door near the nose of the tool.
- Visually inspect the entire feed track for:
– Bent or broken nails
– Nail fragments
– Sawdust buildup
– Metal shavings or foreign objects - Use needle-nose pliers or a small pick to remove any obstructions.
- Wipe the channel clean with a dry cloth or compressed air.
Visual Cue: If you see a nail tip stuck sideways across the feed rails, that is your jam.
Test After Clearing
- Reinstall the battery.
- Load a few test nails.
- Pull the trigger in single-fire mode.
A successful test confirms the jam was the culprit. If it still clicks, move to the next check.
Inspect the Striker Pin for Binding

The striker pin (driver blade) must move freely up and down. If it is stuck in the down position, the tool cannot reset to fire the next nail, resulting in repeated clicking.
Remove the Magazine and Inspect the Driver
- Remove the nail magazine to expose the driver assembly.
- Look down into the nose: the striker pin should be fully retracted upward when at rest.
- If it is stuck halfway or fully extended, that is the issue.
Common Causes of Binding:
– Debris or dried resin buildup
– Bent driver blade
– Lack of lubrication
– Internal impact mechanism jam
Clean and Lubricate Moving Parts
- Spray cleaner-lubricant into the nose and around the driver.
- Use a soft brush or cloth to wipe away grime.
- Manually work the driver up and down (if accessible) to free it.
- Apply a light coat of pneumatic tool oil or manufacturer-recommended lubricant.
Pro Tip: Never over-lubricate. Excess oil attracts sawdust and creates sludge.
Replace the driver if it is visibly bent or worn. Genuine Milwaukee replacement parts are available through service centers.
Reset the Tool’s Electronic System
Milwaukee M18 nailers use an electronic trigger control system that can glitch, especially after a jam or power surge. When it does, the mode lights blink rapidly, and the tool clicks but will not fire.
This is often a soft fault that a simple reset can fix.
Perform a Full Power Cycle
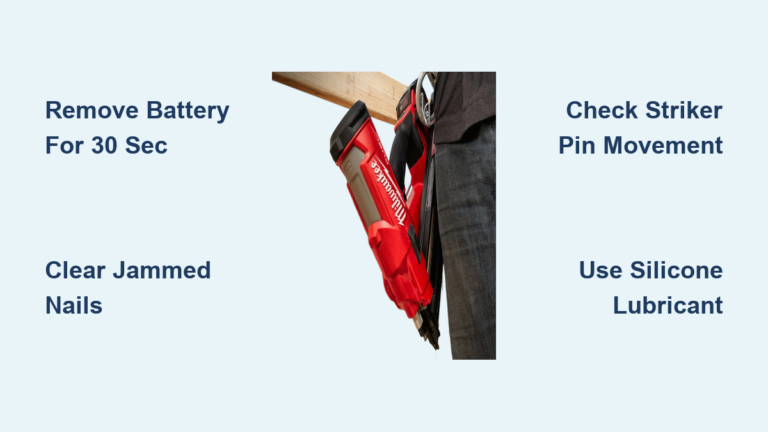
- Remove the battery completely.
- Wait 30 seconds—this allows capacitors to fully discharge.
- Reinsert the battery firmly until it clicks into place.
- Test the trigger in single-fire mode.
Expected Result: Mode lights should stabilize to a solid single or triple-fire indicator. The tool should fire on the first pull.
Note: If the lights continue to blink erratically, the issue may be deeper, possibly involving a faulty control board or sensor.
Verify Trigger and Mode Settings

Sometimes the problem is not mechanical—it is user settings.
The Milwaukee M18 framing nailer has dual fire modes:
– Single-fire: One nail per trigger pull
– Triple-fire (bump fire): Continuous nailing when trigger is held and tool is bumped
Check Mode Light Status
- Solid light: Mode is active and ready
- Blinking light: System error or mode conflict
If the light blinks between modes, the tool may be in a confused state, often after a jam or reset.
Switch and Re-Select Mode
- Press the mode button to cycle through:
– Single-fire → Triple-fire → Off - Select your desired mode (start with single-fire for testing).
- Wait 2 seconds for the light to stabilize.
- Test the trigger.
Expert Note: Some users report that switching modes after a reset helps reinitialize the electronics.
Address Early Build Manufacturing Defects
Multiple users have reported that early production runs (circa 2016–2017) of the Milwaukee M18 framing nailer had recurring issues:
– Clicking without firing
– Striker pin binding
– Erratic mode light behavior
These were often not user errors—but actual defects in the driver mechanism or electronic control module.
Recognize a “Known Dud”
Signs your tool may be from a problematic batch:
– Issue appears on a nearly new tool
– Problem persists after cleaning, resetting, and correct nail use
– Milwaukee support quickly offers a replacement without repair
One user reported their unit failed within days, and Milwaukee shipped a new replacement in under a week.
Contact Milwaukee for Service or Replacement
If troubleshooting fails, Milwaukee’s warranty support is your best next step. They have consistently replaced defective units, even those only weeks old.
Use the eService Portal
- Go to milwaukeetool.com
- Navigate to Service & Support > eService
- Fill out the online form:
– Tool model (e.g., 2740-20)
– Serial number
– Description of issue (“clicks but won’t fire”) - Submit request
You will receive:
– A prepaid shipping label
– Instructions for sending the tool
– Confirmation of service or replacement
Turnaround: Most users report receiving a new unit in 3–5 business days.
Prevent Future Clicking Issues
Avoid repeat problems with simple maintenance and best practices.
Clean After Every Use
- Blow out dust from the nose and feed path.
- Wipe down the magazine and driver area.
- Check for nail fragments before reloading.
Lubricate Weekly (or Per 1,000 Nails)
- Apply 1–2 drops of pneumatic tool oil to the nose.
- Fire the tool into a block of wood to distribute oil.
- Never use WD-40 as a lubricant—it is not a long-term solution.
Stick to Approved Nails
Using non-recommended nails voids warranty and causes feed issues.
Approved Nails Include:
– Full-round head (not clipped head unless specified)
– 30° to 34° angle
– Plastic or coil strip collation
Brands like Paslode, Bostitch, and Simpson offer compatible options. Check Milwaukee’s compatibility list.
When to Visit an Authorized Repair Center
If Milwaukee does not offer a replacement, or you prefer local service, an authorized repair center can help.
Find an Authorized Repair Facility
- Use the Milwaukee Service Center Locator
- Call ahead to confirm they service M18 nailers
- Bring your receipt and battery for verification
Possible Repairs They Can Do:
– Replace striker pin or driver blade
– Swap out the electronic trigger module
– Clean and recalibrate internal solenoids
Warning: Do not attempt internal disassembly yourself—this voids the warranty.
Ask for Retailer Compensation
Returning a heavy tool via mail is a hassle, especially if your local Home Depot is far away.
Speak with a Store Manager
One user reported success by:
1. Returning the defective tool to Home Depot
2. Speaking with a store manager (not just a cashier)
3. Explaining the issue and Milwaukee’s replacement process
4. Requesting $50 off a future purchase as goodwill
Result: The manager approved a $50 discount on the spot.
While not guaranteed, it is worth asking—especially if you are a loyal customer.
Frequently Asked Questions About Milwaukee Framing Nailer Clicking
Why does my Milwaukee framing nailer click but not fire a nail?
The most common causes are an empty or misfed magazine, a nail jam in the feed path, a stuck striker pin, or an electronic glitch. Start by checking the magazine and clearing any jams before moving to deeper diagnostics.
Can I fix a clicking Milwaukee nailer without taking it apart?
Yes. Most issues can be resolved by clearing the jam access door, performing a battery reset (remove battery for 30 seconds), and switching fire modes. Only persistent problems require professional service.
What nails should I use in my Milwaukee M18 framing nailer?
Use only full-round head nails at a 30° to 34° angle. Paper-collated, wire-collated, or clipped head nails not listed in the manual can cause misfeeds and clicking malfunctions.
How long does Milwaukee take to replace a defective nailer?
Most users report receiving a new replacement unit within 3–5 business days after submitting an eService request. Milwaukee typically provides a prepaid shipping label for the return.
Is the clicking issue covered under warranty?
Yes. Milwaukee has consistently replaced defective units, including nearly new tools, when the clicking issue stems from a manufacturing defect or internal component failure.
Can I use WD-40 to lubricate my Milwaukee framing nailer?
No. WD-40 is not a suitable long-term lubricant for pneumatic or framing nailers. Use pneumatic tool oil or Milwaukee-recommended lubricant to keep the driver and striker pin moving freely.
Final Diagnosis Checklist for Your Milwaukee Framing Nailer
| Step | Action | Outcome |
|---|---|---|
| 1 | Check magazine for nails and misfeeds | Load or clear |
| 2 | Open jam door—inspect feed path | Remove obstructions |
| 3 | Inspect striker pin position | Clean, lubricate, or replace |
| 4 | Remove battery—wait 30 sec—reinstall | Reset electronics |
| 5 | Cycle fire mode (single → triple) | Reinitialize system |
| 6 | Test with correct nails | Confirm compatibility |
| 7 | Contact Milwaukee eService | Get replacement if needed |
Bottom Line: A clicking Milwaukee framing nailer is usually fixable. If it is an early model with recurring issues, do not waste time. Clean it, reset it, and if it still will not fire, get it replaced. Milwaukee stands by their tools, and their hassle-free eService makes it easy.
Keep your nailer running smoothly by following a simple routine: clean it after every use, oil it weekly, stick to approved nails, and reset the electronics whenever it acts up. And if it is simply a bad unit, Milwaukee will swap it out fast.