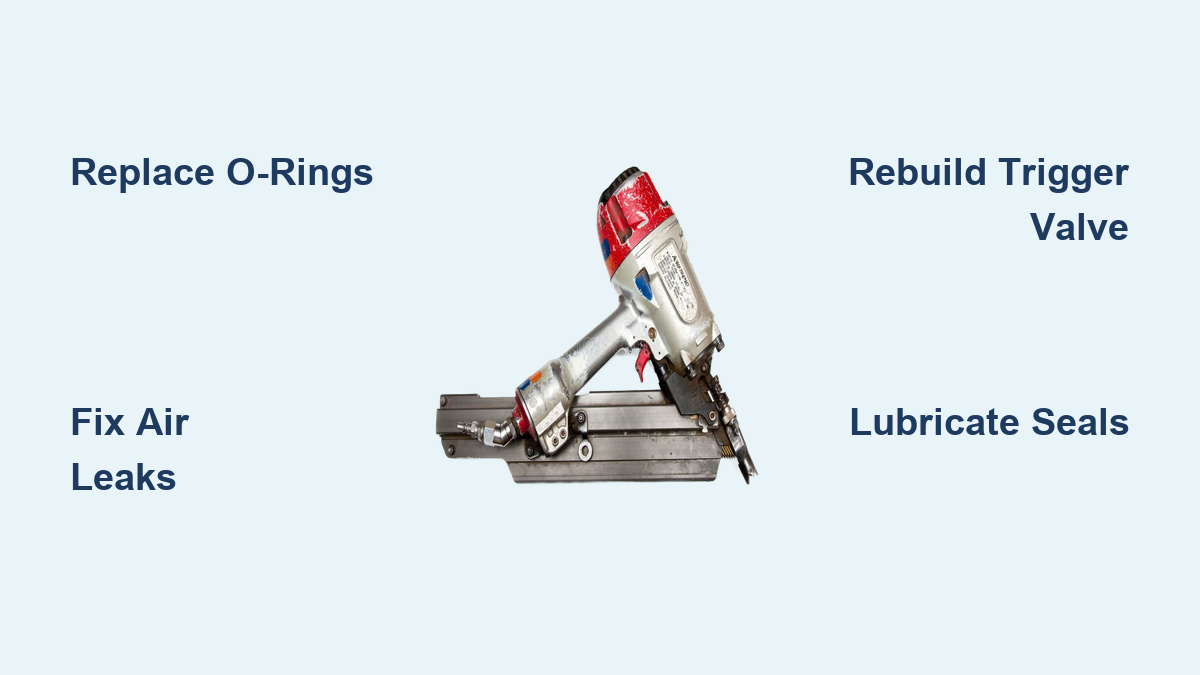
Framing Nailer Repair: Quick Steps
If your framing nailer has stopped firing, leaks air, or fails to reset after a trigger pull, you are not alone. Thousands of contractors and DIYers face the same issues, especially with tools that have sat unused for months or years. The good news? Framing nailer repair is one of the most straightforward fixes in power tool maintenance. With just a few basic tools and a $15 rebuild kit, you can restore full performance in under 20 minutes.
Most pneumatic framing nailers fail for the same core reason: degraded seals and worn O-rings. Whether you own a Bostitch, Dewalt, Makita, Paslode, or a store-brand Husky or Craftsman, the internal design is nearly identical. That means the repair process is universal. Instead of chasing one broken part, professionals replace all wear components at once. This full rebuild approach prevents repeat disassembly and extends tool life for years.
Diagnose Common Failure Symptoms
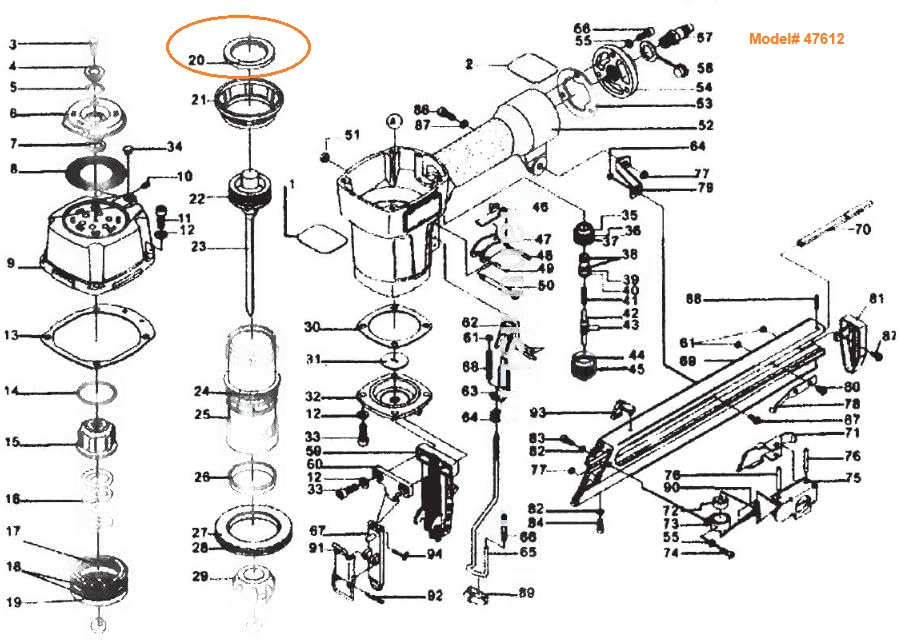
When a framing nailer stops working, do not assume it is dead. Most issues stem from dried seals, clogged valves, or air leaks, all fixable with a rebuild.
Air Leaks from the Rear Cap
If air hisses from the back of the tool when you pull the trigger, the cap gasket or cylinder seal is likely cracked. This is especially common in Ridgid Model R350RHF and Paslode F350S units stored for over a year. The rubber gasket loses elasticity and can no longer seal the cylinder. Replacing the gasket (Part #501001 for Paslode) and cylinder sleeve (Part #402011) stops the leak instantly.
Tool Won’t Fire After Long Storage
Nailers stored for a few years often seize internally. Moisture in the air line causes O-rings to stick and metal parts to corrode slightly. Lubrication alone will not fix this. A full rebuild, replacing all seals and the trigger valve, is required. Do not waste time troubleshooting individual parts when a complete overhaul solves the problem.
Weak or Incomplete Nail Drive
If the driver does not fully cycle, the piston bumper (Part #500866) may be flattened or missing. This part absorbs impact and prevents metal-on-metal contact. When worn, the piston loses compression and power. It is a cheap fix but critical for full performance.
Use the Right Rebuild Kit by Brand
Not all kits are the same. Choosing the correct one saves time and avoids ordering wrong parts.
Paslode F-Series Full Rebuild Kit
For Paslode F350S, F250S, F325C, and PF350S models, use Kit #219426 (Premium Rebuild Kit). It includes:
– Cylinder Seal Sleeve (402011)
– Cap Gasket (501001)
– Main Valve Spring (500407)
– Piston Bumper (500866)
– Trigger Valve Assembly (219224)
This kit covers every soft part that wears out. Install it once, and your nailer will last another 5 to 10 years under normal use.
Basic O-Ring Kit for Budget Repairs
If the tool still fires but leaks air, start with a basic O-ring set (around $13.79). It includes:
– 402011 Cylinder Seal
– 501001 Cap Gasket
– 500407 Main Valve Spring
This fixes 80% of air leak cases. But if the nailer has been idle over a year, skip this and go straight to the full kit.
Finish Nailer Kits Are Different
Do not confuse framing and finish nailer kits. The 403700 O-Ring Kit is for Paslode 3250/3200 finish nailers. It includes:
– 402725 Cylinder Seal
– 402707 Gasket Cover
– 405243 Flange Sleeve
Using a finish kit on a framing nailer will result in poor compression and misfires.
Replace the Trigger Valve in 5 Minutes
The trigger valve controls air release. When it fails, the nailer will not fire or leaks air continuously.
Remove Old Trigger Valve
- Disconnect air hose and fire the tool to release pressure.
- Locate the trigger pin (Part #402669) on the side of the handle.
- Use a small punch or nail to drive the pin out.
- Pull the trigger assembly free.
- Remove the retaining ring (Part #402668) and old valve.
Inspect the housing for debris. Clean with compressed air if needed.
Install New Valve Assembly
- Insert the new Trigger Valve Assembly (219224).
- Slide the retaining ring back into place.
- Reinsert the trigger pin until it is flush.
- Test fire with air connected.
Pro Tip: Always replace the trigger valve during a rebuild, even if it seems fine. It is a wear item, and failure causes sudden downtime on the job.
Fix Air Leaks at the Cylinder

Air escaping from the rear cap means the cylinder is not sealing properly.
Disassemble the Cylinder Housing
- Remove the magazine and driver blade.
- Unscrew the rear cap (also called the bumper cap).
- Pull out the piston assembly.
- Locate the cylinder seal sleeve (402011), a rubber ring inside the cylinder tube.
If it is cracked, brittle, or missing, that is your leak source.
Replace the Cylinder Seal
- Use a small pick to remove the old seal.
- Lubricate the new 402011 sleeve with pneumatic tool oil.
- Press it firmly into the groove inside the cylinder.
- Reinstall the piston, bumper (500866), and cap.
Visual Cue: A properly seated seal sits flush and forms a tight ring with no gaps.
Rebuild Any Brand Using Universal Steps

The repair process is nearly identical across Bostitch, Dewalt, Makita, and other brands.
Step-by-Step Rebuild Procedure
- Gather Tools: Small punch, screwdriver, pliers, and pneumatic oil.
- Drain Air Pressure: Disconnect hose and fire tool.
- Remove Trigger Valve: Knock out pin, replace assembly.
- Open Cylinder: Unscrew rear cap, remove piston.
- Replace Wear Parts: Swap out bumper, seal sleeve, cap gasket.
- Lubricate All Seals: Apply light coat of oil before reassembly.
- Reassemble in Reverse Order: Ensure pins and rings are seated.
Time Estimate: 12 to 15 minutes for experienced users. First-time rebuilds take 20 to 25 minutes.
Difficulty Level: Easy (no special tools needed).
Identify Unknown Models Like Craftsman or Husky
Store-brand nailers often lack clear OEM data, making part sourcing hard.
Find the Real Manufacturer
Many Craftsman, Husky, and Porter-Cable nailers are rebranded versions of Bostitch, Paslode, or Hitachi. To identify yours:
– Look for internal part numbers (e.g., 402011, 501001).
– Compare cylinder shape and magazine design to known models.
– Search forums using model number (e.g., Craftsman 351.184200).
Once you confirm it uses Paslode-style parts, use Kit #219426 or equivalent.
Aftermarket Parts Work Fine
You do not need OEM parts. Aftermarket piston drivers (501519) and O-rings (502104) perform just as well and cost 30 to 50% less. High-volume sales (100+ per month) confirm reliability.
Save $300+ vs. Buying New
Repairing beats replacing, economically and practically.
Repair Cost Breakdown
| Item | Cost |
|---|---|
| Premium Rebuild Kit | $18.99 |
| Pneumatic Tool Oil | $5.00 |
| Total | $24.00 |
Even with labor, a full rebuild costs under $50. Compare that to:
– Entry-level nailer: $89.97
– Pro cordless model: $389.00
A $15 kit extends your tool’s life by years. That is a 1,500% return on investment.
When to Replace Instead
Only consider a new tool if:
– The housing is cracked
– The magazine is bent beyond repair
– It is a gas-powered Paslode with failed ignition (complex repair)
For pneumatic models, rebuild first, replace last.
Prevent Future Failures with Simple Maintenance
Avoid repeat repairs with smart upkeep.
Lubricate After Every Use
Add 2 to 3 drops of pneumatic tool oil into the air inlet before connecting the hose. This keeps seals supple and prevents dry friction.
Store Properly
- Drain moisture from the tool and air line.
- Store upright in a dry place.
- Cover the nose to prevent dust buildup.
Rebuild Proactively
If you use the nailer weekly, replace seals every 12 to 18 months. For occasional users, rebuild after any storage over 6 months.
Frequently Asked Questions About Framing Nailer Repair
Why does my framing nailer leak air from the back?
Air leaking from the rear cap usually means the cap gasket (501001) or cylinder seal sleeve (402011) has cracked or lost elasticity. This is common after long storage. Replacing both parts stops the leak.
How long does a framing nailer rebuild take?
A standard rebuild takes about 15 minutes for experienced users. First-timers should budget 20 to 25 minutes. The process requires only basic tools like a punch, screwdriver, and pliers.
Can I use a finish nailer rebuild kit on a framing nailer?
No. Finish nailer kits like the 403700 use different seal sizes (402725, 402707, 405243) designed for 3250/3200 series tools. Using them on a framing nailer causes poor compression and misfires.
Are aftermarket rebuild parts reliable?
Yes. Aftermarket piston drivers (501519) and O-rings (502104) perform comparably to OEM parts at 30 to 50% lower cost. High sales volume (100+ per month) confirms their reliability among users.
When should I replace my nailer instead of repairing it?
Replace only if the housing is cracked, the magazine is bent beyond repair, or it is a gas-powered model with failed ignition. For pneumatic tools, a $15 to $25 rebuild almost always restores full function.
Key Takeaways for Framing Nailer Repair Success

Framing nailer repair is fast, affordable, and essential for anyone who relies on these tools. The universal rebuild process works across Bostitch, Dewalt, Makita, Paslode, and store-brand models. Replacing the trigger valve, all O-rings, and key seals in a single 15-minute session restores factory performance and prevents repeat failures.
Stop treating nailers as disposable. With a rebuild kit and basic tools, every pneumatic framing nailer can deliver decades of reliable service. Next time your tool leaks air or refuses to fire, grab Kit #219426, follow the steps above, and bring it back to life for under $25.