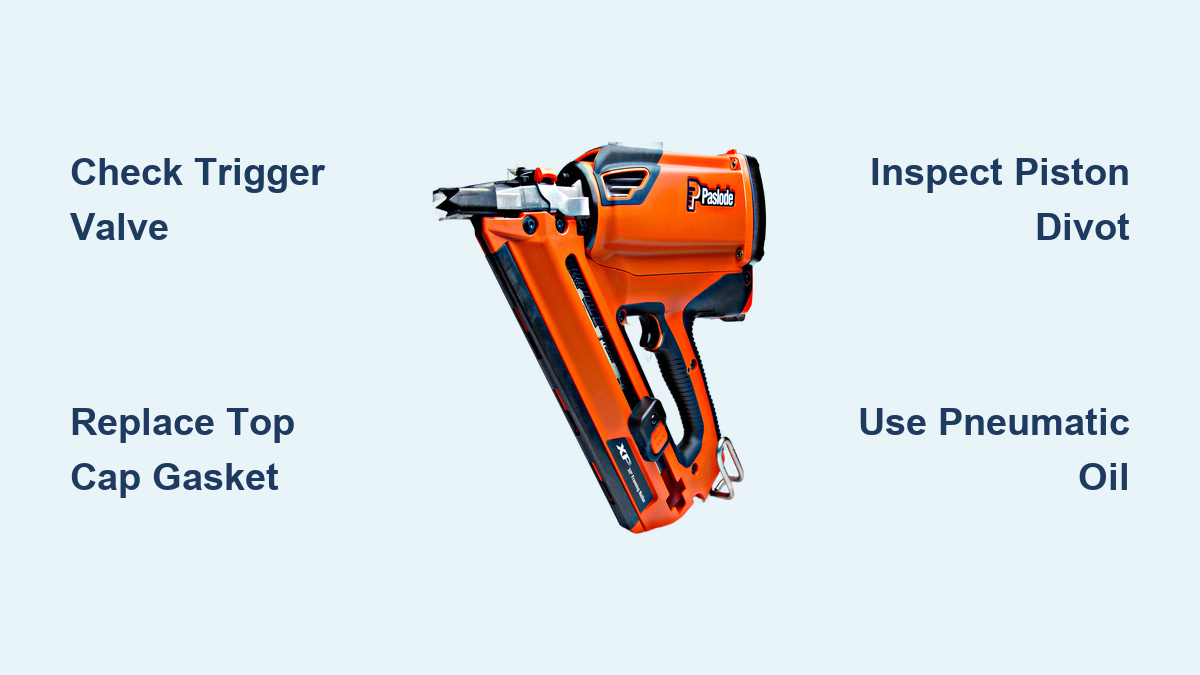
Fix Paslode Framing Nailer Blowing Air
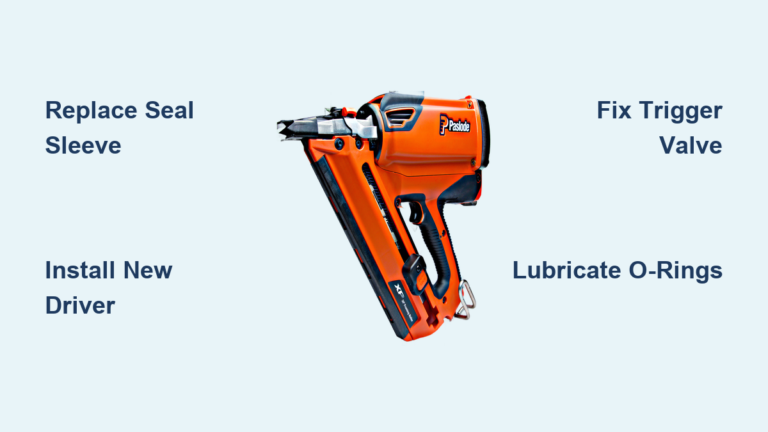
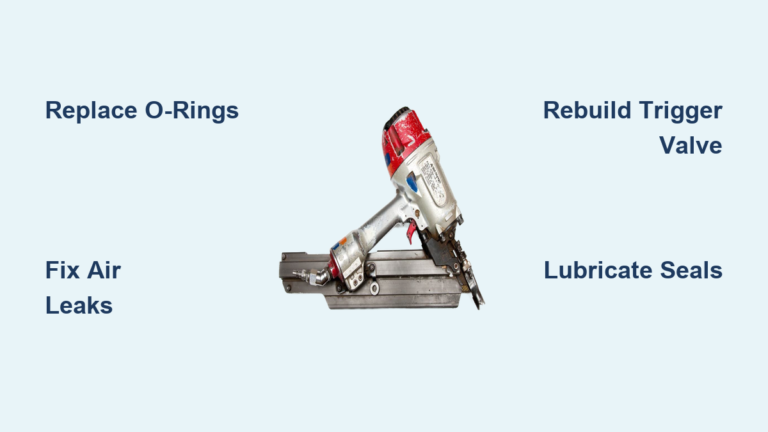
If your Paslode framing nailer is blowing air, you’re not alone. This common issue shows up as hissing, lost driving power, or visible air escaping from the top cap or exhaust. The root causes range from dried seals and missed lubrication to a well-known Paslode-specific flaw: piston surface wear known as “divots.” The good news? Most problems are fixable with basic tools, a repair kit, and the right technique. In this guide, you’ll learn how to diagnose exactly where air is escaping, which components to replace, and how to avoid common mistakes during reassembly. Whether you’re dealing with a weak drive or a constant hiss, we’ll walk you through every step to restore full power and reliability.
Identify Leak Source by Location

Hissing from the Exhaust Port
If air escapes from the exhaust when the trigger is pulled, or even when idle, the trigger valve assembly is likely failing. Worn O-rings or debris inside the valve prevent proper sealing, allowing air to bypass the piston chamber. This causes weak or no firing, even with correct air pressure. To confirm, disconnect the hose, remove the grommet, and tap out the retaining pin (model-dependent). Extract the trigger valve and inspect all O-rings for cracks or flattening. Replace every seal using a model-specific kit. Clean the valve housing thoroughly before reinserting. Reassemble in reverse, ensuring the pin is fully seated. Test with low pressure first.
Air Escaping from Top Cap
Leakage at the top cap signals problems with the piston head valve, its O-rings, or the gasket sealing the cap to the housing. Remove the cap screws and lift off the top cap. Use a pick to pull out the piston head valve. Check for cracks, swollen seals, or missing O-rings. Even if the valve looks intact, replace all rubber seals. Crucially, install a new gasket, as these are single-use. Reusing an old gasket is a top reason for recurring leaks. Apply a light coat of pneumatic tool oil or Vaseline to all O-rings before reassembly. When reinstalling the cap, tighten screws in an alternating pattern, a little at a time, to compress the gasket evenly and prevent warping.
Trigger Area Leaks
Air hissing near the trigger while pulling it, especially with the nose pressed down, often means a failing trigger valve O-ring or misalignment. Unlike exhaust leaks, this may only occur during actuation. Begin by removing the grommet and pin securing the valve. Pull the valve out and inspect the smaller O-rings near the tip and base. These degrade faster due to frequent movement and dry air exposure. Replace all rings, even if only one looks damaged. Clean the valve bore in the housing with a lint-free cloth. Reinstall with fresh lubrication on seals. If the leak persists, check for hairline cracks in the valve body and replace the entire unit if found.
Diagnose by Performance Symptoms
Nails Not Sinking Fully
When your Paslode drives nails but they don’t seat flush, suspect piston ring failure or internal blow-by. Air escapes past the piston instead of building pressure to drive it down. Confirm by removing the top cap and pushing up on the driver blade to extract the piston. Inspect the piston ring for tears, brittleness, or loss of tension. Pry it off with a small screwdriver, walking it around the groove. Install a new ring by hand, lubricating both the piston groove and new ring with tool oil or Vaseline. Do not stretch or force it. Reinstall the piston into the cylinder, ensuring the driver aligns with the housing slot. Replace the top cap gasket and tighten screws crosswise.
Fails on Long Nails Only
If the tool drives 2-inch nails but struggles with 3.5-inch ones, it’s likely losing pressure due to minor air leaks. This threshold effect means the system can’t build enough force for deeper penetration. Start with the piston ring and top cap seals. Also check the cylinder O-rings, located on the outer body of the cylinder. A full rebuild kit includes these. During reassembly, ensure the metal support ring is correctly seated around the cylinder base. Misalignment here causes uneven sealing and power loss. Test with a pressure gauge at the tool inlet and maintain 90–120 PSI. If pressure drops during firing, the leak is internal.
Double Firing Occasionally
Random double shots aren’t always air-related but can stem from valve timing issues caused by seal deformation or debris. If lubrication hasn’t fixed it, disassemble the trigger valve. Clean all ports with compressed air or a small wire. Inspect the valve spring for weakness. Replace all O-rings and ensure smooth movement when reassembled. Avoid over-oiling, as excess oil can trap debris and delay valve return. Cycle the trigger 10–15 times after reassembly to ensure proper function before loading nails.
Address Paslode-Specific Piston Wear

Spot the Piston Divot
A known issue in Paslode stick framing nailers is a wear groove, or “divot,” on the piston surface where the O-ring travels. This divot prevents a proper seal, causing air to blow past the piston even with a new ring. To check, remove the piston and inspect the polished shaft. Look for a visible groove, especially near the top of the O-ring path. Shine a light across the surface to see shadows. If a divot is present, replacing the O-ring alone will not fix the leak. You must replace the entire piston.
Replace with Updated Piston
Paslode issued revised pistons to correct the wear pattern. If your model supports it (common in PowerMaster Plus and older stick framers), source the updated piston part. It may have a different surface coating or geometry to resist divoting. When installing, lubricate the new piston and cylinder bore generously. Reassemble with a full kit, including new cylinder O-rings, support ring, and top cap gasket. This prevents future leaks from adjacent components. After reassembly, test with short nails first, gradually increasing length to verify full power restoration.
Repair Trigger and Valve Systems
Rebuild the Trigger Valve
- Disconnect air supply.
- Remove the rubber grommet from the side of the housing.
- Tap out the retaining pin with a punch (some models have a screw instead).
- Pull the trigger valve straight out.
- Disassemble if possible; some units split into two sections.
- Remove all O-rings and inspect for nicks or swelling.
- Clean the valve body and housing bore with a dry cloth.
- Lubricate new O-rings with pneumatic oil.
- Reassemble the valve and insert back into the housing.
- Reinstall the pin and grommet.
Test for leaks before full use. If the valve sticks or leaks after rebuild, the body may be cracked. Replace the entire assembly if so.
Service the Piston Head Valve
Located under the top cap, this valve directs air to the cylinder. Remove the cap and extract the valve with a pick. Some models allow separation to access internal O-rings. Replace both inner and outer seals. Lubricate lightly before reinserting. If the valve body is cracked or pitted, replace it entirely. Reinstall with a new gasket and tighten screws in a star pattern to avoid misalignment.
Perform a Full Rebuild Correctly
Disassemble in Order
For chronic leaks or tools with unknown history, a full rebuild is best. Start by:
– Removing the top cap and setting aside with new gasket
– Taking off the nose piece and replacing its gasket
– Removing the magazine
– Tapping the cylinder gently with a rubber mallet to loosen it
– Pulling the cylinder out with the piston inside
– Separating the piston from the cylinder by pushing the driver through
Label parts as you go. Clean all metal surfaces with a degreaser and dry cloth. Remove old gasket residue from mating surfaces.
Replace All Seals and Rings
Use a complete rebuild kit. Replace:
– Piston ring
– Cylinder O-rings (grease before install)
– Trigger valve O-rings
– Piston head valve O-rings
– Top cap gasket
– Nose piece gasket
– Metal support ring (critical for alignment)
Do not skip any component, even if it looks fine. Age degrades rubber invisibly.
Reassemble with Precision
- Slide the new support ring onto the cylinder.
- Insert the piston into the cylinder, driver down.
- Align the driver tip with the housing slot.
- Press the cylinder into the housing until seated.
- Install the nose piece with a new gasket, tightening screws alternately.
- Place the top cap with new gasket, tightening bolts in a cross pattern.
- Reinstall the trigger valve and pin.
- Reattach the magazine.
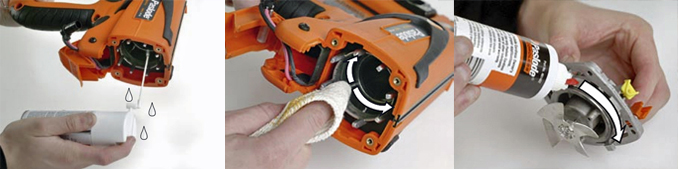
Lubricate the air inlet with 5–6 drops of pneumatic oil before connecting air.
Prevent Future Air Leaks
Oil After Every Use
The number one cause of dried seals and air leaks is improper lubrication timing. Never oil only before use. Instead, oil at the end of the day. This keeps seals coated during storage. After adding oil, fire a few dummy cycles (without nails) to distribute it through internal channels. For daily use, oil once per shift. For occasional use, oil before and after each project.
Never Reuse Gaskets
Top cap and nose piece gaskets are single-use. Reusing them creates immediate leaks. Always install a fresh gasket when reassembling. Keep spare kits on hand, as most cost under $20.
Store with Protection
For tools stored over 30 days:
– Oil the inlet generously
– Store in a dry, temperature-stable area
– Before reuse, add 5 drops of oil and cycle the trigger 10 times
Avoid long-term storage without lubrication, as seals harden and crack.
Use Correct Oil Type
Only use pneumatic tool oil. Do not substitute motor oil, WD-40, or silicone spray. These can degrade rubber seals or attract debris. Check your model’s manual. Some newer nailers are oil-free, but Paslode framing models require oil.
When to Replace the Tool
If your Paslode has a divoted piston and no updated part is available, or if the housing is cracked, repair may not be cost-effective. Compare rebuild kit cost (typically $30–$50) to a refurbished unit. If you’ve replaced all seals twice and leaks return immediately, internal wear may be beyond economical repair. However, most Paslode framing nailers respond well to a full rebuild with updated parts. Technicians report fixing “box fulls” of these tools, which is proof that air leaks are usually solvable.
Frequently Asked Questions About Paslode Framing Nailer Air Leaks
Why is my Paslode framing nailer hissing but not firing?
A hissing sound without firing typically points to a failing trigger valve assembly or worn O-rings inside the valve. Air bypasses the piston chamber instead of building pressure to drive the nail. Inspect the trigger valve O-rings and replace them using a model-specific kit.
Can I reuse the top cap gasket on my Paslode nailer?
No. Top cap gaskets are single-use items. Once you remove the top cap, the old gasket must be discarded and replaced. Reusing a gasket almost guarantees recurring air leaks, even if the seal looks intact.
What causes the piston divot issue in Paslode nailers?
The piston divot is a documented wear groove that develops on the piston surface where the O-ring travels. This prevents proper sealing even with a new ring. Paslode addressed this with updated piston designs for affected models like the PowerMaster Plus and older stick framers.
How often should I oil my Paslode framing nailer?
Oil at the end of each workday, not just before use. This keeps seals coated during storage. For heavy daily use, oil twice per day. Always use pneumatic tool oil, never substitutes like WD-40 or motor oil.
Why does my nailer drive 2-inch nails but fail on 3.5-inch ones?
This threshold effect indicates minor air leaks that prevent the system from building enough pressure for longer fasteners. Check the piston ring, top cap gasket, and cylinder O-rings. Maintain 90–120 PSI at the tool inlet for optimal performance.
Is it worth rebuilding an old Paslode framing nailer?
In most cases, yes. Rebuild kits typically cost $30–$50 and restore like-new performance when all seals and gaskets are replaced. However, if the piston is divoted and no updated part exists, or if the housing is cracked, replacement may be more economical.
Key Takeaways for Fixing Your Paslode Framing Nailer
A Paslode framing nailer blowing air is rarely a death sentence. By diagnosing the leak location, replacing worn seals, and following correct reassembly practices (especially using new gaskets and tightening in a cross pattern) you can restore full power. Pay special attention to the piston divot issue in older stick models, since standard O-ring replacement won’t solve that specific failure. With proper end-of-day lubrication and consistent maintenance, your nailer will deliver reliable performance for years. Start by identifying where the air escapes, then work through the corresponding repair steps in this guide.