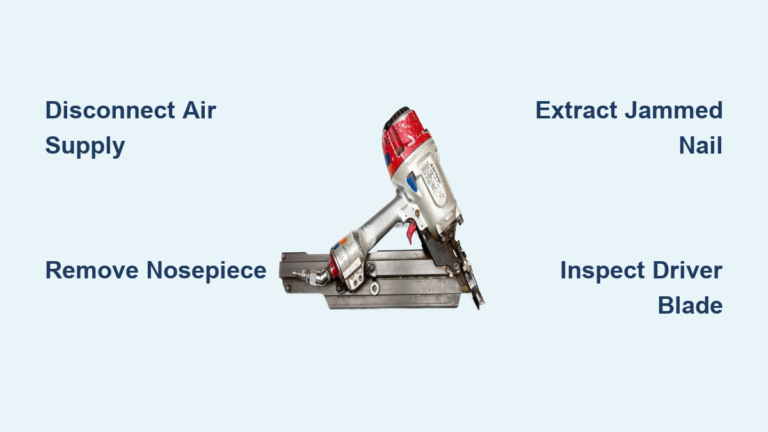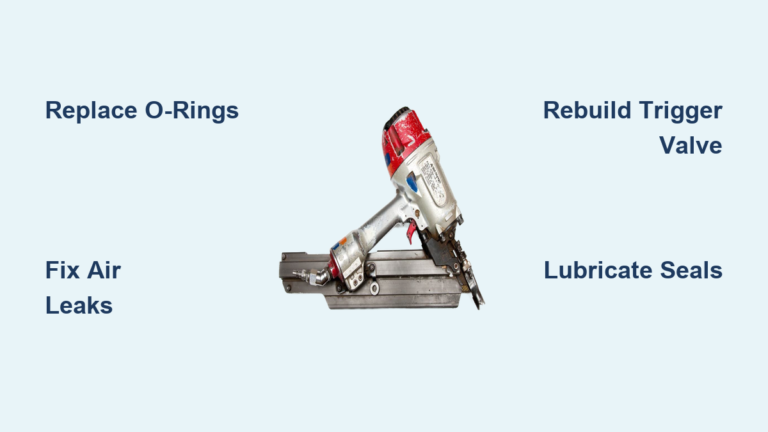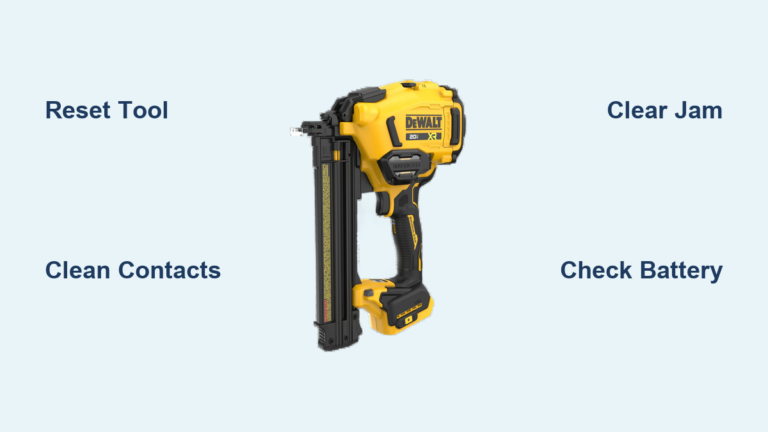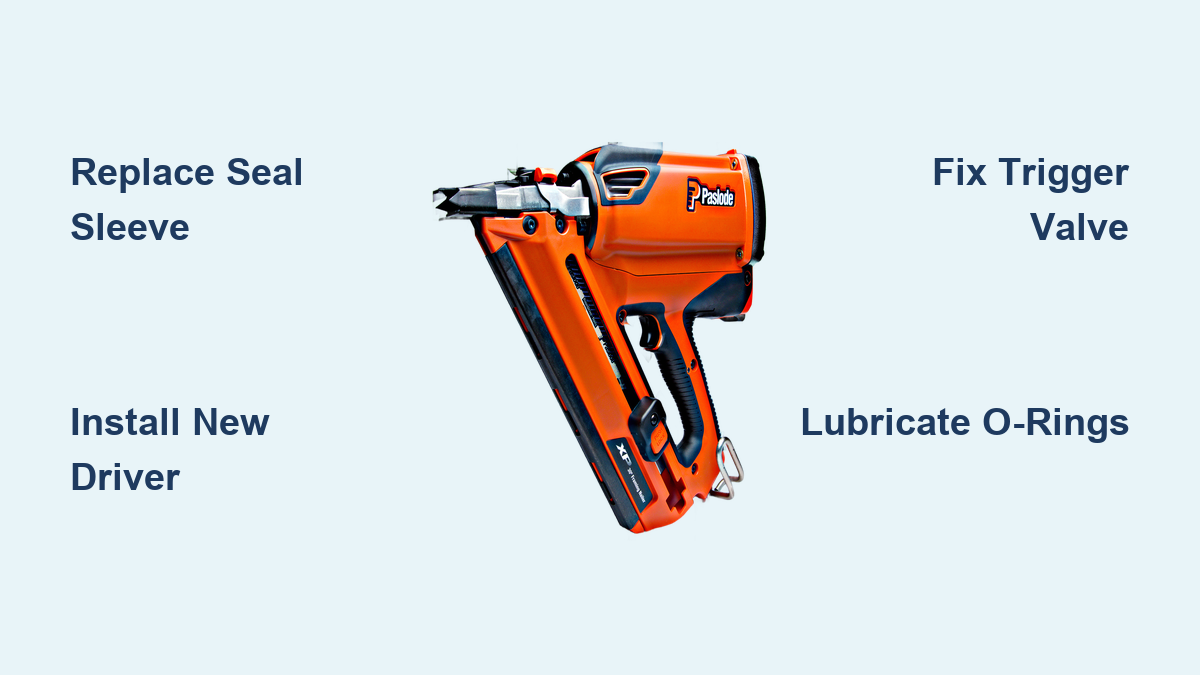
Fix Paslode Framing Nailer: Quick Repair Steps
Few things stall a framing crew faster than a nailer that won’t fire. If your Paslode is losing power, leaking air, or double-firing on the job, the problem is almost always a handful of worn parts. Whether you run the cordless 900420 or a pneumatic F350S, most Paslode framing nailer repair work comes down to replacing seals, drivers, or trigger components with the right kit.
This guide walks you through the entire Paslode framing nailer repair process. You’ll learn how to diagnose symptoms, choose between OEM and aftermarket parts, and complete the most common fixes without paying for shop labor. By the end, you’ll know which kits deliver real value and which cheap parts to avoid.
Diagnose Common Failure Signs Before Disassembly

Jumping straight into teardown wastes time. Match your symptoms to the most likely worn component first.
Low Power and Air Leaks
Sluggish driving or nails that don’t seat fully usually mean air is escaping somewhere in the cylinder. Listen for a hissing sound near the barrel or head during firing.
The three parts responsible for most pneumatic power loss are:
- Cylinder Seal Sleeve (402011): The most frequent failure point. A split or misaligned sleeve lets air slip past the piston.
- Cap Gasket (501001): A hardened or compressed gasket under the cylinder head causes leaks at the top.
- Main Valve Spring (500407): A weak or broken spring delays valve reset and slows cycling.
Trigger Misfires or Double-Firing
Erratic trigger response, including no fire, delayed fire, or multiple nails per pull, points to the trigger valve assembly. Internal seals wear out and debris clogs the small air passages.
The trigger pin (402669) and retaining ring (402668) can also loosen over time, preventing proper actuation. Be cautious with aftermarket trigger kits under $15; quality varies dramatically, and some fail within weeks.
Bent or Weak Nail Strikes
When nails bend on impact or only partially drive, the driver blade is usually worn or chipped. Inspect the piston driver (501519) for a mushroomed tip, deep scoring, or a torn O-ring (502104). Dry-firing the tool without nails loaded is the leading cause of this type of damage.
Repair Cordless Paslode Models (900420 and 404400)
Cordless Paslode nailers use internal combustion, so maintenance focuses on cleaning carbon buildup and replacing ignition components rather than seals.
Use the Paslode 219305 Maintenance Kit
The 219305 cordless repair kit is the only complete solution designed for these models. At $29.38, it includes everything needed for a full service:
- 12 oz. specialized cleaner
- 0.33 oz. impulse oil
- Replacement spark plug
- Air filter element
- Cylinder head O-ring
- Fuel cell adaptor stem
- Instruction sheet
This kit fits the 900420 (2010+) and 404400 (1995–1998) models. The cleaner carries a California Prop 65 warning, so work in a ventilated area and avoid skin contact.
Clean the Combustion Chamber
- Remove the cylinder head using a socket wrench.
- Spray cleaner into the chamber and let it soak for 5–10 minutes.
- Scrub gently with a brass brush to loosen carbon deposits.
- Wipe dry with a lint-free cloth. Never use steel wool, as fragments can damage the chamber.
Replace Key Wear Components
After cleaning, swap in the new spark plug, air filter, and cylinder head O-ring. Apply a few drops of impulse oil to the piston and cylinder walls to restore lubrication. The full process takes 30–45 minutes and requires no special tools.
Fix Pneumatic Paslode Models (F350S, F250S, F325C)
Pneumatic models share many internal components, which makes parts widely interchangeable across the F-series and 5300 line.
Identify Your Exact Model
Check the nameplate near the magazine or handle. The F350S, F250S, F325C, 5325/80, and 5350/90S all use the same core seal and driver parts. If your model isn’t listed, cross-reference with Duo-Fast 250MC or 500855 series; Paslode kits often fit these too.
Take a photo of the nameplate before disassembly in case the label fades or gets damaged during the rebuild.
Replace Critical Seals and Springs

Air leaks are the number one issue in pneumatic nailers. Start your rebuild with these three components.
Install the Cylinder Seal Sleeve (402011)
- Remove the cylinder cap and slide out the piston.
- Extract the old sleeve using needle-nose pliers or a pick.
- Lubricate the new sleeve with tool oil and press it into the cylinder bore.
- Ensure the flared end faces outward.
A misaligned sleeve causes immediate air leaks and can score the piston. Take your time with this step.
Fit the Cap Gasket (501001)
Place the new gasket between the cylinder and cap. Tighten the cap bolts evenly in a crisscross pattern to 18–22 in-lbs. Check the cap for flatness before installation; a warped cap will never seal properly even with a new gasket. Cap gaskets are high-volume sellers, so buying a 2-pack for around $7.77 keeps spares on hand.
Seat the Main Valve Spring (500407)
Access the valve through the rear exhaust port. Compress the spring and verify it seats fully on the valve stem. Press the valve manually; it should snap back quickly. Slow cycling or failure to fire in bump mode usually traces back to this spring.
Upgrade the Piston Driver (501519)

A worn driver reduces striking force and risks damaging the cylinder wall. The aftermarket 501519 driver is one of the best values in Paslode framing nailer repair, consistently rated 4.9 out of 5 stars at $20.50–$21.99.
Remove the Old Driver
- Drive out the retaining pin using a 3/32″ punch.
- Slide out the driver and inspect for a chipped tip, deep scoring, or a torn O-ring.
Never force a bent driver out of the bore. Forcing it can scratch the cylinder and create a leak path that no seal kit will fix.
Install the New Driver
The aftermarket driver typically comes with a new 502104 O-ring. Always replace it. Lubricate the O-ring with silicone grease before insertion, then reinsert the retaining pin and confirm it’s fully seated. Aftermarket drivers often perform better than OEM due to improved heat treatment during manufacturing.
Replace the Piston Bumper (500866)
The bumper cushions the piston’s impact at the end of each stroke. A worn bumper leads to metal-on-metal contact and eventual cylinder damage.
Inspect the bumper at the base of the cylinder. Replace it if it’s cracked, flattened, or missing chunks. At $9.89 with a 4.8-star rating, this is an inexpensive safeguard against catastrophic failure.
Press the new bumper in until flush and lubricate lightly with tool oil. A missing bumper can crack the cylinder base, which usually means full tool replacement.
Fix Trigger Valve Issues Safely
The trigger valve controls firing and is the most complex assembly in the tool. Repair kits range from $12 to $85, and the price gap reflects real quality differences.
OEM vs Aftermarket Trigger Kits
| Option | Price | Rating | Best For |
|---|---|---|---|
| Paslode 219224 (OEM) | $85.00 | 4.5 stars | Pros and high-use tools |
| High-Rated Aftermarket | $15.11 | 4.6 stars | DIYers and moderate use |
| Low-Cost Aftermarket | $11.99 | 1.0–3.2 stars | Avoid; high failure rate |
Cheap trigger kits often leak or fail within months due to poor seal machining. For professional use, the OEM kit or a highly-rated specific brand is worth the investment.
Replace the Trigger Assembly
- Remove the trigger pin (402669) and retaining ring (402668).
- Extract the old valve from the housing.
- Install the new valve, aligning ports and seals carefully.
- Reassemble and test off-load before returning the tool to service.
If the valve leaks at the trigger after installation, disassemble and check O-ring alignment before assuming the part is defective.
Choose the Right Rebuild Kit
Match your repair depth to the correct kit to avoid buying parts you don’t need.
Basic Seal Kit ($14–$16)
Includes the 402011 sleeve, 501001 gasket, and 500407 spring. This kit fixes air leaks and weak firing and is the best starting point for first-time repairs. Ratings run 4.1–4.3 stars.
Full Overhaul Kit ($32–$35)
Adds the piston bumper, driver, and O-rings to the basic kit. This option saves time on older tools with multiple worn components. Watch ratings carefully; some kits drop to 3.3 stars due to poor instructions.
Cordless Maintenance Kit ($29.38)
The 219305 kit is non-negotiable for 900420 and 404400 models. It addresses combustion-specific issues that pneumatic kits can’t touch.
Avoid Common Repair Mistakes
Even experienced users make errors that shorten tool life. Watch for these pitfalls.
Misaligning the Seal Sleeve
The 402011 sleeve must sit flush and oriented correctly. An off-center sleeve causes air leaks and piston scoring within minutes of use.
Over-Tightening the Cylinder Cap
Use a torque screwdriver or calibrated wrench. The maximum torque is 22 in-lbs. Over-tightening warps the cap or crushes the new gasket.
Skipping Lubrication
Apply impulse oil to cordless models or pneumatic tool oil to pneumatics on all O-rings, the piston, and the valve stem. Do this every 5,000 nails or after any cleaning.
Reusing Old O-Rings
Rubber degrades with heat and age. Always replace O-rings during a rebuild, even if they look intact. The cost is minimal compared to the risk of a repeat failure.
Source Reliable Parts by Model
Use this quick-reference list to find the right parts without guessing.
F350S, F250S, F325C
- Seal Sleeve (402011): $9.99
- Cap Gasket (501001): $7.77
- Main Spring (500407): $8.99
- Driver (501519) with O-ring (502104): $21.99
- Bumper (500866): $9.89
- Trigger Valve (219224 OEM): $85.00, or high-rated aftermarket around $15
Cordless 900420 and 404400
- Maintenance Kit (219305): $29.38
- Spark plug, filter, and impulse oil are included in the kit. Do not substitute generic alternatives.
5300 Series and PSN Models
These use the same 402011 sleeve and 501001 gasket as the F-series. Check for 5300-specific O-ring kits if standard seals don’t fit properly.
Prevent Future Failures
A few habits extend your nailer’s life significantly.
Clean After Every Job
Blow out debris from the nose, magazine, and exhaust. Wipe down the housing to prevent grime buildup around moving parts.
Drain Moisture from Air Lines
Use a coalescing filter on your compressor and drain the nailer’s air fitting after each use. Moisture causes internal rust and degrades seals faster than anything else.
Never Dry-Fire
Firing without a nail accelerates driver and bumper wear. The only exception is a single test shot after completing a repair.
Store Properly
Keep the tool in a dry place and apply light oil to metal surfaces if storing for more than a few weeks.
Frequently Asked Questions About Paslode Framing Nailer Repair
What is the most common Paslode framing nailer repair issue?
Air leaks from a worn cylinder seal sleeve (402011) are the most frequent problem. This single part causes the majority of power-loss complaints in pneumatic F-series models.
Can I use aftermarket parts for Paslode framing nailer repair?
Yes, but quality varies. Aftermarket piston drivers (501519) and bumpers (500866) perform reliably at 4.8–4.9 stars. Trigger valves are riskier; cheap kits often fail within months, so stick with OEM or highly-rated brands for that component.
How often should I service my Paslode nailer?
Lubricate every 5,000 nails or after any cleaning session. Perform a full seal inspection every 25,000–50,000 nails, depending on usage intensity and environmental conditions.
Is the 219305 kit necessary for cordless models?
Yes. Cordless Paslode nailers rely on internal combustion, and no other kit addresses carbon buildup, spark plug wear, and fuel filtration together. The 219305 is the only complete maintenance solution for the 900420 and 404400.
How long does a typical Paslode framing nailer repair take?
Most seal and driver replacements take 30–60 minutes. A full overhaul with trigger valve service can run 90 minutes for a first-time repair. Experienced users complete these jobs faster.
Where can I find Paslode part numbers for older models?
Cross-reference with Duo-Fast 250MC or 500855 series, which share many components. The nameplate photo trick also helps when contacting parts suppliers about discontinued models.
Key Takeaways for Successful Paslode Framing Nailer Repair
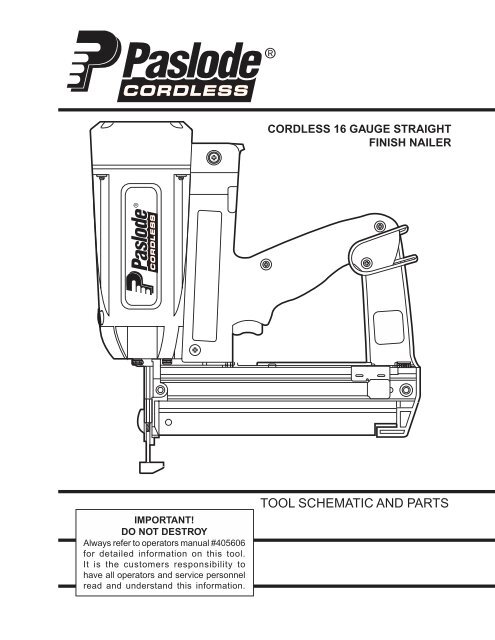
Most Paslode framing nailer problems trace back to just a few worn parts: seals, drivers, and trigger valves. Start your diagnosis by matching symptoms to these components before opening the tool. For pneumatic models, a basic seal kit ($14–$16) handles the majority of issues. For cordless models, the 219305 kit is the only real option.
Invest in quality parts where it matters. The aftermarket driver and bumper deliver OEM-level performance at a fraction of the cost, but the trigger valve is where cheap parts fail fast. Spend the extra money on that component if you rely on your tool professionally.
Your next step is to identify your exact model using the nameplate, then order the appropriate kit based on your symptoms. With the right parts and careful reassembly, you can restore full power and reliability in under an hour and keep your Paslode framing for years to come.