Fix DeWalt Nailer Flashing Light
If your DeWalt cordless nailer is flashing a light and won’t fire, you’re not alone. This is a common issue across DeWalt’s 20V models, especially the DCN692B and DCN690, where a blinking LED signals that the tool has detected a fault and shut down to prevent damage. The flashing light is your tool’s way of communicating what’s wrong, but without knowing what the signal means, it can stop your work in its tracks.
The most critical thing to understand is that the flash pattern isn’t random. It’s diagnostic. A flashing left light typically points to a power issue, while a flashing right light usually means a mechanical jam or motor lockup. In many cases, the tool remains silent when triggered, with no motor spin or hammer action, often accompanied by nails hanging up in the feed system. The good news? Over 80% of flashing light problems are resolved with simple troubleshooting like resetting the tool, cleaning contacts, or clearing a jam.
Decode the Flashing Light Pattern
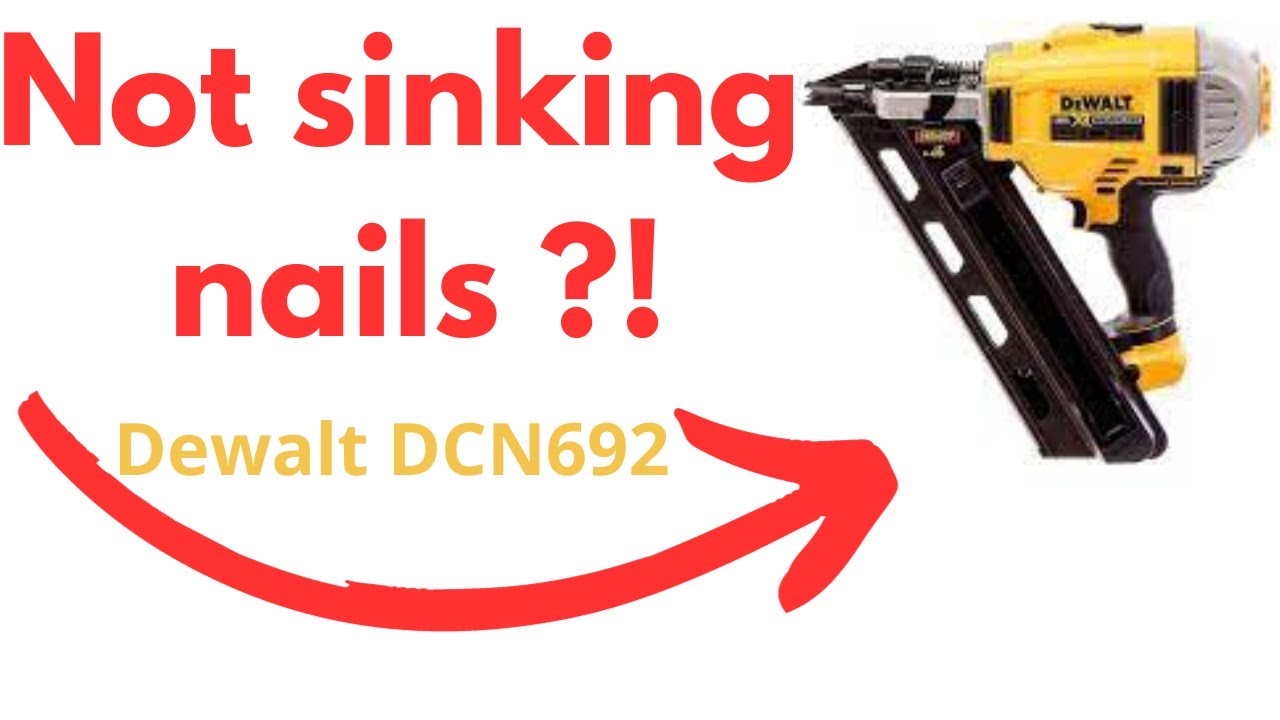
DeWalt uses a dual-LED system on the rear of the nailer to communicate faults. Knowing which light is flashing tells you where to start.
Left Light Flashing: Power Problem
A flashing left LED means the tool detects insufficient power. This doesn’t always mean your battery is dead. It could be a connection issue, weak output, or failing cells.
Common causes include:
– Low or failing battery – Even if it shows charge, it may lack the burst power to fire.
– Dirty or corroded contacts – Oxidation on battery or tool terminals blocks current.
– Loose battery seating – If the battery isn’t fully locked in, the connection is intermittent.
Pro tip: Always test with a fully charged, known-good battery before assuming the tool is faulty.
Right Light Flashing: Mechanical Jam
A flashing right LED indicates a physical obstruction. Something is preventing the driver blade or motor from moving.
Triggers include:
– Nail jam in the nose or magazine
– Debris or broken nail fragments stuck in the feed path
– Motor lockup due to worn brushes or internal binding
Even a small piece of metal shavings can trigger this error. Never force the trigger when the right light flashes, as this can damage the motor.
Alternating or Rapid Flashes: Electronic Fault
Some models use complex flash sequences to signal deeper issues:
– Alternating left/right flashes may indicate a control board fault.
– Three quick flashes could mean overheating or a sensor error.
– No flash at all with no power? Check battery and contacts first.
Always consult your model’s manual (e.g., page 9 of DCN692B manual N329480) for exact code definitions.
Perform a Hard Reset

If the light is flashing and the tool won’t fire, start here. An electronic lockup is common after rapid firing, voltage drops, or storage.
Remove Battery and Wait
- Pull the battery out completely.
- Let the tool sit for 5–10 minutes to drain residual power from internal capacitors.
- During this time, inspect the battery and tool contacts.
This reset clears the control board’s memory and often resolves phantom errors.
Reinsert Battery Firmly
After the wait:
– Wipe contacts clean (see next section).
– Slide the battery in until it clicks securely.
– Test the tool with safety engaged and nails loaded.
Many users report success after just this step, especially if the tool sat unused for weeks.
Clean Battery and Tool Contacts
Poor electrical connection is a top cause of flashing lights. Even slight corrosion can block the high current needed to drive nails.
Inspect for Corrosion
Check both:
– Battery terminals – Look for black spots, greenish tint, or pitting.
– Tool receptacle contacts – Shine a light inside; debris hides in corners.
If the tool was stored in a humid or dusty environment, contamination is likely.
Clean With a Pencil Eraser
Use a standard rubber pencil eraser:
1. Gently rub each metal contact on the battery.
2. Do the same for the tool’s terminal slots.
3. Wipe away residue with a dry, lint-free cloth.
The eraser removes oxidation without scratching metal, making it far safer than sandpaper or chemicals.
Test With a Second Battery
If possible, try a different DeWalt 20V battery:
– If the second battery works, your original is weak or failing.
– If the problem persists, the issue is in the tool.
This simple test isolates power versus tool faults.
Clear Mechanical Jams
If the right light is flashing, or nails are hanging up, a jam is likely.
Empty the Magazine
- Release the magazine latch.
- Remove all nails.
- Shake out loose fragments.
Inspect the channel for bent nails, rust, or debris that could block feeding.
Blow Out the Nose and Feed Path
Use compressed air:
– Aim into the nose piece and magazine opening.
– Fire short bursts to dislodge dust, shavings, or tiny metal bits.
Never use metal tools to probe the nose, as this can damage internal sensors.
Check the Driver Blade Movement
On some models:
1. Remove the nose cap (if user-serviceable).
2. Look down into the chamber.
3. Manually press the driver blade up and down.
It should move smoothly. If it’s stuck or binds, there’s an internal obstruction. If you feel resistance, do not force it. Seek professional service instead.
Inspect Motor Brushes
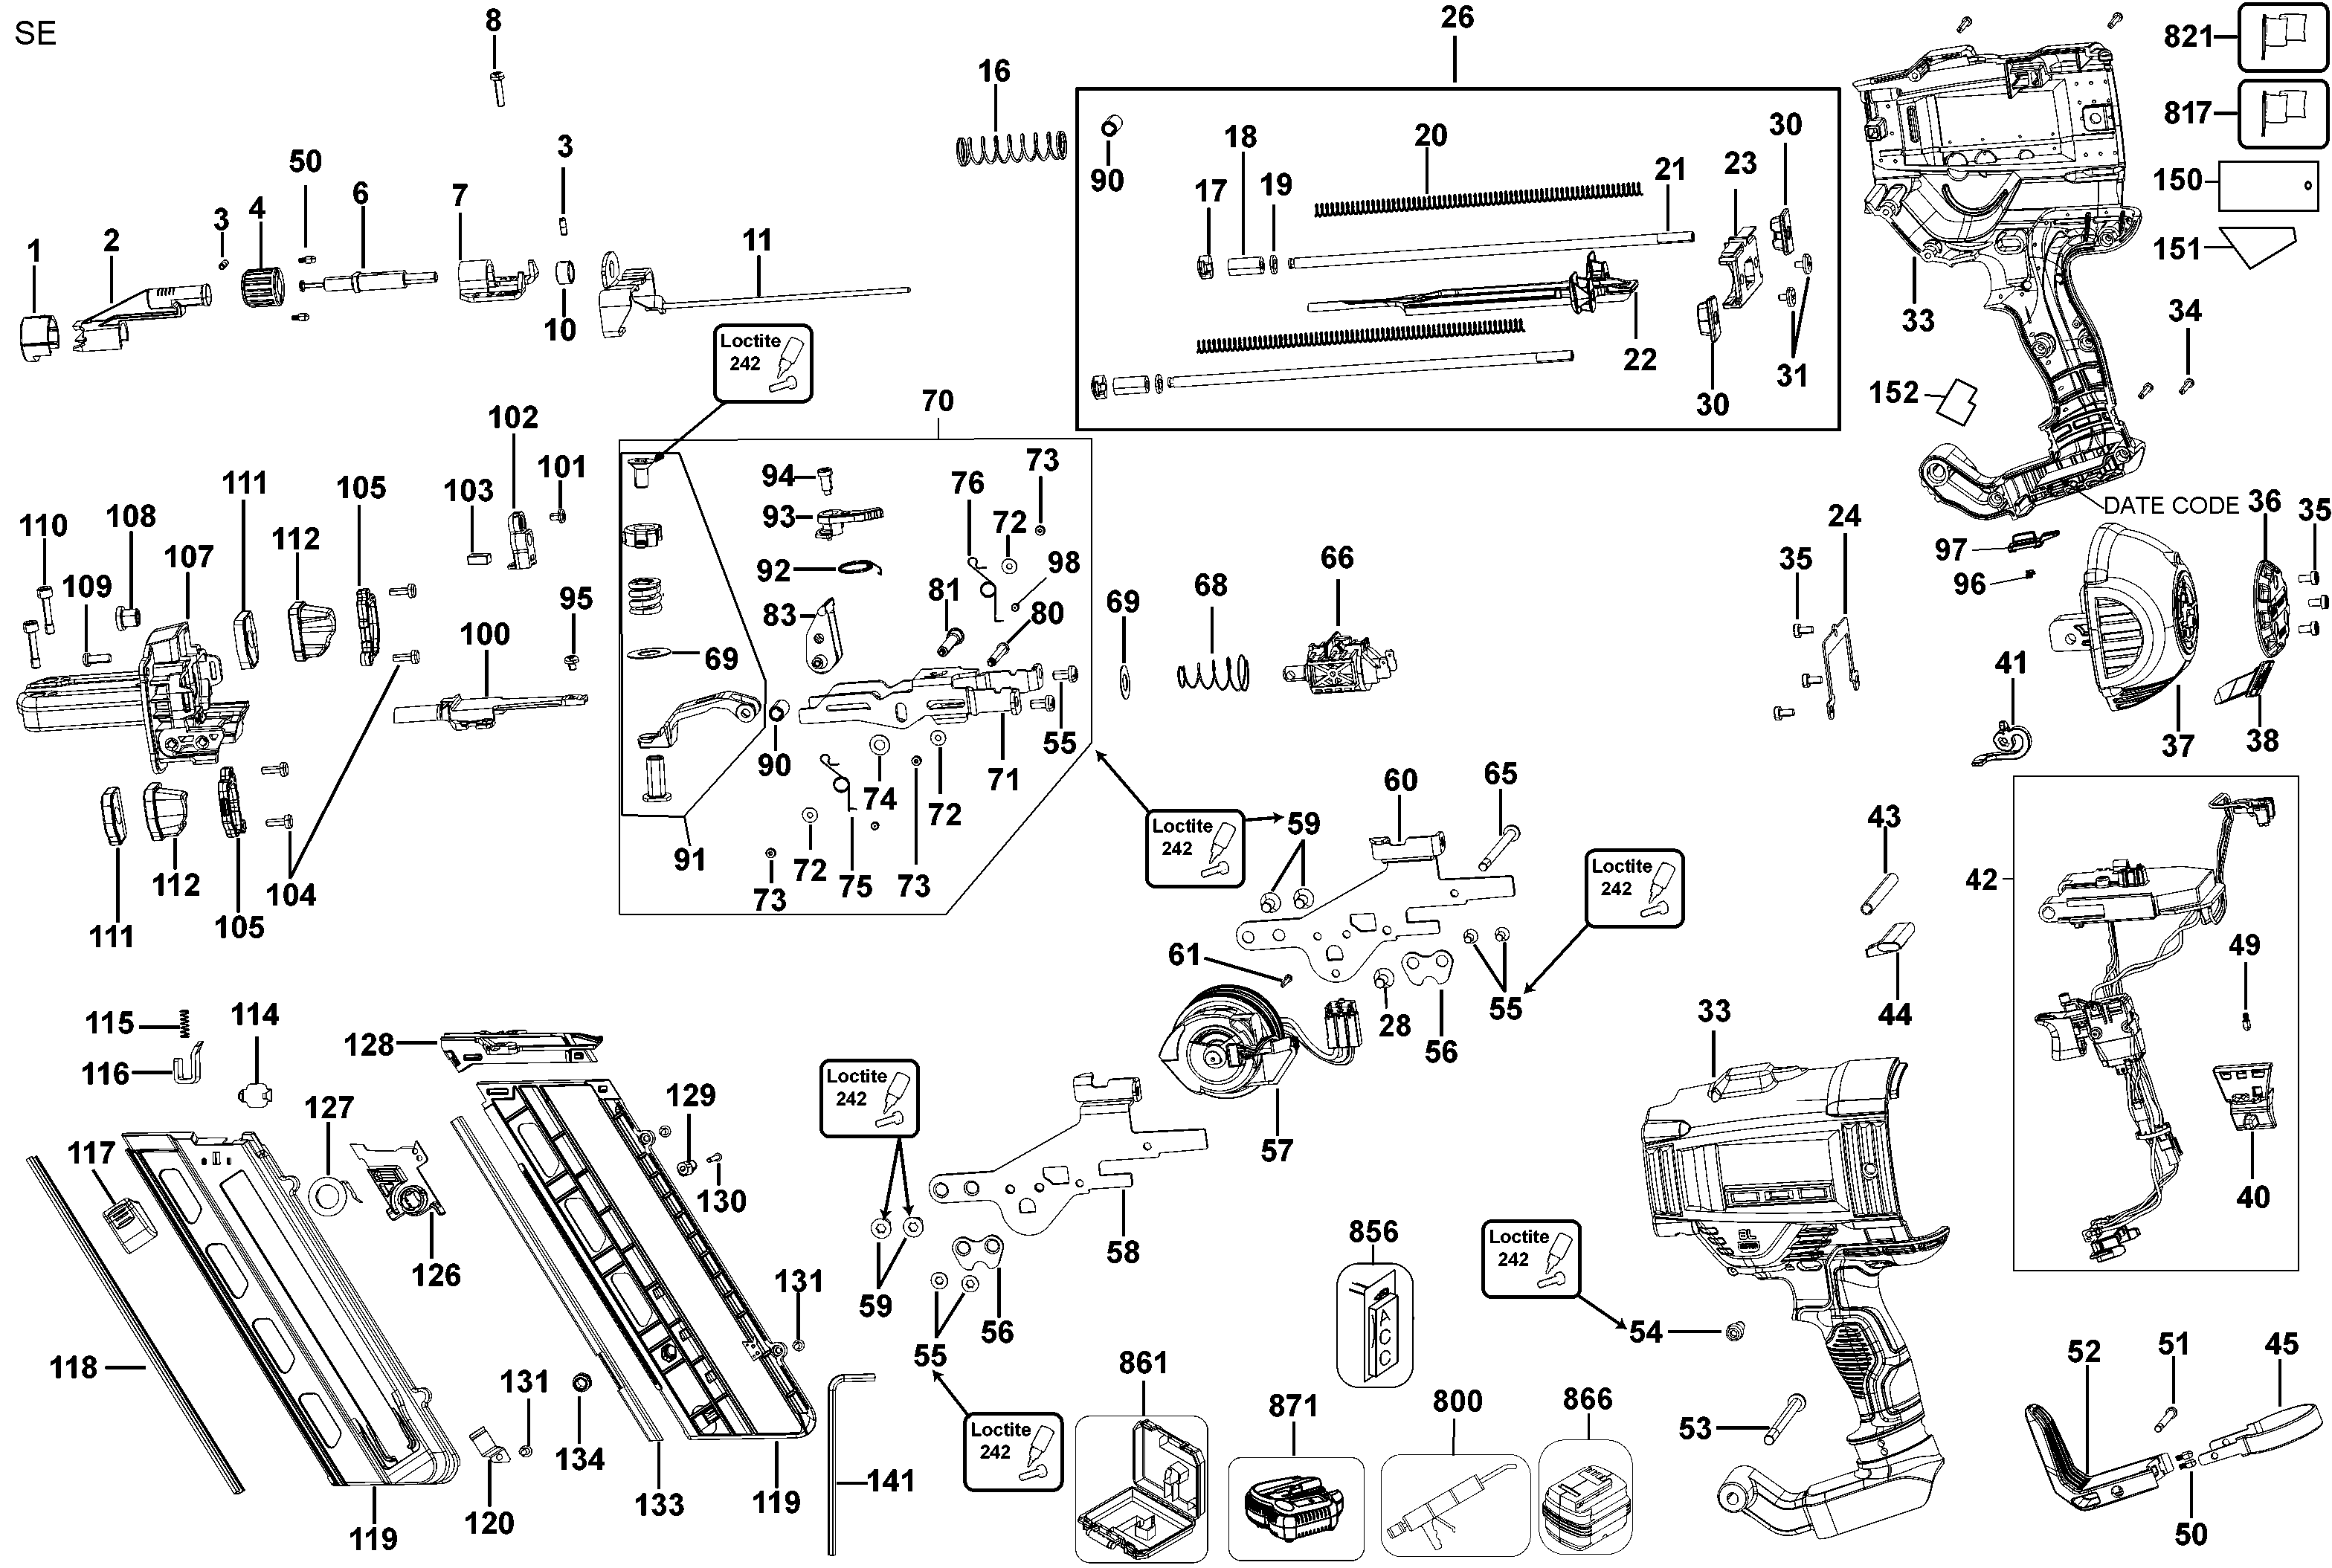
Worn motor brushes are a hidden cause of flashing lights and motor failure, especially in older tools.
When to Check Brushes
Consider this if:
– The tool has fired thousands of nails.
– It occasionally sputters before failing.
– The right light flashes but no jam is visible.
Brush wear increases electrical resistance, mimicking a jam.
How to Access Brushes
Refer to your manual for disassembly steps. Generally:
1. Remove the motor housing screws.
2. Slide out the motor assembly.
3. Locate the brush caps (usually on the motor sides).
Replace brushes if:
– They’re shorter than 1/4 inch.
– They’re chipped or uneven.
– There’s excessive carbon dust inside.
Use OEM DeWalt replacement brushes only.
Test Trigger and Wiring

A faulty trigger can prevent the firing signal from reaching the control board.
Listen for Click
When you pull the trigger:
– You should hear a faint electrical click from the switch.
– No sound? The switch may be dead.
Check for Intermittent Fire
Try pulling the trigger slowly:
– Does the tool fire only at a certain point?
– Does it cut out when wiggling the cord (if applicable)?
These are signs of internal switch wear or loose wiring.
Inspect Internal Wiring
If you’re comfortable opening the tool:
– Look for frayed, pinched, or disconnected wires.
– Pay attention to the path near the trigger and battery compartment.
Vibration can loosen connections over time.
Prevent Future Flashing Light Errors
Avoid repeat issues with simple maintenance habits.
Clean Contacts Monthly
Make it part of your routine:
– Wipe battery and tool terminals every 4 weeks.
– Do it more often in dusty or outdoor conditions.
Rotate and Store Batteries Properly
- Don’t leave batteries fully drained in storage.
- Store at 40–60% charge in a cool, dry place.
- Rotate between spares to extend lifespan.
Keep the Magazine Clear
After each job:
– Empty unused nails.
– Blow out dust with air.
– Check for bent nails before reloading.
Avoid Dry Firing
Never pull the trigger without a nail:
– It stresses the driver blade.
– Can trigger false jam codes over time.
When to Seek Professional Repair
If you’ve tried all steps and the light still flashes, the fault is likely internal.
Signs You Need Service
Seek authorized DeWalt repair if:
– Motor windings are burned out.
– Control board is damaged.
– Internal gears or driver blade are broken.
These require diagnostic tools and are not user-repairable.
Warranty Coverage
DeWalt offers:
– 3-year limited warranty
– 1 year of free service
– 90-day money-back guarantee
If your tool is under warranty, contact DeWalt or visit an authorized service center. DIY repairs void the warranty.
Find a Service Center
Use the DeWalt Service Locator to find certified technicians near you. Bring your proof of purchase.
Frequently Asked Questions About DeWalt Nailer Flashing Lights
What does a flashing light on a DeWalt nailer mean?
A flashing light is a diagnostic signal indicating the tool has detected a fault. A flashing left LED typically means a power or battery issue, while a flashing right LED signals a mechanical jam or motor stall.
Why is my DeWalt nailer flashing but not firing?
The tool detects a fault and shuts down to prevent damage. Common causes include a weak battery, dirty contacts, a nail jam, or an electronic control board lockup.
How do I reset my DeWalt cordless nailer?
Remove the battery and let the tool sit for 5 to 10 minutes. This drains residual power and forces the control board to reboot. Reinsert the battery firmly and test.
Can I fix a DeWalt nailer flashing light myself?
Yes, in most cases. Approximately 80% of flashing light issues are resolved by performing a hard reset, cleaning the battery contacts, or clearing a nail jam.
How do I clean the contacts on my DeWalt battery and nailer?
Use a dry pencil eraser to gently scrub the metal terminals on both the battery and the tool. Wipe away residue with a lint-free cloth. Avoid sandpaper or liquid cleaners.
When should I take my DeWalt nailer in for service?
If the light continues flashing after a reset, contact cleaning, and jam clearing, the fault is likely internal. Burned motor windings or a damaged control board require authorized DeWalt repair.
Key Takeaways for Fixing Your DeWalt Nailer Flashing Light
A flashing light on your DeWalt nailer is a diagnostic message, not a death sentence. Start by identifying which LED is flashing: left means power, right means mechanical. In most cases, a simple hard reset combined with contact cleaning resolves the issue within minutes.
If the right light is flashing, focus on clearing jams and inspecting the magazine and nose piece. For persistent problems, check the motor brushes and trigger wiring before assuming the worst.
Keep your tool performing reliably by cleaning contacts monthly, storing batteries at partial charge, and avoiding dry firing. These small habits prevent most flashing light errors before they start. If all else fails, DeWalt’s warranty and service network have you covered.