How to Fix Ryobi Stapler Not Firing
You’re ready to finish your trim work, battery’s charged, staples loaded, yet your Ryobi stapler refuses to fire. You press down, nothing happens. No sound, no staple, no progress. Frustrating? Absolutely. But before you call customer service or return the tool, know this: most “faulty” Ryobi staplers aren’t broken, they’re misused or improperly loaded.
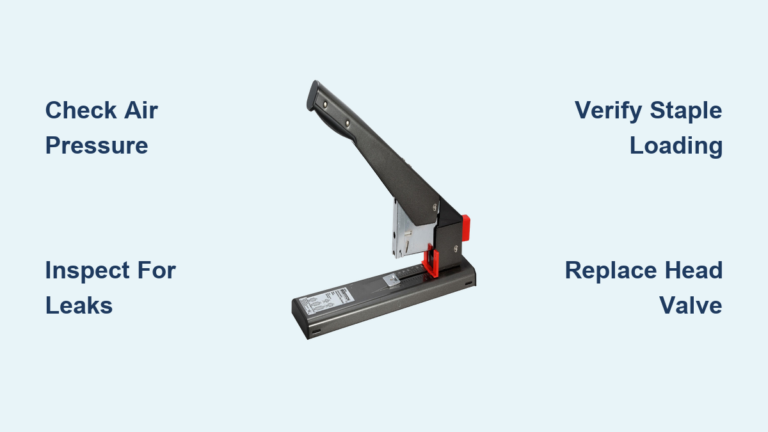
The Ryobi stapler not firing issue affects popular 18V One+ models like the Ryobi One 3/8″ Compression Drive, P360VN, and R18ST50-0. The root cause is often simple: backward staples, incorrect angle of use, or a low battery. These tools rely on precise mechanics and correct setup. Deviate slightly, and they won’t fire.
In this guide, you’ll learn exactly why your Ryobi stapler isn’t working and how to fix it fast. From diagnosing battery issues to clearing jams and lubricating stuck pistons, we cover every common failure point. You’ll also discover pro loading tips, compatible staples, and maintenance habits that prevent future problems. Let’s get your stapler back in action.
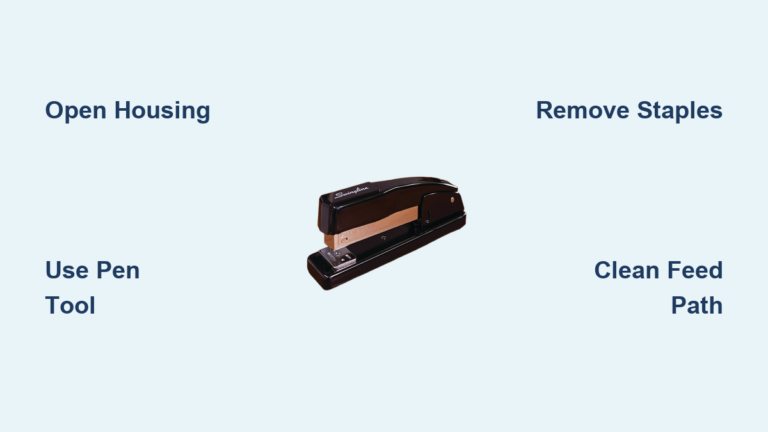
Check Staple Orientation First
The number one reason a Ryobi stapler won’t fire is backward staple loading. If you insert staples with the points facing backward, they block the compression drive mechanism. The tool can’t cycle, and nothing fires, no matter how hard you press.
Load Staples Points Forward
Here’s how to load correctly. Open the magazine side panel. Insert 140 series 18-gauge staples with points facing the nose, which is forward. Ensure staples lie flat and flush against the side wall. Close the magazine until you hear a distinct click.
Visual check: Look into the feed path. You should see staple tips pointing toward the front. If you see the crown end, they’re backward. Even one misaligned staple can jam the system. Always double-check orientation before inserting the battery.
Avoid Incompatible Staples
Using the wrong staples causes feeding issues and false defect assumptions. Series 53 staples, common in manual staplers, are not compatible with Ryobi 18V tools.
Stick to these options. Use 140 series 18-gauge staples. Choose lengths up to 14mm, which is 3/8 inch, for compression drive models. Use T50 or 140 series for combo tools. Using 15-gauge or oversized staples risks jams and internal damage. When in doubt, check your model’s manual. Most Ryobi staplers list compatible fasteners on the magazine.
Use the Correct Firing Technique

Ryobi’s compression drive staplers don’t have a trigger. Instead, they fire when you press straight down at a perfect 90-degree angle to the surface. If you tilt the tool, even slightly, the internal mechanism won’t engage. Users often mistake this for a defect, but the fix is simple: square up and press firmly.
Apply 90-Degree Downward Pressure
Pro tip: Place the base flat on the workpiece, then apply full body weight. You should feel a double-click. First from compression, second from firing.
Don’t pull the trigger first. Unlike traditional staplers, pulling the trigger does nothing on compression models. The sequence is press the tool down fully, the mechanism compresses, then it fires automatically. If you pull the trigger first, the safety interlock may prevent firing. Always press first, let it fire, no trigger needed.
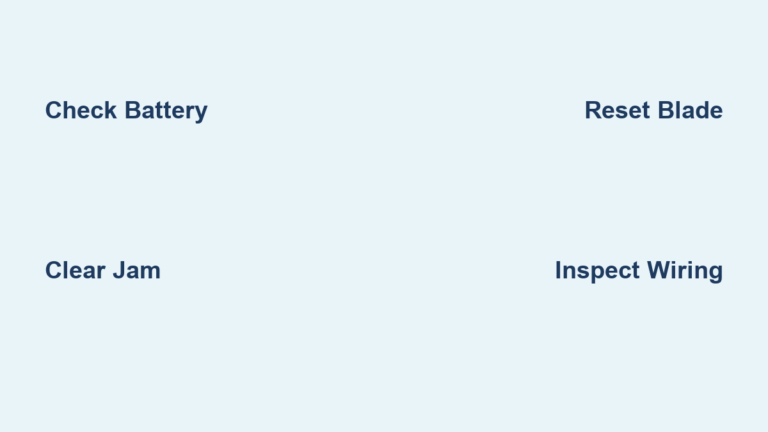
Verify Battery & Power Supply
Your Ryobi stapler does not include a battery. It requires a Ryobi One+ 18V battery, and if it’s low on charge, the motor can’t generate enough force to drive the piston.
Use a Fully Charged 18V One+ Battery
Symptoms of low battery include no sound when pressed, intermittent firing, and weak drive depth.
Fix this by inserting a fully charged 18V battery. 2.0 Ah or higher is recommended. Try a high-capacity 4.0 Ah battery if problems persist. Clean battery contacts on both tool and pack with a dry cloth.
Warning: Older or degraded batteries may show full charge but lack the current to fire the tool. Test with a known-good battery if possible.
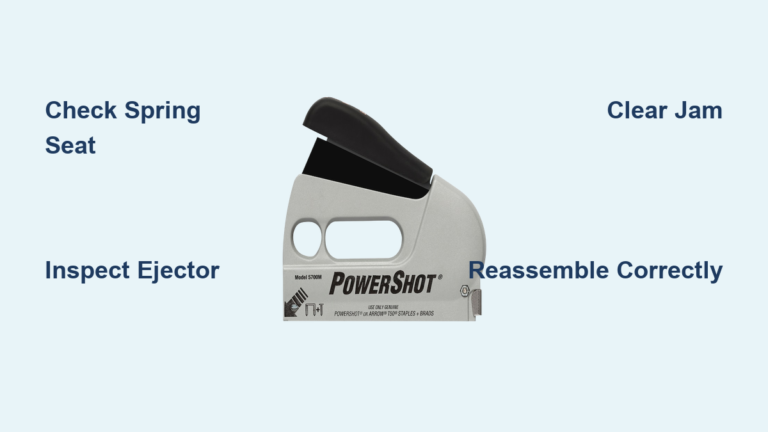
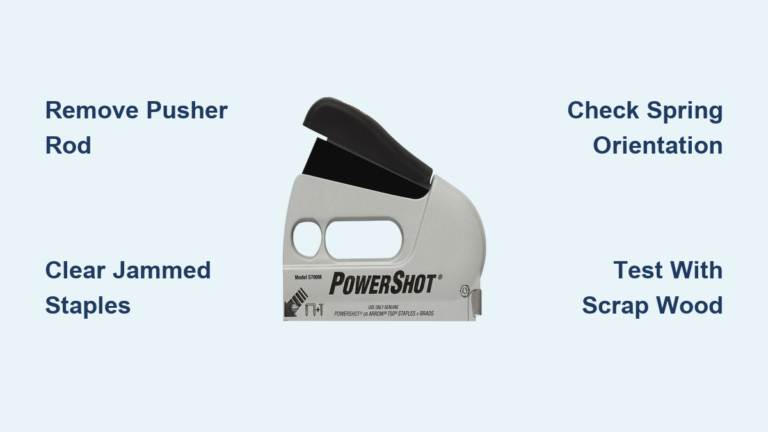
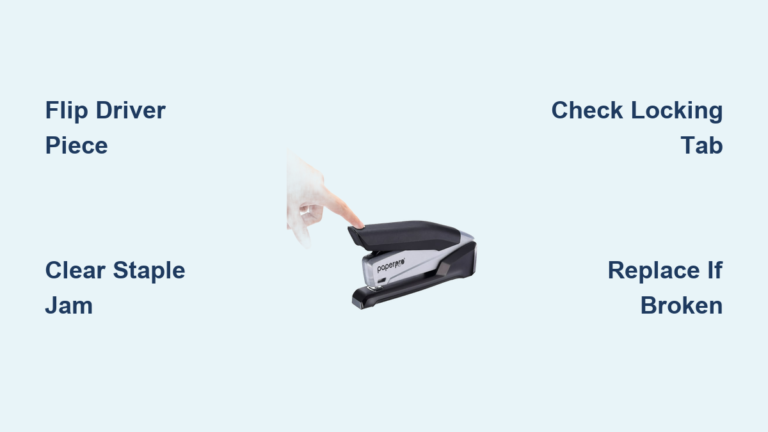
Clear Jams & Feed Obstructions
A jammed staple blocks the feed path and stops firing. This often happens after loading errors or using damaged fasteners.
Remove Stuck Staples Quickly
How to clear a jam. Remove the battery first. Open the magazine and take out all staples. Inspect the nose and feed track for lodged staples. Use needle-nose pliers or tweezers to extract debris. Blow out dust with compressed air or a dry brush. Reassemble and test with 2-3 staples.
Look for: Bent staples, wood chips, or metal fragments. Even a small obstruction can halt operation.
Check Magazine Alignment
Some users report a tight fit between the plastic magazine and metal front, especially in older models. If the channel is pinched, staples won’t advance.
Fix this by ensuring the magazine clicks fully into place. Avoid forcing staples. If they don’t slide easily, disassemble and check for debris. Never use pliers to push staples through a jammed path.
Fix a Stuck Piston (P360VN & Similar)
If your stapler fires once then stops, or the piston doesn’t retract, the issue may be internal binding. Over time, O-rings dry out, increasing friction in the piston bore. This is common in stored tools or those used infrequently.
Diagnose Internal Binding
Signs of a stuck piston include no LED light on models with indicator, tool hums but doesn’t fire, and manual cycling is stiff or impossible.
Lubricate the Piston Bore
Tools needed: Torx bit (T15 or T20), 5/16 inch socket wrench, WD-40 for loosening, silicone-based grease for long-term lubrication, and pliers with cloth wrap to protect piston rod.
Step-by-step process. Remove battery and staples first. Set depth adjustment to zero. Remove front housing screws with Torx bit. Lift off front cover to expose piston. Spray WD-40 into the bore, just enough to penetrate. Wait 5-10 minutes for lubricant to break down resistance. Gently rotate piston rod with pliers, wrapping jaws in cloth. Cycle the driver manually until movement is smooth. Wipe out excess WD-40 and apply silicone grease. Reassemble and test.
Don’t force it: Excessive pressure can damage seals or misalign components.
Prevent Future Firing Issues
Ryobi staplers have a line lockout feature that stops firing when approximately 5 staples remain. This prevents dry-firing, which can damage the driver blade.
Maintain the Line Lockout System
If your tool stops near empty, add more staples. Don’t assume it’s broken. Reload completely to reset the sensor. If it still won’t fire, check for a jam that occurred during low-staple operation.
Follow a Maintenance Schedule
Every 6 months, lubricate piston bore with silicone-based grease. Inspect O-rings for cracks or hardening. Clean feed rails with a soft brush.
After each use, wipe down exterior. Remove battery and leftover staples. Set depth adjustment to zero.
For storage, store upright in a dry place. Keep away from moisture and temperature extremes. Never store with pressure on the spring.
Use Compatible Fasteners Only
Using wrong staples is a silent killer. Here’s a quick reference table.
For Ryobi One 3/8 inch, use 140 series 18-gauge staples with max length of 14mm. For P360VN, use 18-gauge crown staples up to 1-1/4 inch. For R18ST50-0, use 140 series up to 2 inches. For combo tools, use T50 or 140 series up to 32mm.
Never use 15-gauge, 20-gauge, or Series 53 staples. They won’t feed and can damage the tool.
Troubleshoot by Symptom
No Sound, No Fire
Check battery insertion and charge. Use a fully charged 18V One+ battery. Also check power contacts for corrosion.
Fires Once, Then Stops
Likely cause is stuck piston or dried seals. Fix by disassembling and lubricating. Prevent by lubricating every 6-12 months.
Only Fires at Certain Angles
Cause is incorrect use angle. Fix by pressing straight down at 90 degrees, no tilt. Practice on scrap wood to get the feel.
Magazine Won’t Advance Staples
Check staple orientation and type. Fix by reloading with 140 series, points forward. Also clear debris and ensure magazine clicks in.
Final Fixes & When to Seek Help
After clearing a jam, reload with fresh staples, points forward. Insert fully charged battery. Press firmly at 90 degrees on scrap material. Fire 2-3 times to confirm smooth operation.
If it still won’t fire, repeat the staple check, battery test, and angle correction. Most issues resolve here.
Contact Ryobi support if the tool shows no signs of life with no LED and no sound, if piston is seized and won’t budge after lubrication, or if you suspect internal electrical failure.
Ryobi offers a 3-year limited warranty. Have your model number and purchase date ready. Register your tool online to streamline support.
Key Takeaways: Stop the Guesswork

Your Ryobi stapler isn’t broken, it’s likely misused. Here’s what works.
Always load staples points forward. This solves most no-fire cases. Press straight down at 90 degrees. No trigger pull needed. Use a fully charged 18V One+ battery, preferably 2.0 Ah or higher. Stick to 140 series 18-gauge staples. Avoid Series 53 or wrong gauges. Lubricate every 6 months to prevent piston sticking. Clear jams immediately. Don’t force the tool. Store properly. Remove battery, clear staples, set depth to zero.
Pro final tip: If you’re returning the tool, test staple orientation and angle first. Most returns are due to user error, not defects.
Now that you know the real reasons behind Ryobi stapler not firing, you can fix it fast and keep it working for years.
Frequently Asked Questions About Ryobi Stapler Not Firing
Why does my Ryobi stapler not fire even with a full battery?
The most common cause is backward staple loading. Even with a charged battery, if staples are inserted with points facing backward, they block the drive mechanism. Remove staples and reload with points facing forward toward the nose of the tool.
Do Ryobi staplers have a trigger?
Compression drive models like the Ryobi One 3/8 inch do not use a trigger. They fire when you press straight down at a 90-degree angle. Pulling the trigger does nothing on these models. The firing mechanism activates through downward pressure, not trigger pull.
What staples are compatible with Ryobi 18V staplers?
Ryobi 18V staplers use 140 series 18-gauge staples. Compatible lengths range from 10mm to 14mm for compression drive models, up to 32mm for combo tools. Never use Series 53 staples, 15-gauge, or 20-gauge staples.
How do I fix a stuck piston in my Ryobi stapler?
Remove the battery and set depth adjustment to zero. Remove front housing screws to expose the piston. Apply WD-40 into the bore and wait 5-10 minutes. Gently rotate the piston rod with pliers wrapped in cloth. Apply silicone-based grease for long-term lubrication. Reassemble and test.
Why does my stapler stop firing when staples run low?
Ryobi staplers have a line lockout system that stops firing when approximately 5 staples remain. This prevents dry-firing damage to the driver blade. Simply reload with more staples to reset the sensor and resume firing.