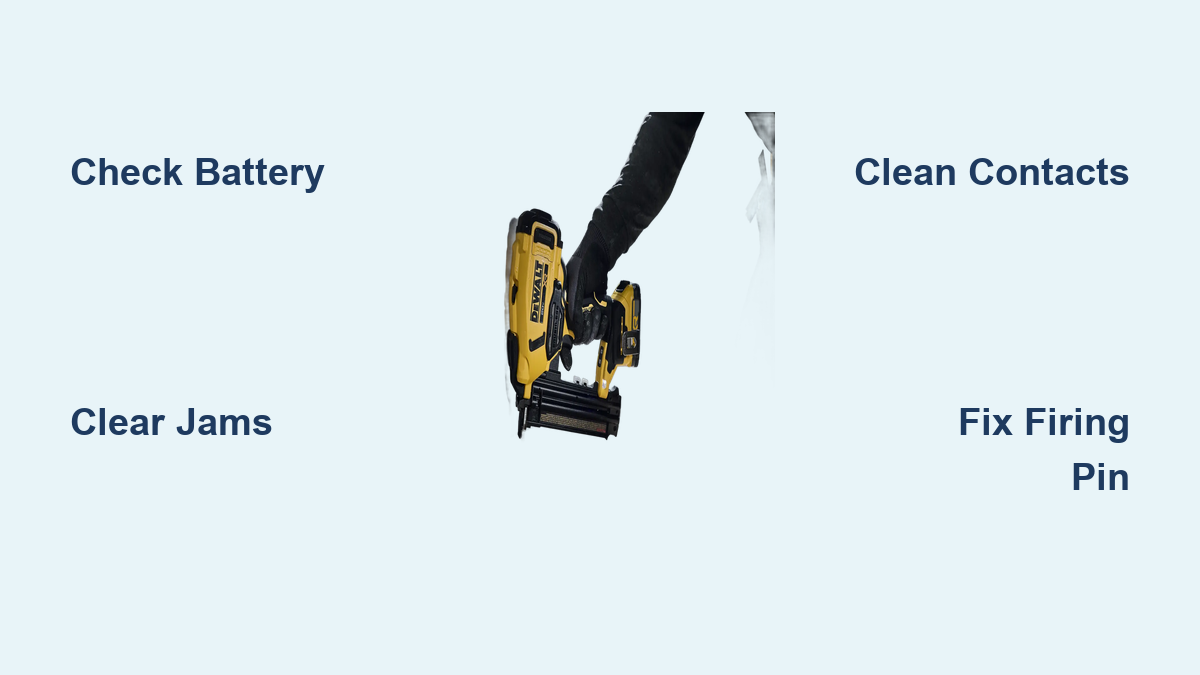
How to Fix DeWalt Nailer Not Firing
If your DeWalt nailer isn’t firing, you’re not alone. Thousands of users report intermittent misfires, complete lockouts, or strange noises when pulling the trigger. Whether you’re using a DCN660, DCN920B, or another 18V/20V MAX model, “DeWalt nailer not firing” is a common frustration, especially under heavy use. The good news? Most issues stem from preventable or fixable causes like dirty contacts, worn springs, misaligned plungers, or incompatible batteries.
This guide delivers a step-by-step breakdown of why your tool isn’t firing and how to restore full function, often in under 15 minutes. You’ll learn how to diagnose by sound and light, clear jams properly, clean critical components, and apply proven DIY fixes like the tape pillow mod for worn firing pins. We’ll also reveal which problems signal serious internal damage and when to pursue warranty support.
Decode the Symptoms First

Before disassembling your tool, identify what’s happening, or not happening, when you pull the trigger. Each symptom points to specific internal failures.
Fan Runs But No Fire
When the cooling fan spins but the driver blade doesn’t actuate, power is reaching the motor, but something is blocking the firing sequence. This typically means the solenoid engages (you may hear a click), but the firing pin fails to strike. A mechanical blockage like a jammed plunger may prevent the flywheel from transferring energy. Battery voltage can also be too low to complete the cycle, even if the fan runs.
Pro Tip: Try a fully charged genuine DeWalt battery. Aftermarket batteries often deliver inconsistent voltage, causing this exact issue.
Clicking or Popping Sound
A sharp click or pop when pulling the trigger indicates the solenoid is activating, but the mechanical linkage isn’t following through. Causes include worn grooves on the flywheel or firing arm, loose or broken return springs, or a degraded internal safety catch. If the tool occasionally fires after multiple attempts, friction loss is likely the culprit.
Squealing or Grinding Noise
Squealing suggests internal wear, often in the belt or safety mechanism. In 18V brad nailers, a damaged belt may slip on the pulley, creating high-pitched noise. Grinding when tilting the tool left points to gear or flywheel misalignment. A damaged safety spring can cause the belt to jolt instead of spin smoothly.
Warning: Squealing often precedes total motor failure. Stop use immediately and inspect.
Persistent Humming or Buzzing
A continuous buzz with no nail ejection means the motor is stuck in a powered state, but the driver isn’t moving. This can stem from a seized motor, engaged relay issues, or a piston physically jammed mid-stroke. If the white LED stays on solid (not flashing), the tool may detect an obstruction and lock out firing.
Check Battery and Power Supply
Even with a spinning fan, insufficient or unstable power can stop your DeWalt nailer from firing.
Test with Genuine Battery
Aftermarket batteries are a leading cause of misfires. They may power the fan but fail to deliver the surge needed for solenoid and motor operation. Always test with a known-good DeWalt 20V MAX or 18V battery. If performance improves, retire the knockoff battery.
Verify Full Charge
A partially drained battery can mimic mechanical failure. Plug in your battery and confirm it’s at 100%. If the nailer works after charging, consider replacing old batteries that no longer hold a full charge or upgrading to higher-capacity packs (5.0Ah+) for continuous use.
Inspect Contact Points
Dirty or corroded electrical contacts disrupt power flow. Remove the battery and examine the metal terminals inside the tool and on the battery. Clean both with a dry cloth or isopropyl alcohol. Do not use oil, as it attracts debris and worsens conductivity.
Clear Jams and Reset the Driver
Jams are a top cause of misfires and plunger misalignment. Clear them correctly to avoid further damage.
Power Down Before Access
Always remove the battery before opening the tool. Accidental discharge during maintenance can cause injury or worsen internal damage.
Open Magazine or Jam Release
For framing nailers like the DCN660 or DCN920B, loosen the Allen screws to pivot the magazine down. For other models, open the top jam release latch. Use a flashlight to inspect the nose, feed path, and chamber.
Remove Debris and Nail Shards
Use needle-nose pliers to extract broken nails, fragments, or metal shrapnel. Pay special attention to the area around the driver blade and plunger path.
Critical Step: Remove the magnet near the tip. It often traps tiny metal pieces that block the chamber and cause repeated jams.
Reset the Driver Blade
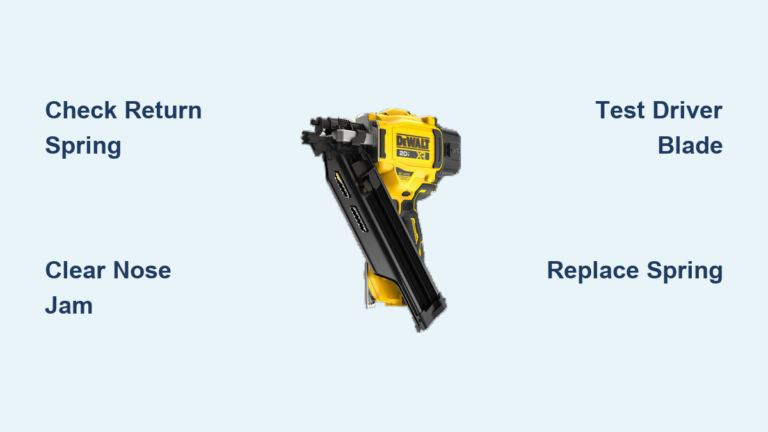
The driver blade must be fully retracted to fire again. If it’s stuck halfway, gently push it upward with a small Allen wrench or screwdriver. Ensure it moves freely and seats flush with the firing chamber. If it binds or won’t reset, the return spring may be broken or obstructed.
Clean Critical Mechanical Components

DeWalt’s “no oil” symbol doesn’t mean “no maintenance.” Over time, carbon, dust, and old lubricant create a gummy layer that kills performance.
Clean Pulley and Firing Arm Grooves
- Remove the top cover (usually 3-4 Torx screws).
- Locate the flywheel (pulley) and the grooved firing arm.
- Spray alcohol-based electrical contact cleaner into the grooves.
- Use a clean toothbrush or cloth to scrub away buildup.
- Let dry completely before reassembly.
Why Alcohol? It dissolves grime without leaving residue. WD-40 attracts dust and should never be used on internal components.
Avoid Lubricating the Wrong Parts
Do not oil the plunger path, firing pin, or flywheel. Only apply a tiny drop of light machine oil to the driver rails if they’re dry. Wipe off excess immediately.
Inspect and Fix the Return Springs
Loose or broken return springs are a silent killer; tools spool up but fail to fire.
Check for Spring Breakage
With the cover off, examine the springs that tension the firing mechanism. Look for cracks, splits, loosened coils, or displacement from mounting points. Even if intact, springs can lose tension over time.
Tighten Loose Springs
If springs are intact but slack, carefully wind them tighter by one full turn. Reassemble and test. This simple fix often restores firing in tools that take multiple trigger pulls to fire.
Replace If Broken
If a spring is broken, order a replacement. Due to parts scarcity, some users fabricate or source generic springs. However, OEM-spec tension is critical for reliable performance.
Diagnose Firing Pin Wear
In high-use models like the 30° framing nailers, the firing pin wears down and loses contact with the flywheel.
Test for Pin Wear
- Remove the black plastic cap on the back (3 Torx screws).
- Reattach the cap and press lightly on the back of the firing pin.
- If the tool fires reliably under pressure, the pin is too short.
This is a common wear pattern in tools that have driven tens of thousands of nails.
Apply the Tape Pillow Fix
To compensate for wear, cut a small square of duct tape and fold it into a thick pad (“pillow”). Tape it into the indentation inside the cap. Reinstall the cap; the pillow will push the pin forward.
Maintenance Note: As the pin wears further, add more layers of tape. This DIY mod has restored functionality in otherwise doomed tools.
Address Model-Specific Issues
Some DeWalt nailers have known design quirks. Know your model’s weaknesses.
DCN920B: Piston Sticks with 3″ Nails
Users report the piston sticks after every shot when using 3″ x 120 nails, but works fine with 2½” nails. Possible causes include stroke length mismatch, magazine feed angle binding, or driver blade flex under increased load.
Fix: Stick to 2½” nails if possible. If not, inspect for bent blades and ensure the feed mechanism is clean and aligned.
18V Brad Nailer: Squealing and Belt Failure
After jam clearing, some 18V brad nailers develop squealing or total power loss. This often means the internal belt is damaged or slipped, and the pulley won’t spin freely. Unfortunately, belt replacement is complex and parts are scarce.
N680: Buzzing Without Firing
The N680 (18GA) is notorious for persistent buzzing with no nail ejection. Relay and rail replacements often fail to fix it. At this point, the tool may be beyond economical repair.
Prevent Future Failures
Avoid repeat issues with smart usage and maintenance habits.
Use Correct Nail Angles
Never force 21° nails into a 30° nailer. Misloading causes jams, plunger misalignment, and bent blades. Always match nail angle to tool specification.
Avoid Hard Materials
Driving into stucco, cinder block, or masonry increases jam risk and mechanical stress. Use a rotary hammer for masonry and reserve the nailer for wood framing and sheathing.
Let the Tool Cool
During edge sheathing or heavy use, thermal overload protection may activate. Allow 15-20 seconds of cooldown between bursts to prevent shutdowns.
Clean Contacts Monthly
Even with light use, clean the pulley grooves and contacts every 30 days with electrical cleaner. This prevents the gummy buildup that causes friction loss.
When to Seek Warranty or Replace
Some failures aren’t worth repairing.
File a Warranty Claim If
- The driver blade is visibly bent.
- The motor spins but the flywheel doesn’t turn.
- Internal gears are stripped.
- You’ve tried all fixes without success.
DeWalt offers a 3-year warranty. Contact support with your model and issue. Some users report replacing tools multiple times under warranty.
Consider Replacement If
- Service kits are discontinued.
- Repair costs exceed $50.
- The tool has chronic issues despite maintenance.
While some units last 200,000+ nails, others fail before 5,000. If yours is a dud, switching brands may be more efficient.
Frequently Asked Questions About DeWalt Nailer Not Firing
Why does my DeWalt nailer fan run but not fire?
The fan running indicates battery power and motor readiness, but a mechanical blockage, worn firing pin, or insufficient voltage is stopping the firing cycle. Test with a fully charged genuine DeWalt battery and check for jammed plungers or worn firing pins.
Can I use aftermarket batteries with my DeWalt nailer?
Aftermarket batteries often cause misfires because they may not deliver the consistent voltage spike required for solenoid and motor operation. They can power the fan but fail during the firing sequence. Always use genuine DeWalt 20V MAX or 18V batteries for reliable performance.
How do I fix a worn firing pin on my DeWalt nailer?
Remove the black plastic cap on the back (3 Torx screws) and test by pressing lightly on the firing pin. If the tool fires under pressure, the pin is too short. Create a tape pillow by folding duct tape into a thick pad, tape it inside the cap indentation, and reinstall. This pushes the pin forward to compensate for wear.
What does squealing mean on a DeWalt brad nailer?
Squealing typically indicates a damaged internal belt, safety catch, or spring tension issue. In 18V brad nailers, the belt may be slipping on the pulley. This often precedes total motor failure, so stop use immediately and inspect.
Why does my DeWalt nailer hum but not drive nails?
Persistent humming with no nail ejection means the motor is powered but the driver isn’t moving. This can be caused by a seized motor, engaged relay issues, or a jammed piston or plunger. If the white LED stays solid, the tool may detect an obstruction and lock out firing.
Is it worth repairing an old DeWalt nailer?
Repair is worthwhile if the issue is cleaning, spring adjustment, or the tape pillow fix. However, if the driver blade is bent, internal gears are stripped, or service kits are discontinued, replacement may be more cost-effective. DeWalt’s 3-year warranty covers many internal failures.
Key Takeaways for Fixing Your DeWalt Nailer

Over 80% of DeWalt nailer firing issues are resolved by cleaning contacts, clearing jams, checking batteries, or adjusting springs. The tape pillow fix alone has saved countless tools from the trash. Start with the simplest solutions: verify your battery is genuine and fully charged, clear any jams properly, and clean the pulley grooves with alcohol-based electrical cleaner. If the tool still won’t fire, inspect the return springs and firing pin for wear. Follow this guide step by step, and you’ll likely restore full function fast. Keep genuine batteries, clean regularly, and avoid jams to maximize uptime. If all else fails, leverage the 3-year warranty and get back to work.