Fix DeWalt Nailer Problems: Quick Steps
If your DeWalt nailer ramps up but won’t fire, jams constantly, or fails to drive full-length nails, you’re not alone. Thousands of users, especially those relying on the 20V MAX framing (DCN920B) and 18-gauge brad models, report recurring DeWalt nailer problems that disrupt workflow and compromise reliability. While some tools last over 200,000 nails, others fail within months due to solenoid slippage, plunger misalignment, or internal friction loss.
This guide cuts through the noise with field-tested fixes directly from professional users and advanced troubleshooting forums. You’ll learn how to diagnose the “ramp-up, no-fire” issue, clear stubborn jams, restore solenoid grip without oil, and even use a $1 duct tape fix to bypass a $150 firing pin replacement. Whether you’re a contractor facing downtime or a DIYer troubleshooting your first jam, these steps will get your DeWalt nailer back in action fast.
Diagnose Ramp-Up, No-Fire Issue
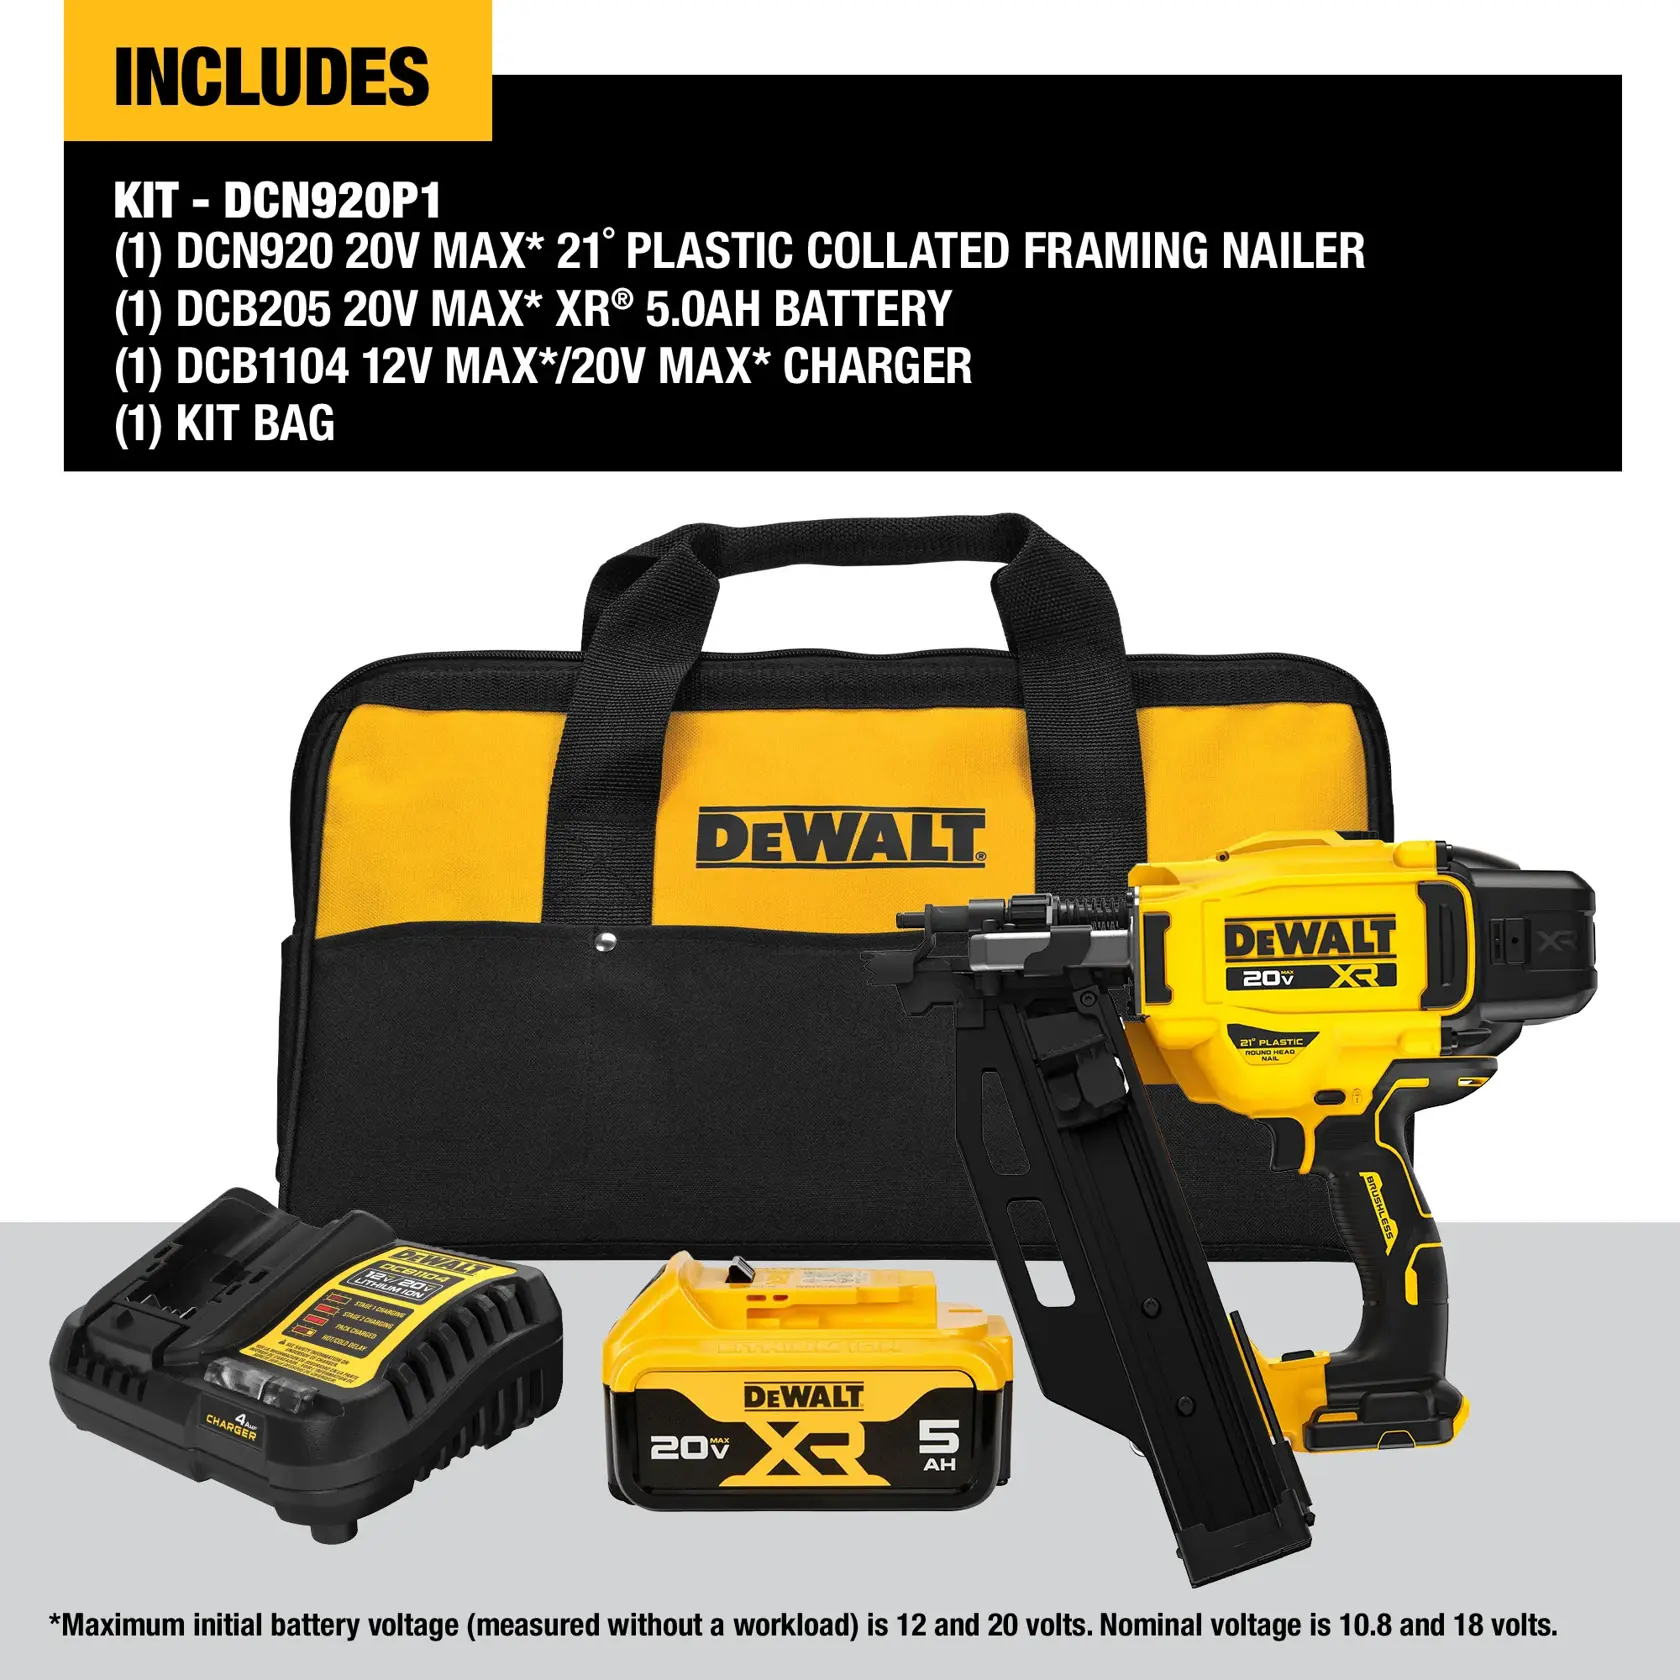
When your DeWalt nailer powers on, the motor spins, and you hear a click but no nail fires, it’s one of the most common failure modes. This symptom often triggers a solid white LED light, indicating an internal safety lockout. The problem isn’t always a dead motor or battery; it’s usually a mechanical disconnect between the motor and the driving mechanism.
Check Battery and Power Source First
Before disassembling the tool, rule out simple power issues:
• Use a fully charged OEM battery (DeWalt 20V MAX recommended)
• Avoid third-party batteries since voltage inconsistencies can mimic mechanical failure
• Swap in a known-good battery to test performance
If the tool still won’t fire after confirming battery charge, proceed to deeper diagnostics.
Identify Auditory Clues
Listen carefully during the trigger pull:
• Click, then silence: The solenoid engages but fails to transfer motion to the flywheel
• Continuous buzzing or humming: Motor ramps up but slippage occurs at the solenoid-pulley interface
• No sound at all: Points to electrical issues, trigger switch failure, or complete motor seizure
These sounds help pinpoint whether the fault is electrical, mechanical, or friction-based.
Clear Internal Jams and Reset the Plunger
Misloaded nails, especially those inserted at a 45-degree angle, are a leading cause of jams and driver blade misalignment. Even one incorrect load can bend components and trigger a permanent safety lockout.
Release the Jam and Inspect the Nose
- Remove the battery immediately to prevent accidental discharge
- Open the jam release latch (located on the top or side of the magazine)
- Use a flashlight to inspect the nose, feed path, and chamber
- Extract debris with needle-nose pliers. Look for:
• Broken nail heads
• Metal shavings
• Misaligned fasteners
Do not force anything; if resistance is high, the plunger may be stuck or bent.
Reset a Stuck Driver Blade
If the plunger (driver blade) is stuck halfway down:
• Keep the jam door open
• Use a small flathead screwdriver or Allen wrench to gently push the blade upward
• It should retract fully and sit flush with the nose
If it doesn’t move freely, the return spring may be broken or the blade bent. Proceed to mechanical inspection.
Fix Solenoid Slippage from Friction Loss
The root cause of many “ramp-up, no-fire” cases is friction loss between the motor pulley and solenoid arm. Over time, oil, WD-40, or grime coats these surfaces, causing the solenoid to slip instead of engaging the flywheel.
Why Oil Makes It Worse
Many users mistakenly apply lubricant to “free up” the mechanism. But DeWalt’s design requires dry, high-friction contact at the pulley-solenoid interface. Using oil or WD-40 reduces grip and accelerates failure.
🔧 Pro Tip: The “No Oil” symbol on DeWalt tools applies directly to this area. Keep it clean and dry.
Clean the Pulley and Solenoid Contact
You’ll need:
• Electrical contact cleaner (alcohol-based)
• Small brush or cloth
• Torx and Allen drivers for disassembly
Steps:
1. Remove the housing to access the motor and solenoid
2. Locate the motor pulley (spinning disc) and solenoid contact point (metal arm that touches it)
3. Spray electrical contact cleaner on both surfaces
4. Scrub gently to remove all oily residue and carbon buildup
5. Let dry completely. Do not wipe with oily rags
6. Reassemble and test
This fix restores engagement in over 60% of non-firing cases, especially after improper lubrication.
Restore Power to Drive Full-Length Nails
Some DeWalt nailers, like the DCN920B, claim to drive 3.5-inch nails but struggle with 3-inch fasteners. Users report the piston stalls after firing, leaving nails proud. This isn’t always a power issue; it’s often a stroke or timing defect.
Test Nail Compatibility
• 2.5-inch x 138-gauge nails: Typically drive cleanly
• 3-inch x 120-gauge nails: Often fail to seat fully
If shorter nails work but longer ones don’t, the problem may be:
• Inadequate piston stroke
• Worn firing pin
• Flywheel timing delay
Diagnose Piston Sticking
After a failed drive attempt:
• Check if the piston remains extended
• If stuck, manually retract it using the magazine pivot method:
1. Loosen the Allen screws holding the magazine
2. Pivot the magazine downward to release spring tension
3. The piston should reset automatically
Tighten screws and retest with a fresh battery and correct nails.
Repair Sheared Nails and Headless Firing
In 18-gauge brad nailers, a disturbing issue is nail head shearing. The tool fires, but the head breaks off, leaving a useless fastener. This indicates improper force application or mistimed impact.
Causes of Nail Shearing
• Worn or misaligned driver blade
• Weak return spring causing double-fire or partial reset
• Excessive speed due to high battery voltage (common with third-party packs)
Prevent Catastrophic Damage
- Inspect the driver blade for bending or chipping
- Replace the return spring if it shows signs of fatigue
- Use only OEM batteries to maintain consistent power delivery
- Avoid overdriving by adjusting depth settings if available
Sheared nails leave metal fragments inside the tool. Always clean the chamber after such events.
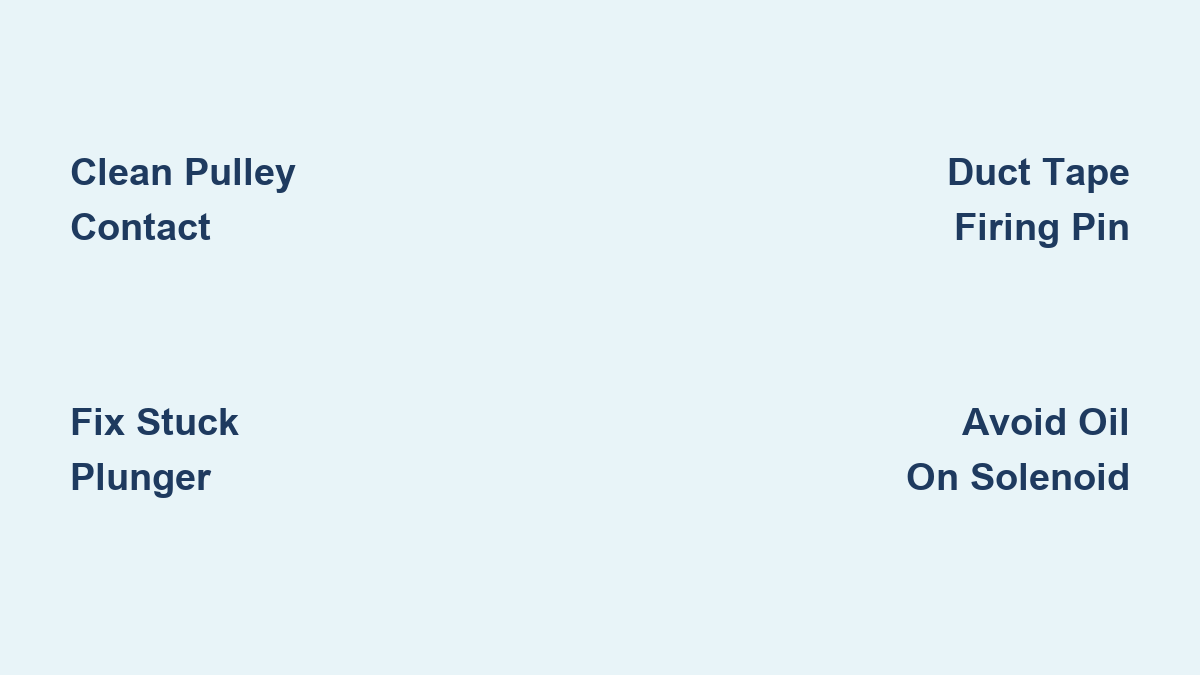
Apply the Duct Tape Fix for Worn Firing Pins

A worn firing pin is expensive to replace; DeWalt charges around $150 for the part. But users have developed a clever workaround using duct tape to extend tool life without costly repairs.
How the Duct Tape Pillow Works
As the firing pin wears down, it fails to engage the flywheel at the correct depth. The duct tape “pillow” adds thickness behind the rear cap, pushing the pin forward slightly to restore proper contact.
Install the Tape Fix
Tools needed:
• Small piece of duct tape
• Torx T15 or T20 driver
Steps:
1. Remove the black plastic cap on the back of the tool (three Torx screws)
2. Fold a small square of duct tape (about 1/2 inch)
3. Place it over the interior back wall of the cap. This is the “pillow”
4. Reinstall the cap and tighten screws
5. Test fire the tool
✅ Success Indicator: The solenoid engages with a solid “clack” and drives nails consistently.
Maintenance Tip: Add another layer every few weeks as wear progresses. Monitor the flywheel for unusual wear, but many users report months of reliable operation with this fix.
Follow Correct Lubrication Practices
Lubrication is controversial. Some say oil helps, others say it kills performance. The truth? Less is more, and location matters.
Where to Lubricate (and Where Not To)
| Area | Lubrication Advice |
|---|---|
| Driver blade rails | One drop of light machine oil; wipe excess |
| Return spring | Light oil if stiff, but avoid overspray |
| Motor pulley/solenoid | NO OIL; keep dry and clean |
| Feed mechanism | Dry wipe only since debris attracts oil |
Over-lubrication pulls in dust and creates gummy buildup that hinders movement.
Prevent Misloading and Angle Errors
Loading nails at the wrong angle, especially a 45-degree insertion, is a fast track to internal damage. It can bend the driver blade, bind the spring, and trigger a white light lockout.
Load Nails at the Correct Angle
• Always align nails straight and flush in the magazine
• Never force the strip. If it doesn’t slide easily, check orientation
• Close the magazine gently. Do not slam it shut
A single misload can cause permanent mechanical misalignment, voiding warranty claims for “user damage.”
Maximize Battery Performance
Battery choice directly affects firing consistency. Third-party batteries may deliver voltage spikes or drops that confuse the tool’s internal sensors.
Use OEM Batteries for Reliability
• Stick with DeWalt 20V MAX 5.0Ah or higher for sustained performance
• Charge fully before use since low voltage reduces motor torque
• Rotate batteries during long jobs to maintain power levels
If the tool fires once then stops, check battery health. It may not sustain repeated high-current draws.
Know When to Seek Professional Service
While many DeWalt nailer problems can be fixed at home, some issues require expert attention.
Seek Service Center Help If:
• The motor doesn’t ramp up at all
• Internal gears are visibly damaged
• The solenoid is cracked or non-responsive
• You’re uncomfortable with disassembly
DeWalt offers a 3-year limited warranty covering defects in materials and workmanship. While misloading damage may not be covered, solenoid failure and motor issues typically are.
🛠️ Service Tip: Bring your receipt and describe symptoms clearly. Include terms like “ramp-up no fire” and “friction loss” to speed diagnosis.
Maintain Your Nailer to Prevent Failures
Prevention beats repair. Follow this maintenance routine to avoid most common issues.
Weekly Maintenance Checklist
• Clean nose and magazine with dry cloth
• Inspect driver blade for wear or bending
• Check battery contacts for corrosion
• Test fire with full charge and correct nails
Monthly Deep Clean
• Disassemble housing if possible
• Spray electrical contact cleaner on motor and solenoid
• Clear debris from flywheel cavity
• Reapply one drop of oil to plunger rails only
Frequently Asked Questions About DeWalt Nailer Problems
Why does my DeWalt nailer ramp up but not fire?
This usually indicates friction loss between the motor pulley and solenoid arm. Oil, WD-40, or grime reduces grip, causing slippage. Clean both surfaces with electrical contact cleaner and avoid lubricating this area.
What does a solid white light mean on a DeWalt nailer?
A constant white LED signals a safety lockout, typically triggered by a jam, misaligned driver blade, or internal obstruction. Remove the battery, open the jam release, and inspect for debris or a stuck plunger.
Can I use duct tape to fix a worn firing pin?
Yes. Adding a folded piece of duct tape behind the rear cap creates a “pillow” that pushes the worn firing pin forward, restoring proper flywheel engagement. This is a field-expedient fix for a $150 part replacement.
Why won’t my DeWalt nailer drive 3-inch nails fully?
The DCN920B and similar models sometimes struggle with 3-inch x 120-gauge nails due to piston stroke limitations or timing delays. Shorter 2.5-inch nails typically perform reliably. Check for piston sticking and reset using the magazine pivot method.
Is it safe to use third-party batteries in a DeWalt nailer?
Third-party batteries can cause firing inconsistencies due to voltage fluctuations. While not always the root cause, they can expose underlying friction loss issues. OEM batteries ensure consistent power delivery and reduce diagnostic confusion.
How do I clear a jam without damaging the driver blade?
Remove the battery, open the jam release latch, and use needle-nose pliers to extract debris gently. If the driver blade is stuck, use a small flathead screwdriver to push it back up. Never force components, as this can bend the blade or damage feed lips.
Key Takeaways for Solving DeWalt Nailer Problems

Most DeWalt nailer problems stem from three root causes: friction loss at the solenoid interface, misloading damage, and worn firing pins. The good news is that all three have affordable, field-tested solutions.
Start by cleaning the pulley and solenoid with electrical contact cleaner (never oil), then inspect for jams and reset any stuck components. If the firing pin is worn, the duct tape pillow fix can extend tool life for months at a fraction of the cost of replacement parts. Finally, commit to proper loading habits and a monthly maintenance routine to prevent most issues before they start.
Your next step: Pick one fix from this guide and try it today. Most repairs take under 30 minutes and require only basic tools you likely already own.