Freeman Floor Nailer Troubleshooting Guide
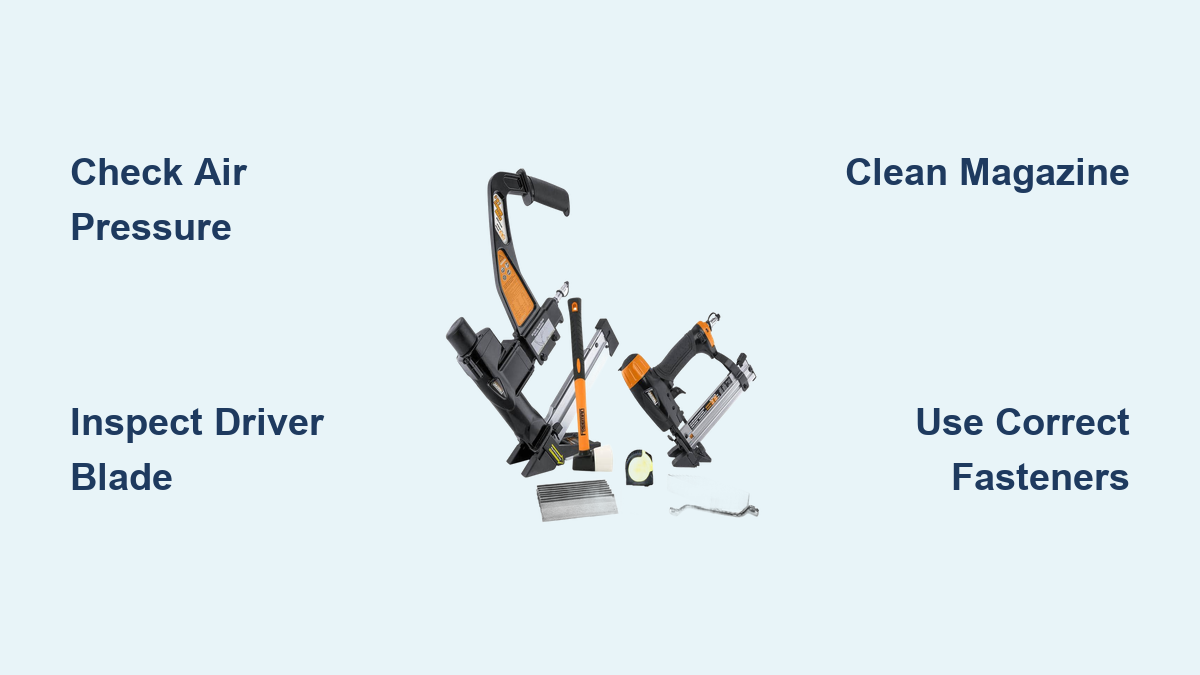
If your Freeman floor nailer isn’t driving nails properly or has stopped working mid-job, you’re not alone. Many users report sudden failures, frustrating jams, or physical strain, only to discover the issue stems from user technique rather than a broken tool. The Freeman floor nailer troubleshooting process starts with understanding how these pneumatic tools actually work: compressed air drives the nail, not brute mallet force. This guide breaks down real-world failure patterns, prevention strategies, and actionable fixes based on user reports and model-specific data for Freeman PFL618C, PFL618BR, and PDX50C models. You’ll learn how to diagnose issues quickly, avoid repetitive strain, and keep your nailer running smoothly for hardwood installations up to 1,000+ sq. ft.
Identify Your Freeman Model First
Before troubleshooting, confirm your exact model. Repair steps and parts vary slightly between versions.
PFL618C vs. PFL618BR Differences
- PFL618C: Base 3-in-1 pneumatic flooring nailer. No carrying case included.
- PFL618BR: Same internal mechanism as the C model but includes a hard-shell carrying case. Priced roughly $60 higher historically.
- Shared Functionality: Both drive L-cleats and staples for 3/4″ solid hardwood (e.g., red oak) and engineered flooring.
Locate Model Number and Specs
- Check the label near the air inlet or on the side of the magazine.
- Confirm it’s a pneumatic tool requiring 70–100 PSI and at least 2.5 CFM.
- These models use one-piece air manifolds and magnesium housing, making them lightweight yet durable.
Why Model Matters for Repairs
Using incorrect replacement parts, such as a driver blade from a different brand, can cause jams or damage. Always reference your specific model when ordering parts or reviewing diagrams.
Fix Sudden Firing Failure
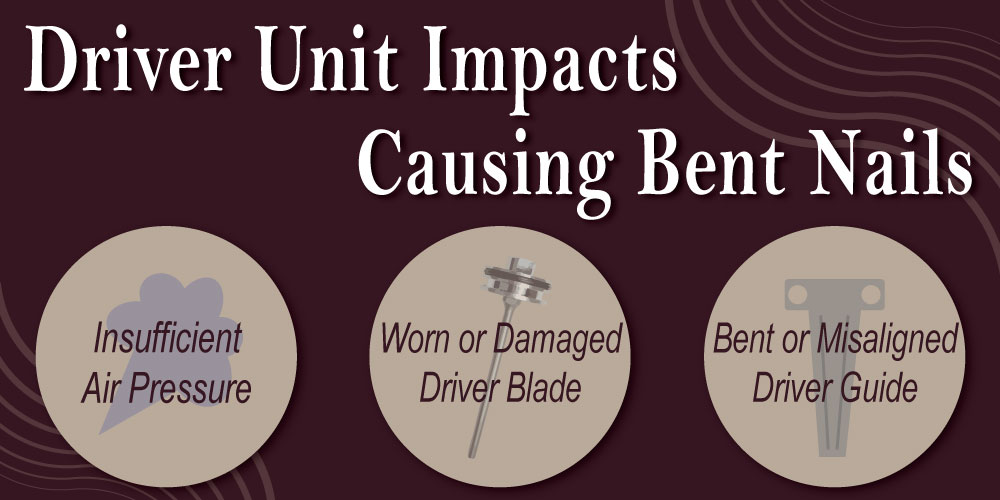
When your Freeman nailer stops firing after a loud clang, internal damage is likely.
Impact from Subfloor Obstruction
Hitting a protruding screw or nail in the subfloor is the top cause of sudden failure.
- What Happens: The cleat rebounds upward into the cylinder upon impact.
- Result: Driver blade bends or piston seal ruptures, disabling the tool.
- Visual Clue: Nail doesn’t fire; you hear a metallic “ping” or “clang” instead of the usual pneumatic thud.
Diagnose Driver Blade Damage
- Release air pressure and disconnect the hose.
- Remove the nosepiece using a hex key (refer to manual if available).
- Inspect the driver blade for bends, nicks, or misalignment.
- Check the cylinder bore for scoring or debris.
✅ Pro Tip: Shine a flashlight down the magazine tube to spot obstructions before reassembling.
Repair or Replace?
- Minor bends: May be straightened by a professional, but replacement is safer.
- Severe damage: Order a new OEM driver blade (part number typically listed in service manual).
- Cost Consideration: Rebuild labor often exceeds $100. For older units, buying a new PFL618C (~$127) may be more economical.
Solve Shallow or Missed Nail Drives
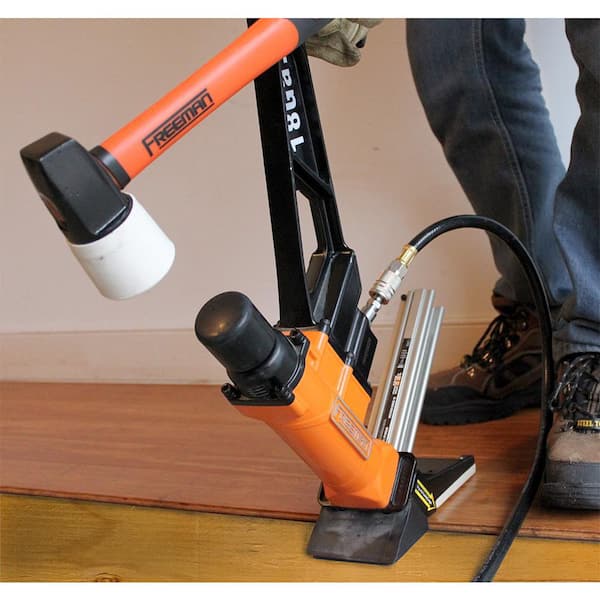
Nails not seating flush? Don’t swing harder. Diagnose these common causes first.
Check Air Pressure Settings
Low PSI is the number one reason for weak drives.
- Required Range: 70–100 PSI for Freeman flooring nailers.
- Test It:
- Use an inline pressure gauge at the tool’s air inlet.
- Ensure your compressor maintains pressure during repeated firing.
- Too Low (<70 PSI): Nails won’t fully drive.
- Too High (>100 PSI): Increases wear and risk of blow-back.
Lubricate the Tool Regularly
Dry internal components increase friction and reduce power.
- How To:
- Add 3–5 drops of pneumatic tool oil into the air inlet daily or every 2 hours of use.
- Fire 5–10 dry shots to distribute oil through the cylinder.
- Signs of Dryness: Sticking driver, inconsistent performance, squeaking sounds.
Verify Fastener Compatibility
Using wrong cleats or staples causes weak drives and jams.
- Correct Fasteners for PFL618 Series:
- 18-gauge L-cleats: 1.5″ to 2″
- Staples: 2″ length, compatible with plastic or paper collation
- Avoid:
- Glue-collated or wire-weld staples unless specified.
- Off-brand cleats with inconsistent head size or shank thickness.
⚠️ Warning: Mismatched fasteners can deform the driver blade over time.
Stop Frequent Jams Quickly
Jams waste time and risk damaging the tool. Most stem from preventable issues.
Clean the Magazine Channel
Debris buildup stops nails from feeding.
- Empty the magazine.
- Wipe out sawdust and wood chips with a dry cloth.
- Use compressed air to blow out corners.
- Inspect for burrs or dents in the track.
- Clean every 100–200 nails or when switching fastener types.
Match Collation Type to Tool Design
Freeman nailers are sensitive to fastener collation.
- Plastic-Collated Cleats: Most reliable; feed smoothly.
- Paper-Collated: Acceptable but prone to jamming in humid conditions.
- Glue-Collated or Wire-Weld: Not recommended. These can hang up in the mechanism.
✅ Pro Tip: Load nails straight. Angled loading causes immediate jams.
Inspect O-Rings and Seals
Worn seals reduce air pressure and cause misfires.
- Symptoms:
- Air leaks near the cylinder or valve.
- Tool fires weakly or intermittently.
- Fix:
- Disassemble (per service manual).
- Replace damaged O-rings with OEM kits (~$15).
- Re-lubricate before reassembly.
Prevent User-Induced Problems

Many “tool failures” are actually caused by incorrect technique.
Avoid Over-Striking the Tool
Swinging too hard causes fatigue and doesn’t help drive nails.
- How Pneumatic Nailers Work:
- Mallet strike activates the trigger, releasing air to drive the nail.
- Air, not arm strength, does the work.
- Correct Technique:
- Strike firmly enough to engage the mechanism and close gaps between boards.
- Use a 16–20 oz mallet, not a sledgehammer.
- Let the tool cycle naturally. Don’t “wail” on it repeatedly.
Reduce Risk of Tennis Elbow
Repetitive over-striking leads to injury, especially on large jobs.
- Prevention Tips:
- Take breaks every 30 minutes.
- Use proper stance: knees bent, back straight, swing from the elbow.
- Consider a shock-absorbing mallet to reduce vibration.
- If Pain Occurs: Stop and rest. Continuing can lead to chronic strain.
✅ Expert Note: One user reported installing 1,000 sq. ft. in a week with zero issues by using correct form and letting the air power do the work.
Optimize Air Supply Setup
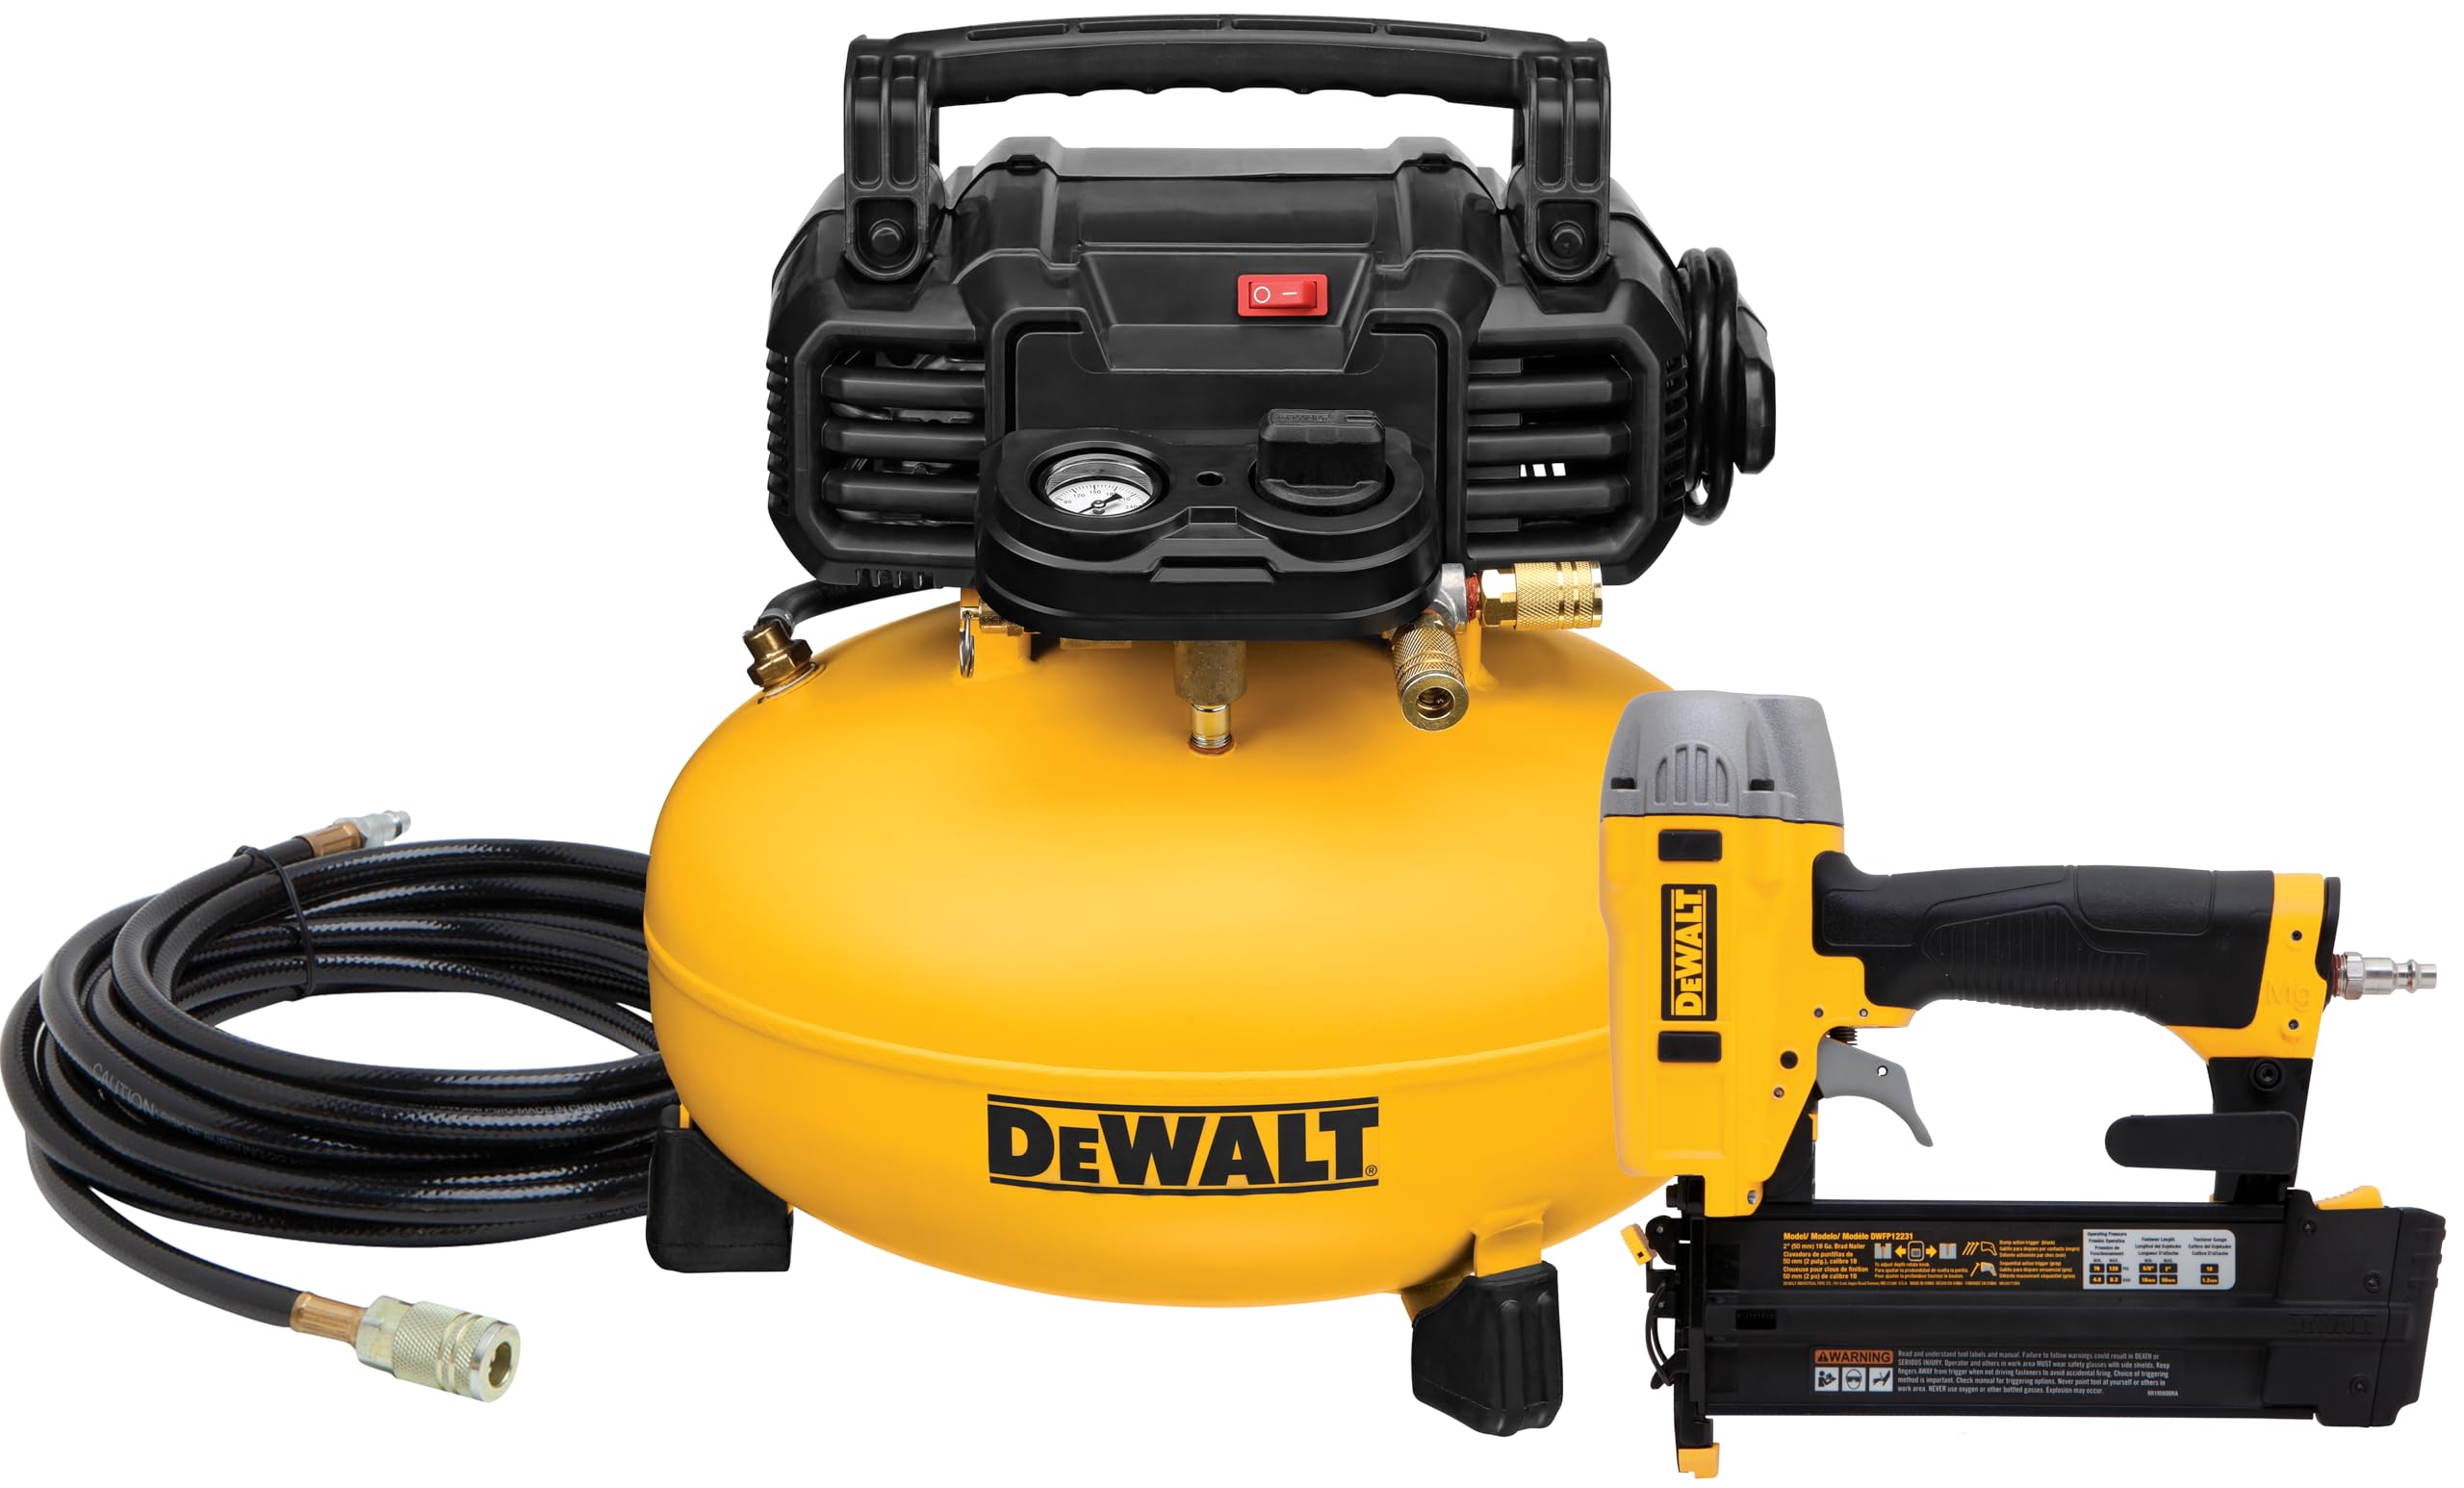
Your compressor matters as much as the nailer itself.
Use the Right Compressor
Even cordless units can work if they meet specs.
- Minimum Requirements:
- 2.5 CFM at 90 PSI
- 1.5–2 gallon tank (or equivalent in cordless models)
- Cordless Option: 20V 1-gallon pancake compressors (e.g., DeWalt DC688) are viable for small jobs.
Inspect Hose and Fittings
Leaks or kinks reduce performance.
- Checklist:
- Use 1/4″ ID hose, no longer than 50 feet.
- Avoid sharp bends or pinching.
- Ensure couplers are tight and free of debris.
- Test for Leaks: Apply soapy water to connections. Bubbles indicate air loss.
Maintain for Long-Term Reliability
Preventive care beats emergency repairs.
Follow Daily Maintenance Routine
Keep your Freeman nailer running like new.
- Before Use:
- Oil the air inlet (3–5 drops).
- Check fastener load and alignment.
- Inspect subfloor for screws or nails.
- After Use:
- Blow out dust from magazine and nose.
- Store in a dry place. Use the case (if BR model) to protect from moisture.
Store Properly Off-Job
- Never leave the tool on a damp subfloor overnight.
- Drain moisture from the compressor tank daily.
- Keep in temperature-controlled environments to prevent seal degradation.
Know When to Replace the Tool
Not all damage is repairable. Sometimes replacement makes sense.
Evaluate Cost vs. Repair
- Typical Repair Costs:
- Driver blade: $25–$40
- O-ring kit: $15
- Labor (if outsourced): $75–$125
- New Tool Cost: PFL618C ~$127 (historical average)
✅ Rule of Thumb: If repair exceeds 60% of new tool price, replace it.
Consider Purchase Over Rental
Rental tools often suffer from poor maintenance.
- User Report: Bostitch rental nailers were “all in the shop being rebuilt,” while a personal Freeman lasted multiple jobs.
- Break-Even Point: For projects over 500 sq. ft., buying is usually cheaper than renting.
Final Troubleshooting Decision Tree

Use this quick-reference guide to diagnose issues:
| Symptom | Likely Cause | Fix |
|---|---|---|
| No fire after loud clang | Hit subfloor screw | Inspect driver blade; replace if bent |
| Nails not flush | Low PSI, dry tool, wrong nails | Check pressure, oil, verify fasteners |
| Frequent jams | Dirty mag, wrong collation | Clean, use plastic-collated cleats |
| Tennis elbow/pain | Over-striking | Reduce swing force; use lighter mallet |
| Inconsistent firing | Air leak or bad O-rings | Check hose, replace seals |
Frequently Asked Questions About Freeman Floor Nailer Troubleshooting
Why did my Freeman floor nailer stop working after hitting a screw?
Hitting a subfloor screw causes the cleat to rebound upward into the cylinder. This impact bends the driver blade or ruptures the piston seal, disabling the tool. You’ll hear a loud “clang” instead of the normal pneumatic thud. Inspect the driver blade for bends and replace if damaged.
What PSI should I use for my Freeman PFL618C?
Freeman flooring nailers require 70–100 PSI. Below 70 PSI, nails won’t fully drive. Above 100 PSI, you increase wear and risk blow-back. Use an inline pressure gauge at the tool’s air inlet to verify your settings.
How do I avoid tennis elbow when using a pneumatic floor nailer?
Strike firmly enough to engage the trigger and pull boards tight, but don’t swing harder than necessary. Use a 16–20 oz mallet, take breaks every 30 minutes, and maintain proper stance. Let the compressed air do the driving work, not your arm.
What causes frequent jams in a Freeman floor nailer?
Jams typically result from dirty magazines, wrong collation type, or worn O-rings. Clean the magazine every 100–200 nails, use plastic-collated cleats when possible, and inspect seals for air leaks. Loading nails at an angle also causes immediate jams.
Is it cheaper to repair or replace a damaged Freeman nailer?
If repair costs exceed 60% of a new tool’s price, replacement usually makes more sense. A new PFL618C runs around $127, while professional rebuild labor can exceed $100. For severe driver blade damage, buying new is often more economical than repairing.
Can I use a cordless compressor with my Freeman floor nailer?
Yes, if the cordless compressor meets the minimum requirements: 2.5 CFM at 90 PSI with at least a 1.5–2 gallon tank equivalent. A 20V 1-gallon pancake compressor works for small jobs, but ensure it maintains pressure during repeated firing.
Key Takeaways for Freeman Floor Nailer Troubleshooting
The Freeman floor nailer is a durable, cost-effective tool for hardwood installation, but only when used correctly. Most Freeman floor nailer troubleshooting scenarios stem from avoidable mistakes: hitting hidden screws, skipping lubrication, or swinging too hard. By following proper technique, maintaining your air supply, and cleaning regularly, you’ll prevent 90% of issues before they start.
For models like the PFL618C and PFL618BR, the investment pays off in reliability, especially compared to poorly maintained rental alternatives. Start your next project by inspecting your subfloor for obstructions, verifying your PSI, and oiling the air inlet. Keep this guide handy, treat your tool right, and you’ll nail every job from start to finish.