Fix Makita Pin Nailer Not Working
Is your Makita pin nailer not working when you pull the trigger? You’re not alone. Whether it’s firing air with no nail, leaving pins proud, or showing a solid light with zero response, these issues can halt your trim or finish work fast. The good news: most problems are fixable in minutes with basic tools and the right steps.
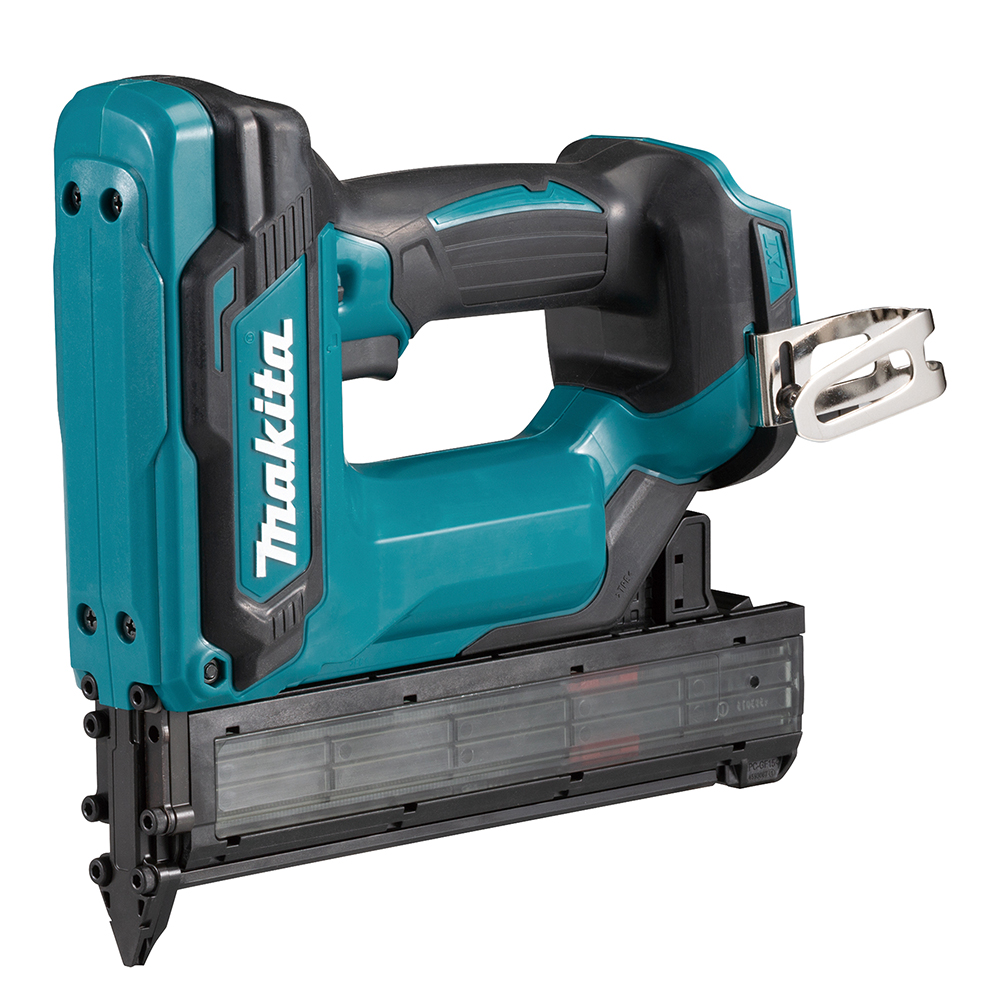
This guide targets the top failure modes of Makita pin nailers, including both pneumatic and cordless models like the DFN350. We’ll walk you through diagnosing why your nailer isn’t driving fasteners, how to clear jams, adjust settings, and when to replace the tool. Using only verified troubleshooting steps from real-world repair data, you’ll get back to work faster without guesswork.
Let’s fix it.
Check Air Pressure and Fastener Fit
Before disassembling anything, confirm the basics. Incorrect air pressure or incompatible pins are the most common causes of poor performance.
Set Pressure to Upper PSI Range
Makita pin nailers require precise air pressure to fully drive 23-gauge pins. If nails are left proud (sticking out), the issue is often low PSI. Check your compressor gauge and adjust to the upper end of the tool’s recommended range, typically 80–100 PSI.
Fire a few test shots into scrap wood after adjusting. If the pin now seats flush, the fix was simple. Always use a regulated air supply. Unregulated compressors can deliver inconsistent pressure that mimics internal tool failure.
Verify Pin Length and Brand Compatibility
Not all 23-gauge pins work the same. Some brands (like Grex or Porter-Cable) have slightly different head shapes or shank coatings that affect feeding. Even if the gauge and length match, friction in the magazine can cause misfeeds.
Ensure pins fall strictly within your model’s length specs (usually ½” to 1″). Try a fresh strip from a different brand to test compatibility. Load them with the arrow or marking facing down, as specified in your manual. Reversed loading prevents proper driver contact.
Clear Nose Jams and Feed Obstructions

If the nailer clicks or fires air but doesn’t drive a pin, a jam is likely blocking the path.
Remove Top Cap to Inspect Channel
Shut off the air supply or remove the battery. Locate the two screws on the nose cap and remove them with a Phillips driver. Lift off the cap to expose the pin track and driver chamber.
Look for:
– Wood dust or glue buildup
– Bent pin tips
– Metal shavings from dry-firing
– A pin stuck sideways in the feed path
Use needle-nose pliers or tweezers to extract any debris. Wipe the channel clean with a dry cloth. Reassemble and test on scrap wood.
Sand Out Burrs at Magazine Junction
A common manufacturing flaw is a metal burr where the magazine meets the nose. This tiny ridge catches pin heads, stopping feed.
With the cap off, slide a pin manually from the magazine into the chamber. If it snags, inspect the transition edge. Use fine-grit sandpaper (220+ grit) or a deburring tool to smooth the sharp edge. Do not remove metal aggressively. Just enough to eliminate the catch point.
Test feed by cycling pins through by hand before reattaching the cap.
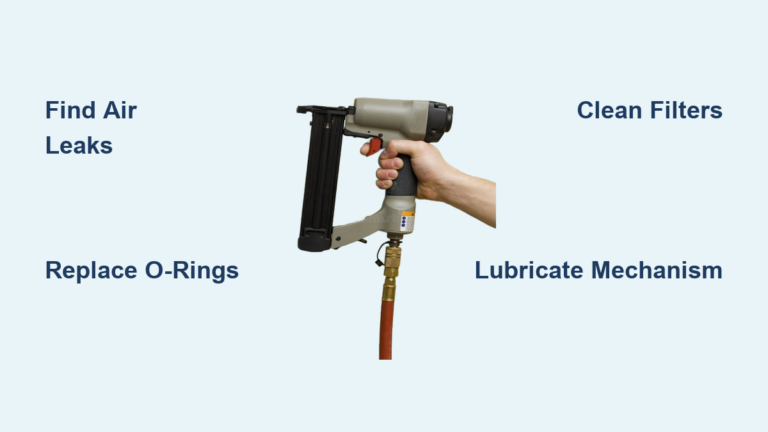
Lubricate Pneumatic Components
Lack of oil causes sticky O-rings and sluggish driver movement, especially in dry climates or infrequently used tools.
Apply Oil to Air Inlet Daily
Add 3–5 drops of pneumatic tool oil into the air inlet nipple before each work session. Connect the hose and fire the tool 5–10 times into scrap wood to circulate oil through the cylinder.
If the driver is sluggish or makes a light “pfft” sound, lubrication often restores full stroke. Never use motor oil or WD-40. These degrade internal seals.
Check O-Rings and Driver Blade Movement
If oil doesn’t help, disassemble the cylinder to inspect:
– O-rings for cracks or flattening
– Driver blade for bending or scoring
– Rubber bumper at cylinder base for collapse
A damaged O-ring or worn bumper prevents proper piston return. Replace parts using a rebuild kit if available. If the blade is stuck down, it blocks the next pin from feeding. This explains why the tool fires air but advances nothing.
Diagnose Cordless Model Electrical Faults
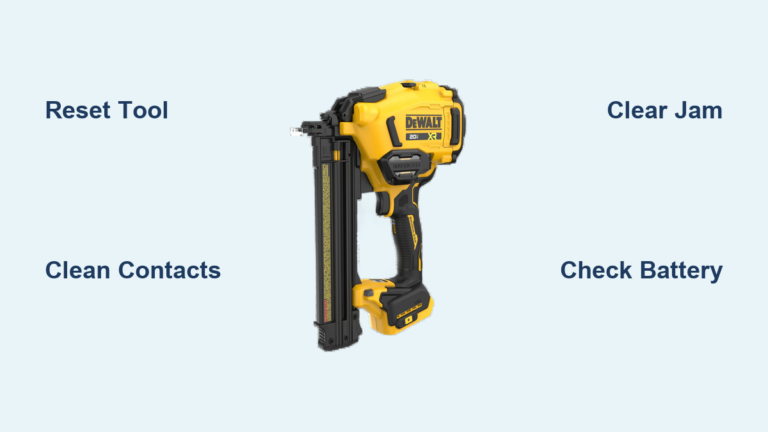
For Makita DFN350 and other battery-powered models, electrical issues present differently.
Test Continuous Indicator Light
If the light stays on solid after inserting a charged battery and the tool won’t fire, it signals an electrical fault. This is not normal and usually means:
– Control board failure
– Internal short circuit
– Safety mechanism jam
The tool may be dead on arrival (DOA) or failed prematurely. Try these steps:
Reset Battery and Contacts
Remove the battery and wait 30 seconds. Reinsert firmly. Clean battery terminals and tool contacts with a dry brush or contact cleaner. Check for bent metal tabs.
Inspect Nose Safety Tip
The safety plunger must depress fully to allow firing. Dirt or a stuck spring can keep it engaged. Use compressed air to blow debris from the tip. Manually press and release to ensure smooth movement.
If the light stays on and the tool still won’t fire with multiple batteries, the issue is internal and not user-repairable.
Replace or Return Defective Units
Some failures aren’t worth repairing, especially under warranty.
Return Within 30 Days
Makita pin nailers are relatively low-cost tools. If yours fails despite troubleshooting:
– Return it to the retailer within 30 days with receipt
– Request an exchange at any location in the same chain (common with big-box stores)
– Bring your battery, charger, and nails used to rule out accessory issues
Retailers often accept unused or lightly used tools without question.
Contact Makita Support
If out of store return window, call Makita USA customer service. Provide model and serial number. Ask for a warranty claim evaluation.
If the tool is DOA or failed early, they may authorize a repair or replacement. Escalate to a supervisor if denied. Many users report success after persistence.
For third-party purchases (e.g., Amazon), file a platform dispute if the seller ignores you.
Prevent Future Failures
Avoid repeat issues with simple maintenance habits.
Clean Nose After Every Job
Remove the top cap weekly or after 5–10 hours of use. Blow out dust with compressed air. Check for early signs of burrs or wear.
Use Correct Pins Only
Stick to 23-gauge pins within spec length. Avoid off-brand clips with inconsistent head alignment. Never force a pin strip that doesn’t slide smoothly.
Store Properly
Hang pneumatic nailers or store upright to prevent oil pooling. Keep cordless models in a dry toolbox. Remove battery during storage.
When to Replace vs. Repair

| Issue | DIY Fixable? | Replace Instead? |
|---|---|---|
| Proud nails | ✅ Adjust PSI or pins | ❌ |
| Air but no fire | ✅ Clear jam, oil, sand burr | ❌ |
| Stuck driver blade | ✅ Rebuild cylinder | If blade bent |
| Continuous light (cordless) | ❌ | ✅ Under warranty |
| Broken O-rings | ✅ Replace kit | If no parts |
| Internal electrical fault | ❌ | ✅ |
For cordless models with electronic failure, replacement is almost always faster and cheaper than repair.
Frequently Asked Questions About Makita Pin Nailer Not Working
Why does my Makita pin nailer leave pins sticking out?
Low air pressure is the most common cause. Adjust your compressor to the upper end of the recommended range (80–100 PSI). Pin brand incompatibility or incorrect loading orientation can also contribute. Test with a fresh strip from a different manufacturer to rule out fastener issues.
What does it mean when my Makita pin nailer fires air but no nail comes out?
This usually indicates a jam, a stuck driver blade, or a magazine burr blocking the feed path. Remove the nose cap and inspect for debris, bent pins, or rough edges at the magazine junction. Lubrication with pneumatic tool oil often restores full driver stroke.
How do I fix a solid indicator light on my Makita DFN350?
Start by removing and reinserting the battery after 30 seconds. Clean all contacts and check the nose safety tip for debris. If the light remains solid with multiple charged batteries, the control board or internal wiring has failed. This requires warranty replacement rather than DIY repair.
Can I use any 23-gauge pin in my Makita pin nailer?
Gauge alone is not enough. Pin length must fall within your model’s spec, typically ½” to 1″. Head shape and coating vary by brand, and some off-brand pins feed poorly. Grex and Porter-Cable pins are known to work well in Makita tools when length specs are met.
How often should I oil my pneumatic Makita nailer?
Add 3–5 drops of pneumatic tool oil to the air inlet before each work session. Then fire the tool 5–10 times into scrap wood to distribute the oil. Daily lubrication prevents O-ring drying and keeps the driver blade cycling at full stroke.
Is it worth repairing an old Makita pin nailer?
For mechanical issues like jams, burrs, or worn O-rings, DIY repair is cost-effective. For cordless models with electrical faults or severely bent driver blades, replacement is usually the better option. Pin nailers are inexpensive tools, so warranty replacement often beats professional repair costs.
Key Takeaways for Fixing Your Makita Pin Nailer
Start with the simplest checks first: air pressure, pin compatibility, and a visual nose inspection. Most Makita pin nailer not working issues trace back to low PSI, a magazine burr, or skipped lubrication. These fixes take minutes and require only basic tools.
For cordless models like the DFN350 showing a continuous light with no firing, skip the deep troubleshooting. Contact the retailer for a 30-day exchange or file a warranty claim with Makita directly. Internal electrical faults are not user-repairable.
Build a quick post-job habit: blow out the nose, oil the inlet, and store the tool upright. Five minutes of maintenance prevents most of the failures covered in this guide. Your pin nailer will stay ready for the next trim or finish job.