How to Use DEWALT Brad Nailer With Compressor
If your trim work keeps splitting the wood or your nailer refuses to fire mid-project, you likely need a refresher on how to use a DeWalt brad nailer with compressor the right way. This pneumatic tool depends on stable air pressure, a secure hose connection, and proper safety engagement to drive 18-gauge brads cleanly into trim, molding, and cabinetry. Skipping any of these steps leads to misfires, jams, or nails that sit proud of the surface. Whether you’re setting up your first pneumatic system or troubleshooting a stubborn tool, mastering the connection, pressure settings, and trigger sequence will save you time and material. Below is a complete walkthrough for setup, operation, and upkeep.
Connect the Nailer to Your Air Compressor

Attach the Air Hose Using Quick-Connect Fittings
Begin by linking the air hose to your compressor’s outlet. Most DeWalt brad nailers, including the DWFP12233, use standard 1/4-inch quick-connect couplers for tool-free attachment. Push the connector firmly into the compressor’s outlet until you hear a click. Then connect the opposite end to the air inlet at the base of the nailer. A tight connection prevents pressure loss during operation.
Inspect Every Connection for Air Leaks
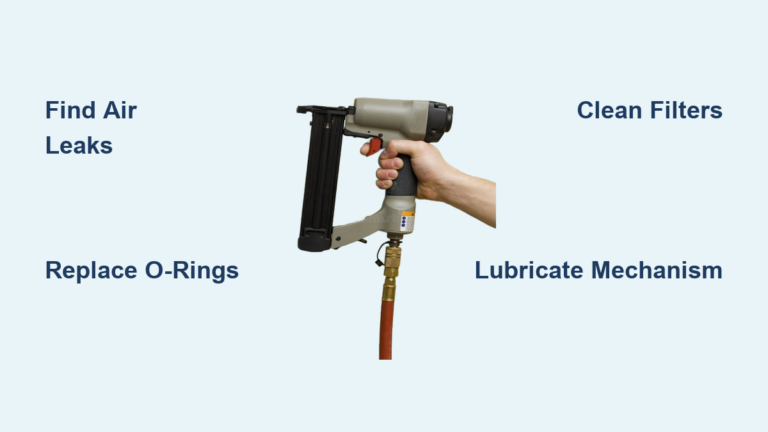
Once connected, power on the compressor and let the tank build pressure. Listen closely at both connection points for hissing sounds. Even a small leak can drop output pressure below the 70 PSI threshold needed to fire the tool. If you detect escaping air, disconnect the fitting and check for dirt, debris, or a worn O-ring. Replace damaged connectors before continuing.
Set the Correct Air Pressure

Adjust the Regulator to 70–120 PSI
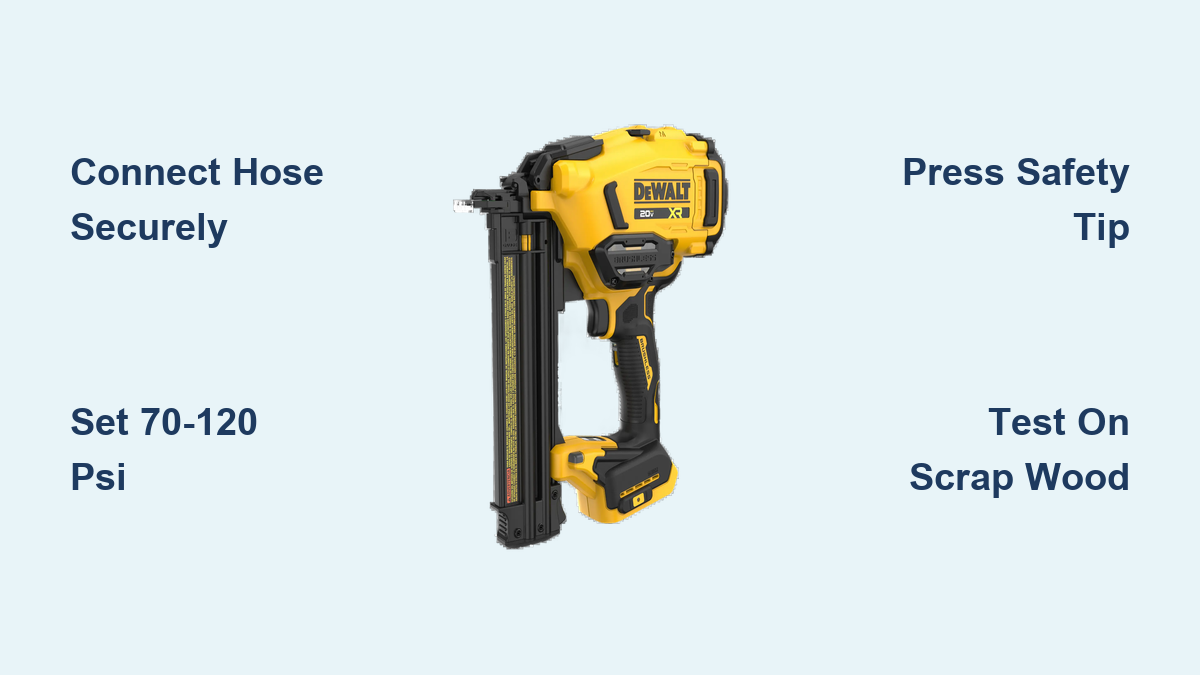
Your DeWalt brad nailer requires a minimum of 70 PSI to cycle properly. For best results, keep the regulated output between 70 and 120 PSI. Locate the regulator knob on your compressor, then turn it clockwise to raise pressure or counterclockwise to lower it. Watch the output gauge (not the tank gauge) as you adjust. Never exceed 120 PSI, since overdriven nails can split trim or damage the tool’s internal seals.
Monitor Both Tank and Output Gauges
Your compressor displays two readings: tank pressure (stored air) and regulated output (air flowing to the nailer). Keep the tank near its maximum, typically 165 PSI on a 6-gallon pancake unit, so the motor can keep up during extended nailing runs. If the output gauge dips below 70 PSI mid-project, pause and let the compressor recharge. This prevents incomplete drives and frustrating misfires.
Engage the Safety and Trigger Correctly
Press the Safety Tip Before Pulling the Trigger
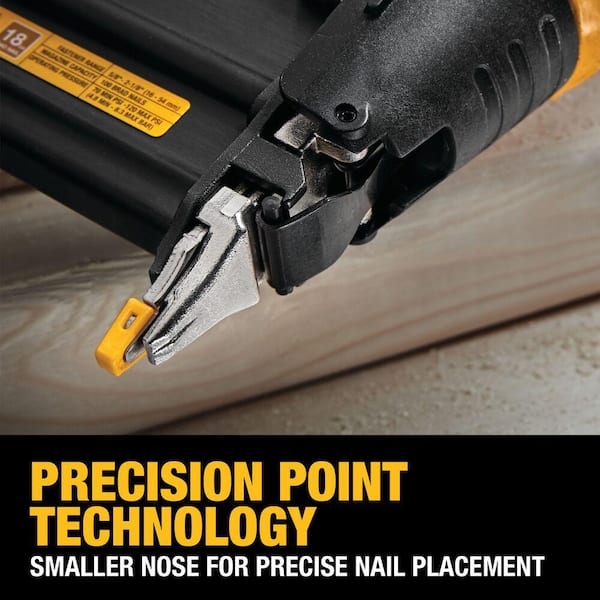
The DeWalt brad nailer features a dual-action safety system that requires two steps to fire. First, press the contact safety tip, located at the nose near the nail exit, firmly against your workpiece. The tip must retract slightly before the trigger can fully depress. This design prevents accidental discharge if the trigger is bumped while carrying the tool.
Never Remove the White Safety Component
Look beneath the trigger and you’ll notice a white plastic piece. Do not remove it under any circumstances. This component is part of the safety interlock, and disabling it can cause the nailer to fire without proper tip contact. If the trigger feels stuck or unresponsive, clean debris from the safety mechanism instead of altering the tool.
Load Brad Nails and Test Fire

Insert a Strip of 18-Gauge Brad Nails
Open the nail magazine by sliding the latch at the rear of the nailer. Load a strip of 18-gauge brads with the points facing forward toward the nose. Close the magazine until it clicks into place. Stick to the recommended nail length, usually 5/8″ to 2″, to avoid jams and ensure proper penetration.
Test Fire on Scrap Wood Before Starting
Always do a test fire on a scrap board before beginning your project. Hold the nailer perpendicular to the surface, press the safety tip firmly into the wood, then pull the trigger. The nail should sink flush with minimal splitting. If it doesn’t fire, recheck your pressure, hose connection, and safety tip contact. Fine-tune the regulator by a few PSI for ideal depth.
Troubleshoot Common Operating Problems
Trigger Won’t Fire? Check Pressure and Safety Contact
When the trigger feels dead, start with the output gauge. Below 70 PSI, the piston lacks the force to cycle. Next, confirm the safety tip is fully pressed against the material; even slight lifting blocks the firing sequence. Also verify the magazine is loaded and no nails are jammed. Clear jams by opening the magazine and removing the stuck fastener.
Nails Not Driving Flush
Incomplete drives usually point to low pressure. Confirm the compressor is running and the tank has enough charge. If pressure looks good, inspect the nose for debris, bent nails, or a worn driver. Clean the nail exit area regularly, and double-check that you’re using the correct 18-gauge brads in the right length.
Air Leaks at Hose Fittings
Intermittent power loss often traces back to loose fittings. Disconnect and reconnect the hose to ensure a snug fit. A drop of pneumatic tool oil on the O-ring can improve the seal. Replace any cracked or worn hoses right away, since leaks mimic low-pressure symptoms and throw off your depth settings.
Maintain Your Nailer for Long-Term Use
Clean and Lubricate After Each Use
Wipe down the nailer and blow out dust from the safety tip, trigger guard, and magazine. Once a month, add 2–3 drops of pneumatic tool oil into the air inlet, then run the tool briefly to distribute lubricant through the cylinder. This keeps seals supple, prevents sticking, and extends the life of internal components.
Store the Tool and Compressor Properly
Disconnect the air hose and drain the compressor tank after each session to prevent moisture buildup. Store the nailer in a dry location, upright or hung, to protect the nose and safety tip from impact damage. Leaving the hose connected under constant pressure can stress the inlet valve over time.
Optimize Your Setup for Real Job Sites
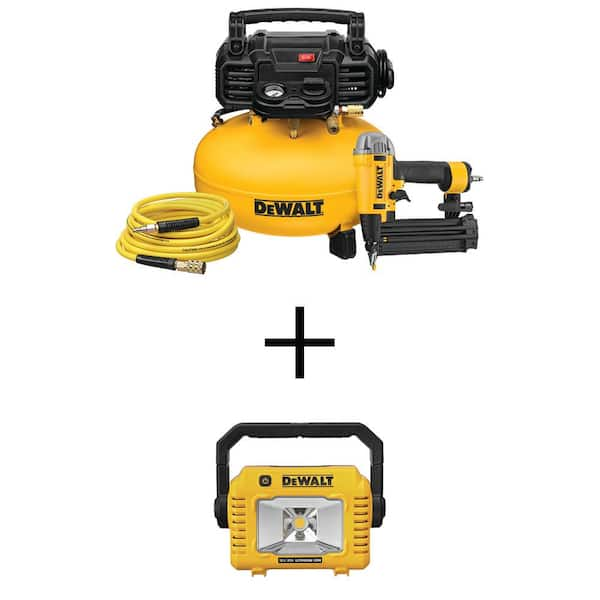
Use the Integrated Hose Reel
Many DeWalt compressor kits include a built-in hose reel. Use it to keep your air line tangle-free and reduce trip hazards. Retract the hose after each job to prevent kinks that restrict airflow. A well-managed hose speeds up setup and minimizes leak points.
Pair with a 20V Task Light
Working under cabinets or in dim corners? If your compressor has an integrated USB or power port, plug in a DeWalt 20V task light. Better visibility means more accurate nail placement, fewer mistakes, and less rework on finished surfaces.
Break In a New Pancake Compressor
New oil-free pancake compressors benefit from a short break-in period. Run the unit for 2–3 hours initially, allowing it to cycle on and off. This seats internal pump components and stabilizes pressure output. Skipping this step can cause PSI fluctuations that lead to inconsistent nail depth.
Frequently Asked Questions About DeWalt Brad Nailers and Compressors
What PSI should I set for a DeWalt brad nailer?
Set your compressor’s regulated output between 70 and 120 PSI. The tool requires at least 70 PSI to cycle, and going above 120 PSI risks overdriving nails or damaging the workpiece. Always watch the output gauge, not just the tank pressure.
Why won’t my DeWalt brad nailer fire?
The most common causes are output pressure below 70 PSI or an unpressed safety tip. The dual-action safety system blocks the trigger unless the contact tip is firmly against the material. Check both before inspecting for jams or mechanical issues.
Can I use any air compressor with a DeWalt brad nailer?
Yes, as long as the compressor delivers at least 70 PSI and has a 1/4-inch quick-connect outlet. A 6-gallon pancake compressor rated for 165 PSI maximum is the standard pairing, but any unit meeting the pressure and fitting requirements will work.
How often should I oil my DeWalt brad nailer?
Add 2–3 drops of pneumatic tool oil into the air inlet once a month with regular use. Run the tool briefly after oiling to distribute lubricant through the cylinder. This keeps seals from drying out and ensures smooth cycling.
What size nails does a DeWalt 18-gauge brad nailer use?
It accepts 18-gauge brad nails ranging from 5/8″ to 2″ in length, depending on the model. Always use the gauge and length recommended in your tool’s manual to avoid jams and ensure proper holding power.
Is it safe to remove the white plastic piece under the trigger?
No. That white component is part of the safety interlock and must remain in place. Removing it disables the dual-action safety system and can cause the tool to fire unintentionally. If the trigger sticks, clean the area instead of altering the tool.
Key Takeaways for Using a DeWalt Brad Nailer with a Compressor
Setting up a DeWalt brad nailer comes down to three essentials: a secure hose connection, regulated pressure between 70 and 120 PSI, and proper engagement of the dual-action safety tip before each trigger pull. Routine cleaning and monthly lubrication keep the tool cycling smoothly, while monitoring both gauges prevents mid-project pressure drops. For your next trim or cabinetry job, start by connecting the hose, dialing in 90 PSI on the regulator, and running a few test fires on scrap wood. Once you confirm clean, consistent drives, you’ll get professional results on every pass.