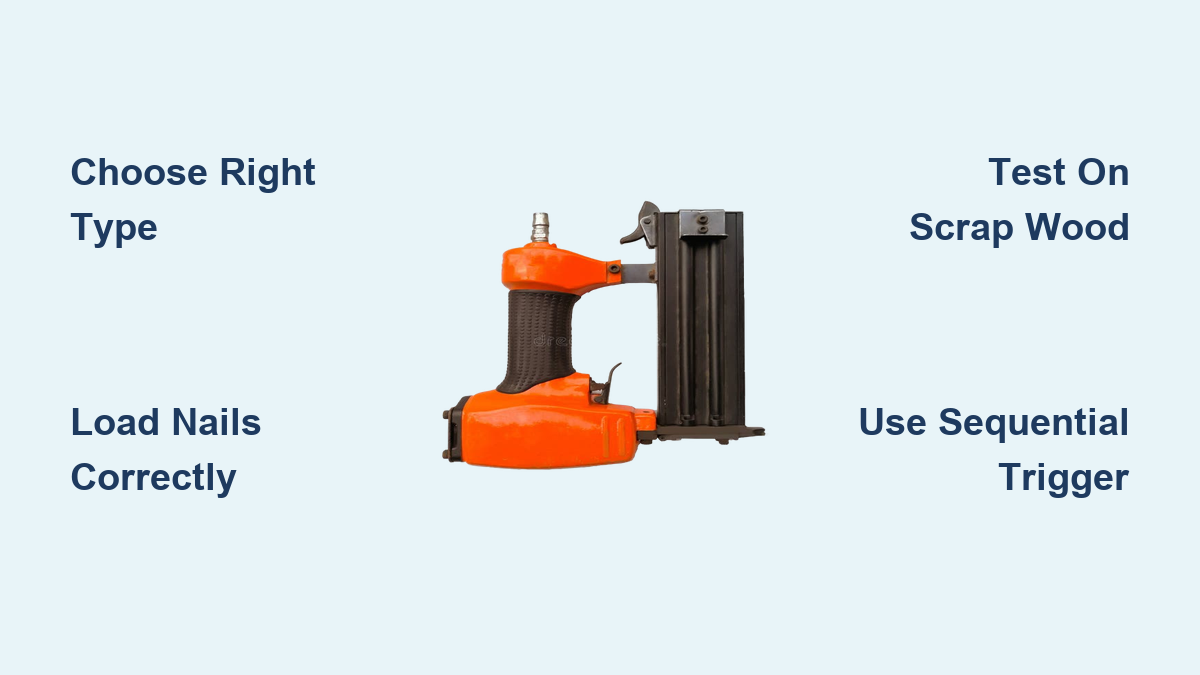
How to Use a Nailer Gun: Quick Steps
If you’ve ever spent hours swinging a hammer to install trim, you already know how tiring hand nailing can be. A nailer gun drives fasteners in a fraction of a second, turning exhausting work into clean, professional results. Learning how to use a nailer gun properly keeps you safe, protects your materials, and helps every nail land exactly where it should. This guide covers tool selection, loading, firing technique, maintenance, and troubleshooting. You’ll finish with the confidence to tackle trim, furniture, and detailed woodworking projects.
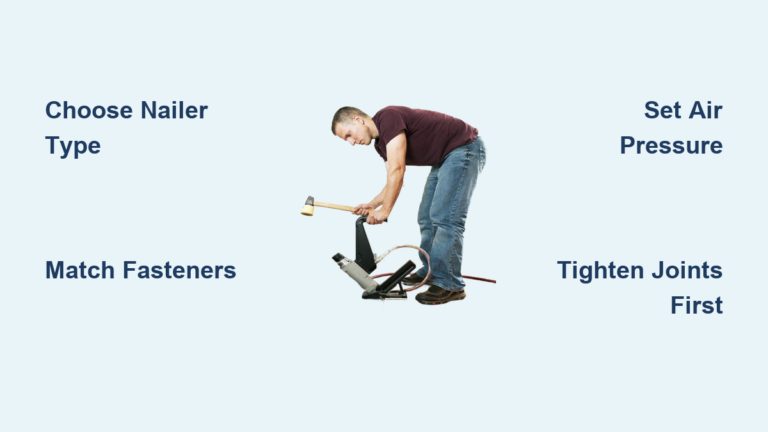
Choose the Right Nail Gun Type
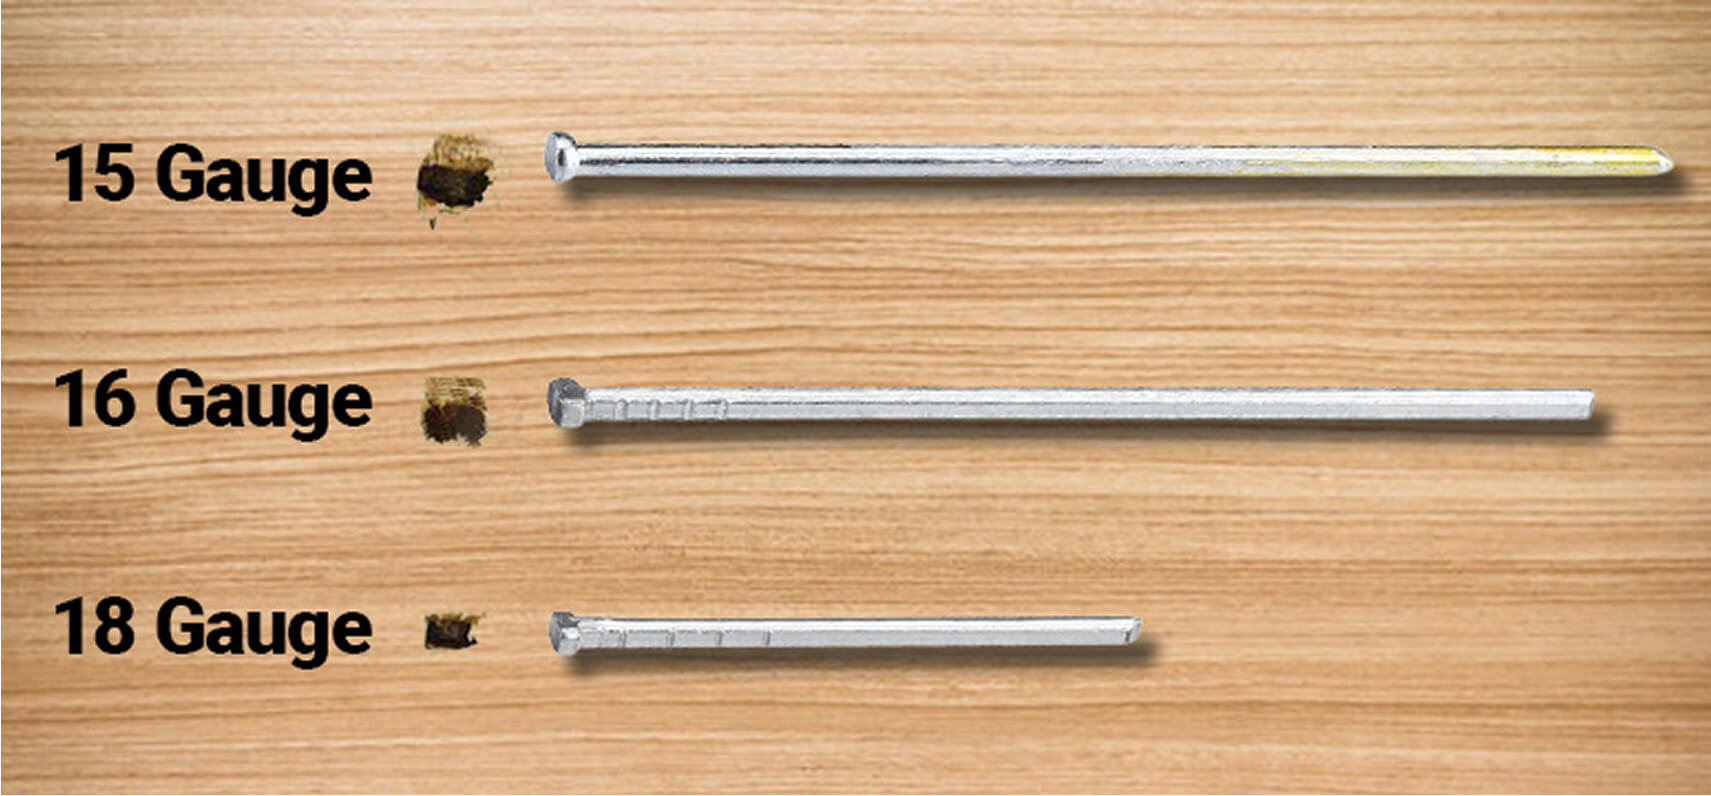
Before loading any nails, confirm the tool matches your project. Using the wrong type leads to splits, weak joints, or damaged surfaces.
Match Tool to Task
- Brad nailer (18-gauge): Best for light trim, molding, and delicate woodworking.
- Finish nailer (15 or 16-gauge): Ideal for baseboards, cabinetry, and thicker wood.
- Pin nailer (23-gauge): Perfect for fine details and glue-up support, leaving nearly invisible holes.
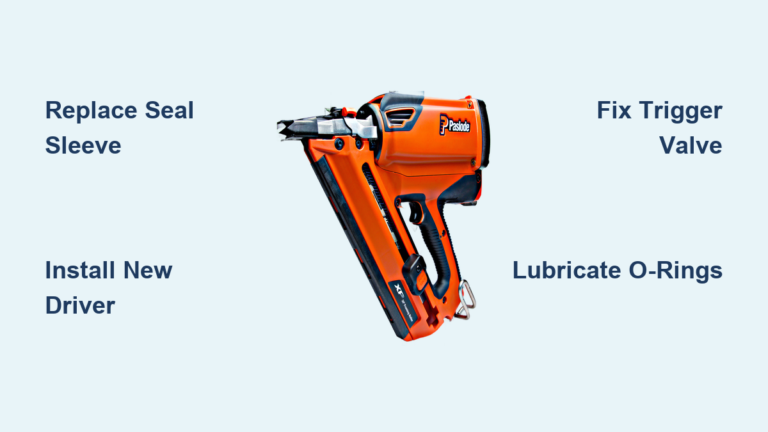
- Framing nailer (larger gauges): Used for structural work like decking and framing.
Beginners should start with an 18-gauge brad nailer. It’s versatile, easy to handle, and minimizes splitting on most materials.
Cordless vs. Pneumatic vs. Electric
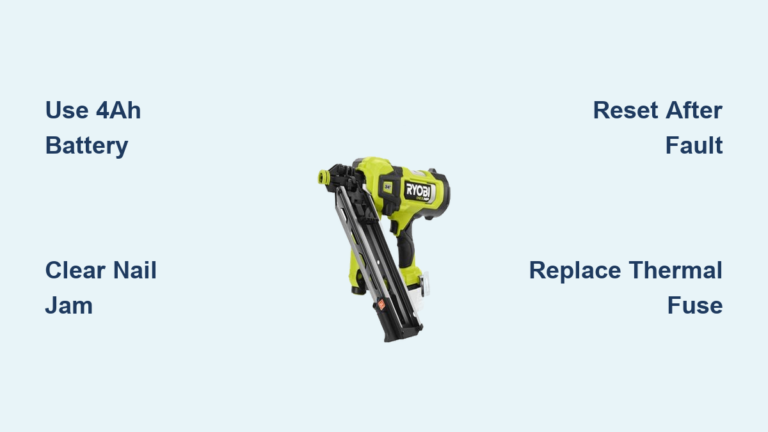
- Cordless (battery-powered): Highly portable and quieter. Remove the battery when idle.
- Pneumatic (air-powered): Lightweight and powerful. Requires an air compressor and hose.
- Electric (corded): Steady power, but limited by cord length. Plug into grounded outlets only.
- Gas-powered: Uses fuel cartridges for heavy-duty jobs in remote locations.
Pick based on mobility needs, job site access, and how often you’ll use the tool.
Load Nails Correctly
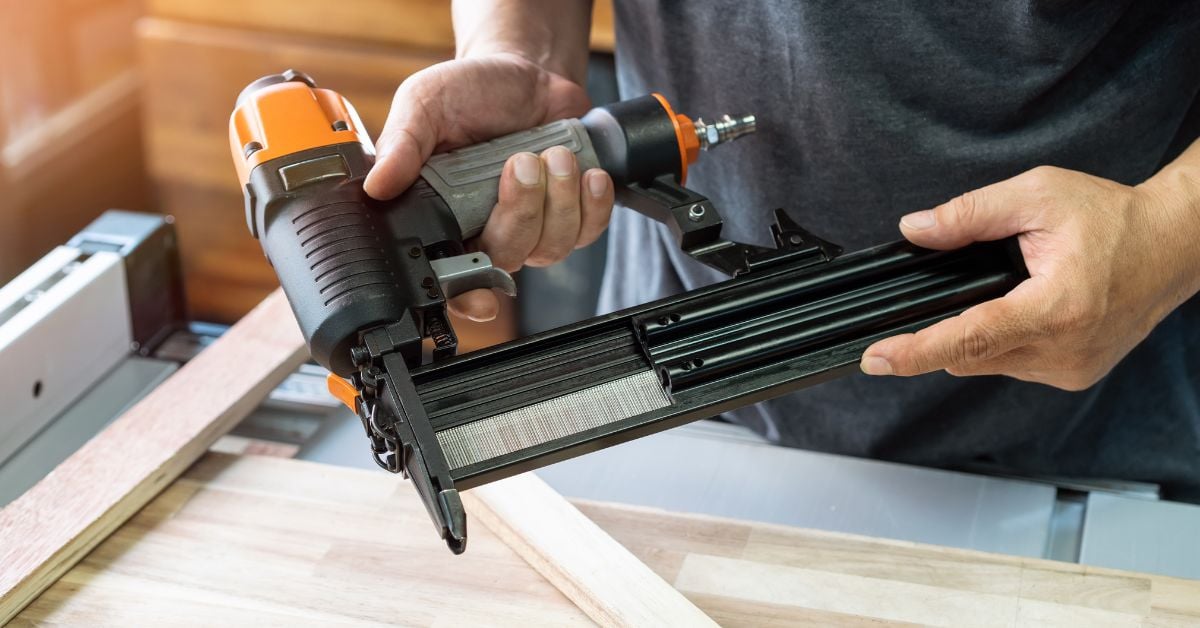
Improper loading causes jams and misfires. Follow these steps for smooth operation every time.
Open the Magazine
Press the release button (usually gray) and slide or swing open the magazine cover. Some models pull straight down while others swing sideways.
Insert Nails Properly
- Use the correct gauge and length for your tool and task.
- Orient nails so the heads face the driver mechanism and points face outward.
- Push nails all the way into the magazine until they click or seat fully.
Pro Tip: Don’t force the cover shut. If it doesn’t close easily, check nail alignment first.
Lock the Magazine
Close the cover and press until it clicks or locks. Engage the release button if needed to secure it.
Connect Power Source Safely
Never power on during setup. Connect only after loading and safety checks.
By Power Type
- Pneumatic: Attach the air hose to the compressor. Set pressure to the manufacturer’s recommendation, typically 70 to 120 PSI.
- Cordless: Insert a fully charged battery until it clicks.
- Electric: Plug into a grounded outlet. Never use extension cords unless rated for the load.
- Gas-powered: Install the fuel cartridge as directed, usually in the handle or base.
Always disconnect power before clearing jams or changing nails.
Test Fire on Scrap Wood
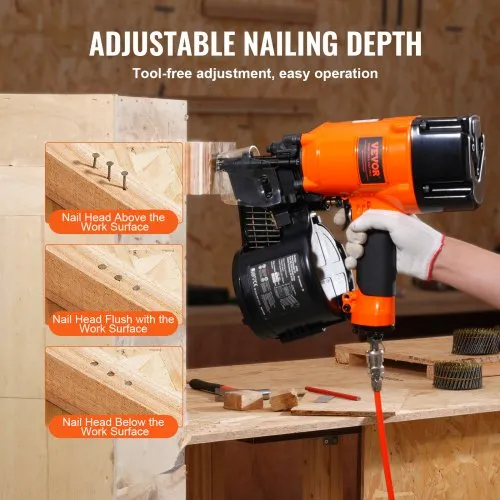
Before starting your project, fire a few nails into scrap material matching your final workpiece.
Why Test?
- Confirms nails feed properly.
- Checks the firing mechanism.
- Lets you adjust depth and pressure.
How to Test
- Hold the gun perpendicular to scrap wood.
- Press the tip firmly against the surface.
- Pull the trigger (or press the tip first, depending on trigger mode).
- Check if the nail seats flush. It should sit not too deep and not sticking out.
Adjust depth settings if necessary. Many models have dials near the nose for quick changes.
Fire With Proper Technique
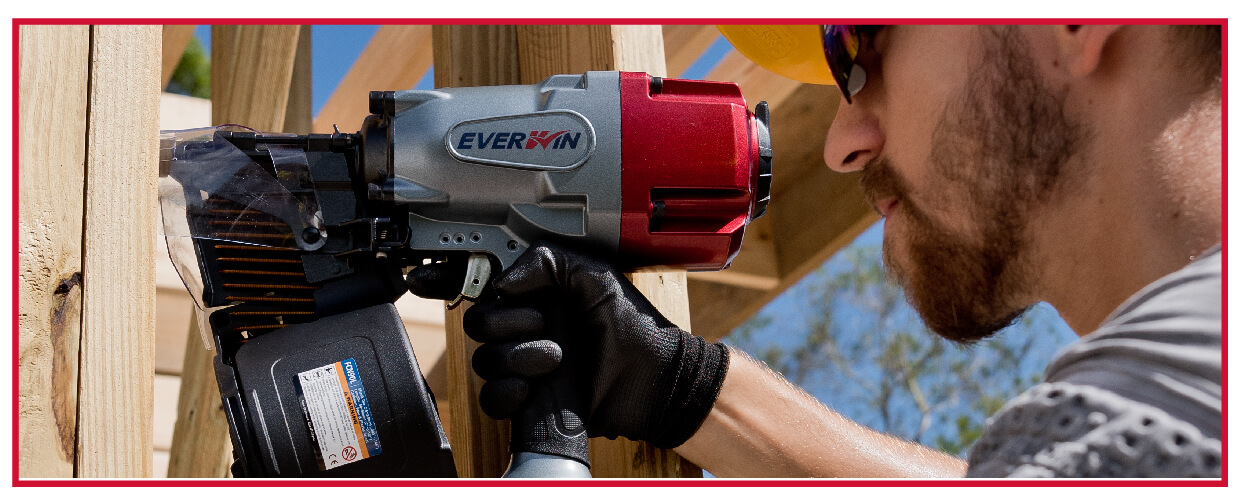
Shooting accurately prevents damage and injury. Use correct grip and alignment on every nail.
Grip and Stance
- Hold the nailer with both hands for control.
- Keep feet shoulder-width apart.
- Never brace yourself against the tool.
Position the Gun
- Place the nose tip exactly where the nail should go.
- Keep the gun 90 degrees to the surface. Angling causes bent nails or blowout.
Activate Based on Trigger Mode
Contact Trip (Bump Firing)
- Hold the trigger down.
- “Bump” the tip against the wood to fire.
- Allows rapid firing but carries higher risk of accidental discharge.
Sequential Trigger
- Press the trigger first, then press the tip to fire.
- Safer for beginners because it requires two deliberate actions.
Expert Note: Use sequential mode when starting out. It gives you more control and reduces accidental nails.
Avoid Common Firing Mistakes
Even experienced users make errors that damage wood or jam tools. Watch for these issues.
Don’t Overdrive Nails
Driving nails too deep splits wood or weakens joints. Adjust air pressure or depth setting so the head sits flush or slightly below the surface.
Prevent Nail Bending
- Keep the gun square to the workpiece.
- Use correct nail length. Nails that are too long increase bending risk.
- Watch for hidden knots or metal in the wood.
Keep Fingers Clear
Never place fingers near the nose. Use a push stick or clamp to secure small pieces.
Clear Jams Safely

Jams happen, especially with low-quality nails. Clear them without injury by following these steps.
Steps to Clear a Jam
- Disconnect the power source (remove battery, unplug, or disconnect air).
- Open the magazine.
- Look for visible blockage near the driver or feed path.
- Use needle-nose pliers to remove stuck nails.
- Close the magazine and test on scrap wood.
Warning: Never attempt to clear a jam while powered. Serious injuries can occur.
Maintain Your Nail Gun
Regular care extends tool life and prevents performance issues during critical projects.
Clean After Every Use
Wipe the exterior with a dry cloth. Remove dust and debris from:
– Magazine rails
– Air intake (pneumatic models)
– Nose area
Drain Moisture (Pneumatic Only)
After each use, drain the air compressor tank to prevent rust. Moisture in lines can damage internal seals.
Lubricate Moving Parts
For pneumatic nailers, add 3 to 5 drops of pneumatic tool oil into the air inlet weekly during heavy use. Cordless and electric models typically don’t require oiling.
Store Properly
- Store in a dry, dust-free place.
- Remove nails and disconnect the power source.
- Keep in a case or protective cover.
Select the Right Nails
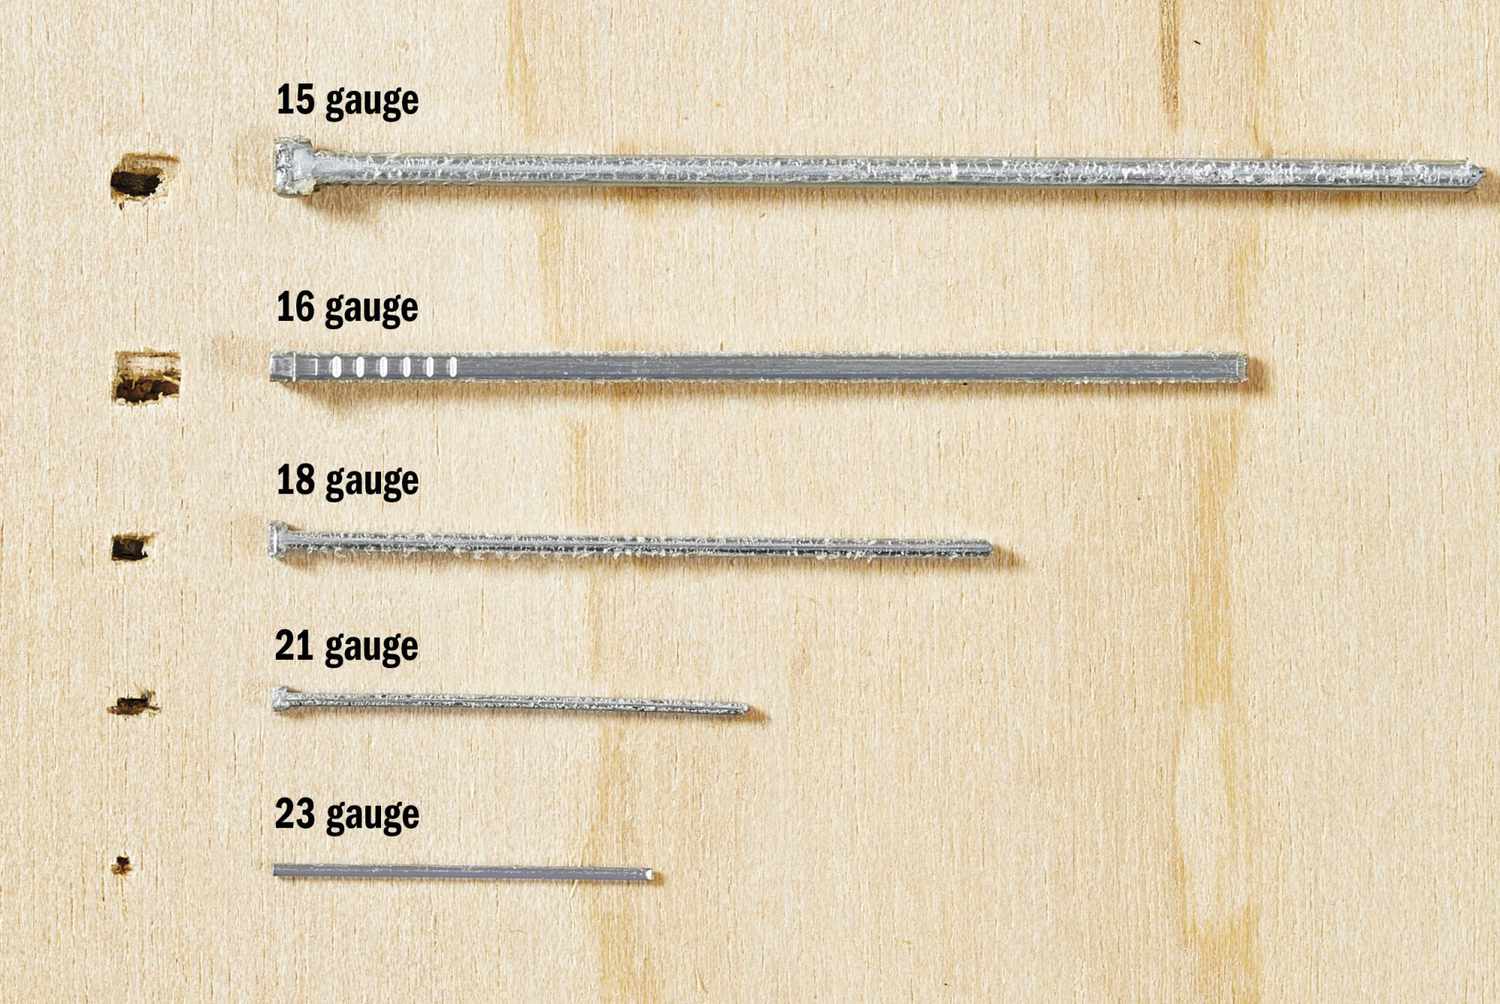
Using the wrong nails leads to jams, weak holds, or material damage. Match nails to both tool and task.
Understand Gauge Numbers
- 16-gauge: Thicker and stronger. Good for baseboards and heavy trim.
- 18-gauge (brad): Medium thickness. Ideal for light trim and furniture.
- 23-gauge (pin): Thinnest. Used for detail work and glue support.
Rule: Higher gauge numbers mean thinner nails.
Choose Correct Length
Nails should be about twice the thickness of the material being fastened. For example, use 1.5-inch nails for 3/4-inch trim.
Use Recommended Brands
Stick to name-brand nails such as DeWalt, Paslode, or Hitachi. Off-brand strips often have inconsistent angles or weak collation, leading to jams.
Know Where Not to Use a Nail Gun
Nail guns aren’t universal fasteners. Some joints need more strength than nails can provide.
Avoid High Shear Applications
- Don’t use nailers where joints bear side-to-side (shear) force, such as:
- Railing connections
- Joist hangers
- Load-bearing beams
In these cases, screws or bolts provide superior holding power.
Prevent Wood Splitting
On thin or hardwood pieces:
– Use smaller gauge nails (18 or 23-gauge).
– Apply wood glue for extra strength.
– Pre-drill pilot holes if needed.
Troubleshoot Common Issues
Quick fixes keep your project moving when something goes wrong.
Nails Not Firing?
- Check the power connection (battery charged, air pressure sufficient).
- Confirm nails are loaded correctly and not jammed.
- Ensure the safety tip moves freely. Clean it if stuck.
Misfires or Double Fires?
- Clean the trigger mechanism with compressed air.
- Switch to sequential trigger mode.
- Avoid bump-firing too rapidly.
Bent or Crooked Nails?
- Realign the gun and keep it perfectly perpendicular.
- Verify correct nail size.
- Check for obstructions in the wood.
Safety First: Critical Rules
Nail guns cause thousands of injuries every year. Follow these non-negotiable safety practices.
Wear Protective Gear
- Safety glasses should always be worn. Flying debris or ricochets can cause blindness.
- Hearing protection is essential, especially with pneumatic models.
Follow Handling Rules
- Never point the tool at yourself or others.
- Keep fingers away from the nose and trigger.
- Disconnect power when not in use. For cordless models, remove the battery.
Work in a Clear Area
Ensure no bystanders are nearby. Use warning signs if working in shared spaces.
Practice Before You Build
Build confidence with a short practice session before touching your project material.
What to Do
- Gather scrap wood matching your project material.
- Load the correct nails.
- Test both trigger modes.
- Practice spacing nails evenly. Aim for every 12 to 16 inches on trim.
- Adjust depth until nails sit flush.
Pro Tip: Mark nail locations lightly with pencil to improve accuracy.
Frequently Asked Questions About Nailer Guns
What is the best nailer gun for beginners?
An 18-gauge brad nailer is widely recommended for beginners. It’s versatile, easy to handle, and works well for trim, furniture, and general DIY projects without splitting delicate wood.
Can I use a nail gun on hardwood?
Yes, but use a smaller gauge (higher number) like 18 or 23 to reduce splitting. You can also pre-drill pilot holes or apply wood glue for extra holding power on hardwoods.
How do I know what gauge nails to use?
Match the gauge to your tool and task. Use 16-gauge for heavy trim and structural work, 18-gauge for general trim and furniture, and 23-gauge for fine details and glue-ups. Higher numbers mean thinner nails.
Do I need an air compressor for a nail gun?
Only for pneumatic models. Cordless, electric, and gas-powered nailers don’t require a compressor. Cordless models are popular for DIYers because they eliminate hoses and extra equipment.
How do I clear a nail jam safely?
First, disconnect the power source (remove battery, unplug, or disconnect air). Then open the magazine, locate the blockage, and remove stuck nails with needle-nose pliers. Test on scrap wood before resuming work.
What should I do if nails keep bending?
Check that the gun is held perpendicular to the surface, verify you’re using the correct nail size, and inspect the wood for hidden knots or metal. Adjusting your angle or switching nail length usually solves the problem.
Key Takeaways for Using a Nailer Gun Safely and Effectively
Mastering how to use a nailer gun comes down to three essentials. First, match your tool and nails to the task. An 18-gauge brad nailer covers most beginner projects, while specialty gauges handle detail or heavy work. Second, always prioritize safety by wearing eye and hearing protection, disconnecting power during jams, and using sequential trigger mode until you’re comfortable. Third, practice on scrap wood before every project to dial in depth, pressure, and spacing.
Your next step is simple. Gather scrap material, load your nailer, and spend 15 minutes firing practice shots. That short session builds the muscle memory you need for clean, professional results on your real project.