How to Lubricate Paslode Framing Nailer
A Paslode framing nailer that skips, misfires, or loses driving depth is often blamed on bad fuel cells or weak batteries. In many cases, the real culprit is dried-out o-rings and friction-worn internal parts. Impulse tools work under intense heat and pressure, which slowly breaks down rubber seals and lubricants over time. Dust, sawdust, and job site grime make the problem worse, especially during framing work where downtime costs money.
Learning how to lubricate a Paslode framing nailer correctly saves you from expensive seal replacements and frustrating mid-day failures. This guide covers the exact cleaners, lubricants, and steps Paslode recommends, along with the mistakes that destroy o-rings and ruin tools.
Start With Paslode-Approved Spray Cleaner
Use the Factory Cleaner Between Jobs
Paslode includes a spray cleaner and lubricant with every nailer for good reason. The formula is engineered to be safe on rubber seals, plastic housings, and metal components all at once. After a heavy day of framing, spray it into the nose cavity, the driver blade channel, and the air intake, then cycle the tool a few times to spread the solution. This quick step flushes out dust and adds a light protective film that prevents rust.
Skip the WD-40 Shortcut
Hardware store sprays like WD-40 or generic contact cleaners can strip the protective additives that Paslode’s lube leaves behind. They also lack the viscosity stabilizers needed to keep seals flexible under combustion heat. Sticking with the OEM product is cheaper than replacing swollen or cracked o-rings later.
Clean the Outside Without Cracking the Plastic
Glycol Ether Is the Safe Choice
The rubberized grip and plastic magazine can cloud, craze, or crack when exposed to harsh solvents. A clean cloth dampened with glycol ether safely wipes away fingerprints, pitch, and job site grime. If glycol ether is hard to find, starting fluid works as a gentle backup.
Keep Brake Cleaner and Carb Cleaner Away
Brake cleaner and carb cleaner strip the protective coating off Paslode’s plastic and rubber parts on contact. Even a quick wipe can leave the surface brittle and prone to UV cracking. Reserve those products for bare metal only, and never use them on the assembled tool.
Take the Tool Apart for Deep Service
Remove Power Sources and the Magazine First
Before any disassembly, pull the battery and fuel cell to eliminate ignition risk. Detach the nail magazine and set it aside. Unscrew the nose cap, driver blade cover, and cylinder head using the correct hex keys. Lift out the piston assembly and set every o-ring aside in order. Snap photos during disassembly so reassembly goes back together correctly.
Wipe Off Loose Debris Before Chemical Cleaning
Once open, use lint-free shop towels to wipe down the piston, cylinder, and valve body. Removing surface oil and carbon first prevents the cleaning solution from getting contaminated. This small step also cuts down on the solvent you need for the deep scrub.
Deep Clean the Internal Components

Scrub With Simple Green and a Toothbrush
Mix Simple Green according to the label and scrub the combustion chamber, fan blades, and air ports with an old toothbrush. The soft bristles reach into tight passages without scratching metal. Pay extra attention to the fan blades and valve seat, where carbon tends to cake up after extended use.
Finish With 99% Isopropyl Alcohol
After scrubbing, wipe every part with 99% isopropyl alcohol. The high concentration flashes off fast and leaves no residue behind. Let all components air dry completely before moving to lubrication. Trapped moisture under a fresh coat of grease leads to rust and weak ignition.
Lubricate the O-Rings and Sliding Parts
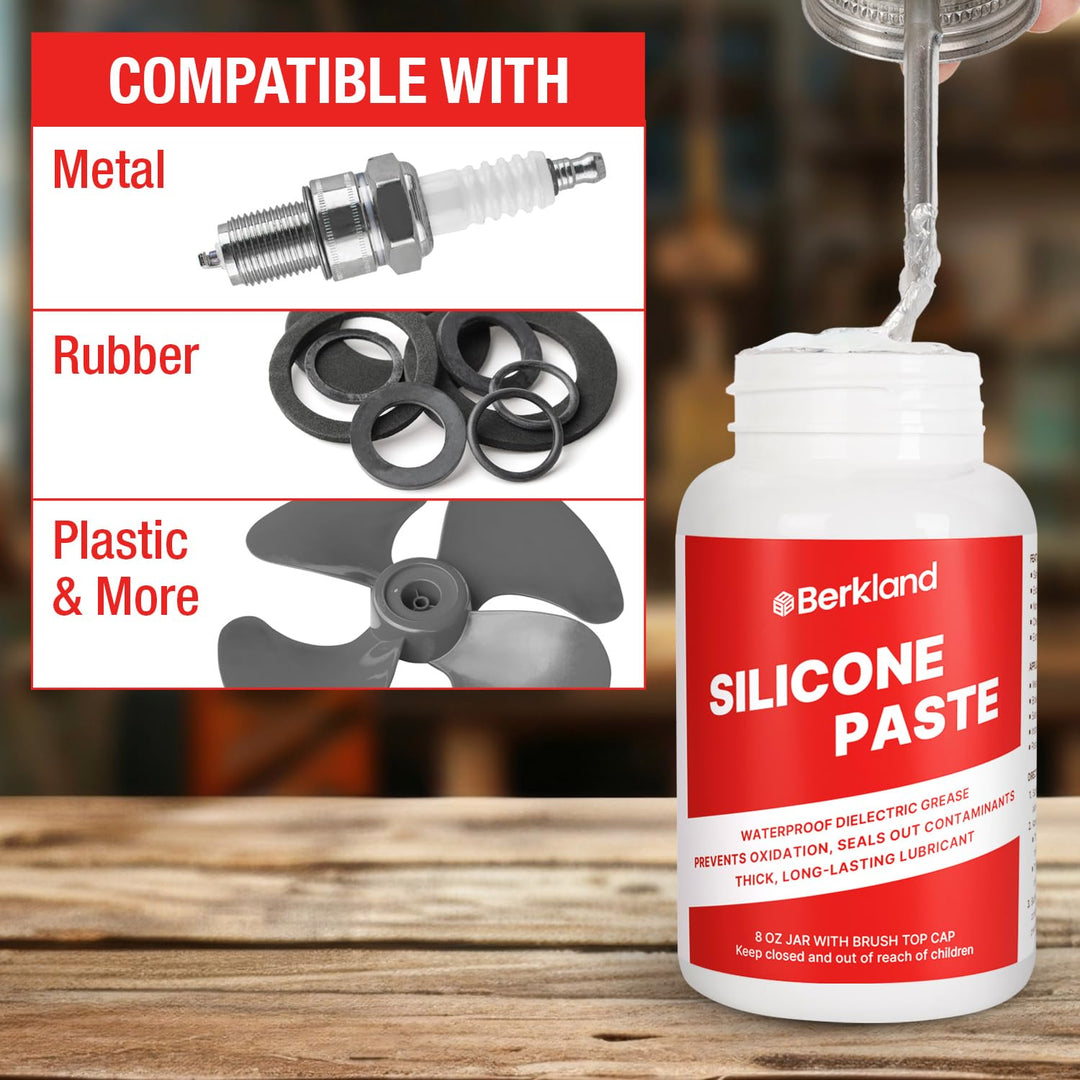
Apply 3M Silicone Dielectric Grease Sparingly
Once everything is dry, brush a thin film of 3M silicone dielectric grease across every o-ring, piston seal, and sliding surface. The grease holds up under combustion heat and keeps seals from drying out. A thin sheen is all you need; over-lubrication attracts dust and can cause buildup in tight passages.
Use Food-Grade Silicone as a Backup
If 3M grease is not on hand, food-grade silicone lubricant is a safe alternative. Both options resist heat and will not swell nitrile rubber the way petroleum grease does. Avoid lithium grease, white lithium, or any petroleum-based product; these break down the seals Paslode relies on.
Service the Specialized Assemblies Carefully
O-Rings Off the Tool Are the One Exception
Brake cleaner can actually be used on o-rings removed from the piston and cylinder. When the seals are out of the tool, they can handle a brief brake cleaner soak for deep degreasing. Rinse them in isopropyl alcohol afterward and let them dry before greasing. Never spray brake cleaner into the assembled nailer; it will destroy the in-place seals.
Use Electrical Cleaner on the Spark Assembly
The ignition head, cooling fan, and spark plug are sensitive electronics. Use a plastic-safe electrical contact cleaner to remove carbon from the spark tip and dust from the fan blades. Light sprays followed by a cotton swab work best. Avoid water-based cleaners; moisture near the spark causes misfires and weak ignition.
Clean and Reinstall the Air Filter Screen

Inspect the Filter Every Service
The air filter screen sits near the intake and keeps debris out of the combustion chamber. Pull it out gently; some models use a small clip or screw. Inspect the mesh for tears, warping, or heavy dust buildup. A damaged filter lets fine particles straight into the piston chamber.
Wash, Blow Dry, and Reinstall
Wash the screen in isopropyl alcohol, then blow it dry with short bursts of compressed air. Reinstall only when completely dry to avoid moisture contamination. If the mesh is torn or permanently deformed, replace it with an OEM part from Paslode.
Put It Back Together and Test Fire
Reassemble in Reverse Order
Start with the piston, then the cylinder head, driver blade, and nose cap. Make sure every o-ring seats flat and is not pinched or twisted. Tighten screws snugly without over-torquing, since the plastic threads strip easily. Reattach the magazine and load a test strip of nails before firing.
Run a Safe Test Shot
Install a fresh fuel cell and charged battery, then fire a single shot into a wood scrap aimed in a safe direction. Listen for a clean ignition snap and watch for consistent drive depth. Smoke, hesitation, or weak drives mean you should recheck o-ring placement and filter cleanliness.
Stick to a Preventive Maintenance Schedule
Quick Daily and Weekly Habits
- After every workday: Spray Paslode lube into the nose and fire two or three dry shots to coat the channel.
- Weekly: Wipe down the exterior, check the filter, and inspect for air leaks around the head.
- Monthly: Deep clean and relubricate the internal parts.
- Every 10,000 nails: Replace all o-rings and inspect the piston for wear.
Adjust for Dusty or Dry Conditions
Job sites in arid climates pull moisture out of seals faster than usual. If you work in dust, heat, or cold storage, shorten your service interval. Store the nailer in a sealed hard case between shifts to keep dust off the intake.
Avoid the Mistakes That Ruin Seals
Never Spray Solvents Into an Assembled Nailer
The single most expensive mistake is hitting the intake with carb cleaner or acetone while the tool is together. These solvents dissolve rubber on contact, and the only fix is a full seal kit plus labor. A bottle of Paslode spray costs a fraction of that repair.
Don’t Skip Grease in Dry Climates
Dry air is the fastest path to cracked o-rings. Lightly re-greasing every month keeps seals pliable and prevents mid-day power loss on the framing line. Skipping this step is the most common reason impulse nailers suddenly go dead halfway through a job.
Frequently Asked Questions About Paslode Framing Nailer Lubrication
Can I use WD-40 on my Paslode framing nailer?
WD-40 is not recommended as a long-term lubricant for Paslode nailers. It lacks the stabilizers needed to protect o-rings under combustion heat and can dry out seals over time. Paslode’s own spray cleaner and silicone dielectric grease are the safer choices.
How often should I lubricate a Paslode framing nailer?
Light lubrication with Paslode spray should happen after each heavy day of use. A full deep clean and silicone grease service is ideal once a month or every 10,000 nails. Dusty job sites may require more frequent service.
Is silicone grease safe for Paslode o-rings?
Yes, silicone-based greases like 3M dielectric grease or food-grade silicone are safe for Paslode’s nitrile o-rings. Petroleum-based greases should be avoided because they swell and degrade the rubber. Apply only a thin film to avoid attracting dust.
Can I use brake cleaner on any Paslode parts?
Brake cleaner can only be used on o-rings that have been removed from the piston and cylinder. It should never touch the assembled tool, plastic housings, or rubber grips. For electrical components, use a plastic-safe contact cleaner instead.
What causes a Paslode nailer to lose power?
The most common causes are dried or cracked o-rings, clogged air filters, and carbon buildup in the combustion chamber. Regular lubrication and filter cleaning restore most of the lost performance. If power loss continues after service, inspect the piston and spark plug for wear.
Does lubricating a Paslode nailer void the warranty?
Using the manufacturer-supplied Paslode cleaner and approved silicone grease will not void the warranty. Using harsh solvents like brake cleaner, carb cleaner, or acetone on internal parts can void coverage because the resulting seal damage is considered user-inflicted.
Key Takeaways for Lubricating Your Paslode Framing Nailer
Use Paslode’s spray cleaner for routine care, and reach for 3M silicone dielectric grease when servicing the o-rings. Avoid brake cleaner and carb cleaner on every assembled part, since a single spray can destroy seals and trigger an $80+ repair. Clean the air filter every service and replace it if the mesh is torn. Stick to a monthly deep-clean schedule, and your Paslode framing nailer should deliver reliable driving power for years of framing work. For guaranteed compatibility, pick up a fresh bottle of Paslode spray cleaner and a tube of silicone grease before your next service.