How to Adjust Paslode Framing Nailer
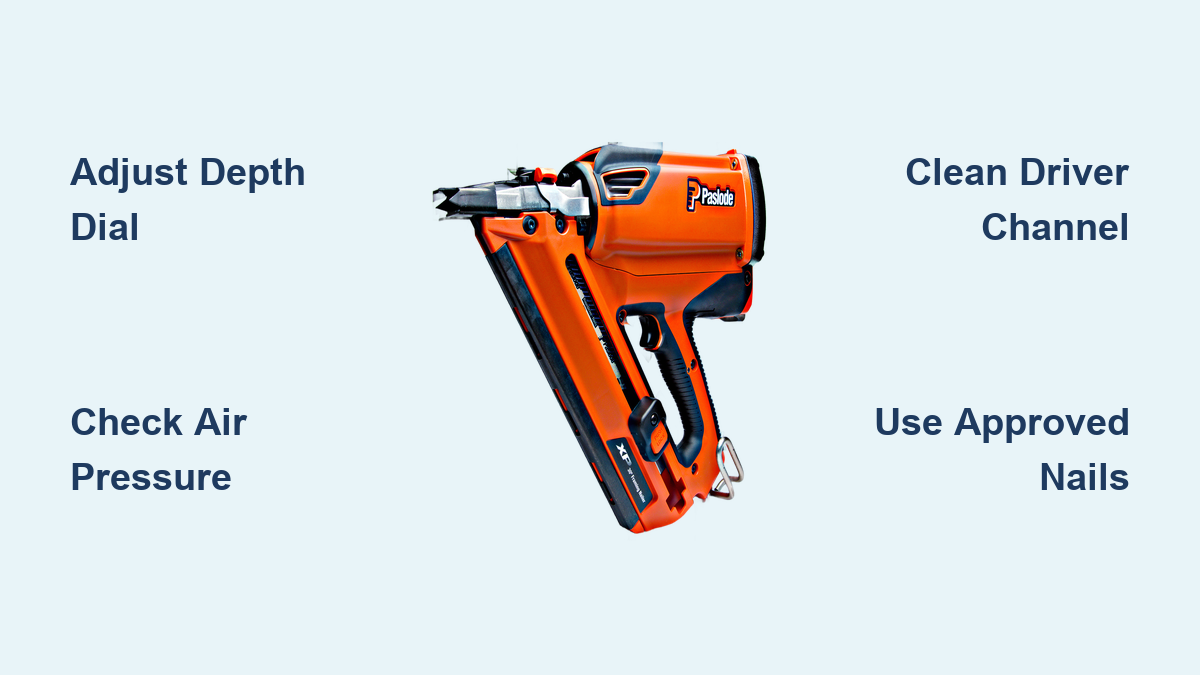
Nails sitting proud one minute and disappearing into the wood the next is a frustrating problem on any framing job. If your Paslode framing nailer isn’t sinking fasteners consistently, the fix usually comes down to proper depth adjustment and basic upkeep. Whether you run a Cordless XPro 30°, a Pneumatic PowerMaster Plus™, or a Compact F325R, the right adjustments restore clean, repeatable drives. This guide walks you through depth-of-drive tuning, air pressure regulation, and the maintenance steps that keep adjustments holding firm.
Adjust Cordless XPro 30° Depth of Drive
The Cordless XPro 30° Framing Nailer (Item #906800) uses a fingertip depth dial near the nose to control how far each nail sinks. This single setting matters most when switching between soft pine and dense engineered lumber.
Locate the Depth Adjustment Wheel
Find the knurled ring just behind the nose of the tool. It rotates smoothly for finger control with no tools needed.
Set the Correct Depth
Turn the dial clockwise to drive nails deeper, counterclockwise to leave them higher. Always start near the middle of the range if you are unsure, then fine-tune.
Test on Scrap Material
Fire two or three test nails into scrap wood that matches your project material:
– Flush head = correct setting
– Proud head = increase depth
– Countersunk head = reduce depth
Small tweaks prevent over-adjustment, which can damage the driver blade.
Clean the XPro Before Any Adjustment
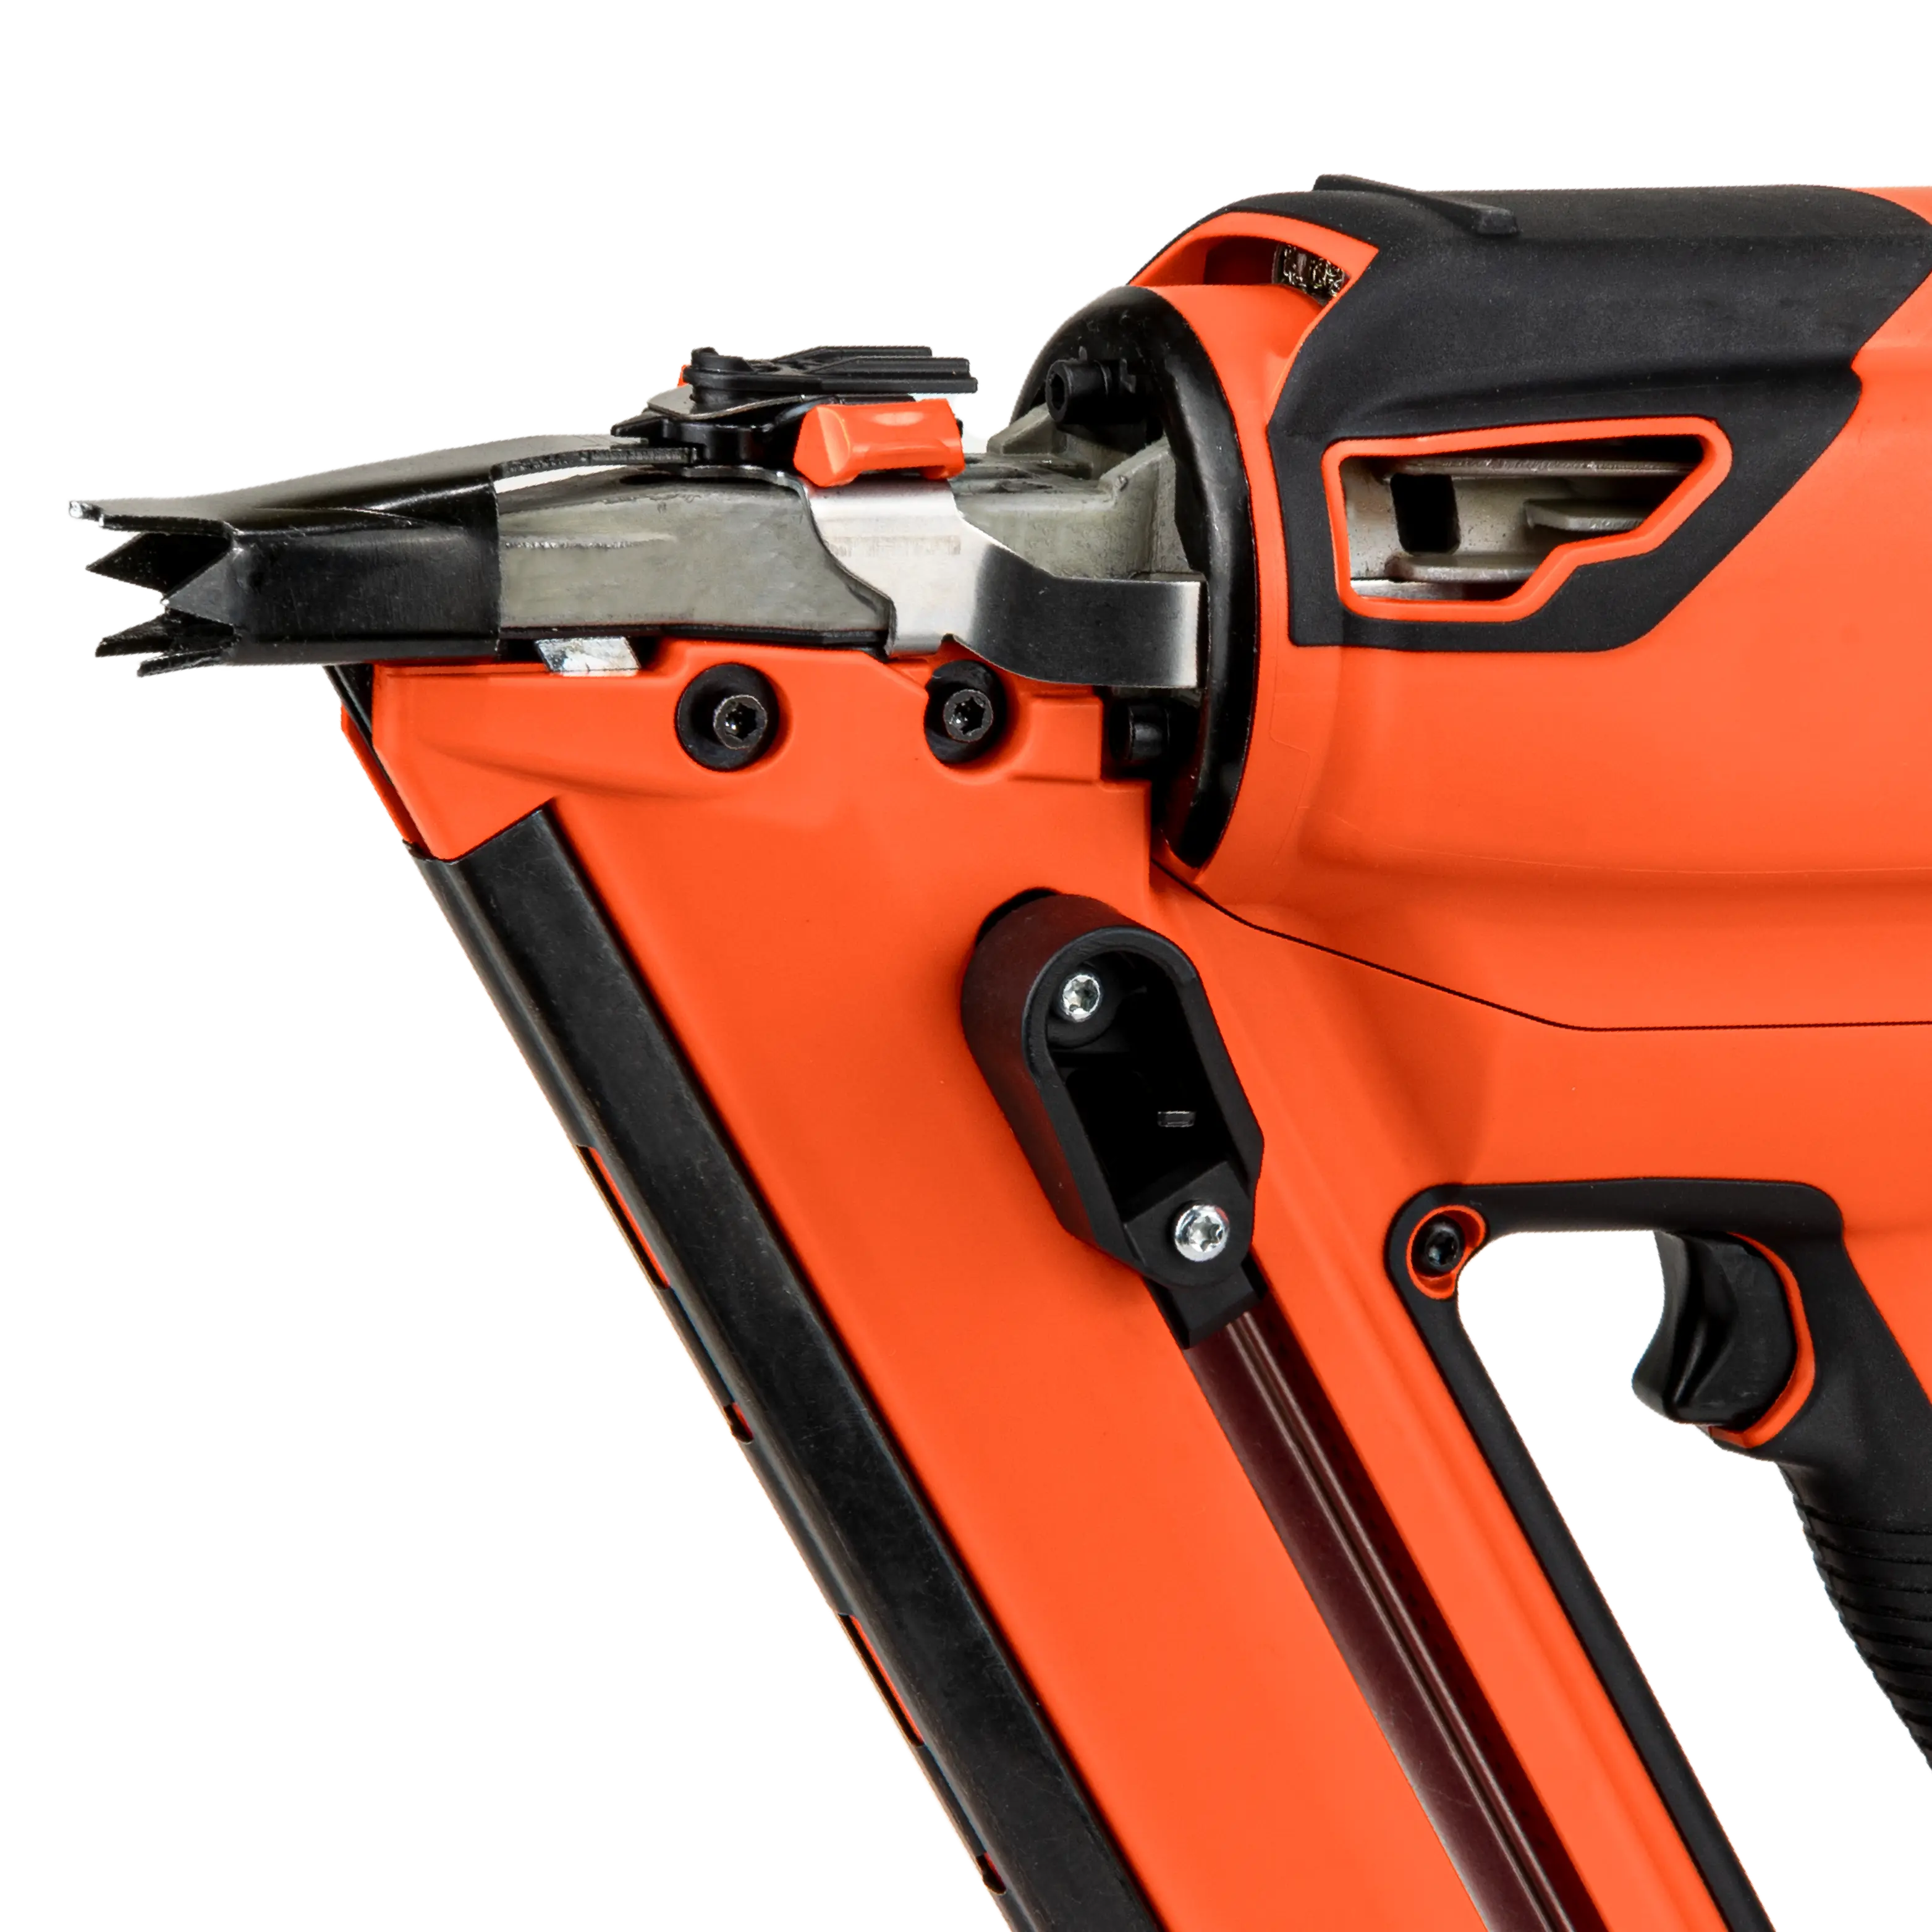
A dirty depth mechanism won’t hold a setting. Debris in the driver channel throws off every adjustment you make. The dedicated Cleaning Manual (document 906868) for the CF325XPRO24 spells out the process.
Follow the Cleaning Sequence
- Remove the battery and fuel cell
- Clear all nails from the magazine
- Wipe the exterior with a dry cloth
- Blow out dust with compressed air
- Brush the driver blade channel clean
Lubricate Selectively
Apply a light coat of Paslode-recommended lubricant to the driver shaft, pivot points, and adjustment threads. Skip the cylinder on cordless models; excess oil disrupts combustion.
Prep the XPro Before Adjusting
False readings often come from power issues, not the tool itself. Always confirm the basics before changing depth.
Check Power Sources
A weak fuel cell or low battery mimics an incorrect depth setting. Verify both are fresh, fully seated, and delivering consistent power.
Confirm Fastener Compatibility
Use only 30° paper-tape collated framing nails approved for the XPro. Off-brand fasteners change feed tension and wreck depth consistency.
Inspect the Nose Assembly
Look for wear, bends, or damage on the nose piece. A worn nose disrupts nail alignment, even when your depth dial is set perfectly.
Adjust PowerMaster Plus Depth of Drive
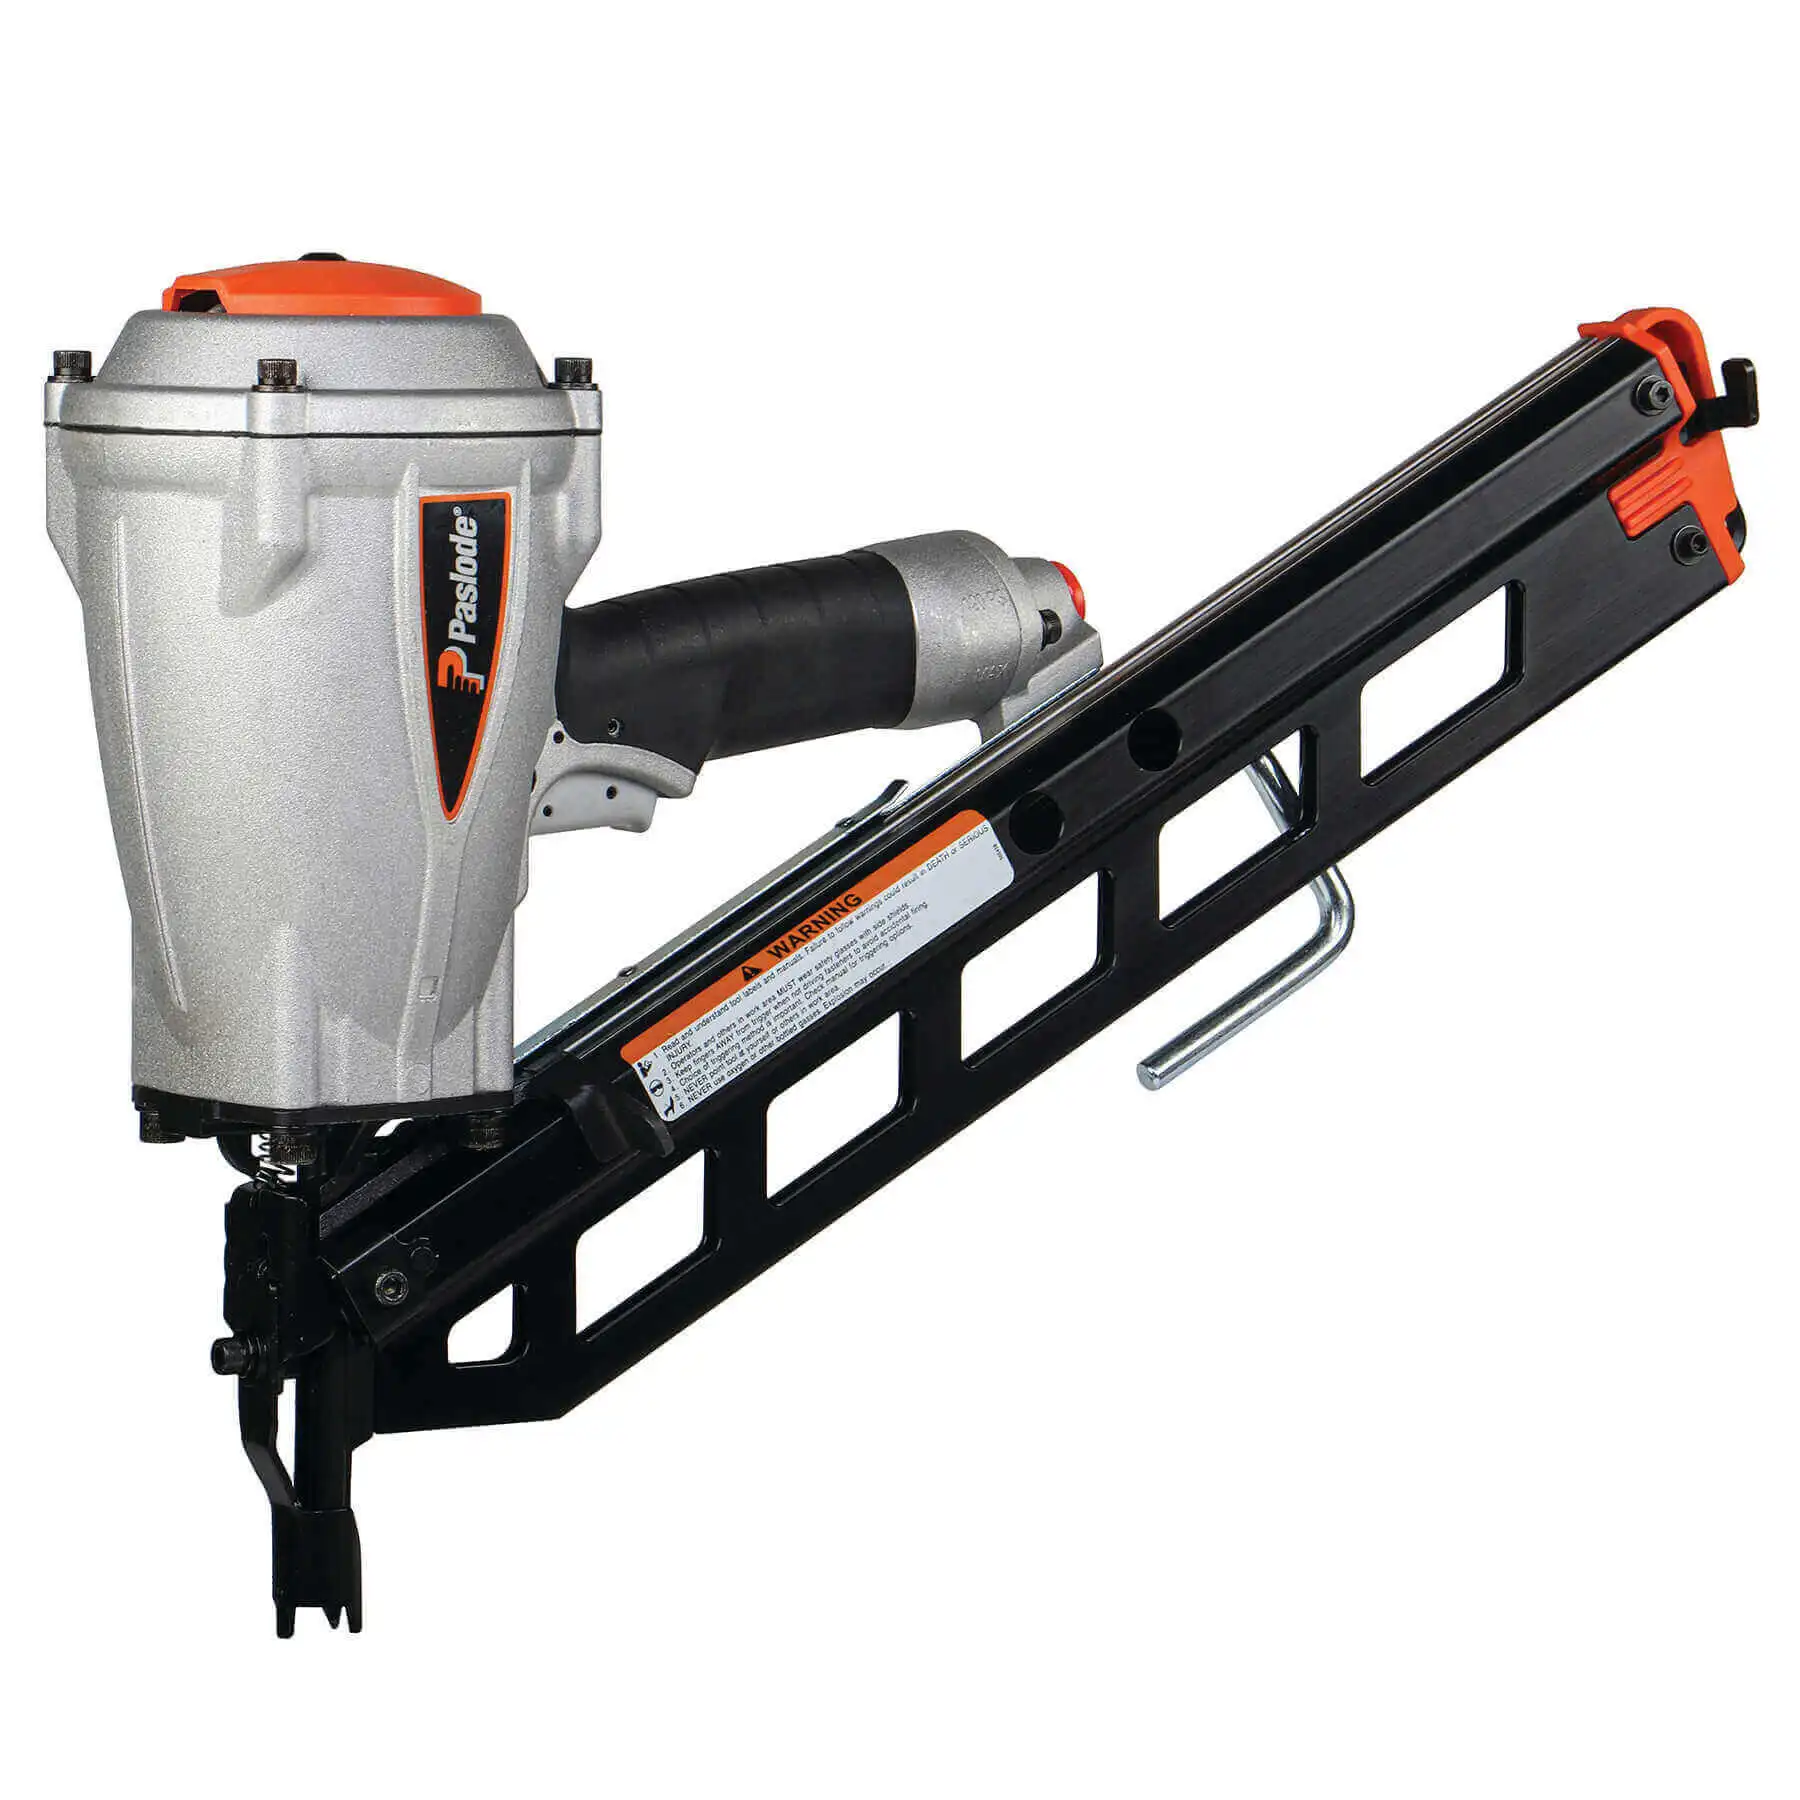
The Pneumatic PowerMaster Plus™ (Item #501000) has a side-mounted depth wheel designed for quick changes during heavy framing work. Its operating manual (501069-01) covers the full range of adjustments.
Find the Depth Wheel
The wheel sits on the side of the body, just behind the nose. Rotate it clockwise for deeper drives and counterclockwise for shallower ones.
Lock the Setting
Some versions include a lock to prevent the wheel from drifting during use. Engage the lock after dialing in your setting, and recheck after transport or heavy vibration.
Test on Scrap Lumber
Fire multiple test nails to confirm consistency. If depth varies across shots, the problem may be air leaks or internal wear, not the dial setting.
Regulate Air Pressure on Pneumatic Models
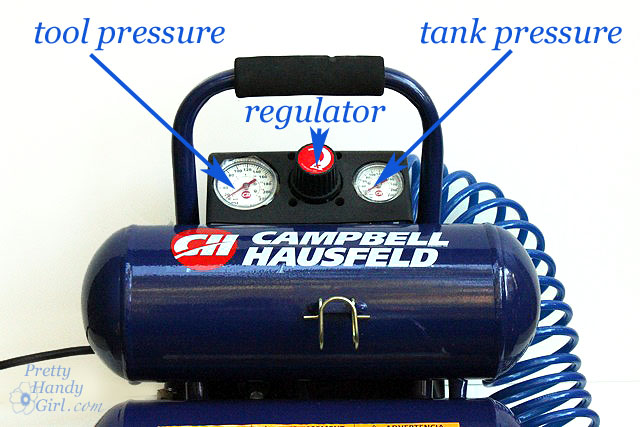
Air pressure drives the piston, and the wrong pressure overrides any depth dial setting. Always regulate pressure at the compressor or inline regulator, never at the tool.
Set Pressure at the Regulator
The PowerMaster Plus operates best between 80 and 100 PSI, per the operating manual (501069-01). Verify with an inline gauge before working.
Match Pressure to Material
Different woods demand different pressures:
– Softwood (pine, fir): 80 to 85 PSI to avoid over-driving
– Hardwood (oak, maple): 90 to 100 PSI
– Engineered lumber: Follow the manufacturer’s specs, usually mid-range
Too much pressure drives nails too deep; too little leaves them sticking up.
Maintain Seals and O-Rings for Reliable Adjustment
Worn seals waste air and create the illusion of a depth problem. Routine inspection keeps adjustments accurate.
Inspect O-Rings Weekly
Check cylinder and valve O-rings for cracks, flattening, or dry rot. Replace damaged rings immediately with genuine Paslode parts.
Verify Seal Integrity
If the tool loses power suddenly or demands higher pressure than usual, inspect all seals. Air leaks drain performance and cause false adjustment issues.
Adjust the Compact F325R Depth
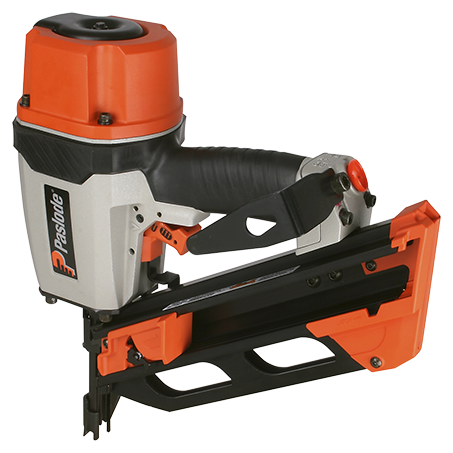
The Pneumatic Compact 30° Framing Nailer (Item #513000, model F325R) has a recessed but glove-friendly depth thumb wheel. The combined manual and schematic (513057-7) covers all adjustments.
Access the Thumb Wheel
The depth wheel sits near the nose for easy thumb operation, even while wearing gloves. Small movements produce noticeable depth changes, so adjust gradually.
Clear Jams First
If the tool recently jammed, clear all nails and inspect the driver blade before adjusting. A partial jam mimics depth issues and throws off your calibration.
Recheck After Jam Clearance
After clearing a jam, retest depth on scrap material. The impact of a jam can shift internal components and require recalibration.
Use the Right No-Mar Pad
The no-mar pad protects finished surfaces and supports nose stability. A worn pad affects drive angle and depth, even with perfect settings.
Replace Worn Pads
Swap out any pad that is cracked, flattened, or missing. A damaged pad leaves marks and disrupts nose alignment during firing.
Match Pad to Application
Choose the right pad for the job:
– Standard rubber: General framing
– Soft-tip: Delicate surfaces
– Reinforced: Repeated concrete contact
Follow Universal Adjustment Safety Rules
These rules apply to every Paslode model, cordless or pneumatic. Skip them and you risk injury or tool damage.
Disconnect Power First
- Cordless: Remove the battery and fuel cell
- Pneumatic: Disconnect the air hose and bleed residual pressure
Never adjust a powered tool.
Wear Eye Protection
Metal fragments and small springs can eject during inspection. Always wear ANSI-approved safety glasses.
Work in Ventilated Areas
Cordless tools use flammable fuel cells. Remove and store them in well-ventilated spaces to avoid vapor buildup.
Troubleshoot Common Adjustment Problems

Even with correct settings, issues can pop up. Use this quick guide to diagnose and fix them fast.
Nails Too Shallow
- Cause: Depth setting too low or insufficient power
- Fix: Increase the depth dial setting. For pneumatic models, raise air pressure to 90 to 100 PSI. For cordless, swap the fuel cell or charge the battery.
Nails Too Deep
- Cause: Depth set too high or excessive pressure
- Fix: Reduce the depth setting. Lower air pressure on pneumatic tools. Adjust in small increments.
Inconsistent Depth
- Cause: Debris in the mechanism, worn driver blade, or air leak
- Fix: Clean the driver channel and magazine. Replace the driver blade if chipped. Inspect O-rings and seals.
Tool Won’t Fire
- Pneumatic: Confirm air pressure, hose connection, and safety contact. The regulator should deliver at least 80 PSI.
- Cordless: Replace empty fuel cells and recharge or replace low batteries. Confirm both are fully seated.
Frequent Jams
- Cause: Wrong nail type, dirty magazine, or tension misalignment
- Fix: Use only Paslode-approved 30° framing nails. Clean the magazine regularly. Discard bent or crooked nails.
Refer to Model-Specific Manuals
Every Paslode model has unique specs and adjustment steps. Always confirm details in the official manual.
Download Digital Manuals
Visit the Paslode digital library for PDFs covering:
– Operating manuals
– Cleaning procedures
– Tool schematics
– Warranty documents
For your reference:
– XPro 30° (906800): Operating Manual 906867-3, Cleaning Manual 906868
– PowerMaster Plus (501000): Manual 501069-01, Schematic 501069_toolschematic
– Compact F325R (513000): Manual 513057-7
Prevent Adjustment Drift with Routine Maintenance
Consistent adjustments require a clean, well-lubricated tool. A simple maintenance schedule keeps everything performing like new.
Daily Visual Inspection
Before each use, check:
– Depth adjustment wheel for looseness
– No-mar pad condition
– Fuel cell and battery seating (cordless)
– Air hose and coupler (pneumatic)
Weekly Cleaning
Remove grime from:
– Depth dial threads
– Driver blade channel
– Magazine feed rails
Use compressed air and a dry cloth only.
Monthly Full Service
Perform a complete check per the manual:
– Replace worn O-rings
– Lubricate moving parts
– Test depth consistency across multiple shots
– Verify air pressure accuracy
Heavy users should book professional service every quarter.
Avoid Common Adjustment Mistakes
Even experienced users slip up. Sidestep these pitfalls to keep your nailer dialed in.
Don’t Adjust Under Power
Always disconnect the battery, fuel cell, or air hose before touching the depth dial. Accidental firing causes serious injury.
Don’t Skip Cleaning
A dirty tool won’t respond to adjustments. Buildup in the cylinder or driver area causes misfires and depth swings.
Don’t Use Non-Approved Fasteners
Off-brand nails often have inconsistent collation, diameter, or length. This leads to jams and unpredictable depth control.
Don’t Overtighten the Dial
The depth wheel is finger-tight by design. Forcing it damages internal threads and the stop mechanism.
Frequently Asked Questions About Paslode Framing Nailer Adjustment
What PSI should I set my Paslode framing nailer to?
The PowerMaster Plus operates best between 80 and 100 PSI. Use 80 to 85 PSI for softwood and 90 to 100 PSI for hardwood. Always verify with an inline gauge.
Why are my Paslode nails not going in all the way?
Common causes include low air pressure, a weak fuel cell, low battery, or an incorrect depth setting. Start by raising air pressure to 90 PSI or replacing the fuel cell, then adjust the depth dial in small increments.
How do I adjust the depth on a cordless Paslode nailer?
Locate the knurled depth adjustment wheel near the nose of the XPro 30°. Rotate clockwise to drive deeper, counterclockwise to drive shallower. Test on scrap material after each change.
Can I use non-Paslode nails in my framing nailer?
Off-brand nails can cause jams, misfires, and inconsistent depth. Paslode recommends 30° paper-tape collated framing nails approved for your specific model. Using the wrong fasteners also risks voiding your warranty.
How often should I clean my Paslode framing nailer?
Perform a daily visual inspection and blow out dust weekly. The Cleaning Manual (906868) recommends a full cleaning every 50,000 nails or whenever depth adjustments feel inconsistent.
Why does my Paslode nailer keep jamming?
Jams usually come from incorrect fasteners, a dirty magazine, or a misaligned depth setting. Clean the magazine, confirm you’re using Paslode-approved 30° nails, and clear the jam using the release lever before retesting depth.
Final Thoughts on Adjusting Your Paslode Framing Nailer
Proper adjustment comes down to three core habits: disconnect power before changing settings, clean the tool regularly, and test every change on scrap material. Match air pressure to the wood you’re driving into, use only Paslode-approved 30° nails, and keep O-rings and seals in good shape for consistent performance. If depth problems persist after adjustment and cleaning, download your model’s manual from the Paslode digital library and follow the troubleshooting steps. A few minutes of careful adjustment saves hours of rework on the job.