How to Load Ryobi Finish Nailer
Loading a Ryobi finish nailer the right way keeps your projects running smoothly and prevents frustrating jams. Whether you own the 15-gauge DA model or the 18-gauge brad nailer, the process takes just minutes once you know the correct sequence. Most loading problems come from using the wrong nail gauge or skipping basic safety steps. In this guide, you’ll learn exactly how to load your Ryobi finish nailer, identify your model, troubleshoot common mistakes, and keep your tool performing at its best.
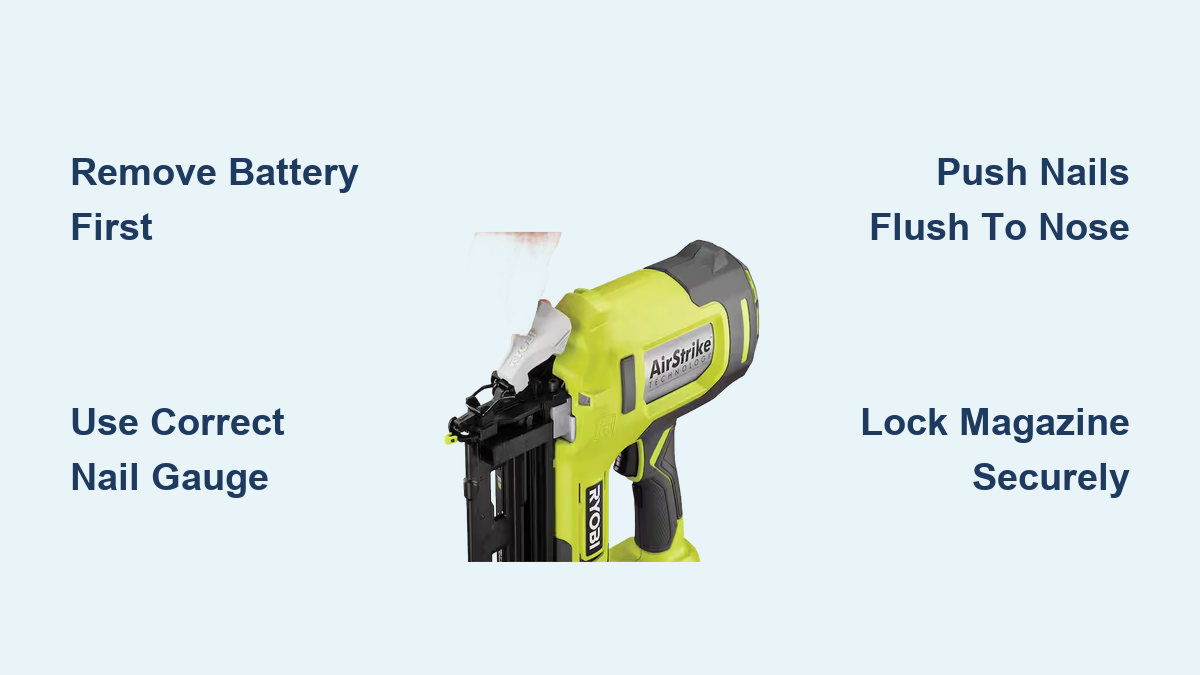
Remove the Battery Before Loading
Safety always comes first when handling any power tool. Before you touch the magazine or nails, disconnect the power source completely.
- Pull the Ryobi ONE+ 18V battery straight out from the base of the tool.
- Set it aside in a clean, dry spot away from the work area.
- Confirm the tool is powerless before your fingers reach the nose or magazine.
This single step prevents accidental firing and protects both you and the internal firing mechanism from damage.
Identify Your Ryobi Finish Nailer Model

Ryobi finish nailers require specific nail types, and using the wrong gauge causes immediate feeding problems and potential damage to the driver blade. Knowing your exact model is essential before buying nails.
15-Gauge vs 18-Gauge: What’s the Difference?
- Ryobi R18NL15-0 (15-Gauge DA Finish Nailer): Uses 15-gauge DA (Double Angle) brad nails. Ideal for baseboards, crown molding, and thicker trim that needs a stronger hold.
- Ryobi 18-Gauge Cordless Brad Nailer: Uses 18-gauge brad nails. Best for delicate trim, cabinetry, and fine woodworking where nail holes should stay nearly invisible.
Loading 18-gauge nails into a 15-gauge tool, or vice versa, will cause jams and may permanently damage the magazine or driver.
Locate Your Model Number
Flip the tool over and find the label near the battery slot. Match the model number (such as R18NL15-0) to the correct nail type. When in doubt, check the operator’s manual or Ryobi’s official website for compatibility charts.
Load the 15-Gauge DA Finish Nailer (R18NL15-0)
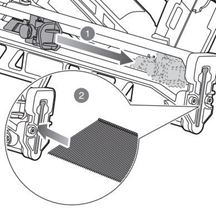
The 15-gauge model uses a tension latch system on the side of the magazine. Follow these steps carefully for a secure load.
Pull Back the Tension Latch
Find the metal latch on the side of the magazine. Pull it backward until it clicks and locks into the rear position.
- The latch should move smoothly without force.
- If it sticks, wipe away dust or debris from the track before continuing.
This action opens the nail channel and holds the internal spring under tension.
Insert 15-Gauge DA Nails
Take a strip of 15-gauge DA brad nails and slide them into the rear of the magazine with the points facing forward.
- Push the strip all the way until the first nail sits flush with the nose.
- Keep the strip straight and flat, with no tilting or gaps.
Misaligned nails are the leading cause of jams and double-fires on the first trigger pull.
Release the Latch to Lock the Nails
Press the release button on the tension latch. The spring-loaded arm will snap forward and press against the back of the nail strip.
- You should hear a clear click when it locks.
- Gently tug the strip to confirm the nails are held firmly in place.
If the latch does not lock properly, reopen the magazine, check the nail alignment, and try again.
Load the 18-Gauge Cordless Brad Nailer

The 18-gauge model features a button-release magazine at the rear of the track. The process is simpler but still demands precision.
Press the Button to Open the Magazine
Locate the release button at the back end of the magazine. Press and hold it while sliding the magazine open.
- The track should extend smoothly without resistance.
- If it feels stuck, inspect for debris or bent nails blocking the channel.
Insert 18-Gauge Brad Nails
Place a strip of 18-gauge brad nails into the open channel.
- Position the strip so the first nail rests against the front of the nose.
- Keep the nails flat and straight, with no overlapping or twisting.
The magazine only accepts nails in one orientation. If the strip does not slide in easily, flip it and try again.
Close and Lock the Magazine
Slide the magazine closed until you hear a firm click.
- Apply steady pressure to ensure a complete seal.
- Check for any gaps along the track before firing.
A partially closed magazine is the most common reason the 18-gauge model fails to feed nails properly.
Check Nail Alignment Before Firing

After loading, take a moment to inspect the front of the nose visually.
- The first nail should sit fully seated and aligned with the driver blade.
- Look for bent nails, dust, or wood fragments blocking the path.
- Wipe the nose with a clean, dry cloth if needed.
Even one misaligned nail can cause a jam the moment you pull the trigger.
Reinstall the Battery and Test Fire
Once the magazine is loaded and sealed, you can safely restore power.
Insert a Fully Charged Battery
Slide the Ryobi ONE+ 18V battery into the base until it clicks into place.
- If the LED indicator flashes red, the battery needs charging.
- A solid green light confirms the tool is ready to use.
Test on Scrap Wood First
Always test fire before starting your actual project.
- Press the nose firmly against a scrap piece of the same material.
- Pull the trigger and confirm the nail drives cleanly.
- Check the depth and alignment to match your project requirements.
If the nailer does not fire, move on to the troubleshooting section below.
Fix Common Loading Mistakes
Even experienced users run into these errors. Knowing what to avoid keeps your Ryobi finish nailer running smoothly.
Using the Wrong Nail Gauge
This is the top cause of jams and long-term damage.
- The 15-gauge DA model only accepts 15-gauge DA nails.
- The 18-gauge model only accepts 18-gauge brad nails.
The magazine and driver are precision-fit to specific nail sizes, so there are no exceptions.
Forgetting to Release the Tension Latch (15-Gauge)
If the latch stays in the rear position, the nails will not sit under spring pressure.
- Result: Nails fail to feed or the tool jams after one shot.
- Fix: Reopen the magazine, reload the strip, and release the latch fully.
Leaving the Magazine Partially Closed (18-Gauge)
A loose magazine will not engage the feeding mechanism properly.
- Result: The tool acts empty even with nails inside.
- Fix: Open the magazine, reload the strip, and close it with a firm click.
Nails Not Seated at the Front
If the strip is not pushed all the way forward, the first nail will not align with the driver.
- Result: Misfires or double-nails.
- Fix: Always push the strip flush to the nose before closing the magazine.
Clear a Nail Jam Quickly
Ryobi finish nailers include a tool-free jam release for fast clearing. Follow these steps when a jam occurs.
Remove the Battery First
Always disconnect power before clearing any blockage.
Open the Jam Release Mechanism
Locate the jam release lever on the side or front of the magazine.
- Slide or lift it open without using tools.
- The magazine will separate slightly to expose the jammed area.
Remove the Stuck Nail
Use pliers or your fingers to pull out the obstructed nail.
- Check for broken nail fragments left behind.
- Clear away any wood dust or debris.
Reset and Reload
Close the jam release securely until it clicks.
- Reinsert the battery.
- Test fire on scrap wood to confirm the tool is working.
If jams keep happening, double-check your nail type and alignment.
Adjust Depth and Use the LED Work Light

Once loaded, fine-tune your settings for the best results on different materials.
Set the Depth of Drive
Use the adjustable dial near the nose to control how deep the nail sinks.
- Turn clockwise for a deeper drive.
- Turn counterclockwise for a shallower setting.
Always test on scrap wood first, especially when switching between softwoods and hardwoods.
Activate the LED Work Light
Pull the trigger to turn on the built-in LED work light.
- It illuminates the target area for accurate placement.
- The light helps in dim corners, closets, and tight spaces.
Prevent Future Loading Problems
A few simple habits will keep your Ryobi finish nailer reliable for years.
Clean the Magazine Regularly
Dust and resin build up over time and interfere with feeding.
- Wipe the track with a dry cloth after each use.
- Use compressed air to clear stubborn debris.
Store the Tool Properly
- Remove nails and the battery before long-term storage.
- Keep the nailer in a dry, dust-free case.
Replace Worn or Damaged Nails
Bent, rusty, or low-quality nail strips increase jam risk and wear out the driver.
- Buy fresh nails from reputable brands.
- Inspect each strip before loading.
When to Consult the Manual
If your nailer behaves unexpectedly after following these steps, the operator’s manual is your best resource.
- Check the manual for model-specific diagrams and torque settings.
- Visit Ryobi’s website and enter your model number for updated guides.
- Contact Ryobi support if jams or misfires continue after troubleshooting.
Frequently Asked Questions About Loading a Ryobi Finish Nailer
What kind of nails does a Ryobi 15-gauge finish nailer use?
The Ryobi R18NL15-0 uses 15-gauge DA (Double Angle) brad nails. Using any other gauge can damage the driver blade and cause feeding problems.
Can I use 18-gauge nails in a 15-gauge Ryobi nailer?
No. The 15-gauge magazine and driver are designed specifically for 15-gauge DA nails. Loading 18-gauge nails will cause jams and may permanently damage internal components.
Why won’t my Ryobi nailer fire after loading?
Common causes include a dead or missing battery, nails not seated flush at the nose, or a jammed magazine. Verify the battery charge, reload the strip so the first nail touches the front, and inspect for jams.
How do I clear a jam in my Ryobi finish nailer?
Remove the battery, open the tool-free jam release lever, pull out the stuck nail with pliers, clear any debris, close the release, and test fire on scrap wood.
Do Ryobi finish nailers need a compressor?
No. Ryobi cordless finish nailers use AirStrike technology, which relies on internal air compression. This eliminates the need for hoses, compressors, and external power sources.
What does the flashing LED light on my Ryobi nailer mean?
A flashing LED indicates a low battery. Recharge the battery or swap it for a fully charged Ryobi ONE+ 18V battery before continuing.
Key Takeaways for Loading Your Ryobi Finish Nailer
Loading a Ryobi finish nailer is fast and safe when you follow the correct sequence. Always remove the battery first, confirm your model number, and use only the matching nail gauge. Push the strip fully forward, lock the magazine or tension latch securely, and test fire on scrap wood before starting your project. With proper loading habits and regular cleaning, your Ryobi finish nailer will deliver reliable performance across trim work, molding, cabinetry, and DIY projects for years to come.