How to Load a Craftsman Stapler
If your Craftsman stapler isn’t firing cleanly or jams frequently, the issue might not be the tool. It could be how you’re loading it. Many users struggle with misfires simply because they’re using the wrong staples or loading them incorrectly. The good news is that loading a Craftsman stapler takes just a few seconds when you know the right steps.
This guide walks you through the correct loading procedure, the exact staple type you need, and pro tips to avoid common mistakes that lead to jams.
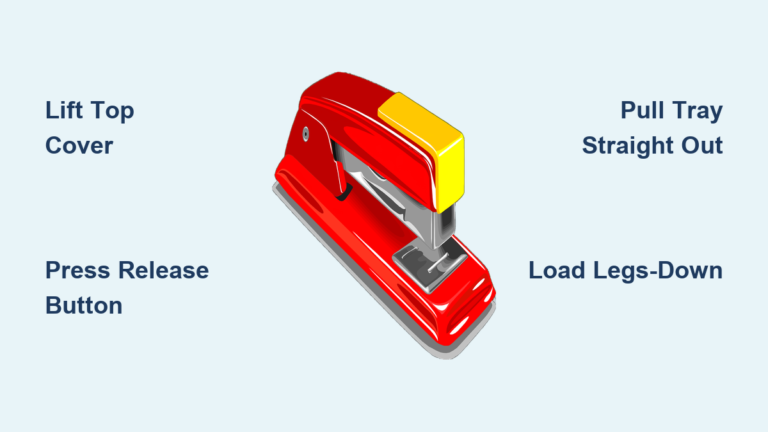
Open the Staple Chamber
To load your Craftsman stapler, you first need to access the internal staple chamber. This is a simple process that takes only a moment.
Squeeze the Rear Tabs
Locate the two small tabs at the back of the stapler. These are the release mechanism for the staple chamber. Firmly squeeze both tabs together toward the center of the tool. As you do, the rear section of the chamber will swing open, revealing the internal track where staples go.
When properly released, the back plate moves freely and creates a wide opening at the top. If it doesn’t swing open, ensure you’re pressing both tabs evenly.
Check for Obstructions
Before adding staples, quickly inspect the chamber. Remove any leftover staples, debris, or fragments from previous jams. A clean track ensures smooth feeding and prevents misfires.
Forcing staples into a partially obstructed chamber can cause immediate jamming. Always clear the track first before reloading.
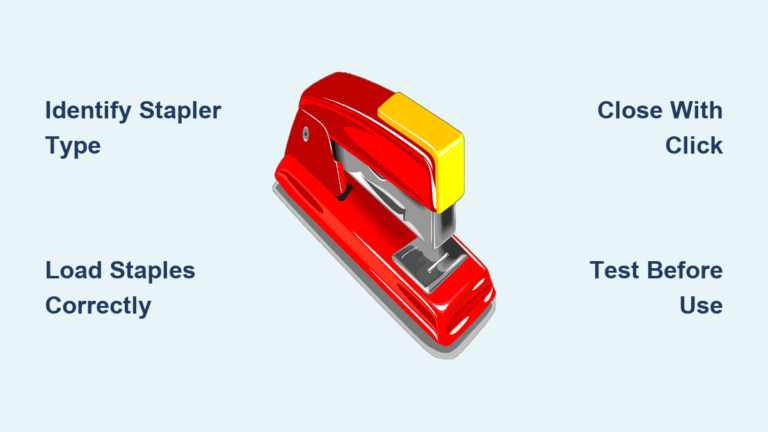
Insert T50 Staples Correctly

The Craftsman stapler requires a specific staple type. Using the wrong one is the most common cause of loading failures.
Use Only T50 Staples
The Craftsman stapler is designed exclusively for T50 staples. These are medium-duty, collated staples commonly used in upholstery, insulation, and light construction. Using any other staple type will not work and may damage the tool.
Look for packaging labeled as T50, Power Shot, Stanley T50, or Arrow T50. The Craftsman stapler’s feed system is calibrated for T50 dimensions only. Deviating from this standard risks jams and potential internal wear.
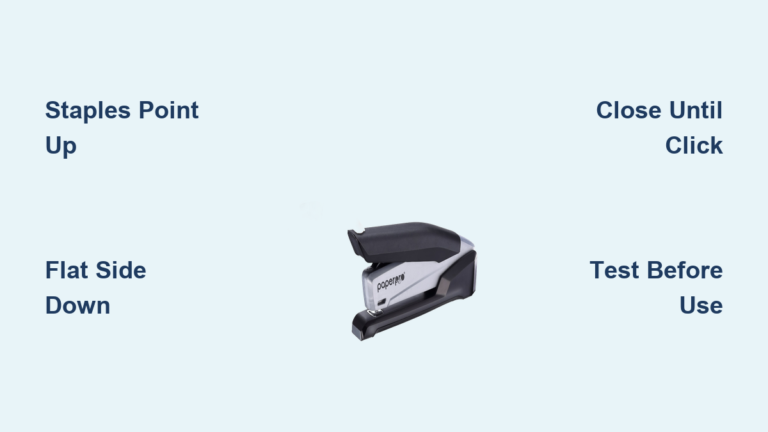
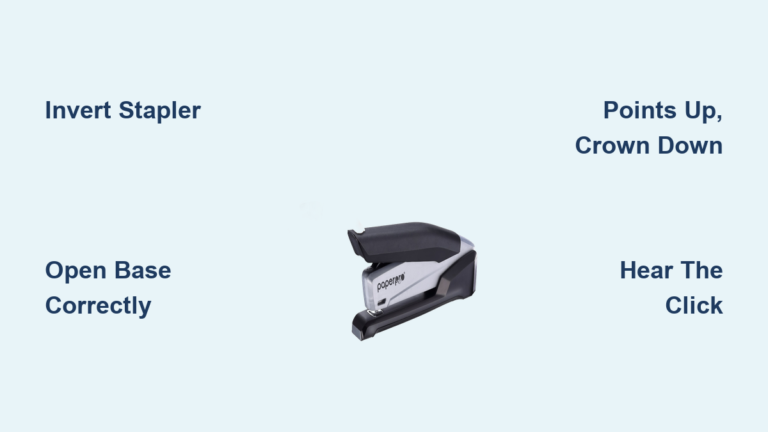
Load Staples Point-End Up
This is the most critical step in the entire loading process. Drop the staples into chamber with the pointed legs facing upward. The crown, or flat top, of the staple should rest at the bottom of the chamber while the sharp ends point toward the open top.
The stapler’s internal driver pushes down on the crown and forces the upward-facing points into the material. If loaded upside down with points down, the driver cannot engage properly, leading to jams or partial firing.
Before closing, peek inside the chamber. You should see the sharp tips pointing up, aligned with the driving channel.
Close the Chamber Securely
Once staples are loaded correctly, you need to secure the chamber properly to ensure safe operation.
Snap It Shut
Swing the back plate forward until it clicks into place. Apply firm pressure to ensure the tab fully engages with the front housing. A secure snap means the chamber is locked and ready for use.
Never operate the stapler with the chamber loose or partially open. This increases the risk of misfires and internal damage to the tool.
Test the Feed
After closing, gently press the trigger a few times without aiming at any surface. You should feel smooth resistance and hear a consistent click as the internal mechanism advances. If the action feels stuck or uneven, reopen and check for misloaded staples.
Avoid Common Loading Mistakes

Knowing what to avoid is just as important as knowing the correct procedure.
Wrong Staple Type
Using non-T50 staples is the number one cause of loading failures. Even if they appear to fit, off-brand or incompatible staples can vary in width, crown size, or wire gauge, disrupting the feed mechanism. Always verify the packaging explicitly states T50 compatibility before purchasing.
Incorrect Orientation
Loading staples with points down is a frequent error, especially in low-light conditions or when rushing. The result is that the driver hits the tip instead of the crown, causing a jam that requires disassembly to clear. Make it a habit to visually confirm orientation every time you reload.
Overfilling the Chamber
While the chamber holds a full strip of typically 100 to 200 staples, never force extra staples in. Overpacking creates pressure that can misalign the stack or prevent smooth feeding. Load one collated strip at a time, ensuring it lies flat and straight in the track.
Troubleshoot Loading Issues
Even with correct loading, issues can sometimes arise. Here’s how to address them.
Stapler Won’t Close After Loading
If the back plate won’t snap shut, recheck staple orientation. Points must face up. Ensure no staples are tilted or jammed in the track. Verify you’re using T50 staples, as wider or thicker strips won’t fit properly. Remove all staples and reload one at a time to test alignment.
Staples Not Feeding
If the stapler fires once but won’t advance, open the chamber and confirm the strip is seated all the way back. Check that the follower spring isn’t blocked. Ensure staples are collated correctly and aren’t bent or fused together.
Humidity or poor storage can cause rust or glue residue on collated strips. Store staples in a dry place to maintain smooth performance.
Frequent Jams
Recurring jams often trace back to repeated use of non-T50 staples, consistently loading staples upside down, or debris buildup in the chamber. Clean the chamber monthly with a dry brush and only use specified T50 staples to prevent this issue.
Maximize Stapler Performance
Follow these best practices to keep your Craftsman stapler running smoothly for years.
Follow the 3-Step Load Routine
Make this your standard reload process. First, pinch the rear tabs to open. Second, drop T50 staples in with points up. Third, snap the chamber shut and test. This sequence takes less than 10 seconds and ensures reliable operation every time.
Choose Quality Staples
Not all T50 staples are created equal. Opt for reputable brands like Stanley, Arrow, or Bostitch. These maintain consistent dimensions and smooth collation, reducing jam risks significantly.
Maintain Your Tool
A well-maintained stapler lasts longer and performs better. After each use, blow out dust or debris from the chamber. Wipe down the exterior. Store in a dry, protected area.
Avoid oiling the internal mechanism unless specified by the manufacturer. Many modern staplers use sealed, maintenance-free drivers.
Frequently Asked Questions About Loading a Craftsman Stapler
What type of staples does a Craftsman stapler use?
The Craftsman stapler uses standard T50 staples. These are medium-duty collated staples available at most hardware stores. Look for packaging labeled T50, Power Shot, Stanley T50, or Arrow T50 to ensure compatibility.
Why do my staples jam when loading?
Jams during loading typically occur from using the wrong staple type, loading staples upside down, or debris in the chamber. Always use T50 staples with points facing up, and clean the chamber before reloading.
How do I know if staples are loaded correctly?
Before closing the chamber, visually check that the sharp pointed ends of the staples are facing upward toward the top of the chamber. The flat crown should be at the bottom. You should see aligned sharp tips pointing up when looking inside.
Can I use other staple sizes like T30 or T70?
No. The Craftsman stapler is designed exclusively for T50 staples. Using T30, T70, or other sizes will result in misfeeds, jams, or potential damage to the tool’s feed mechanism.
How often should I clean my stapler chamber?
Clean the chamber monthly with a dry brush or compressed air to remove dust, debris, and leftover staple fragments. This prevents buildup that can cause feeding issues and extends the life of your tool.
Key Takeaways for Loading Your Craftsman Stapler
Loading a Craftsman stapler correctly comes down to two critical rules. First, always use T50 staples only. Second, always load with points facing upward. Following the simple open-load-close process takes less than 10 seconds and ensures reliable, jam-free performance.
Avoid common mistakes like using wrong staple types, loading staples upside down, or overfilling the chamber. These errors are the primary causes of stapler malfunctions. By taking a moment to verify orientation and using quality T50 staples, you prevent jams and extend the life of your tool.
Regular maintenance keeps your stapler performing at its best. Clean the chamber periodically, store staples in a dry location, and always test the feed after loading. With these simple habits, your Craftsman stapler will deliver consistent results for years whether you’re tackling DIY projects or working on the job site.