How to Open a PaperPro Stapler – Quick Guide
You’re in the middle of a stack of papers, and your PaperPro stapler runs out of staples. You flip it over, but the bottom doesn’t open like a traditional top-loader. What now? Knowing how to open a PaperPro stapler correctly is essential, especially since these models are all bottom-loading, meaning you must access the staple magazine from the base. Getting it wrong can lead to jams, misfires, or even damage the mechanism. The good news? Once you know the right steps, loading your PaperPro stapler becomes quick and intuitive. In this guide, you’ll learn the universal opening method, model-specific techniques, staple orientation rules, and how to avoid the most common mistakes users make.
Invert the Stapler for Access
Before you can open any PaperPro stapler, you need to turn it upside down. This exposes the base where the loading mechanism is located. All PaperPro staplers, regardless of model, are designed with bottom-loading magazines, so they never load from the top. Inverting the stapler is the first non-negotiable step.
Place the stapler on a flat surface with the base facing up. Make sure the area is clean and well-lit so you can see the release mechanism clearly. Most models have a sliding or lifting action at the front edge of the base, while others use a pull-tab system.
Locate the Release Mechanism
Depending on your model, the way you open the stapler varies slightly. Here are the main types:
• Evo, Generation II, Quantum, Prodigy, Desktop, Compact models: Look for a seam at the front of the base. Slide the front edge forward or upward to open.
• StandOut model: Lift and slide the front section upward to expose the chamber.
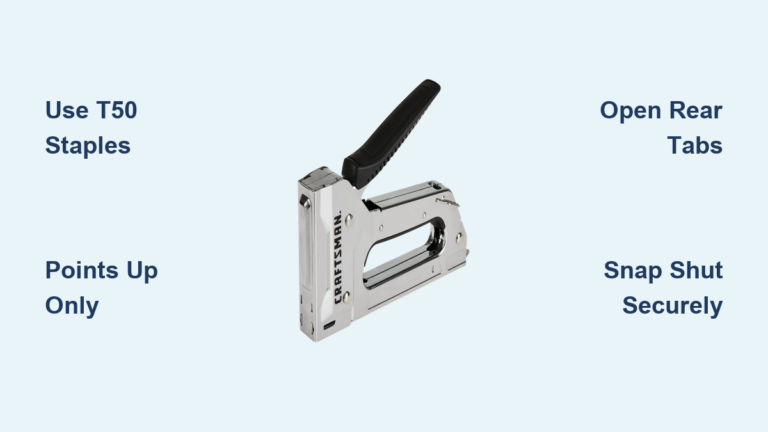
• Bostitch Office (PaperPro-branded): Find the black tab on the magazine and pull it backward to release.
If nothing moves, don’t force it. Double-check that the stapler is inverted and that you’re pulling or sliding in the correct direction. Forcing the mechanism can misalign internal parts.
Open by Model Type

Each PaperPro model has a slightly different opening mechanism. Knowing yours ensures smooth, tool-free access every time.
Evo Series (Evo Desktop, Evo LX, Evo Compact)
Invert the stapler, then pull up on the front edge of the base. The base slides open to reveal the internal chamber. The key detail here is that the magazine does not detach. You drop staples directly into the open chamber. Use one finger to lift and slide. No force is needed thanks to the ergonomic design.
Generation II, Quantum, Prodigy, Desktop, Compact
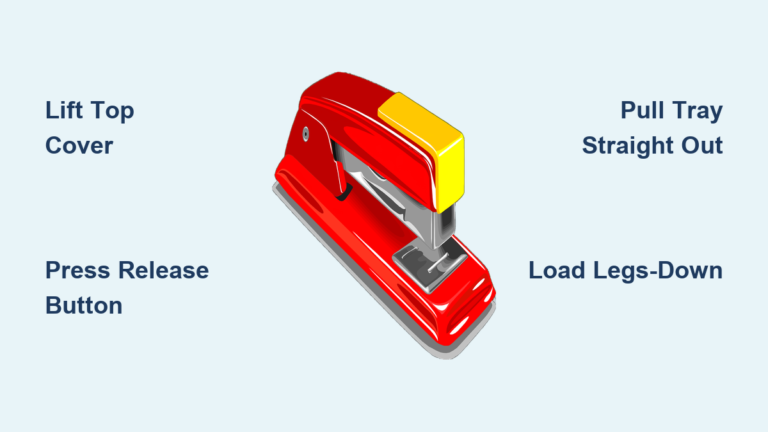
Flip the stapler over, then slide the front of the base forward. The entire magazine slides out. You can load staples into the removed magazine or directly into the body. This removable magazine makes cleaning easier, perfect for removing jammed staples.
StandOut Model
Invert the stapler, then lift and slide the front base upward. The chamber opens, but the magazine typically stays in place. Drop staples straight into the exposed channel. Don’t try to remove the magazine fully. It’s not designed for that.
Bostitch Office Series (PaperPro-Branded)
Invert the stapler, then pull the black tab backward. The magazine glides out smoothly. Insert staples into the tray with points up. Close by pushing the tab forward until it clicks. This system is among the smoothest, requiring zero tools or force.
Load Staples with Correct Orientation

Now that the stapler is open, it’s time to load the staples. But orientation is critical. Get this wrong, and your stapler won’t fire.
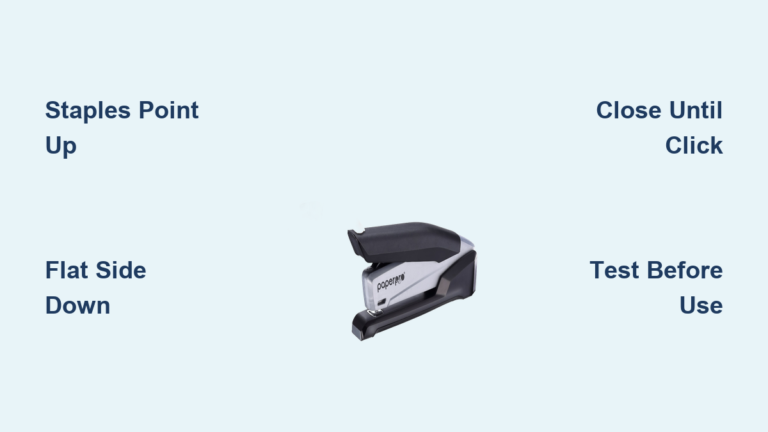
Points Up, Crown Down Every Time
The correct orientation is pointed legs facing up, with the flat crown side down. This rule applies to every PaperPro model. The internal driver pushes down on the crown and bends the upward-facing legs to staple paper. If the legs are down, the driver can’t engage them.
Use the mnemonic: “Points up, crown down.” It’s the single most important rule for reliable performance.
Use Compatible Staples Only
Stick to standard staple sizes for best results:
• Size 26/6 (most common)
• Size 24/6 (for select heavy-duty models)
Avoid bent, rusty, or off-brand staples. Also avoid non-standard strips like plastic-collated or specialty types. Using incompatible staples increases jam frequency and wears out the feeding mechanism faster.
Close and Lock the Magazine
After loading, securing the magazine properly is just as important as loading it correctly.
Slide or Push Until You Hear the Click
For Evo, StandOut, and Gen II models, slide the base or magazine back into place. For Bostitch models, push the black tab forward. Listen for the click. This confirms the magazine is fully seated and locked. No click means it’s not closed. Open it again, realign, and try once more.
Visual and Tactile Checks
Ensure the base is flush with the stapler body. No gaps or misalignment should be visible. The magazine should not wobble or feel loose.
If the base won’t close smoothly, check for these common issues:
• Staples loaded backward
• A staple jammed in the channel
• Debris blocking the slide path
Remove obstructions with fingers or tweezers before closing.
Test Before Full Use
Never assume your stapler works after loading. A quick test prevents ruined documents.
Staple a Scrap Sheet First
Flip the stapler upright. Press down on a piece of scrap paper. Did it staple cleanly? Good. Did it jam or fail to fire? Reopen and check staple orientation, magazine seating, and internal blockages. This simple step catches 90% of loading errors before they cause problems.
Fix Common Loading Problems
Even experienced users run into issues. Here’s how to solve the most frequent ones fast.
Stapler Won’t Fire After Loading
Possible causes include staples loaded upside down, the magazine not fully closed, or a jammed staple in the channel.
To fix this:
1. Reopen the base
2. Verify points are up, crown down
3. Remove any stuck staples
4. Reinsert and close until you hear the click
5. Test again
No Click When Closing
A missing click means the magazine isn’t locked. Check for misaligned magazine, staples protruding into the closure path, or dirt or paper fragments in the track. Clean the channel with a dry cloth, ensure staples are flat and properly seated, then realign and close slowly.
Frequent Jams
Root causes include repeated incorrect staple orientation, use of low-quality or damaged staples, and debris buildup over time. Always double-check orientation, use only standard 26/6 staples, and clean the magazine monthly with compressed air or a dry brush.
Maximize Performance with Best Practices
Follow these expert-backed tips to keep your PaperPro stapler running smoothly for years.
Always Confirm the Click
Never skip the auditory check. The click is your confirmation that the stapler is safe and ready to use. If you don’t hear it, it’s not secure.
Avoid Excessive Force
PaperPro staplers use One-Finger Technology and spring-powered mechanisms. You should never need to force the base open or closed. If resistance occurs, investigate the cause instead of pushing harder.
Perform Regular Maintenance
Monthly, inspect the staple channel for debris. As needed, clean with a dry, lint-free cloth. After jams, remove all remnants to prevent future issues.
Keep Compatible Staples Handy
Store a box of 26/6 staples near your stapler. This prevents the temptation to use the wrong type in a rush.
Why PaperPro’s Design Works
Understanding how your stapler works helps you use it better.
Bottom-Loading Advantage
You can reload without lifting the stapler from your desk. This is ideal for high-volume environments where workflow continuity matters.
One-Finger Technology
This design reduces hand pressure by up to 80%. It’s great for users with arthritis, carpal tunnel, or hand fatigue. It makes stapling effortless, even through 20 sheets.
Ergonomic Base Mechanism
The base is engineered for smooth sliding or lifting. It’s designed to open and close with minimal effort, reducing strain during repeated use.
Final Tips from Experienced Users
Real-world insights from long-time PaperPro users can save you time and frustration.
• “Always test on scrap paper.” This catches loading errors before they ruin important documents.
• “Teach your team the points up rule.” This prevents shared stapler jams in office settings.
• “The click is everything.” If you don’t hear it, it’s not closed.
• “Use OEM or high-quality staples.” They feed more reliably and reduce jams.
Keeping a small note near the stapler with the phrase “Points up, crown down” can help new users avoid the most common mistake.
Frequently Asked Questions About Opening a PaperPro Stapler
Do all PaperPro staplers load from the bottom?
Yes. Every PaperPro stapler is bottom-loading by design. You must invert the stapler to access the staple magazine. There are no top-loading PaperPro models.
What happens if I load staples upside down?
The stapler will fail to fire or jam repeatedly. The internal driver needs the pointed legs facing up to properly bend and secure the staple. Always load with points up, crown down.
How do I know if my magazine is properly closed?
You must hear or feel a distinct click when closing the magazine. Without this confirmation, the stapler may not function correctly or could jam during use.
Can I use any staple size in my PaperPro stapler?
Most PaperPro models accept standard size 26/6 staples. Some heavy-duty models accept size 24/6. Always check your specific model requirements and avoid off-brand or non-standard staples.
What should I do if the base won’t open or close smoothly?
Stop forcing the mechanism. Check for debris, misaligned staples, or obstructions in the channel. Clean the stapler thoroughly and ensure staples are properly oriented before attempting to close again.
Key Takeaways for Opening Your PaperPro Stapler
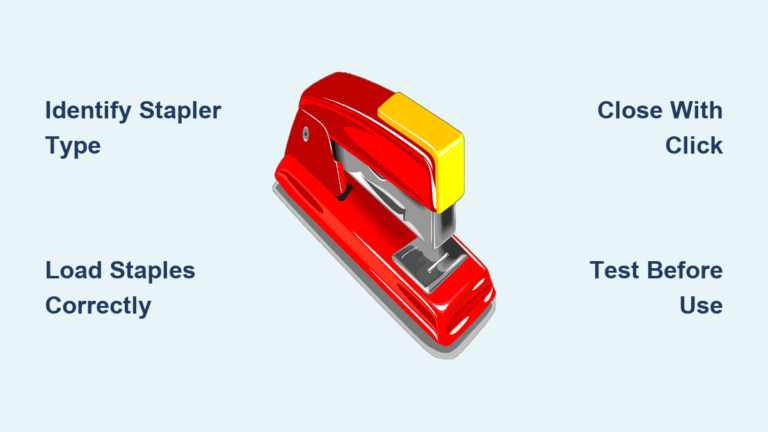
Opening a PaperPro stapler is simple once you know the steps. First, invert the stapler to access the bottom-loading magazine. Second, open using your model’s specific mechanism, whether sliding the base or pulling the black tab. Third, load staples with points facing up and the crown facing down. Fourth, close until you hear the click, then test on scrap paper before full use. Whether you have an Evo, Generation II, StandOut, or Bostitch model, the process is tool-free and designed for speed and reliability. The key to success is correct staple orientation and listening for that satisfying click. Follow these guidelines, and your PaperPro will deliver smooth, consistent performance every time.