How to Load a Pin Nailer: Quick Steps
You just unboxed a pin nailer and want to test it on a delicate trim piece or craft project. These tools fire headless 23-gauge pins that vanish into wood, leaving a clean surface with no filling required. But before you pull the trigger, you need to learn how to load a pin nailer the right way. A misaligned strip or skipped safety step can lead to jams, bent pins, or even injury.
This guide breaks down the entire loading process using standard industry practices. You will learn how to prep your tool, open the magazine, seat the pins correctly, and clear common issues. By the end, you will load your pin nailer with confidence and get back to your project.
Disconnect Power and Clear the Work Area
Safe loading starts before you ever touch the magazine. Treat every nailer as if it is ready to fire.
Remove the Air Hose or Battery
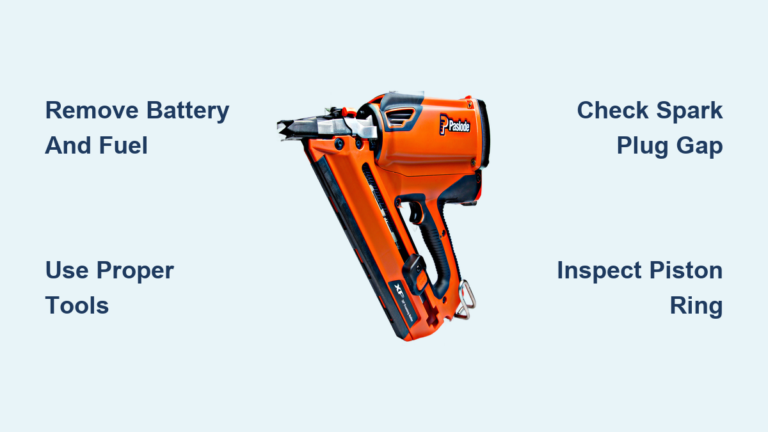
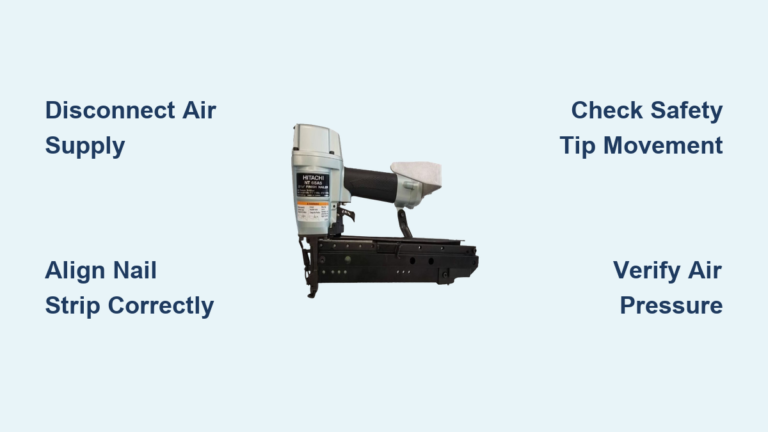
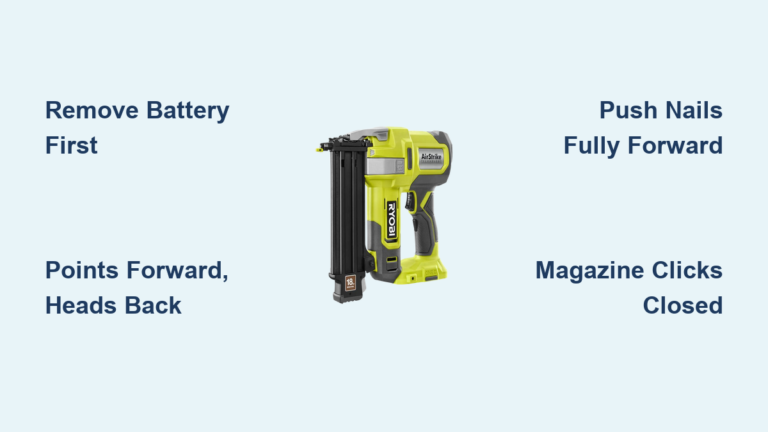
For pneumatic models, detach the compressor hose. For cordless versions, pull out the battery pack. Never load a pin nailer while it is pressurized or powered. This single step prevents accidental discharge the moment the magazine opens.
Point the Nose in a Safe Direction
Aim the tool away from your body, hands, and bystanders. Keep fingers off the trigger and away from the nose piece during loading. Even without power, develop the habit of treating every tool as live.
Put On Safety Glasses
Tiny pin fragments can fly out during a misfire or jam clearance. Eye protection is non-negotiable, especially during your first few loads.
Open the Magazine and Inspect the Channel
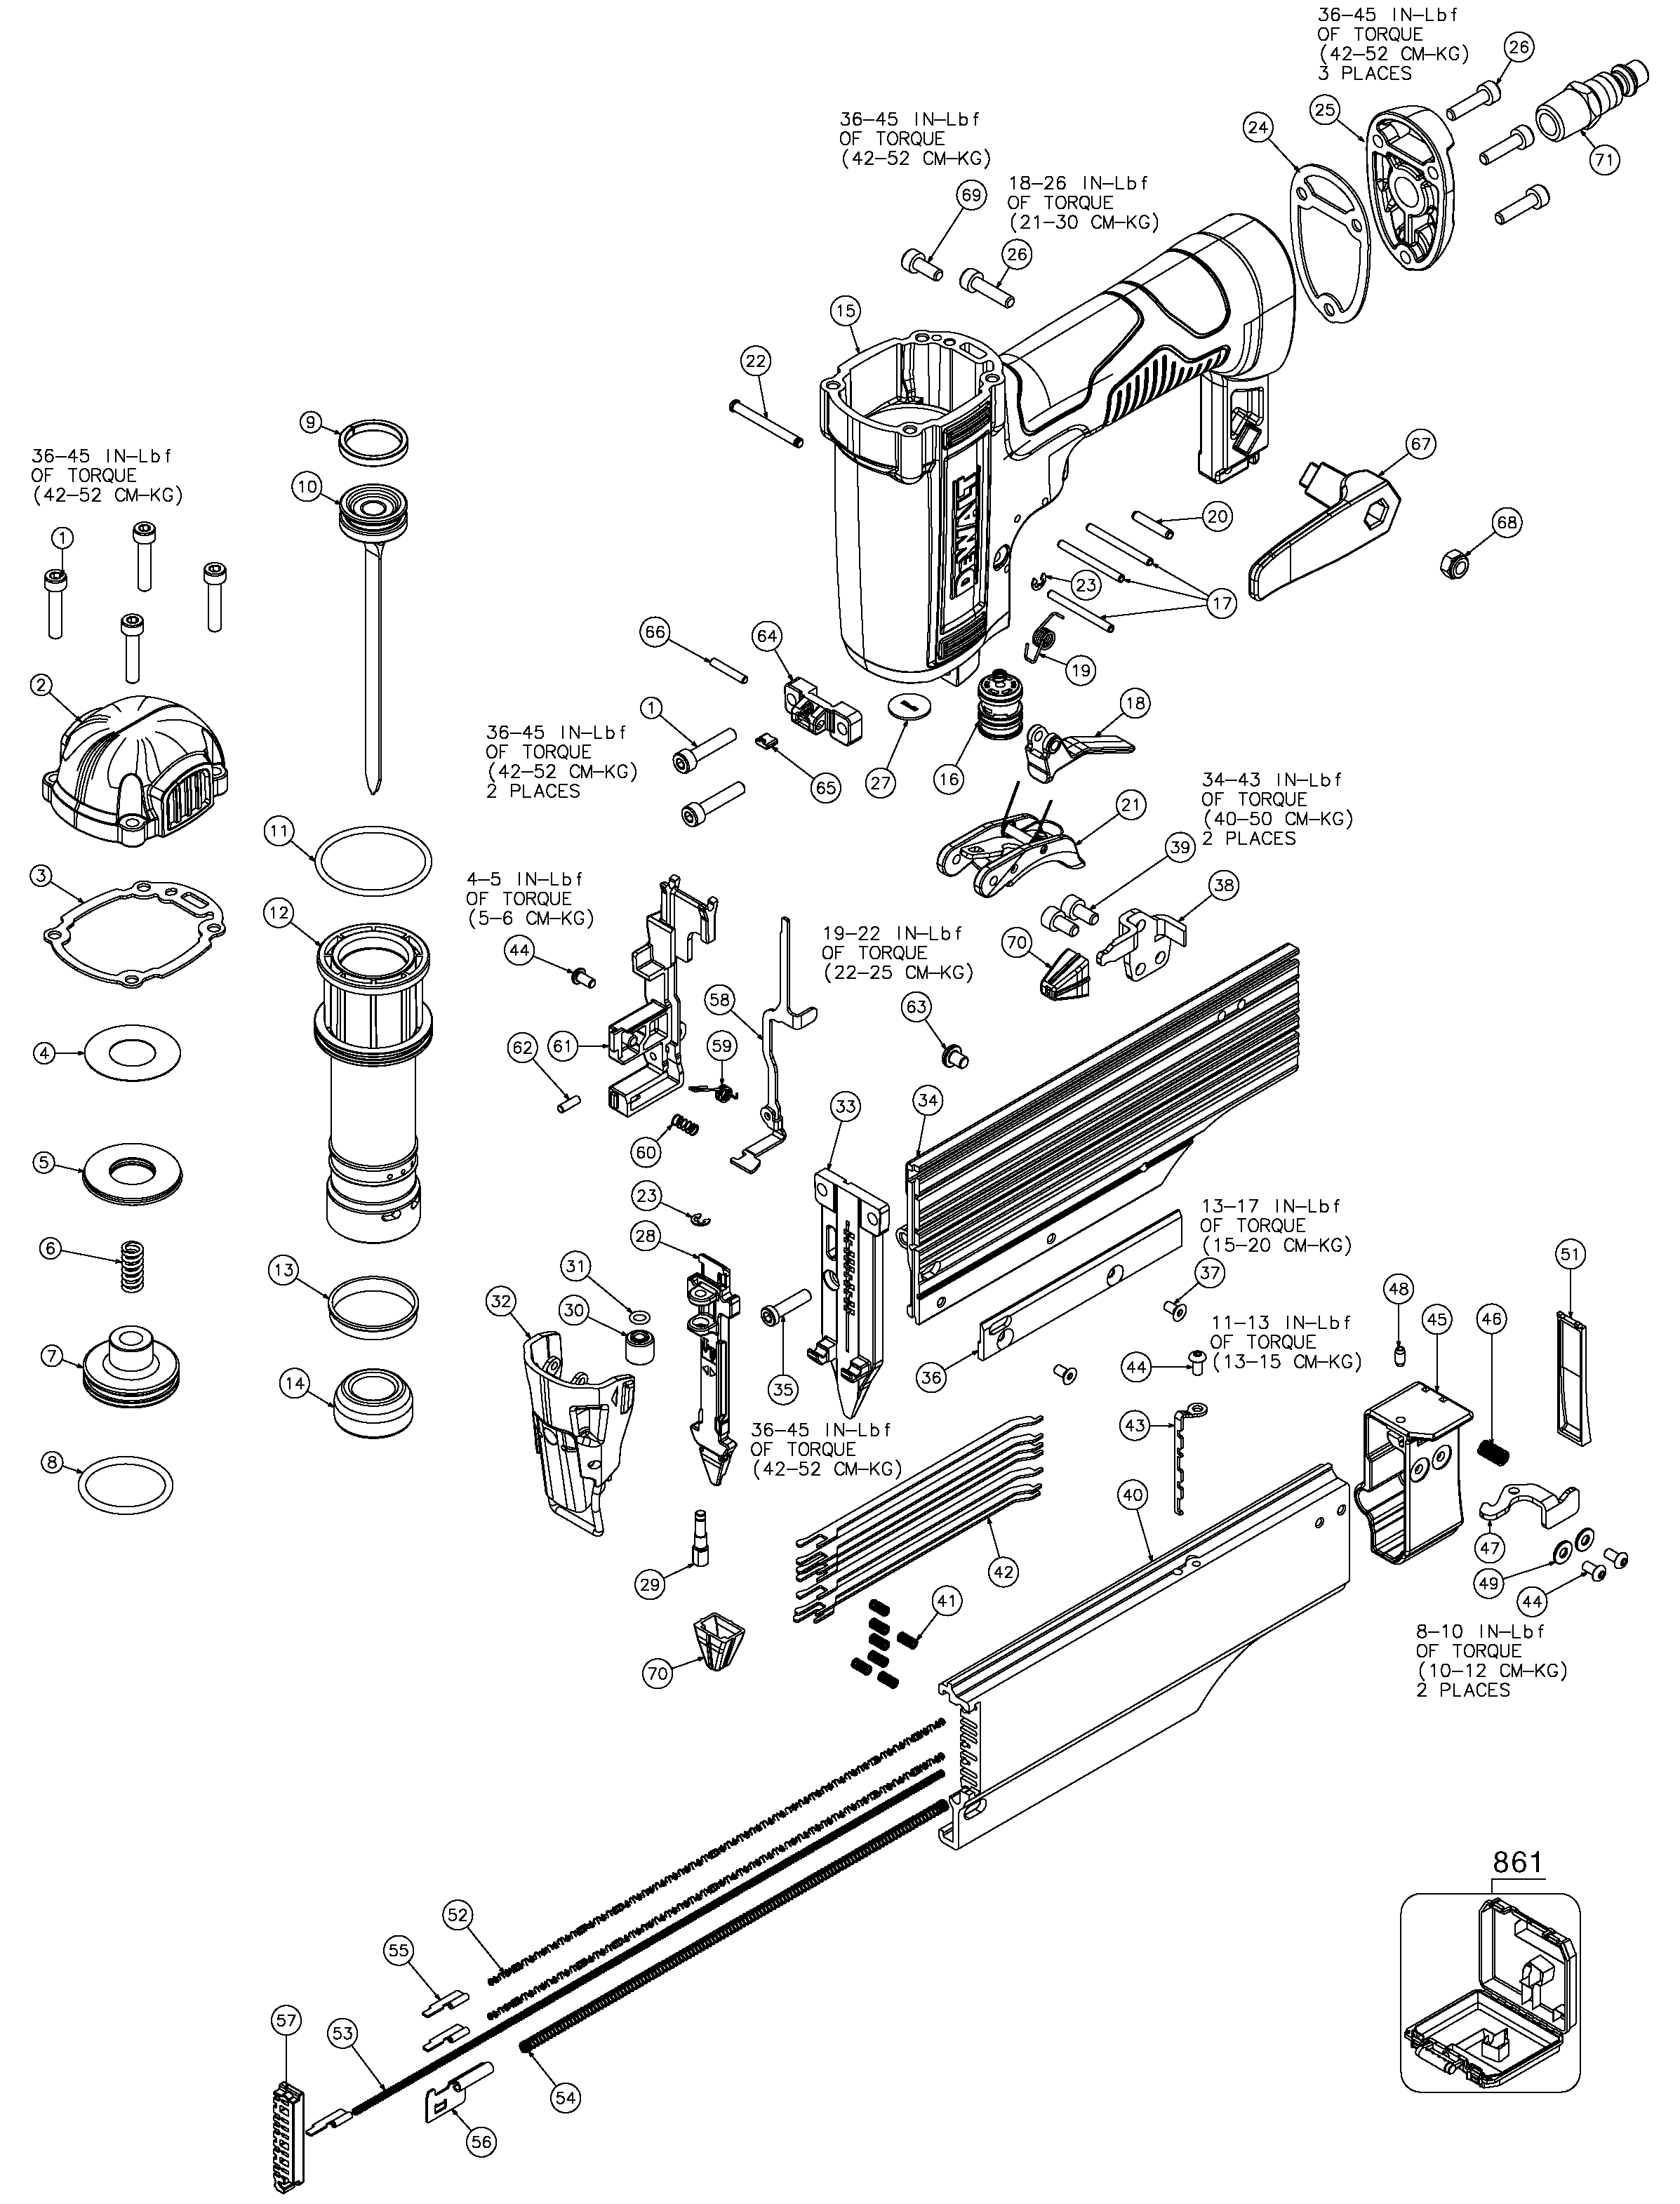
The magazine holds the pin strip and feeds it into the firing mechanism. Accessing it correctly protects internal parts.
Locate the Release Latch
Most pin nailers feature a side lever, sliding button, or pull-tab near the base. Some models require you to press a button while sliding the cover. Check your specific design before forcing anything.
Slide the Cover Open Gently
Ease the magazine cover back without yanking. If it sticks, recheck the release mechanism. Forcing a stuck cover can bend the feed track or crack the housing.
Check for Debris Inside
Look for dust, broken pin fragments, or rust. Wipe the channel with a dry cloth. Avoid oils or solvents unless your manual specifically approves them.
Load the Pin Strip in the Correct Direction
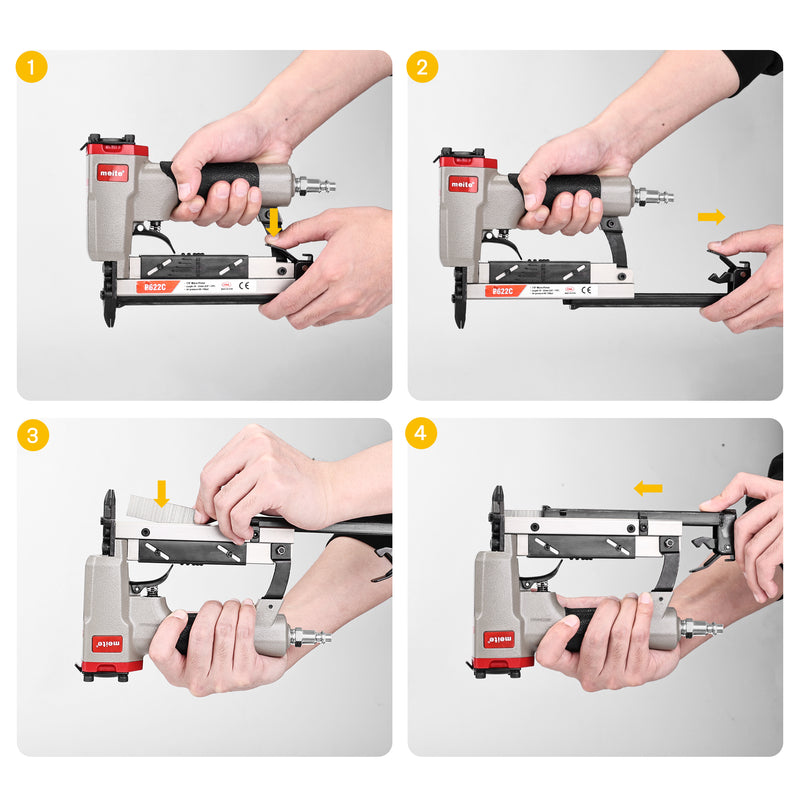
Pin orientation matters. Loading them backwards is the most common cause of jams.
Confirm Your Pin Size and Gauge
Use only 23-gauge pins in lengths your model supports, typically ranging from 5/8 inch to 2 inches. Wrong-sized pins can damage the driver or create unsafe pressure spikes.
Orient Pins Point-Down
Pin strips come collated with paper, plastic, or wire. Load them so the sharp points face the nose of the nailer. The flat ends should sit toward the rear of the magazine. This alignment lets the driver blade strike the pin correctly.
Pro Tip: Hold the strip up to a light source. The points should align toward the bottom once the strip sits in the magazine.
Seat the Strip Fully
Slide the strip straight into the channel without angling it. Push until it rests against the front stop. Do not overfill or force extra pins into a partially loaded strip.
Retract and Lock the Pusher Rod
The pusher rod pushes the strip forward one pin at a time. It must be locked back before loading.
Pull the Rod Back Manually
Locate the metal or plastic follower at the rear of the pin strip. Pull it backward until you feel resistance or hear a click.
Confirm the Locking Click
Most nailers use a spring-loaded latch to hold the rod in place. If the rod does not click and stay back, the pins will not feed. Do not push the rod forward by hand, as this can snap the spring.
Test the Tension
Release the rod gently. It should stay retracted under spring tension. If it creeps forward, the mechanism may be dirty or worn and needs servicing.
Close the Magazine and Reconnect Power
With pins loaded and the rod locked, you are almost ready to fire.
Slide the Cover Shut
Align the magazine cover with the housing and push or latch it closed. A loose cover can pop open mid-use and cause misfeeds or lost pins.
Reattach the Air Hose or Battery
Reconnect power only after confirming the magazine is sealed. Keep the nose pointed away from people and surfaces during this step.
Perform a Test Fire Into Scrap Wood
Aim at a piece of scrap and pull the trigger once. This advances the first pin into firing position. If the tool does not cycle, reopen the magazine and check your loading sequence.
Clear a Jammed Pin Nailer
Even careful users encounter jams. Knowing how to clear them keeps your project on track.
Disconnect Power First
Always remove the air hose or battery before clearing a jam. Never reach into the magazine with the tool pressurized.
Open the Magazine and Remove the Strip
Slide the cover open and pull out the pin strip. Set it aside for inspection.
Extract Stuck Pins With Pliers
Use needle-nose pliers to remove any bent or broken pins from the nose or channel. Work slowly to avoid scratching internal surfaces.
Reassemble and Reload
Clear all debris, reinsert a fresh strip, and close the magazine. Test fire on scrap wood before returning to your project.
Warning: Never hammer a jammed pin out from the front of the nose. This can damage the driver blade and ruin the tool.
Match the Right Pins to Your Nailer

Not all 23-gauge pins work in every pin nailer. Compatibility affects feeding and firing reliability.
Check the Collation Type
Some models require paper-collated strips, while others use plastic or wire. The wrong collation can cause misfeeds or strip the pins inside the magazine.
Use Straight, Dry Strips
Bent or corroded pins increase jam risk dramatically. Store your pins in a dry container and discard any strips with visible damage.
Stick With One Brand
Even when sizes match, manufacturers vary slightly in diameter and collation spacing. Mixing brands often leads to inconsistent feeding.
Maintain Your Pin Nailer for Smooth Loading
A clean tool feeds better and lasts longer. A few minutes of care after each use prevents most loading problems.
Wipe Down the Magazine and Nose
Remove dust, sap, and resin buildup with a dry cloth. These residues gum up the feed track and cause friction jams.
Lubricate Pneumatic Models Weekly
Add 2 to 3 drops of pneumatic tool oil into the air inlet if you use the tool frequently. This keeps internal seals and the driver blade moving freely.
Inspect Seals and O-Rings Annually
Worn seals reduce air pressure and can affect feeding consistency. Replace them as part of your yearly maintenance routine.
Frequently Asked Questions About Loading a Pin Nailer
Which direction do pins go into a pin nailer?
Pins always load with the sharp points facing the nose of the tool. The flat rear ends sit toward the back of the magazine. Loading them backwards is the leading cause of jams.
Can you load a pin nailer with the air hose connected?
No. Always disconnect the air hose or remove the battery before opening the magazine. Loading under pressure risks accidental discharge and serious injury.
What size pins fit a 23-gauge pin nailer?
Most 23-gauge pin nailers accept pin lengths from 5/8 inch up to 2 inches. Check your manual for the exact range your model supports before buying pins.
Why does my pin nailer keep jamming after loading?
Frequent jams usually point to bent pins, wrong collation type, or a dirty magazine channel. Inspect your pin strips for damage, confirm you are using the correct collation, and clean the feed track thoroughly.
How do you know when the pusher rod is locked?
You will hear a click or feel the rod catch into a spring-loaded latch. The rod should stay back without you holding it. If it slides forward, the latch mechanism may need cleaning or repair.
Is it safe to dry-fire a pin nailer after loading?
A single dry fire into scrap wood is fine and helps advance the first pin. Avoid repeated dry firing without pins, as this can damage the driver blade over time.
Key Takeaways for Loading a Pin Nailer Safely
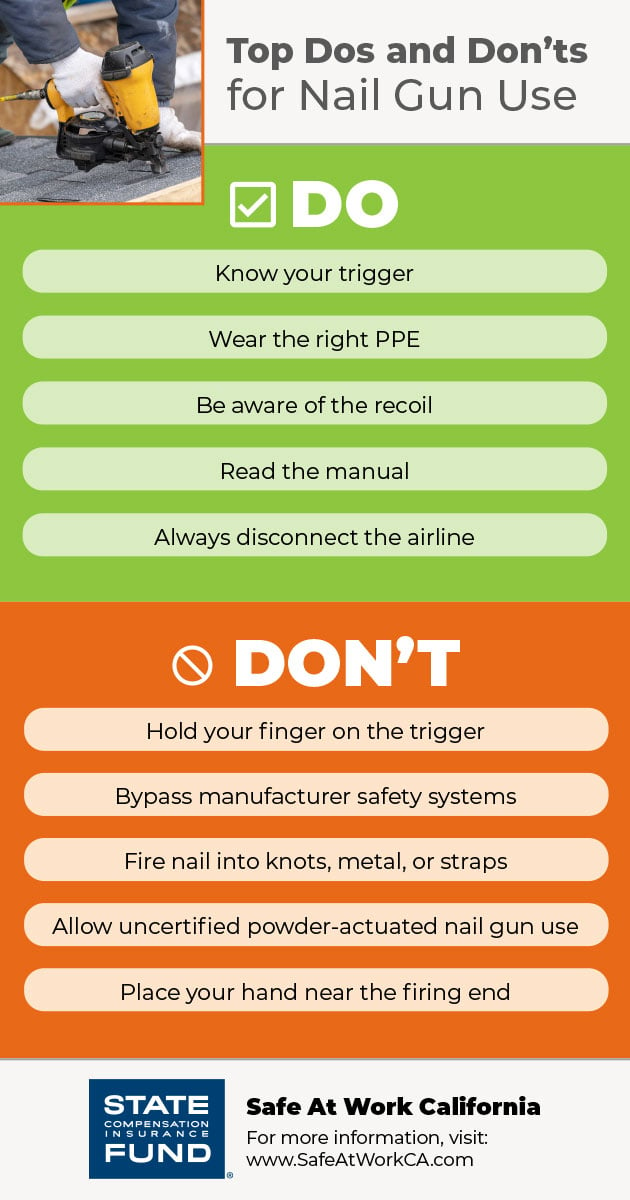
Loading a pin nailer comes down to three core habits: disconnect power before opening the magazine, orient pins point-down every time, and confirm the pusher rod locks before closing up. Skipping any of these steps leads to jams, misfires, or potential injury.
Keep your pins dry and straight, your magazine clean, and your manual nearby for model-specific quirks. Run a quick test fire on scrap wood before starting your real project to confirm everything cycles smoothly. With these habits in place, your pin nailer will deliver clean, invisible fastening on every delicate job you tackle.