Milwaukee Framing Nailer Maintenance Guide
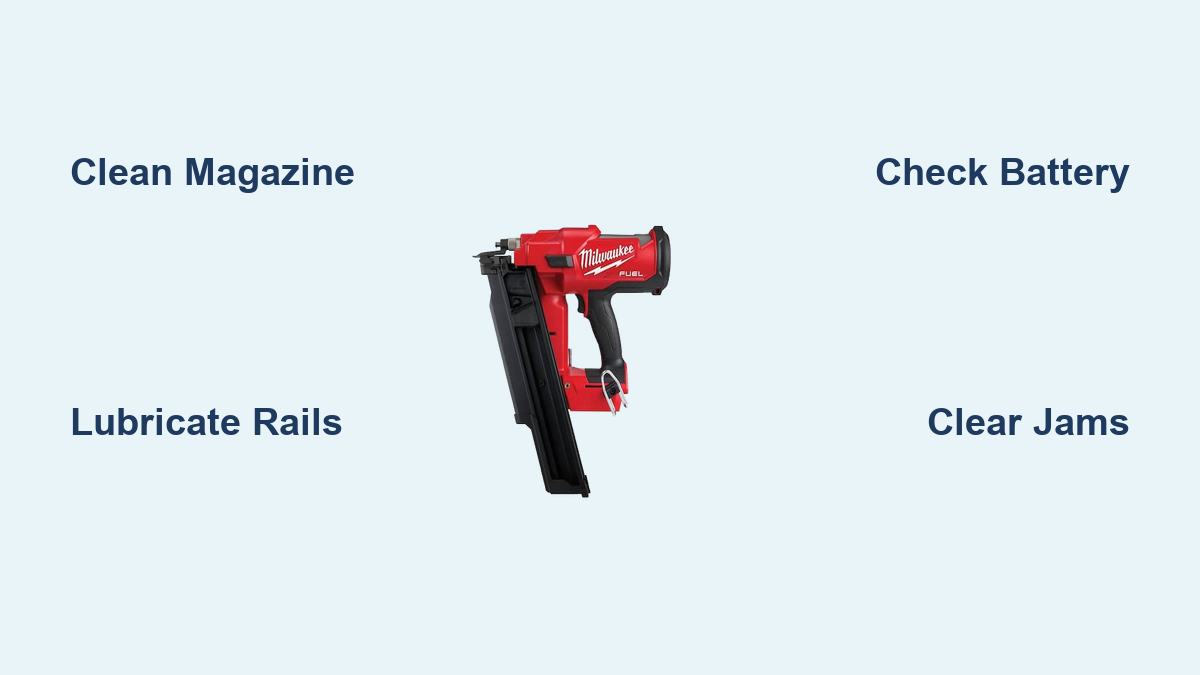
If your Milwaukee M18 Fuel 30-degree framing nailer isn’t driving nails flush, misfires frequently, or struggles to keep up on the job site, you’re not alone. This powerful cordless tool is built for pros tackling decks, wall frames, and fences, but like any high-performance equipment, it demands regular maintenance to stay reliable. The most common issues, including weak drives, jams, misfires, and battery-related power drops, are often preventable with the right care.
This guide breaks down every critical maintenance area based on real-world user reports and technical diagnostics from forums, repair experts, and official feedback channels. You’ll learn how to clean, lubricate, troubleshoot, and preserve your nailer’s performance. Whether you’re dealing with a jammed magazine, inconsistent firing, or depth-of-drive problems, this step-by-step Milwaukee framing nailer maintenance plan will get your tool back in top shape, fast.
Clean the Magazine and Feed Mechanism

A dirty or obstructed magazine is one of the leading causes of jams and misfires. Keeping the feed system clean ensures smooth nail advancement and consistent firing.
Inspect for Nail Compatibility Issues
Always verify that you’re using the correct nails. The Milwaukee M18 Fuel framing nailer is designed for full round head nails between 2 inches and 3½ inches. Using clipped-head, wire-weld, or off-size nails can cause binding, misfeeds, or damage to the driver blade. Stick to manufacturer-recommended fasteners to avoid avoidable jams.
Clear Debris from the Magazine Channel
Over time, sawdust, resin, and metal shavings build up inside the magazine, especially at the feed ramp and spring contact points. To clean:
- Empty the nail clip completely.
- Wipe the interior with a dry cloth or soft brush.
- Use compressed air to blow out fine debris from corners and moving parts.
- Check for burrs or dents along the rails, as these can snag nail strips.
A clean magazine reduces friction and prevents nails from hanging up mid-feed.
Clean and Lubricate the Circle Spring
The circle spring applies upward pressure to keep nails aligned. If it’s gummed up or corroded, it won’t push nails properly, especially when the magazine is full.
- Remove the spring carefully (follow YouTube teardown guides if needed).
- Clean with a solvent like isopropyl alcohol to remove grime.
- Lightly lubricate with WD-40 or a silicone-based spray before reinserting.
- Ensure it moves freely and exerts even pressure.
This simple step can resolve the “every other shot misfire” issue users report when the magazine is more than 1/3 full.
Prevent and Clear Nail Jams
Jams are frustrating but usually fixable with a systematic approach. Most occur due to debris, incorrect nails, or dry internal components.
Follow a Step-by-Step Jam Clearance Routine
When the nailer jams:
- Remove the battery and disconnect air (if applicable).
- Open the nose cap or jam release (if equipped).
- Use needle-nose pliers to extract stuck nails. Never force the driver down.
- Inspect the driver blade for bending or pitting.
- Check the next few nails in the strip for deformation.
After clearing, test-fire the tool into scrap wood before resuming work.
Avoid Common Jam Triggers
- Don’t mix nail types in the same clip.
- Don’t overload the magazine beyond capacity.
- Don’t use damaged or bent nails, as they bind easily.
- Don’t operate with low battery, since weak power cycles increase jam risk.
Pro Tip: Tap the magazine gently after loading to settle the nails and align the first fastener properly.
Diagnose and Fix Misfires
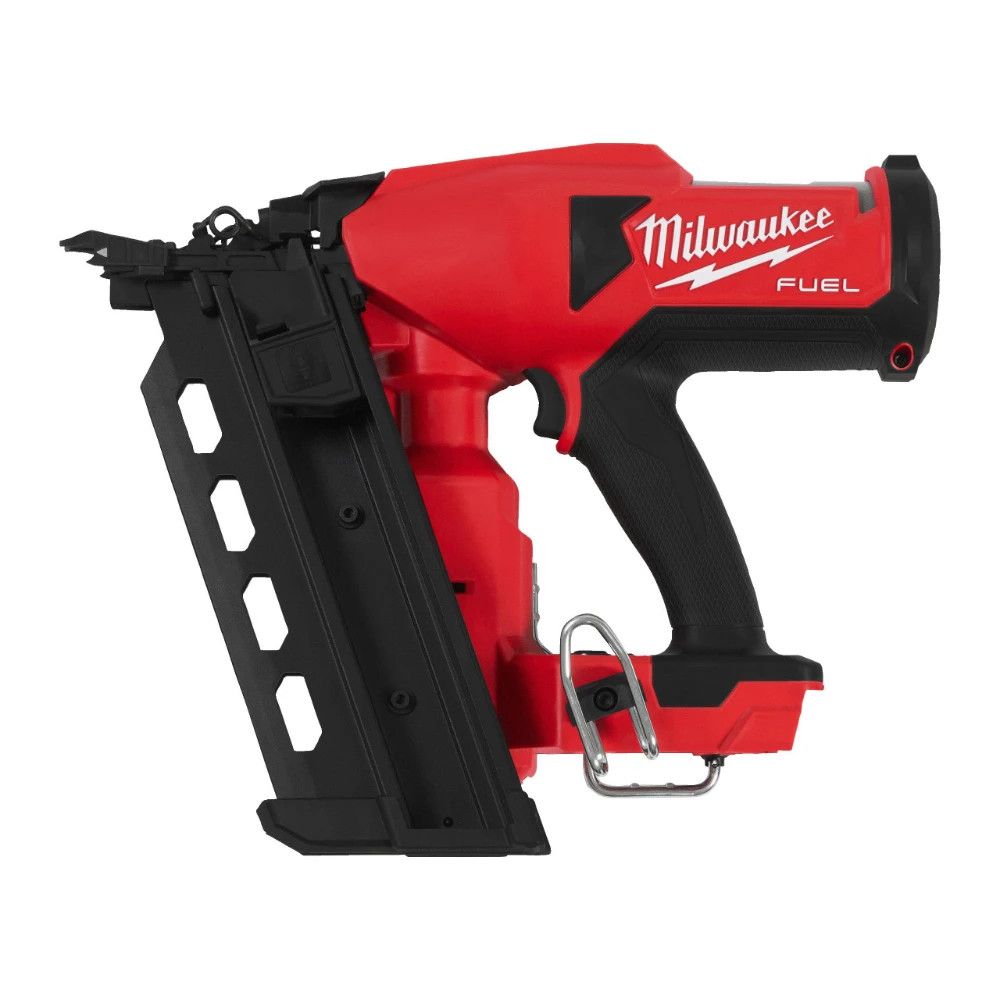
Misfires, where the trigger pulls but no nail fires, are often mistaken for battery issues. In reality, they stem from mechanical blockages, worn parts, or poor maintenance.
Test for Multi-Firing or Clicking Without Drive
If your nailer clicks multiple times without firing:
- Check the contact trip mechanism (the safety nose). It must be fully depressed to allow firing.
- Clean around the trip with a cloth and lubricate lightly with dry silicone spray.
- Inspect for cracks, bends, or debris preventing full compression.
A stuck or dirty contact trip is a frequent cause of “ghost firing” sequences.
Inspect the Trigger Assembly
Wear in the trigger housing can cause incomplete actuation or double-triggering:
- Disassemble carefully (refer to official parts diagrams).
- Look for cracked plastic, worn springs, or loose pins.
- Clean all components and reassemble with light lubrication.
If parts are visibly damaged, order OEM replacements. Milwaukee offers robust parts support.
Maintain the Pneumatic System

Despite being cordless, the Milwaukee framing nailer uses an internal pressurized system to drive nails. This system can lose pressure over time, especially with heavy use.
Recognize Signs of Pressure Loss
Symptoms include:
- Nails only partially driven, even in soft wood.
- Sluggish response between shots.
- Needing multiple triggers to sink a single nail.
These aren’t always battery issues. Often, the internal cylinder has developed an air leak.
Recharge the Internal Cylinder
Milwaukee does not recommend DIY recharging. The safest and most effective method is to send the tool to:
- An authorized service center, or
- A qualified third-party repair shop with pneumatic refilling equipment.
Attempting to repressurize the unit yourself is risky and may void warranties or damage seals.
Optimize Depth of Drive Settings

Even a well-maintained nailer can underperform if the depth setting is incorrect. Adjusting this properly protects materials and ensures secure fastening.
Adjust the Depth-of-Drive Dial
Most models feature an external adjustment knob or lever:
- Turn clockwise to drive nails deeper.
- Turn counterclockwise to reduce depth.
Test on scrap wood matching your project material. Ideal depth: nail head just below the surface without splitting the wood.
Rule Out Battery Issues First
Before adjusting mechanics, swap in a fully charged M18 battery. Low voltage is the #1 cause of shallow drives. If performance improves instantly, the issue was power, not pressure or settings.
Service the Battery and Power System

The 18V M18 battery isn’t just a convenience. It’s the engine of the entire system. Poor battery health cripples performance.
Check for Battery Failure Symptoms
Watch for:
- Overheating during use.
- Sudden power drop mid-task.
- Failure to charge or hold a charge.
Use Milwaukee’s battery testers or a multimeter to assess cell health independently.
Rotate and Maintain Spare Batteries
For consistent performance:
- Keep at least two batteries on hand.
- Alternate usage to extend lifespan.
- Store in a cool, dry place. Avoid extreme heat or cold.
- Charge fully before storage. Avoid leaving at 0%.
A weak battery can mimic mechanical failure, so always test with a known-good pack first.
Lubricate Moving Parts Regularly
Unlike pneumatic nailers that need oil with every use, the Milwaukee cordless model requires minimal but strategic lubrication.
Apply Lubricant to Critical Zones
Every 500–1,000 nails, apply:
- A light spray of WD-40 or a tool-specific corrosion inhibitor to:
- Magazine rails
- Driver blade shaft
- Trigger pivot points
- Contact trip linkage
Avoid over-lubing. Excess attracts dust and forms gummy residue.
Don’t Oil the Cylinder
The sealed pneumatic chamber is factory-lubricated. Adding oil can damage internal seals and worsen pressure loss. Leave this to professionals during servicing.
Prevent Full vs. Empty Magazine Misfires
A known quirk in some units: misfiring when the magazine is more than 1/3 full. This isn’t normal, but it’s fixable.
Diagnose Spring Tension Problems
When nails jam under load:
- The circle spring may be weak or misaligned.
- The feed pawl might not engage properly under pressure.
Try:
- Replacing the spring with an OEM part.
- Cleaning the feed track to reduce resistance.
- Manually pushing the nail strip up during initial use (temporary fix).
If the issue persists, contact Milwaukee support. This may indicate a deeper feed mechanism flaw.
When to Seek Professional Repair
Not every issue can be fixed at the workbench. Know when to call in the experts.
Send In for These Problems
- Chronic pressure loss after multiple uses.
- Visible damage to the driver blade or cylinder.
- Internal electrical faults (sparking, no response).
- Persistent multi-firing after cleaning and part replacement.
Authorized centers can rebuild the pneumatic system, replace worn internals, and recalibrate performance safely.
Frequently Asked Questions About Milwaukee Framing Nailer Maintenance
What type of nails should I use in my Milwaukee M18 framing nailer?
Use full round head nails between 2 inches and 3½ inches in length. Clipped-head, wire-weld, or off-size nails can cause binding, misfeeds, and damage to the driver blade.
Why does my Milwaukee framing nailer misfire when the magazine is more than 1/3 full?
This usually points to weak or misaligned circle spring tension. Cleaning the spring, lubricating the feed track, or replacing the spring with an OEM part typically resolves the issue.
How often should I lubricate my Milwaukee cordless framing nailer?
Apply a light spray of WD-40 or a corrosion inhibitor to critical zones every 500–1,000 nails. Focus on magazine rails, the driver blade shaft, trigger pivots, and the contact trip linkage.
Can I recharge the internal pneumatic cylinder myself?
Milwaukee does not recommend DIY recharging. The safest option is to send the tool to an authorized service center or a qualified third-party repair shop with proper pneumatic refilling equipment.
Why are my nails not sinking flush even in soft wood?
The most common cause is a low or failing battery. Swap in a fully charged M18 battery first. If the issue persists, check the depth-of-drive dial and inspect for pressure loss in the internal cylinder.
What are the signs of pressure loss in the pneumatic system?
Weak or partial nail drives, sluggish response between shots, and needing multiple trigger pulls to sink a single nail are all signs of internal pressure loss.
Key Takeaways for Milwaukee Framing Nailer Maintenance
Regular Milwaukee framing nailer maintenance prevents downtime and extends tool life. Focus on cleaning the magazine, using correct full round head nails, lubricating moving parts every 500–1,000 nails, and always testing with a fully charged battery first. Address jams quickly with a systematic clearance routine, adjust depth settings based on material density, and never ignore signs of pressure loss. When in doubt, send the tool to an authorized service center rather than attempting internal pneumatic repairs yourself.
Start with a basic cleaning and lubrication today, then build a routine inspection schedule around your job site workload. Your M18 Fuel nailer will stay fast, reliable, and ready for every framing job.