How to Staple on HP Printer – Quick Guide
If your HP printer isn’t stapling automatically, you’re not alone. Many users assume stapling is standard, only to discover it requires specific hardware and correct settings. The truth? Only select HP printers with an installed stapling finisher can staple, and even then, the feature must be enabled properly. Whether you’re printing from your computer or copying physical documents, a single misstep like choosing the wrong orientation or using thick paper can disable the option entirely.
This guide cuts through the confusion. You’ll learn exactly how to activate and use the stapler on supported HP LaserJet and Color LaserJet models, step by step. We’ll cover control panel settings for copying, driver configurations for printing, manual insertion for external finishers, and common pitfalls that disable stapling.
Confirm Stapler Hardware Is Installed

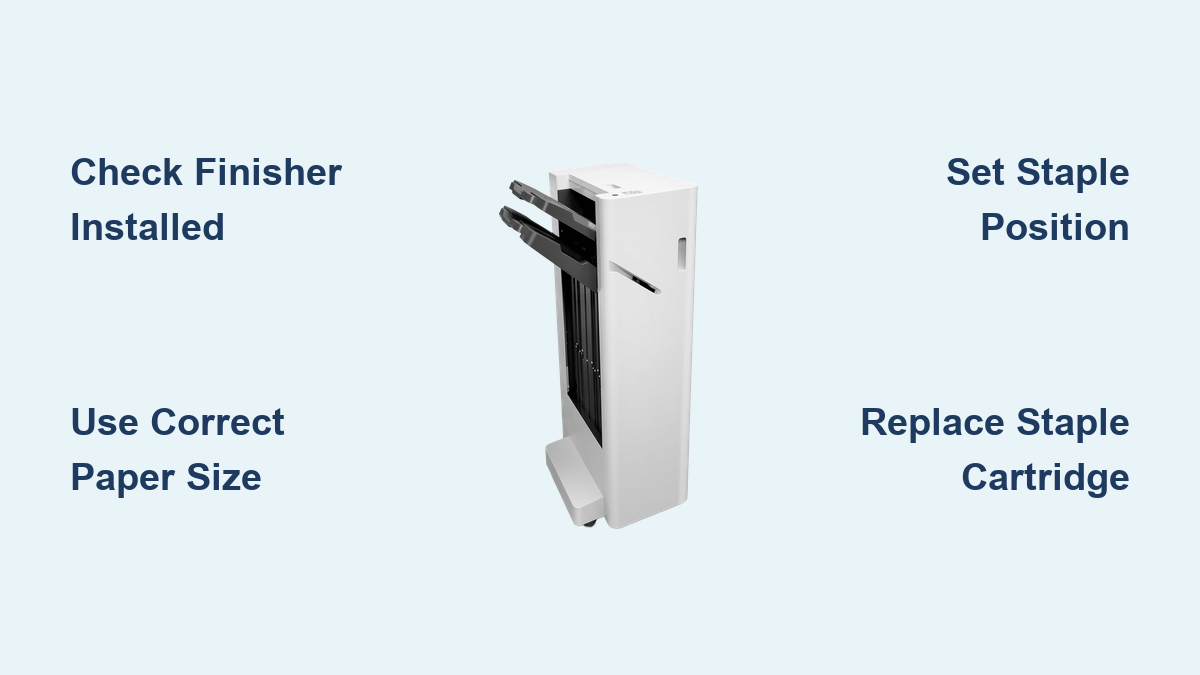
Before adjusting settings, verify your HP printer supports stapling. Most HP models do not come with built-in stapling. This feature requires an optional finisher. Without it, the stapling option will remain unavailable.
Check Supported HP Models
Stapling is available only on select enterprise and managed printers. Confirm your model is compatible:
- HP LaserJet Managed MFPs: E725xx, E774xx series
- HP Color LaserJet Enterprise: M630, E77400 series
- HP PageWide Managed P55250 Series
- HP LaserJet Pro 500 MFP Series (with finisher)
- HP OfficeJet Pro 9000 Series (with optional finisher)
No stapling is available on HP DeskJet, Tango, OfficeJet Home, or consumer all-in-one printers.
Identify Finisher Type
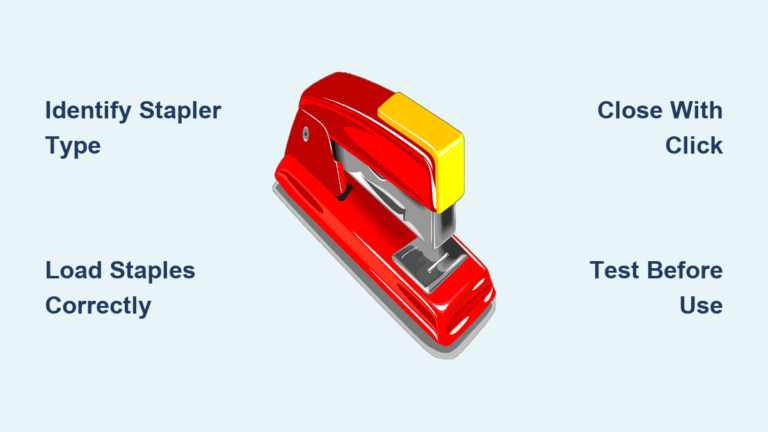
Two types of finishers enable stapling. First, internal finishers are built into or added inside the printer. Second, external finishers are standalone units connected to select HP copiers. Look for a staple icon on the control panel, a physical slot on the output tray, or a round black button labeled “Staple” or “Finish.” If none are present, your printer lacks the required hardware.
Load Paper Correctly for Stapling
Even with the right hardware, incorrect paper handling can disable stapling or cause jams. Following proper paper guidelines ensures reliable performance.
Use Compatible Paper
For reliable stapling, use 75 to 90 g/m² standard office paper. Supported sizes include Letter, A4, or Legal. Avoid cardstock, transparencies, coated or textured paper, and mixed paper types in one job. Using incompatible paper may trigger an error or prevent stapling entirely.
Set Stack Limits
Exceeding sheet capacity is a top cause of failed stapling. High-end models support up to 50 sheets. Mid-tier models like the LaserJet Pro 500 support 10 to 20 sheets. Always count pages before starting. Overloading causes misfeeds or incomplete binding.
Align Edges and Guides
When using the ADF or manual feed, place originals face-up in the ADF. Push the stack flush against the back edge. Adjust side guides snugly without bending the paper. Misaligned paper leads to crooked staples or jams.
Enable Stapling via Control Panel (Copy Mode)
Use this method when copying physical documents placed in the ADF. The control panel provides direct access to stapling options.
Activate Copy Function
- Tap Copy on the home screen
- Wait for the interface to load completely
Turn On Stapling
- Tap Options
- Select Staple or Staple and Hole Punch
- Choose a position: Top-Left Corner, Two Staples on Left, Bottom-Right, or Middle-Left
If options don’t appear, the finisher may not be detected by the printer.
Set Collation and Copies
- Tap Collate and select On for organized sets
- Enter Copy Quantity using the keypad
- Close the keypad when finished
Start the Job
Tap Copy. The printer will scan each page, print the specified number of copies, and automatically staple each set. Stapled sets exit to the finisher stacker or main output tray.
Configure Stapling in Windows Print Dialog

Use this method when printing digital files from Word, PDF, or other applications. The print driver provides full control over stapling options.
Open Print Settings
- Press Ctrl + P or go to File, Print
- Select your HP printer from the list
Access Printer Properties
- Click Properties, Preferences, or Printer Properties
- This opens the HP-specific driver interface with HP LaserJet branding
Navigate to Finishing Tab
Depending on your model, look for the Output tab on Managed MFPs or the Finishing tab on LaserJet Pro 500 series. Go to the Staple section.
Select Staple Position and Quantity
From the Staple dropdown, choose a Position like Top-Left, Bottom-Right, or Middle-Left. Select Number of Staples as Single or Double if supported. Click OK to save your settings.
Print the Document
Click Print. The printer receives the job, prints and collates pages, and staples each set automatically. If stapling is grayed out, the finisher may not be detected, the driver may be outdated, or the paper size may not support stapling.
Use External Stapler with Manual Insertion
For printers with a physical stapler slot, manual insertion offers another option for finishing documents.
Wake the Printer
If in sleep mode, tap the Home button and wait for full system startup before proceeding.
Activate the Stapler
- Press the black round button on the finisher
- Wait for the indicator light to flash, indicating ready state
Insert Stack at 45 Degree Angle
- Hold the paper stack at a 45-degree angle
- Align edges flush with the guides
- Insert gently into the stapler slot following alignment marks
- Push fully until the mechanism pulls the stack in
Do not force or insert sideways. Listen for a distinct clicking sound confirming successful stapling.
Replace Staple Cartridge
When the printer displays “Out of Staples,” replace the cartridge promptly to avoid workflow interruptions.
Open Stapler Cover
Locate the cover on the back of the printer or finisher. Press the latch or slide the panel open.
Remove Empty Cartridge
Twist counter-clockwise or pull straight out depending on your model.
Install New Cartridge
- Align with the two guide pins inside the compartment
- Push in and twist clockwise until it clicks
- Close the cover securely
Use HP-branded cartridges only. Non-HP staples may jam or void your warranty.
Troubleshoot Common Stapling Issues
Fix problems quickly with these targeted solutions for frequent issues.
Stapler Won not Activate
Cause: Printer asleep or finisher disabled. Fix: Wake the printer by tapping the screen, press the staple button again, and ensure the finisher is powered and connected.
Crooked or Missing Staples
Cause: Misaligned paper or wrong insertion angle. Fix: Re-stack and align edges, insert at 45-degree angle, and avoid fanned or skewed stacks.
Staple Option Grayed Out
Cause: Driver or hardware issue. Fix: Confirm the finisher is installed and detected, update the printer driver from HP Support, and ensure the paper size supports stapling.
Stapler Jam
Cause: Overloaded stack or debris. Fix: Power off the printer, open the finisher access panel, gently remove jammed paper or staple fragment, then close and restart. Use plastic tools only to avoid damaging components.
Maintain Stapler for Longevity
Prevent failures with simple upkeep routines that extend the life of your finisher.
Clean Monthly
- Power off the printer
- Wipe the finisher slot and paper path with a dry, lint-free cloth
- Remove paper dust and debris
Avoid compressed air, as it can push debris deeper into the mechanism.
Monitor Staple Levels
Keep spare HP cartridges on hand. Replace before running out to avoid mid-job interruptions.
Check for Error Alerts
Respond immediately to on-screen messages like “Stapler Jam,” “Finisher Error,” or “Out of Staples.” Follow prompts to clear issues quickly.
Know Stapling Limitations
Avoid frustration by understanding what HP staplers cannot do.
No Booklet or Folding Support
The stapler provides flat stapling only. There is no saddle stitching or folding capability unless your printer has an internal saddle stitcher.
Limited Staple Positions
Most models support only top-left corner stapling. Dual stapling is available only on high-end models with dual-staple finishers.
Driver Differences by OS
Windows offers full access via the Finishing tab. macOS and Linux have limited options. Use the latest HPLIP drivers for best results.
Key Takeaways for Using Your HP Printer Stapler
Follow these rules for flawless stapling every time. First, verify the finisher is installed before starting any job. Second, use 75 to 90 g/m² paper and never exceed 50 sheets. Third, align paper neatly without fanning or skewing. Fourth, insert at 45 degrees for manual feed. Fifth, test with one copy when changing settings. Sixth, update drivers regularly for full feature access. Finally, keep spare HP staples on hand.
Avoid common mistakes. Do not exceed sheet limits or use thick media. Do not force misaligned stacks into the stapler. Do not mix paper types unless explicitly supported.
Frequently Asked Questions About Using a Stapler on an HP Printer
Why is the stapling option grayed out on my HP printer?
The stapling option appears grayed out when the finisher is not detected, the printer driver is outdated, or the selected paper size does not support stapling. Verify that the finisher is properly installed and connected, then update your printer driver from HP Support.
Which HP printers can use the stapling feature?
Stapling is available only on select enterprise and managed models including HP LaserJet Managed MFPs (E725xx, E774xx series), HP Color LaserJet Enterprise M630, HP PageWide Managed P55250 Series, HP LaserJet Pro 500 MFP Series, and HP OfficeJet Pro 9000 Series. Consumer models like DeskJet and OfficeJet Home do not support stapling.
How many sheets can my HP printer staple?
High-end models with dual-staple finishers support up to 50 sheets. Mid-tier models like the LaserJet Pro 500 support 10 to 20 sheets. Always stay within these limits using standard 75 to 90 g/m² paper for best results.
How do I replace the staple cartridge on my HP printer?
Open the stapler cover on the back of the printer or finisher. Remove the empty cartridge by twisting counter-clockwise or pulling straight out. Align the new cartridge with the guide pins, push in, and twist clockwise until it clicks. Close the cover securely.
Can I staple on both sides or create booklets with my HP printer?
Standard HP staplers provide flat, single-stack stapling only. They cannot create booklets, fold paper, or perform saddle stitching unless your specific model has an internal saddle stitcher. Check your model’s specifications for advanced finishing capabilities.
What should I do if my HP printer keeps jamming the stapler?
Stapler jams typically occur from overloaded stacks or debris inside the finisher. Power off the printer, open the finisher access panel, and gently remove any jammed paper or staple fragments. Clean the area with a dry cloth and restart the printer. Always stay within the recommended sheet capacity.
Final Thoughts on Using Your HP Printer Stapler
The HP stapler is a powerful tool for professional document finishing, but only when used correctly. Success depends on having the right hardware installed, using proper paper handling techniques, and configuring the correct software settings. By following this guide, you’ll eliminate guesswork, reduce jams, and produce consistently polished results.
Always refer to your model’s official manual for specific instructions, and keep your finisher clean and stocked with HP cartridges. With these practices in place, your HP printer will deliver reliable, automated stapling for years to come.