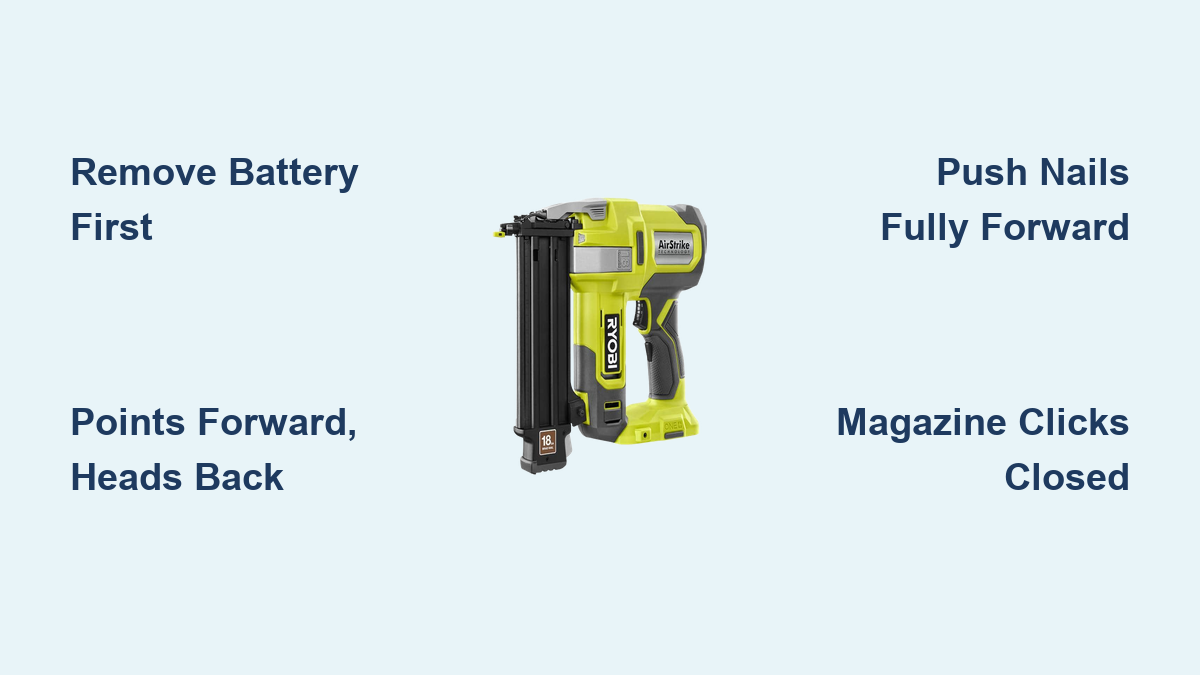
How to Load Nails in Ryobi Brad Nailer
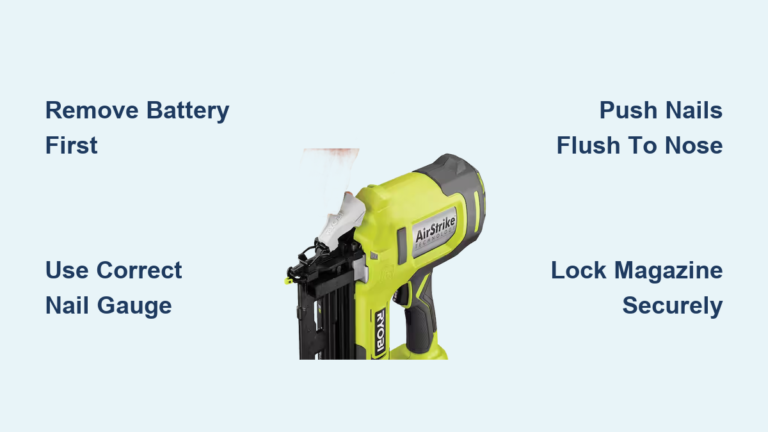
You just pulled your RYOBI cordless brad nailer out of the box, and the magazine is empty. Now you’re staring at it, unsure how to load it without jamming the tool or damaging the mechanism. This is one of the most common stumbling blocks for first-time users, and getting it wrong leads to misfires, wasted nails, and frustration.
Loading your RYOBI brad nailer correctly takes less than two minutes once you know the sequence. In this guide, you’ll learn the exact steps to safely load 18-gauge brad nails, avoid the mistakes that cause jams, and keep your tool firing reliably on every project.
Prepare Your Workspace and Tool
Before touching the magazine, set yourself up for a safe, smooth loading process.
Remove the Battery First
Always remove the 18V battery from the base of the nailer before loading. This single step eliminates the risk of accidental firing while your fingers are near the nose. Even a partially charged battery can power the trigger mechanism if pressed.
Wear Safety Glasses
Put on safety glasses before opening the magazine. The internal spring holds tension, and small debris or a misaligned nail can shift unexpectedly during loading.
Check Your Nails
Using the wrong nails is the leading cause of jams. Confirm your nails meet these specifications:
- Gauge: 18-gauge only
- Type: C1 collated brad nails (cleat-collated with a thin metal spine)
- Length: Match to your project, typically 5/8″ to 2″
Do not use plastic-collated nails or 21-gauge pins. These will bind in the feed mechanism and void your warranty.
Open the Magazine Assembly

With the battery removed, you can safely access the nail channel.
Locate the Magazine Release
Find the magazine release button or toggle switch at the rear of the nailer, near the base. This is usually a small spring-loaded lever or sliding switch.
Slide the Magazine Back
Press and hold the release, then pull the magazine slider backward (away from the nose). You’ll feel resistance from the internal spring. Continue pulling until the full nail channel is exposed and the metal follower plate is visible.
Visual Check: When fully open, the entire track should be clear with no obstructions. The front stop should be ready to accept nail heads.
Insert Nails with the Correct Orientation

This step is where most loading errors happen. Nail direction matters.
Points Forward, Heads Back
Insert the strip of brad nails with the points facing toward the nose of the nailer and the heads facing the rear. Loading them backwards will cause an immediate jam on the first shot.
Push the Strip Fully Forward
Slide the nail strip into the track and push it forward until the first nail sits flush against the front stop. This positioning ensures the driver blade strikes the nail correctly.
Common Mistake: Leaving a gap at the front. If nails aren’t seated all the way forward, the tool may fire but fail to drive the nail fully, resulting in a misfeed.
Load to Capacity or as Needed
The magazine accepts a full strip (commonly 100 nails) or a partial strip for smaller jobs. Avoid forcing bent or kinked nails into the channel. They should slide smoothly without binding.
Close and Lock the Magazine
Securing the magazine properly is essential for the tool to function.
Slide Forward Until It Clicks
Push the magazine slider forward toward the nose with firm, steady pressure. You’ll hear and feel a distinct click when it locks into place.
Tactile Check: The magazine should sit flush with the tool body with no gaps. Wiggle it slightly. If it moves, it isn’t latched.
Reinstall the Battery
Only after confirming the magazine is fully closed should you reinsert the 18V battery. Push it in until it clicks. A brief LED flash confirms power connection.
Test Fire on Scrap Material

Before starting your actual project, verify everything works correctly.
- Set the depth adjustment dial to a middle setting (such as 3 or 4)
- Press the non-marring tip firmly against a scrap piece of wood
- Pull the trigger
A successful test drives the nail cleanly with the head flush or slightly below the surface. If the tool doesn’t fire, check the battery charge, magazine lock, and ensure the safety tip is making full contact with the material.
Troubleshoot Common Loading Problems
Even with careful loading, issues can arise. Here’s how to identify and fix them.
Nails Won’t Feed
If nails jam immediately or fail to advance, the most likely cause is incorrect orientation. Remove the battery, open the magazine, and reload with points facing forward.
Tool Won’t Fire
Check that the magazine is fully closed and clicked into place. An improperly latched magazine prevents firing. Also confirm the battery has sufficient charge.
Frequent Jamming
Persistent jams usually point to incorrect nail type. Verify you’re using 18-gauge C1 cleat-collated brads only. Plastic-collated or off-brand nails will bind repeatedly.
Debris in the Track
Dust and wood residue can slow nail feeding. Remove the battery, open the magazine, and wipe the track with a dry cloth. Compressed air works well for blowing out stubborn debris.
Clear a Nail Jam Quickly
Jams happen even with proper loading, especially with low-quality nails or damp conditions.
- Remove the battery immediately
- Open the tool-free jam release panel (a small hinged door near the nose)
- Extract the stuck nail with needle-nose pliers or your fingers
- Inspect for fragments and ensure no broken collation pieces remain
- Close the jam door securely
- Reload if needed, reinsert the battery, and test fire
Pro Tip: Keep a spare nail strip and needle-nose pliers in your tool bag for fast field repairs.
Maintain Your Nailer for Long-Term Reliability
A few simple habits will keep your RYOBI brad nailer performing like new.
Clean After Each Use
Wipe the magazine track and nose with a dry cloth. Dust and resin buildup slow nail feeding over time. Never use oil or lubricants. The AirStrike mechanism is designed to run oil-free.
Store Properly
Keep the nailer in a dry location. For long-term storage, leave the magazine slightly open to relieve spring tension and extend the life of the follower. Always remove the battery.
Inspect the Non-Marring Tip
Check the rubber tip on the nose regularly. If it’s cracked or missing, replace it. This protects your trim from scratches and ensures the safety trigger activates properly.
Adjust Depth for Clean Results
The depth dial controls driving force and lets you match the tool to your material.
- Start at a medium setting (3 or 4)
- Test fire on scrap wood matching your project material
- Increase the number if the nail head sticks out above the surface
- Decrease the number if the nail sinks too deep or splits the wood
Time-Saving Shortcut: Label your preferred depth settings for common materials like pine or hardwood so you can dial in quickly on future jobs.
Frequently Asked Questions About Loading a RYOBI Brad Nailer
What type of nails does a RYOBI brad nailer use?
RYOBI cordless brad nailers require 18-gauge C1 collated brad nails. Using plastic-collated nails or other gauges will cause jamming and may damage the tool.
Do you load brad nails point up or point down?
Load brad nails with the points facing toward the nose of the nailer and the heads facing the rear. Loading them backwards causes immediate jamming.
Why won’t my RYOBI brad nailer fire after loading?
The most common causes are an improperly closed magazine, a depleted battery, or the safety tip not being pressed firmly against the work surface. Check each of these before troubleshooting further.
How do you clear a jam in a RYOBI brad nailer?
Remove the battery, open the tool-free jam release panel near the nose, extract the stuck nail with pliers, check for fragments, close the panel, and test fire on scrap wood.
Can you use any 18-gauge nails in a RYOBI brad nailer?
No. You must use C1 cleat-collated brad nails. Plastic-collated nails or nails designed for other brands will bind in the feed mechanism and cause repeated jams.
How long do RYOBI brad nails last in the magazine?
Nails can stay loaded in the magazine indefinitely as long as they remain straight and free of corrosion. For long-term storage, remove the battery and leave the magazine slightly open to relieve spring tension.
Key Takeaways for Loading Your RYOBI Brad Nailer
Loading your RYOBI brad nailer correctly comes down to three critical points: always remove the battery before loading, insert nails with points facing forward, and ensure the magazine clicks fully closed before use. Using the right 18-gauge C1 nails prevents the majority of jamming issues.
Your next step is simple: grab your nailer, a fresh strip of compatible brad nails, and run through the loading sequence on your workbench. Once you’ve done it once or twice, the process becomes second nature, and you’ll spend your time on the project instead of fighting with the tool.