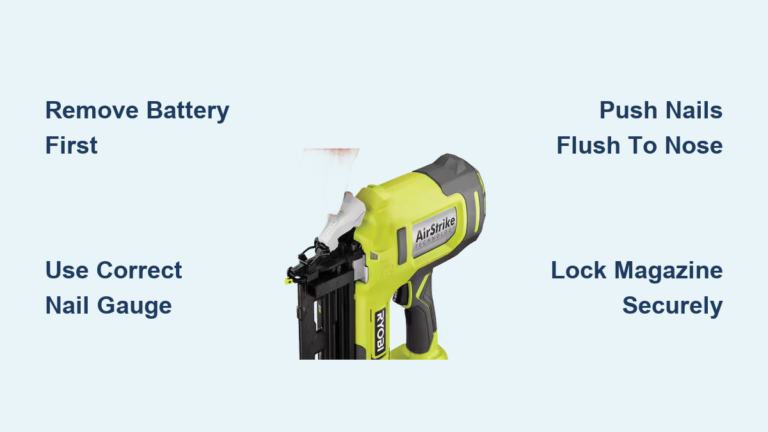
How to Adjust a Brad Nailer
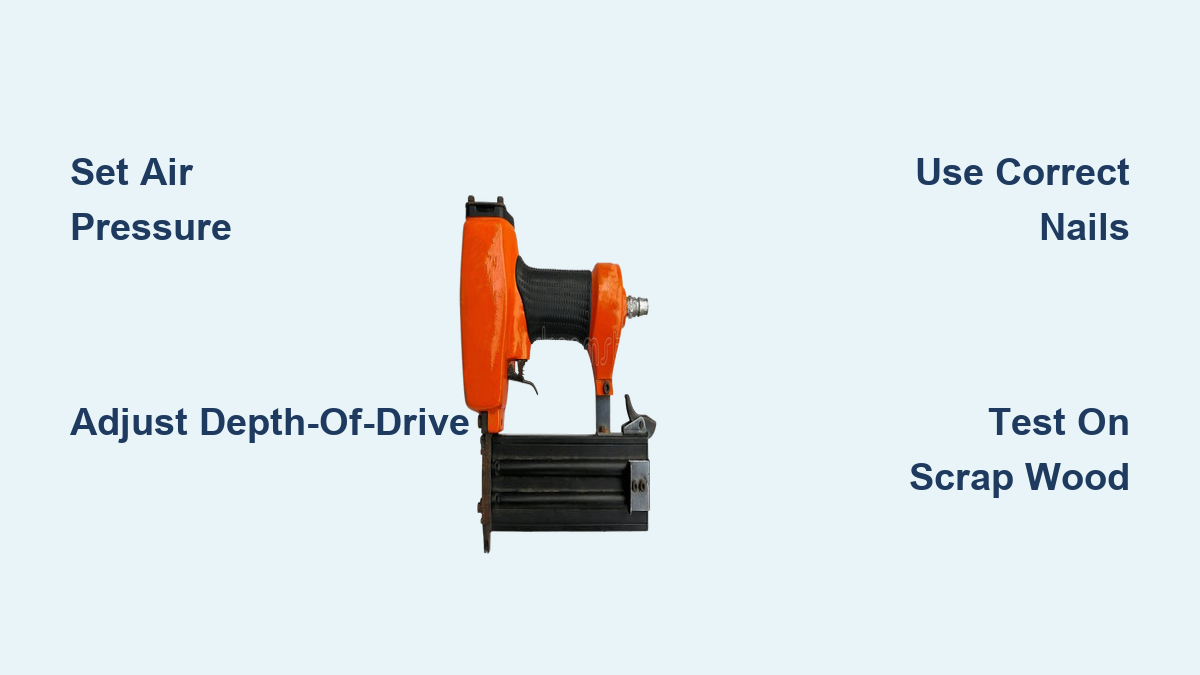
If your brad nailer leaves nail heads sticking out, drives fasteners too deep, or splits delicate trim, the tool itself likely isn’t the problem. The issue usually comes down to settings that haven’t been calibrated for your specific material and project. Learning how to adjust a brad nailer properly gives you full control over depth, pressure, and nail placement, so every trigger pull produces clean, secure results.
This guide breaks down the exact process for setting air pressure, fine-tuning depth-of-drive, selecting correct nails, and fixing common drive issues. You’ll also learn why each adjustment matters and how to keep your tool performing consistently across different materials and project types.
Set Correct Air Pressure

Air pressure is the single most important variable in brad nailer performance. Too much force splits wood and damages finishes. Too little leaves nails protruding and joints weak. The standard operating range sits between 70 and 120 PSI, but the ideal setting depends on what you’re fastening.
Locate the Regulator Knob
Find the pressure regulator on your air compressor. It’s typically a dial or knob near the pressure gauge, clearly labeled “PSI.” Turn clockwise to increase pressure and counter-clockwise to decrease it. Always disconnect the nailer from the air hose before making adjustments to prevent accidental firing.
Match PSI to Material Type
Different woods and nail lengths require different pressure levels. Start at the lower end of the range and work upward only as needed:
– Soft pine or MDF (¼” to ¾” thick): 70–85 PSI
– Hardwood like oak or maple: 90–110 PSI
– Long nails (2″ to 2½”): 100–120 PSI
Softer, thinner materials need less force. Harder woods and longer fasteners need more driving power to seat properly.
Test on Scrap Wood First
Fire three to five test nails into a scrap piece that matches your actual project material. Then evaluate the results:
– Flush or slightly recessed: pressure is correct
– Nails sticking out: increase PSI by 5
– Splitting or nail heads buried: decrease PSI by 5
Make only one small change at a time and retest after each adjustment. Jumping pressure in large increments quickly leads to damaged material.
Choose the Right Nails
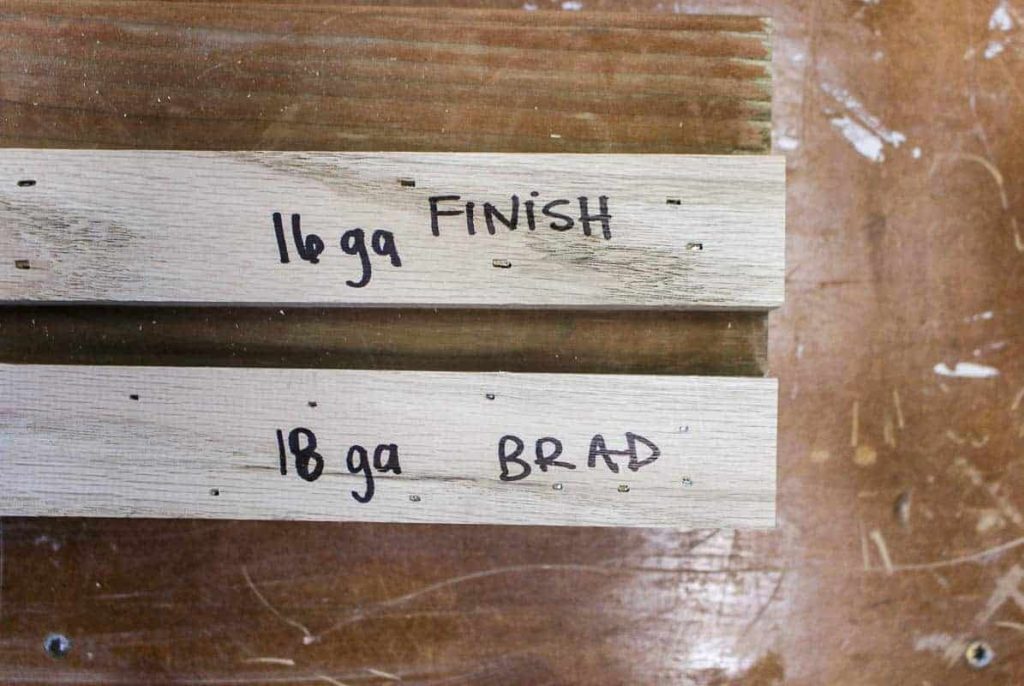
Even perfectly tuned pressure won’t fix problems caused by wrong fasteners. Nail gauge and length directly affect both performance and tool safety.
Use 18-Gauge Nails for Most Projects
Most brad nailers are designed for 18-gauge nails. These thin-shank fasteners minimize splitting in delicate materials like trim and thin plywood. Never substitute 16-gauge nails; they’re thicker and can jam the magazine or damage the driver mechanism.
Apply the Quarter-Inch Rule for Length
Nail length should equal the combined thickness of both materials being joined, minus ¼ inch. This ensures the nail penetrates deeply enough for a strong hold without punching through the back of the workpiece.
For example, when attaching two ½-inch boards (total thickness of 1 inch), use a ¾-inch brad. Too short creates weak joints. Too long ruins finishes and may hit hidden wiring or surfaces behind your project.
Verify Magazine Compatibility
Check your tool’s manual or magazine label before loading. Some models accept only specific nail types, such as stick or coil format. Using the wrong style causes feeding problems and inconsistent driving.
Fine-Tune the Depth-of-Drive
:max_bytes(150000):strip_icc()/NailingTips-Depth-Guide-5d392aeaaf9d472ea6b8af1eb284f26c.jpg)
After setting base air pressure, use the depth-of-drive adjustment on the nailer itself for precision control. This feature lets you change how far the driver blade extends without altering compressor pressure.
Find the Depth Adjuster
Look near the nose or air inlet for a knurled knob, flat-head screw, or sliding lever. This secondary control works independently from the main pressure regulator, giving you fine control over nail depth.
Adjust Direction and Test
Turning the adjuster clockwise typically drives nails deeper, while counter-clockwise raises them. Make small adjustments and test on scrap material after each change. This dial is especially useful when switching between materials mid-project, since you can tweak depth without resetting the entire air system.
Diagnose Common Drive Issues
Nail problems are usually symptoms of incorrect settings. Matching the symptom to the cause helps you fix issues quickly.
Nails Protruding from the Surface
This usually means pressure is too low or the nails are too short. Increase PSI by 5 increments and confirm you’re using adequate nail length for the material thickness. Also check the magazine for debris that might be restricting nail movement.
Wood Splitting Around the Nail
Excessive pressure is the typical culprit. Reduce PSI immediately and consider switching to shorter or thinner nails. Avoid nailing directly into end grain, which splits more easily than face grain. Soft materials like balsa or thin veneer often need under 80 PSI to prevent damage.
Dents Appearing on the Surface
When the nose tip slams into the wood, it usually signals pressure that’s too high. Lower the PSI and inspect the depth stop for wear. Make sure your workpiece lies flat and is properly clamped, since uneven surfaces can cause the nose to strike harder than intended.
Inconsistent Nail Depth
If some nails sink deep while others stay high, suspect air leaks or fluctuating supply. Tighten all hose fittings and inspect O-rings and seals for cracks or brittleness. Drain any moisture from your compressor tank, since water in the lines causes unstable airflow.
Optimize Firing Angle and Technique
Even correct settings fail with poor technique. The angle at which you hold the tool determines nail trajectory and joint strength.
Hold Perpendicular for Standard Fastening
Keep the nailer at 90 degrees to the workpiece for straight, secure drives. Tilting the tool causes angled nails that weaken joints or blow out the side of the material.
Match Angle for Mitered Joints
When building picture frames or boxes with 45-degree corners, position the nailer at the matching angle. Pre-drilling pilot holes can help prevent splitting in delicate miter joints.
Press Firmly Before Firing
Press the nose tip firmly against the surface before pulling the trigger. If the tool lifts on firing, pressure may be too high or the contact tip is damaged. A bouncing nailer produces inconsistent results and increases the risk of ricochet.
Maintain Your Brad Nailer for Consistent Performance
A well-maintained tool holds its settings longer and responds predictably to adjustments. Regular cleaning and inspection prevent most performance problems.
Clean After Every Use
Dust and resin accumulate quickly inside the magazine and air channels. Use compressed air or a soft brush to clear the magazine track, air inlet filter, and nose cavity. Built-up debris restricts driver movement and throws off depth calibration.
Inspect Seals and Hoses Monthly
Check O-rings, seals, and air hoses for cracks, flattening, or brittleness. Worn components cause air leaks that lead to pressure drops and inconsistent nail depth. Replace any damaged parts immediately to keep your tool operating at peak performance.
Store Properly Between Projects
Disconnect the air hose, drain moisture from the lines, and store the nailer in a dry, dust-free location. Moisture causes internal rust that damages pistons, valves, and seals over time.
Follow Essential Safety Practices
Safe operation protects both your accuracy and your hands. A few simple habits prevent most brad nailer accidents.
Always Clamp Materials
Never hold workpieces by hand while nailing. Use bar clamps or corner clamps to stabilize joints. This prevents shifting during firing, ensures straight nail placement, and keeps your fingers clear of the nail’s path.
Wear Eye Protection
Safety goggles are mandatory during testing and operation. Nail fragments, wood chips, and misfired brads can cause serious eye injuries in an instant.
Check Settings Before Each Job
Even if you used the tool the day before, verify air pressure, nail type, and depth adjustment before starting. Materials change, humidity affects wood density, and settings can drift. A quick pre-check prevents costly mistakes.
Frequently Asked Questions About Brad Nailer Adjustment
What PSI should I use for a brad nailer?
Most brad nailers operate between 70 and 120 PSI. Start at 70 to 85 PSI for softwoods and thin trim, and increase toward 100 to 120 PSI for hardwoods or longer nails. Always test on scrap material matching your project before driving nails into the actual workpiece.
Why are my brad nails sticking out?
Protruding nails usually indicate insufficient air pressure or nails that are too short for the material thickness. Increase PSI in 5-point increments and confirm you’re using the correct nail length based on the quarter-inch rule.
Can I use 16-gauge nails in an 18-gauge brad nailer?
No. Brad nailers are designed for specific gauges, and 16-gauge nails are thicker than 18-gauge. Using the wrong gauge can jam the magazine, damage the driver mechanism, or produce inconsistent results. Always verify your tool’s specifications before loading nails.
How do I prevent wood from splitting when nailing?
Splitting typically results from excessive pressure or nailing too close to the edge or into end grain. Reduce PSI, use shorter or thinner nails, and avoid end-grain fastening when possible. For delicate materials, pilot holes can also help prevent splits.
What is the depth-of-drive adjustment?
The depth-of-drive is a secondary control on the nailer itself, usually a dial, screw, or lever near the nose. It fine-tunes how far the driver blade extends without changing compressor pressure. This lets you make quick depth adjustments when switching materials mid-project.
How often should I maintain my brad nailer?
Clean the magazine, air inlet, and nose after every use. Inspect seals, O-rings, and hoses monthly for wear or damage. Drain moisture from your compressor regularly and store the tool in a dry environment to prevent rust and corrosion.
Key Takeaways for Adjusting a Brad Nailer

Mastering brad nailer adjustment comes down to testing, observing, and refining. Start with 70 to 85 PSI on scrap wood, use the depth-of-drive dial for fine-tuning, and always match nail gauge and length to your material. The quarter-inch rule for nail length prevents both weak joints and blow-throughs.
Before your next project, take five minutes to verify your compressor pressure, inspect seals for leaks, and confirm you’re using 18-gauge nails sized correctly for the job. These quick checks eliminate splits, prevent protruding brads, and deliver the clean, professional finish you’re after on every single trigger pull.