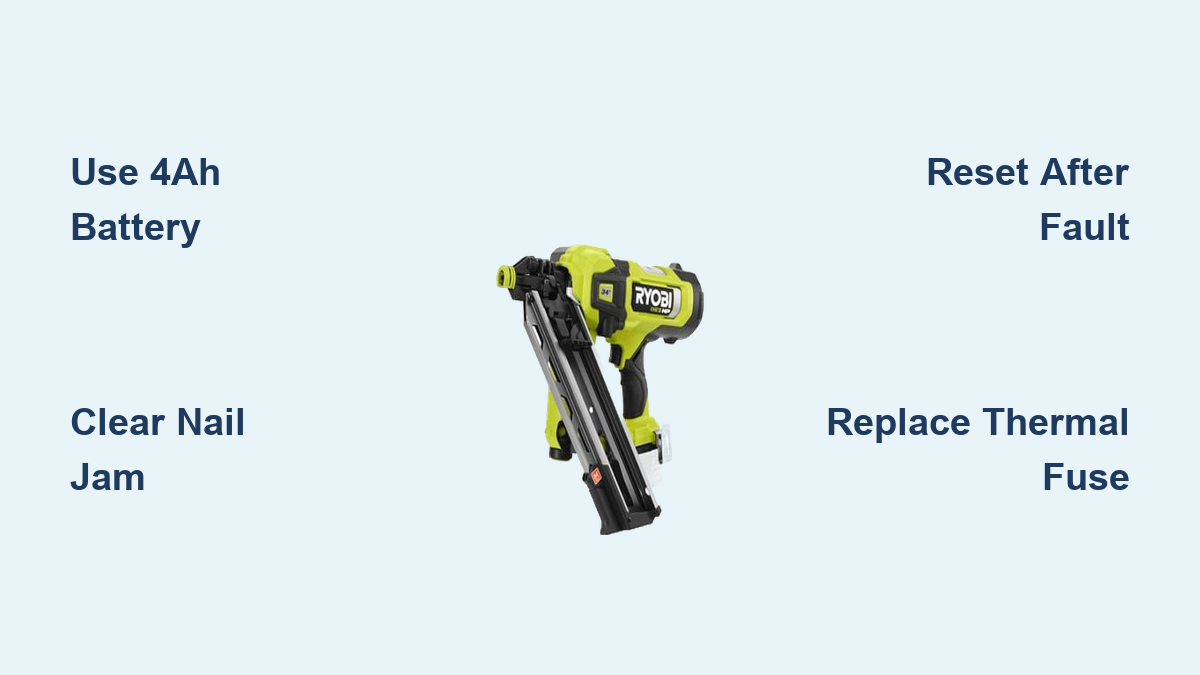
Fix Ryobi Brad Nailer Flashing Light Issue
You’re ready to finish a trim job, squeeze the trigger on your Ryobi brad nailer, and nothing happens. Instead, the LED light starts flashing. Frustrating? Absolutely. But that flashing light is not random. It is a diagnostic signal telling you exactly what is wrong.
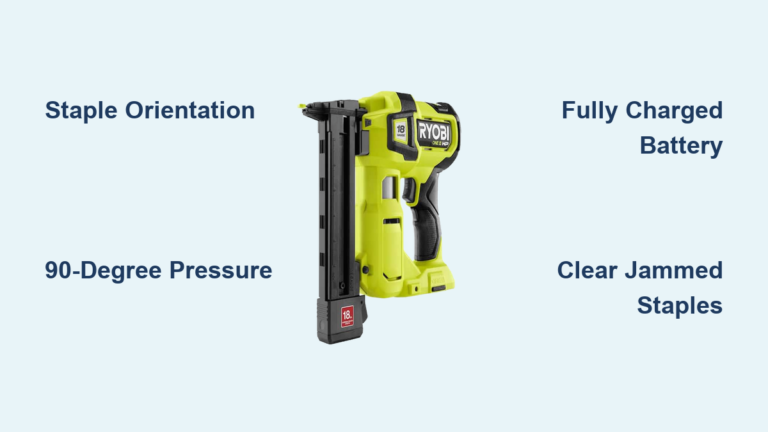
The flashing light on a Ryobi brad nailer, especially model CS21521N120295, is a built-in alert system for critical issues like power failure, mechanical jams, or thermal overload. Ignoring it can lead to further damage or unsafe operation. The good news is that most causes are fixable without professional help.
In this guide, you will learn how to interpret fast vs. slow flashing patterns, identify root causes from incompatible batteries to blown fuses, and follow step-by-step fixes to get your nailer back online. Whether you are a DIYer or a pro, this troubleshooting roadmap covers everything.
Fast Flashing Light: Immediate Fault Detected
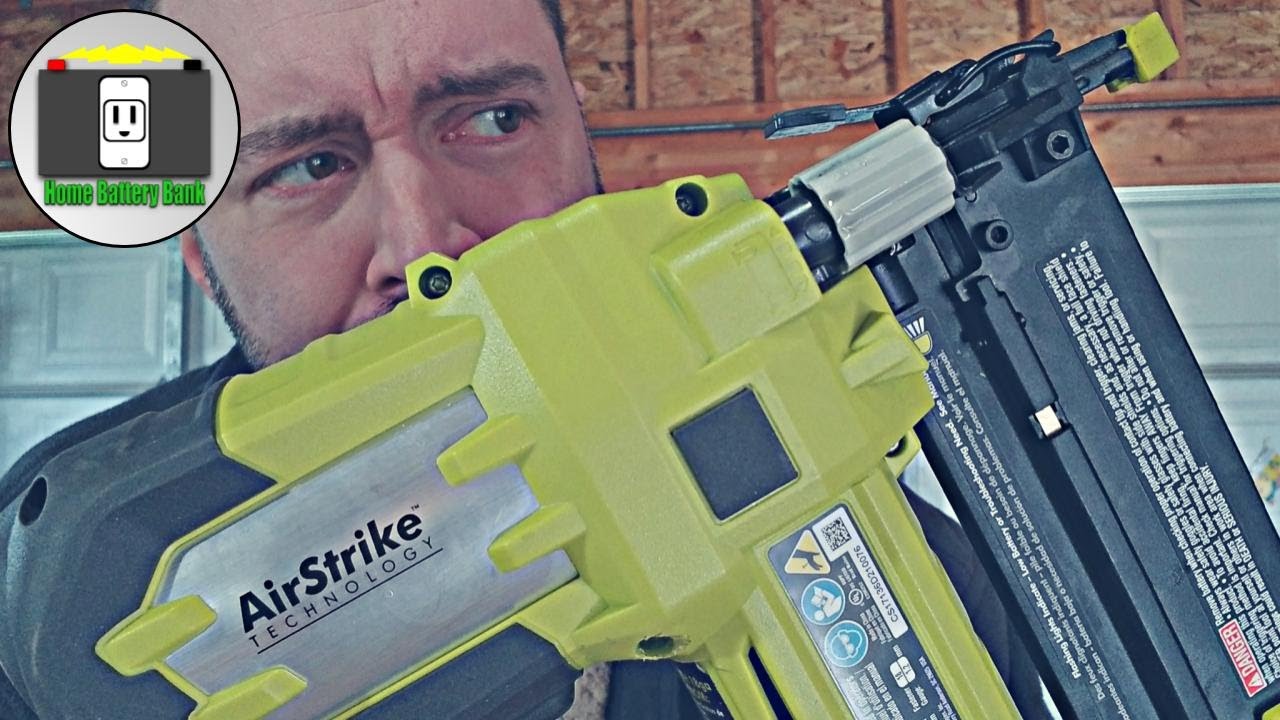
A rapidly blinking LED means your Ryobi brad nailer has detected a real-time operational fault and entered lockout mode. It will not fire until the issue is resolved and the system is reset.
This pattern typically appears alongside a click or false ejection sound, as if the tool tries to fire but fails. Common triggers include an empty magazine, nail jam, or insufficient power.
Empty Magazine or Jammed Nails
Start with the simplest cause: no nails or a blockage.
- Empty magazine: The tool’s sensor detects no brads loaded and prevents firing to avoid dry-firing damage.
- Nail jam: A bent or misfed nail blocks the driver blade from cycling.
Fix:
1. Remove the battery.
2. Open the magazine and inspect for nails.
3. If empty, load 2-inch, 18-gauge brad nails, ensuring they sit flat and aligned.
4. If jammed, extract stuck nails with pliers.
5. Use compressed air to blow out debris from the nail track and driver channel.
✅ Pro Tip: After clearing a jam, manually press the driver up and down to confirm smooth movement before reattaching the battery.
Incompatible Battery Causing False Fires
One of the most common and overlooked causes of fast flashing is using the wrong battery.
The Ryobi P189 (1.5Ah) battery lacks the amperage needed to power the solenoid and driver. Even when fully charged, it cannot deliver the surge current required, leading to voltage drop, incomplete firing cycles, and repeated flashing.
Required battery: Ryobi P197 (4.0Ah) or any 4A One+ series pack.
Symptoms of low-power battery:
– Rapid flashing
– Clicking sound without nail discharge
– Intermittent firing
– Tool feels weak or sluggish
Solution:
– Replace P189 with a 4Ah or higher battery.
– Test with a known-good P197 to confirm the fix.
⚠️ Warning: Never assume a charged battery is sufficient. Amperage matters. A 1.5Ah battery may show full charge but collapse under load.
Reset the Nailer After Fault
After clearing a jam or swapping batteries, reset the internal logic.
Standard reset steps:
1. Remove the battery.
2. Pull the trigger 3 to 5 times to discharge residual energy.
3. Wait 10 seconds.
4. Reinsert a compatible 4Ah battery.
5. Test fire on scrap wood.
If the light still flashes rapidly, move to deeper diagnostics.
Slow Flashing Light: Thermal Fuse Blown

A slow, rhythmic blink means the tool’s thermal fuse has blown, a safety response to overheating or electrical overload.
Unlike fast flashing, this is not a temporary lockout. The circuit is broken. The nailer will not fire at all, even with a good battery and clear magazine.
Locate and Test the Thermal Fuse
The thermal fuse is embedded in the handle assembly, near the motor or electronics.
Tools needed:
– Phillips screwdriver
– Multimeter (set to continuity or ohms)
Steps:
1. Remove the battery.
2. Disassemble the handle to access the wiring.
3. Find the small cylindrical or rectangular fuse in-line with the power path.
4. Disconnect the fuse leads.
5. Test with the multimeter:
– Good fuse: Shows continuity (beep) or low resistance (e.g., 0.5Ω).
– Blown fuse: No beep, infinite resistance (OL).
– Shorted fuse: 0Ω (rare, but dangerous, so replace immediately).
🔍 Visual clue: A cracked, discolored, or swollen fuse body often confirms failure.
Replace the Thermal Fuse
Replacement specs:
– Match original voltage and current rating (e.g., 250V, 5A)
– Same physical size and lead type
– Available from Ryobi parts, Digi-Key, Mouser, or repair shops
Installation:
1. Desolder the old fuse.
2. Solder the new one in place.
3. Reassemble the handle.
4. Test operation.
⚠️ Critical: A blown fuse is a symptom, not the root cause. Replacing it without diagnosis may lead to immediate re-failure.
Diagnose Overheating Causes
Why did the fuse blow? Common culprits:
- Prolonged continuous use without cooling breaks
- Faulty MOSFET board causing current leakage
- Motor short circuit
- Repeated dry-firing or jammed operation
- Using undersized battery (P189) forcing components to overwork
Prevention:
– Avoid long firing bursts. Let the tool rest every 2 to 3 minutes.
– Keep vents and internals clean.
– Use only 4Ah+ batteries.
– Never force fire with a jam.
Power Issues: Battery and Contacts
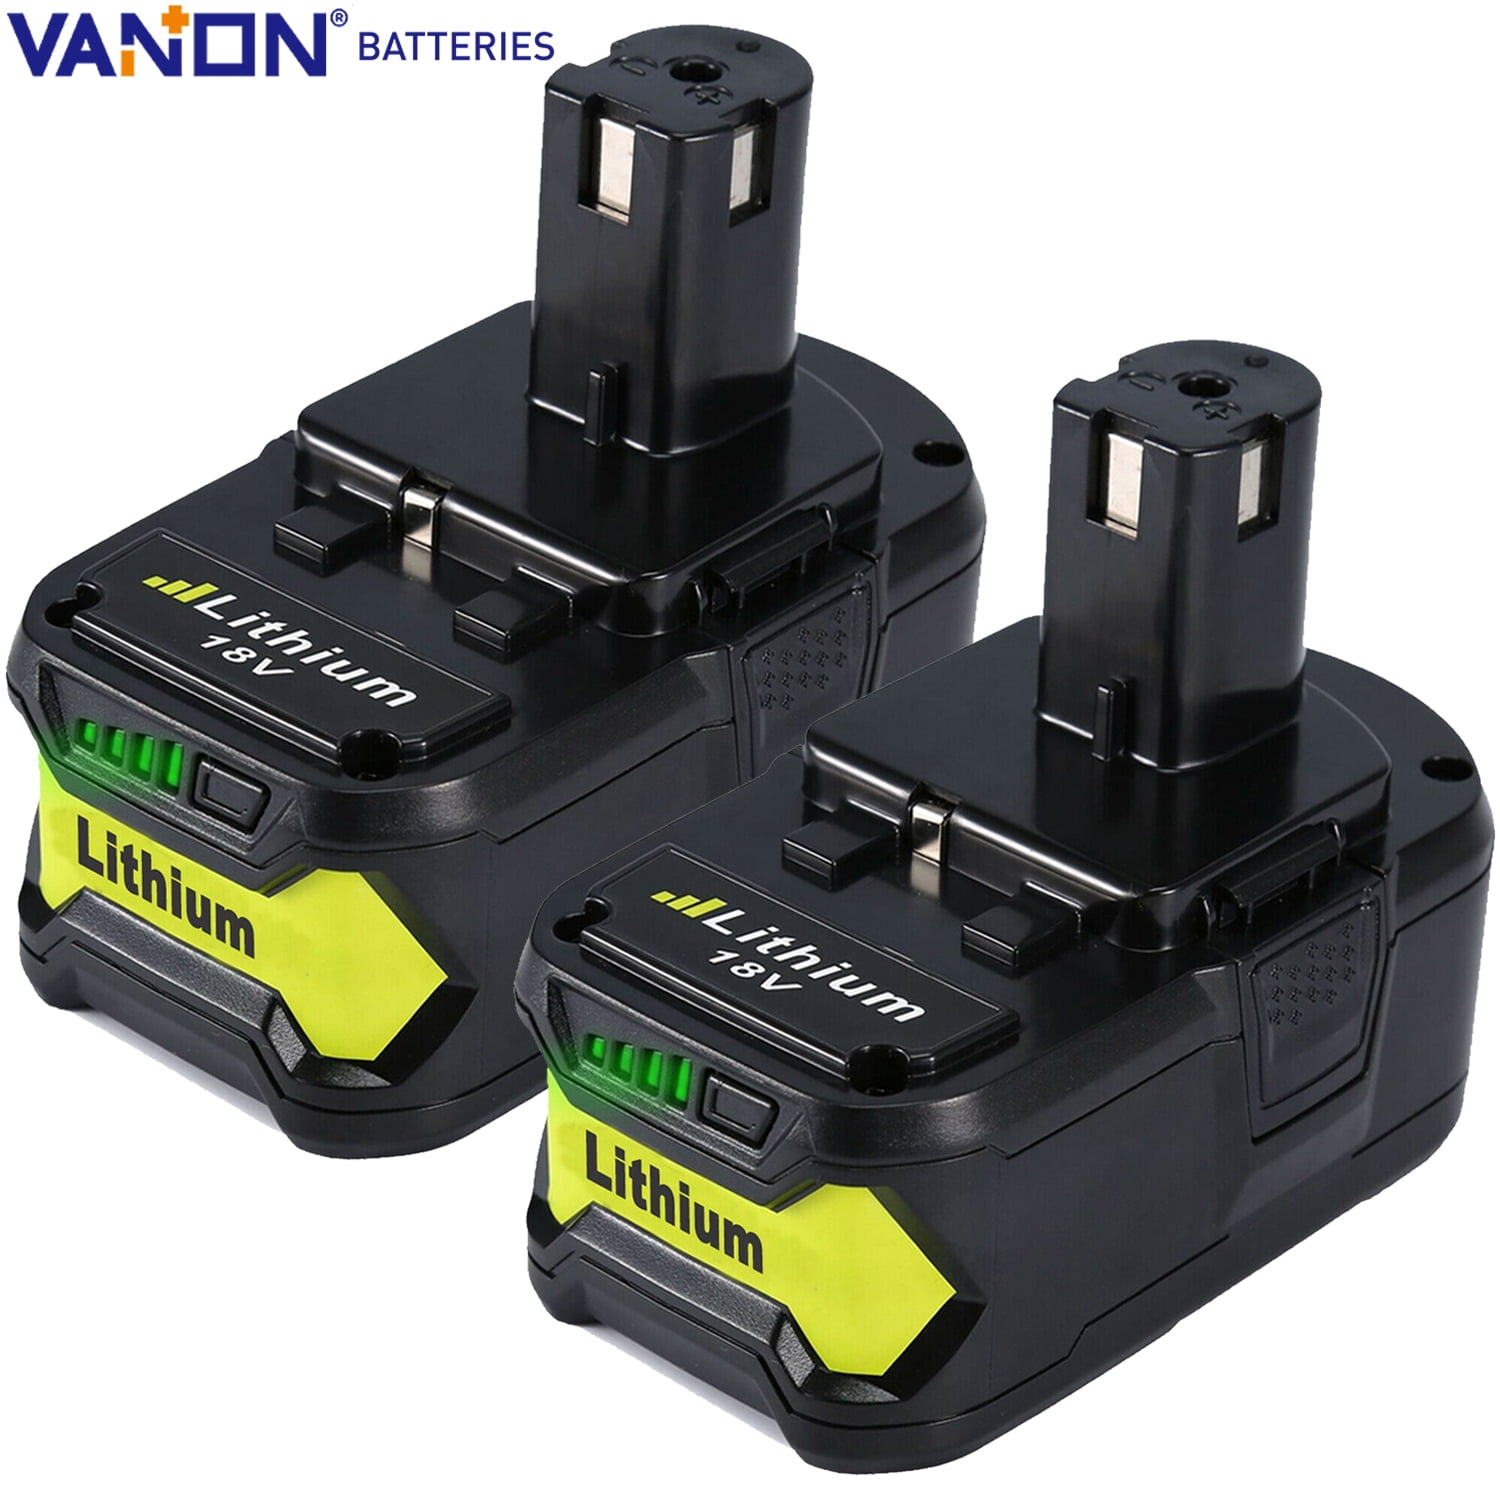
Even with the right battery, poor connections can mimic low power and trigger flashing lights.
Verify Battery Compatibility
Not all Ryobi One+ batteries work equally in high-draw tools.
| Battery Model | Amp-Hours | Compatible? | Notes |
|---|---|---|---|
| P189 | 1.5Ah | ❌ No | Causes flashing, false fires |
| P102 / P105 | 2.0Ah | ⚠️ Marginal | May work intermittently |
| P194 / P197 | 4.0Ah | ✅ Yes | Recommended minimum |
| P196 / P199 | 6.0Ah+ | ✅ Yes | Ideal for heavy use |
Best practice: Label your 4Ah+ batteries for nailer use only to avoid mix-ups.
Clean Battery Contacts
Corrosion or debris on contacts reduces conductivity.
Steps:
1. Remove battery and tool from power.
2. Inspect metal contacts on both battery and tool.
3. Clean with a cotton swab dipped in isopropyl alcohol.
4. Use a small wire brush or fine sandpaper for stubborn buildup.
5. Let dry completely before reconnecting.
✅ Check: Wobble the battery in the slot. Excessive play can indicate worn contacts, so replace if loose.
Mechanical Checks: Jams and Striker

If electronics and power check out, inspect internal mechanics.
Clear Internal Jams
Debris can clog the driver blade even if the magazine looks clear.
Deep clean procedure:
1. Remove battery.
2. Open magazine and remove nails.
3. Use compressed air to blow out:
– Driver blade shaft
– Nose cavity
– Trigger mechanism
4. Visually inspect for wood chips, rust, or bent metal.
5. Manually move the driver up and down. It should slide smoothly.
If resistance is felt, apply machine oil to the striker pin and work it back and forth.
Lubricate the Striker Pin
A dry or rusty striker causes sticking and misfires.
Steps:
1. Locate the striker pin at the top of the driver channel.
2. Apply 1 to 2 drops of machine oil (not WD-40).
3. Press the driver manually 10 to 15 times to distribute oil.
4. Wipe excess.
🔄 Maintenance tip: Lubricate every 3 to 6 months or after heavy use.
Settings and Sensors: Mode and Depth
User settings can accidentally cause firing issues.
Check Firing Mode Selector
A switch under the trigger controls firing mode.
- Sequential: Nose must be pressed first, then trigger.
- Contact: Trigger can be held, fire by bumping nose.
Problem: If the switch is loose or between positions, the tool may not register inputs correctly, causing flashing or no-fire.
Fix:
– Toggle the switch firmly to desired mode.
– Ensure it clicks into place.
– Test both modes if unsure.
Verify Depth Adjustment
The depth dial controls how far the nail drives.
- Turn clockwise for deeper penetration.
- Counterclockwise for shallower.
Issue: If set too shallow, nails may not eject fully, appearing as a misfire.
Solution:
– Adjust dial to mid-position.
– Test on scrap wood.
– Fine-tune based on material.
Clean Trigger Sensor Area
Dust can interfere with the electronic trigger sensor.
Steps:
1. Remove battery.
2. Use compressed air around the trigger pivot.
3. Spray electronics-safe contact cleaner if needed.
4. Let dry 5 minutes.
Advanced Diagnostics: Jumper Pack Test
For persistent issues, bypass the battery and internal logic.
Perform Jumper Pack Test
This test determines if the problem is power delivery or internal failure.
What you need:
– 18V DC power supply or jumper pack
– Wires with alligator clips
– Basic electronics knowledge
Steps:
1. Open the tool housing.
2. Locate the motor or solenoid power leads.
3. Connect jumper pack directly to the leads (observe polarity).
4. Trigger manually or short the circuit briefly.
Results:
– Tool fires: Problem is battery, contacts, or MOSFET board.
– No fire: Motor, solenoid, or mechanical linkage is faulty.
⚠️ Warning: This test bypasses safety systems. Only attempt if experienced. Do not exceed 18V.
Consider MOSFET Board Failure
The MOSFET controls power flow from battery to motor.
Symptoms:
– No response despite good battery
– Intermittent flashing
– Burnt smell or visible scorch marks
Options:
– Replace board (available from parts suppliers)
– Bypass (advanced, not recommended for beginners)
– Professional repair
Troubleshooting Flowchart: Quick Reference
Not sure where to start? Follow this decision tree:
-
Observe flash pattern:
– Fast blink → Check battery, jam, reset
– Slow blink → Test/replace thermal fuse -
Battery check:
– Is it P189? → Replace with P197
– Is it 4Ah+? → Proceed -
Mechanical check:
– Magazine loaded? → Yes/No
– Jam present? → Clear it
– Striker sticky? → Lubricate -
Still not working?
– Perform reset
– Clean contacts and sensors
– Try jumper pack test -
No fix?
– Replace thermal fuse (slow flash)
– Replace MOSFET or motor (fast flash, power good)
Prevent Future Flashing Light Errors
Avoid repeat failures with these maintenance habits:
- Always use 4Ah+ batteries in the brad nailer.
- Clean after each use with compressed air.
- Lubricate striker pin every few months.
- Avoid dry-firing by loading nails before testing.
- Let tool cool after extended use.
- Store with battery removed.
🛠️ Pro Tip: Keep a dedicated 4Ah battery labeled “NAILER” to prevent accidental use of low-amp packs.
Frequently Asked Questions About Ryobi Brad Nailer Flashing Light
What does a fast flashing light on a Ryobi brad nailer mean?
A fast flashing light indicates an immediate operational fault, such as an empty magazine, nail jam, or insufficient battery power. The tool enters lockout mode and will not fire until the issue is resolved and the battery is removed and reinserted to reset the system.
Why does my Ryobi brad nailer click but not shoot a nail?
The clicking sound without nail discharge typically points to insufficient power delivery. Using a P189 (1.5Ah) battery instead of the required P197 (4.0Ah) causes voltage sag under load, triggering the internal controller to abort the firing cycle.
How do I fix a slow flashing light on my Ryobi brad nailer?
A slow flashing light means the thermal fuse has blown. You need to disassemble the handle, locate the fuse, test it with a multimeter for continuity, and replace it if it shows no continuity. Always investigate the root cause of overheating to prevent immediate re-failure.
Can I use a 1.5Ah battery in my Ryobi brad nailer?
No. The Ryobi P189 (1.5Ah) battery is incompatible with the brad nailer (model CS21521N120295). It cannot deliver the surge current needed to operate the solenoid and driver, resulting in flashing lights, false firing sounds, and erratic behavior. Use only 4Ah or higher batteries.
Where is the thermal fuse located on a Ryobi brad nailer?
The thermal fuse is embedded inside the handle assembly, wired in-line with the power path near the motor or electronics. You must disassemble the handle to access, test, and replace it.
How do I reset my Ryobi brad nailer after a fault?
Remove the battery, pull the trigger 3 to 5 times to discharge residual energy, wait 10 seconds, then reinsert a fully charged compatible 4Ah battery. Test fire on scrap wood to confirm the reset worked.
Key Takeaways for Fixing Your Ryobi Brad Nailer Flashing Light
The flashing light on your Ryobi brad nailer is a diagnostic tool, not a death sentence for your tool. Most issues stem from battery incompatibility (P189 vs P197) or simple mechanical jams that you can clear in minutes. Slow flashing almost always points to a blown thermal fuse, which is replaceable but signals an underlying problem like overuse or a faulty MOSFET that you must address.
Start by swapping to a 4Ah battery and clearing any jams before opening the housing. If the slow flash persists, test the thermal fuse with a multimeter before replacing it. Your next step: grab your battery and check the model number right now, because that single swap solves the majority of flashing light complaints.