What Is a Brad Nailer Used For?
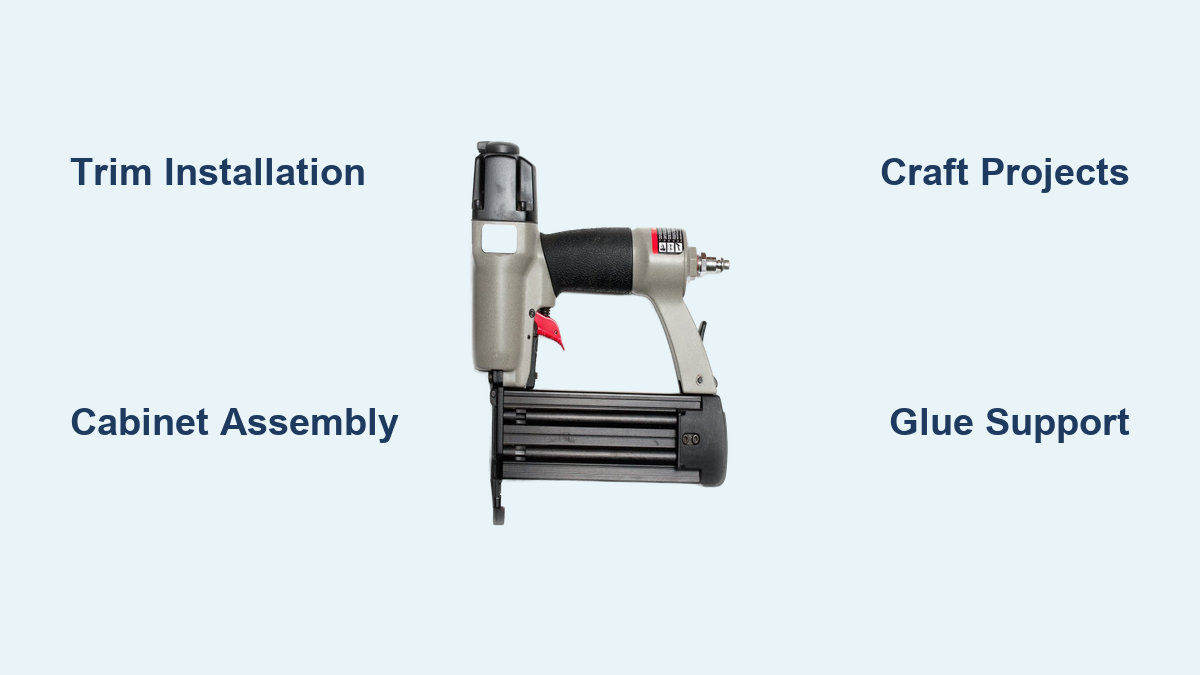
If you’ve ever tried to nail thin trim with a hammer and ended up with split wood and dented surfaces, a brad nailer solves that exact problem. A brad nailer is a lightweight power tool that drives 18-gauge nails (called brads) into wood with precision and minimal surface damage. The tiny nail holes it leaves often disappear into the wood grain, eliminating the need for putty or extensive sanding. This makes it a go-to tool for finish carpentry, cabinetry, and detailed craft work.
Brad nailers shine when joining thin, delicate, or decorative materials where appearance matters most. They provide just enough holding power to secure pieces while glue cures, without cracking fragile wood fibers. In this guide, you’ll learn exactly what a brad nailer is used for, how it compares to other nailers, and how to get professional results on your next project.
Brad Nailer Uses for Trim and Molding Installation
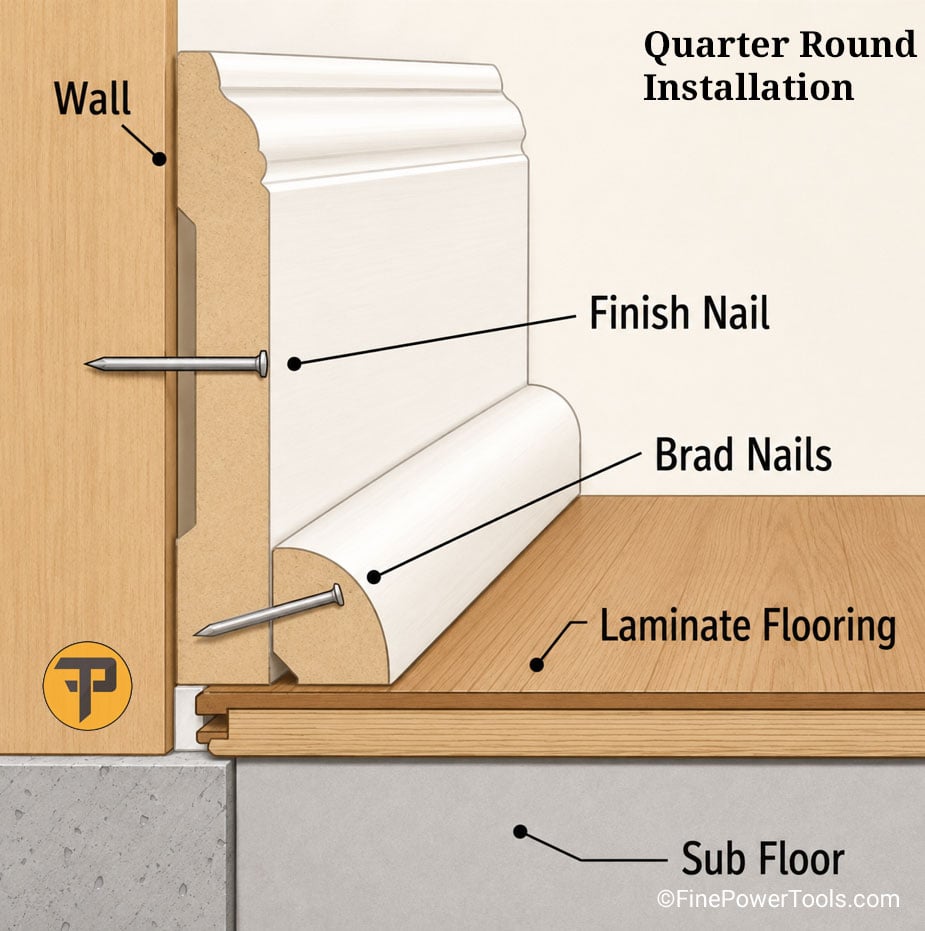
Attach Delicate Trim Without Splitting Wood
A brad nailer excels at securing thin trim pieces like quarter-round, shoe molding, and decorative edge strips. Because brads measure only 0.0475 inches thick, they slip into soft or narrow wood without forcing fibers apart. This prevents the splits that commonly happen when using thicker nails or a hammer.
For example, when installing 1/4-inch quarter-round along baseboards, a brad nailer fastens it cleanly. The small head sits flush or slightly below the surface, blending into the grain. In many cases, the hole vanishes entirely after staining or light sanding.
Secure Crown and Baseboard Molding
While heavy crown molding often requires a 15- or 16-gauge finish nailer, delicate or detailed crown profiles are perfect for brad nails. The reduced impact preserves intricate designs and avoids chipping fragile corners. Brad nailers also work well for attaching the inner stop or mullion in window casings, where material is too thin for larger fasteners.
For baseboards, a brad nailer works well when:
– The baseboard is MDF or thin wood
– You’re using construction adhesive as the primary bond
– You want to minimize filler work on a painted finish
In these situations, brads act as temporary clamps, holding the baseboard steady while the glue cures.
Fasten Window and Door Casings
When installing window and door trim, especially custom-milled or narrow profiles, a brad nailer prevents blowout and tear-out. Fire brads into the stile and rail joints of door casings to hold them snug during glue-up. For window stops (those thin strips that hold the sash in place), a brad nailer is often the only practical option. A hammer or larger nail would split the wood instantly.
Use 1-inch brads for most casing applications, and adjust depth so the head sits just below the surface. Always pre-test on scrap to avoid overdriving.
Cabinet and Furniture Assembly Applications
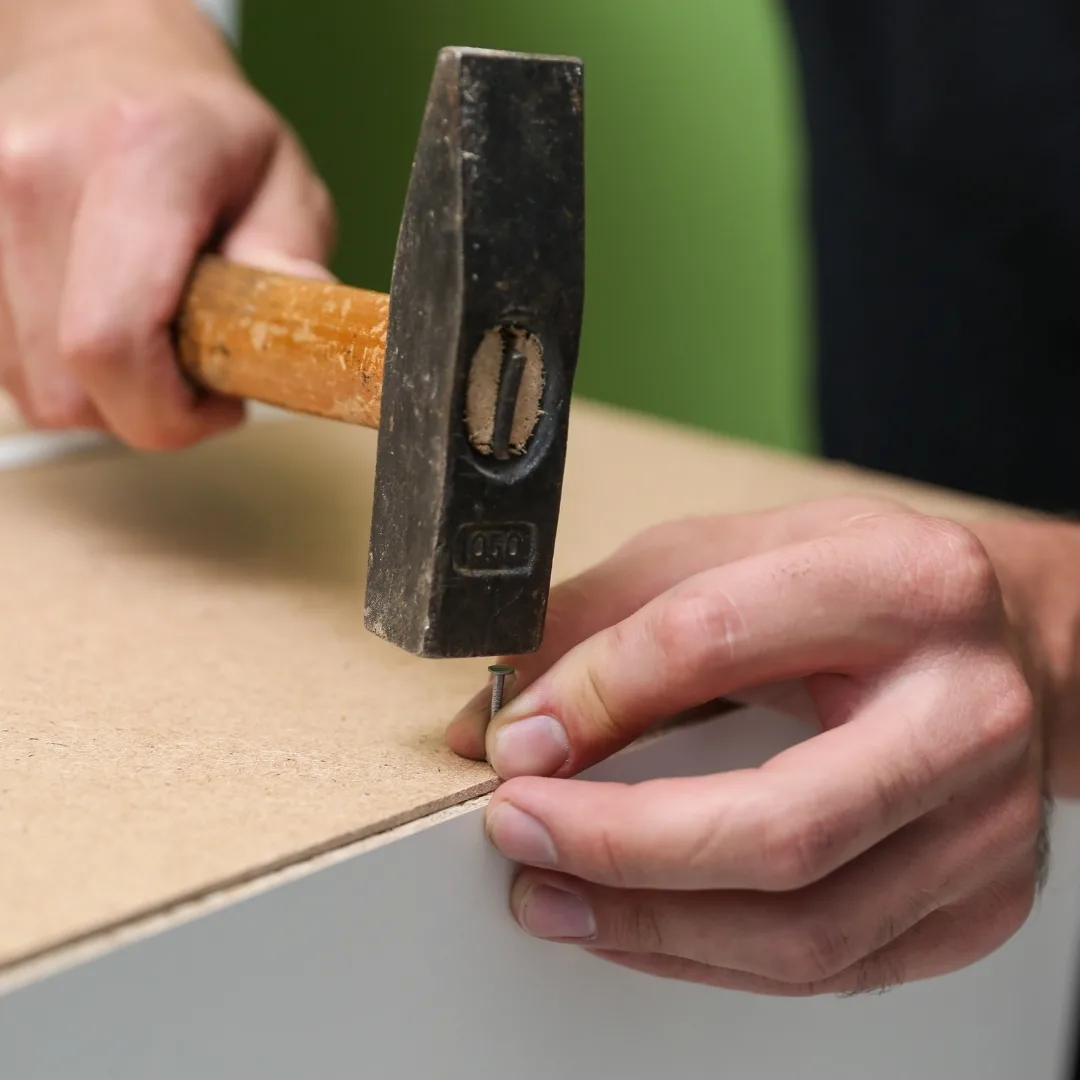
Install Cabinet Back Panels
One of the most common brad nailer uses is attaching ¼-inch plywood or hardboard back panels to cabinet boxes. The thin back material can’t withstand the force of a hammer or larger nail. But an 18-gauge brad penetrates cleanly, securing the panel without cracking or warping it.
Typical workflow:
1. Apply panel adhesive to the cabinet’s rear frame
2. Position the back panel
3. Fire 1-inch brads every 6–8 inches along the edges
The brads hold the panel in place while the glue dries, creating a rigid, square cabinet. No clamps needed, just clean, invisible fastening.
Assemble Drawer Boxes
When building drawers, a brad nailer helps assemble the sides, front, and back quickly. After applying wood glue to the joints, use brads to tack the pieces together. This keeps everything aligned while you reinforce with dovetails, screws, or pocket holes.
For softwood drawers like poplar or pine, 1-1/4″ brads work best. In hardwoods like maple, ensure your brad nailer has enough power or pre-drill pilot holes to avoid nail bending.
Add Decorative Furniture Trim
Attaching veneer edge banding, inlays, or thin moldings to furniture requires a delicate touch. A brad nailer delivers just that. The small fastener holds the trim in place without marring the surface or punching through thin veneers.
For example, when adding a 1/8-inch oak cap to a pine table edge, brads secure the joint invisibly. The result is a seamless transition and professional-grade finish with no visible hardware.
Fasten Beadboard and Wall Paneling
Beadboard and tongue-and-groove paneling are classic choices for wainscoting and accent walls. A brad nailer is the ideal tool for installation. Drive brads into the tongue or groove of each panel at stud locations. The narrow nail won’t split the thin wood, and the small hole can be easily filled or left bare for a rustic look.
Use 1-1/2″ brads for 1/4-inch beadboard. Angle the nail slightly into the stud for better hold. The brad nailer’s slim nose lets you work in tight corners where larger tools can’t fit.
Crafts and Small Woodworking Projects
Build Jewelry Boxes and Birdhouses
Small woodworking projects demand precision. A brad nailer acts as a “third hand,” holding tiny parts together while glue dries. For a jewelry box made of 1/4-inch cherry, brads fasten the sides, lid, and trim without splitting delicate corners.
Because brads leave almost no visible mark, your project maintains a clean, handcrafted look. No need for putty or touch-up paint, just sand and finish.
Tack Pieces During Glue-Ups
In complex glue-ups like assembling a picture frame or layered cutting board, clamps can be cumbersome. A brad nailer lets you tack key joints instantly, freeing your hands to position other pieces or apply clamps slowly.
For example:
1. Apply glue to mitered corners
2. Clamp lightly to align
3. Fire one brad per corner to lock alignment
4. Remove clamps and let cure
This method prevents shifting and ensures perfect joints every time.
Assemble Shadow Boxes and Wooden Signs
When building shadow boxes or wall signs, you’re often joining thin plywood, trim, and backing. A brad nailer secures each layer cleanly. Nail the frame pieces together, then attach the back panel with brads.
For wooden signs with layered letters, brads hold the pieces in place before final sanding and finishing. The small fastener won’t split thin wood slices or ruin the design.
Workshop Jigs and Temporary Fixturing
Create Table Saw Fences and Stops
In the workshop, brad nailers are great for making temporary jigs. Need a quick crosscut sled stop? Nail a small block to the fence with brads. The fastener holds it firmly but can be removed later with minimal damage.
Because brads are thin, they don’t weaken the jig wood significantly. And unlike screws, they don’t strip out after repeated use.
Secure Workpieces During Assembly
When assembling a project on a bench, brads can temporarily pin parts in place. For example, when aligning drawer fronts, tack them with a brad at the top and bottom. This holds the front square while you drive permanent screws.
Always use brads you can easily remove later. They’re not meant for final structural fastening, just positioning.
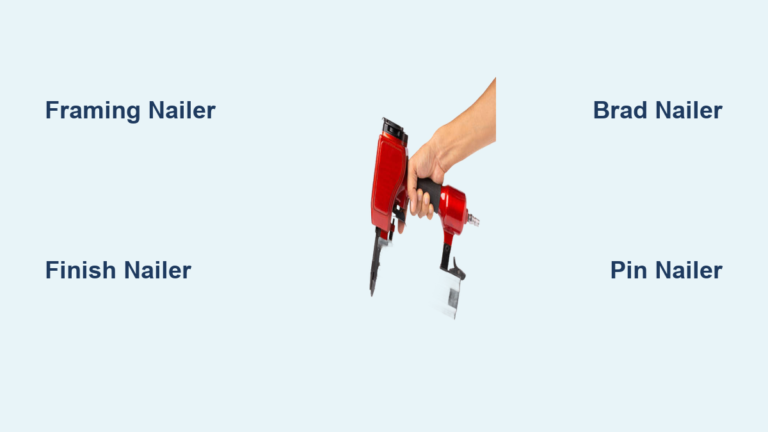
Brad Nailer vs. Finish Nailer: When to Use Which
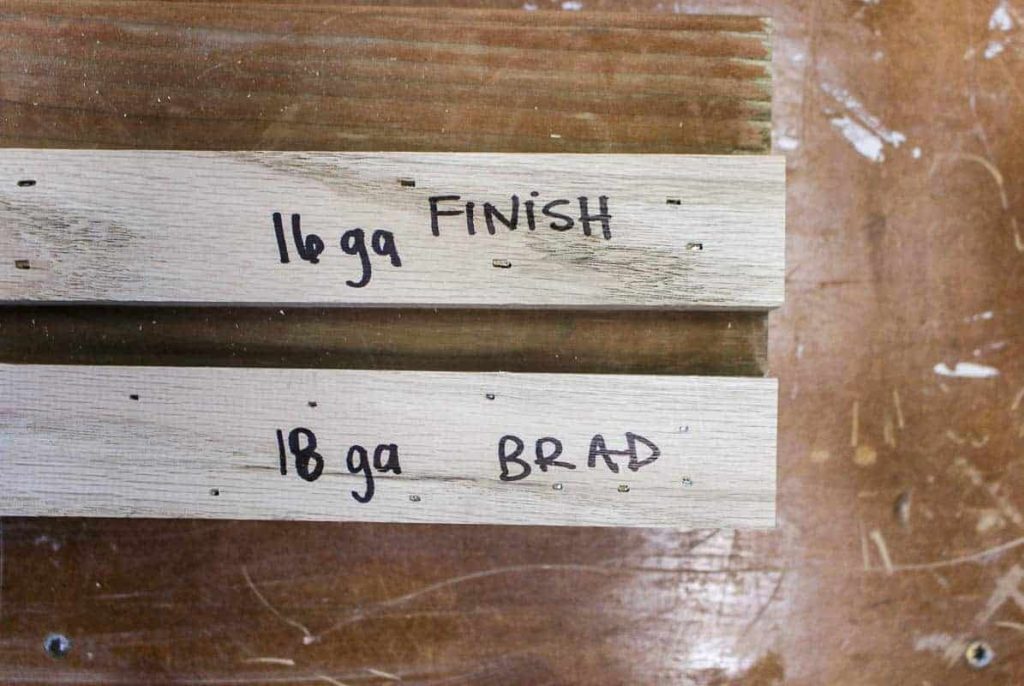
Choose a Brad Nailer for Delicate Work
Use a brad nailer when:
– Material is under 1/2 inch thick
– Aesthetics are critical (natural wood finish)
– Wood is soft, thin, or prone to splitting
– You’re using glue as the primary bond
Examples include crown molding, beadboard, cabinet backs, and craft projects.
Use a Finish Nailer for Heavy-Duty Jobs
Choose a finish nailer (15- or 16-gauge) when:
– Fastening thick baseboards or heavy trim
– Working with solid hardwoods like oak or maple
– Maximum holding power is required
– The surface will be painted and filled anyway
Finish nails are stronger but leave larger holes. They’re better for stairs, door jambs, and structural trim.
Key Differences at a Glance
| Feature | Brad Nailer | Finish Nailer |
|---|---|---|
| Nail Gauge | 18-gauge | 15- or 16-gauge |
| Hole Size | Tiny, often invisible | Larger, requires filler |
| Splitting Risk | Very low | Moderate to high |
| Holding Power | Light | Strong |
| Best For | Delicate trim, crafts | Heavy molding, baseboards |
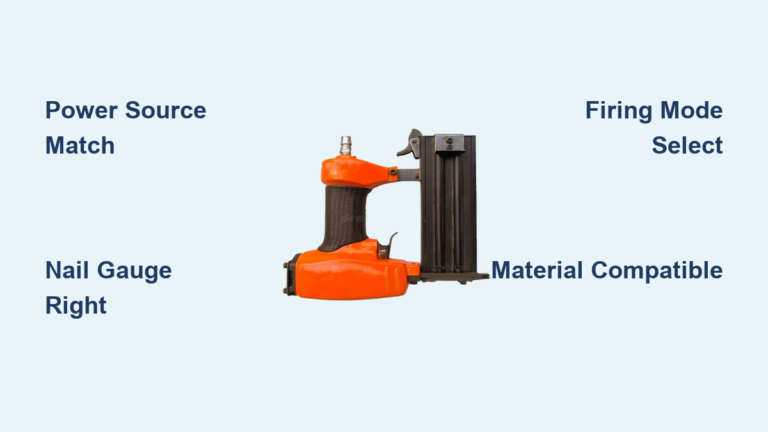
Power Options: Pneumatic, Cordless, or Electric?
Pneumatic: Best for Pros
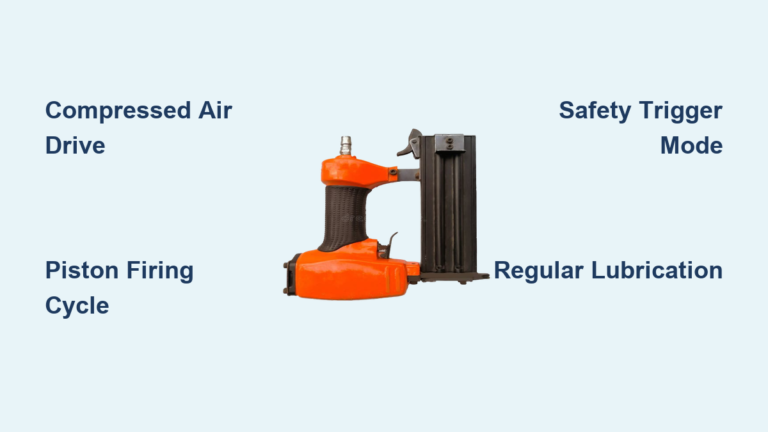
Pneumatic brad nailers run on compressed air and are the top choice for professionals. They’re lightweight, powerful, and fire nails rapidly. Ideal for high-volume trim work.
Pros:
– Fastest cycle time
– Most consistent depth
– Lightweight design
Cons:
– Requires air compressor and hose
– Less portable
Model example: DeWALT DPN1850PP-XJ with 100-nail capacity and tool-free jam release.
Cordless: Ultimate Portability
Cordless brad nailers use rechargeable batteries (18V or 20V). No hoses, no cords, just freedom to move. Perfect for DIYers, punch lists, and job sites without power.
Pros:
– No compressor needed
– Great for tight spaces
– USB-chargeable options available
Cons:
– Shorter battery life
– Less power in dense hardwoods
Model example: Makita DFN350ZJ with LED light, slim nose, and anti-dry fire mechanism.
Electric: Simple and Affordable
Corded electric brad nailers plug into an outlet. They offer consistent power without battery swaps or air lines.
Pros:
– No compressor or charging
– Hi/Lo power settings
– Budget-friendly
Cons:
– Cord limits mobility
– Heavier than pneumatic
Model example: Stanley 6-TRE650 with easy-load magazine and power dial.
How to Use a Brad Nailer Like a Pro
:max_bytes(150000):strip_icc()/284-Air-Nailer-TipsMain-2000-e45c094bd44a4001b2a1c0fd29f386c2.jpg)
Test on Scrap First
Always test your nail depth and angle on a scrap piece of the same material. Adjust the depth dial until the brad sits just below the surface. Overdriving causes dimpling; underdriving leaves the head exposed.
Pair with Wood Glue
For strong joints, use brads with wood glue. The nail holds the pieces in place while the glue cures. This combo delivers durability without sacrificing appearance.
Angle Nails for Better Hold
When fastening very thin material, angle the nail slightly (about 15 degrees) to increase grip. This prevents the brad from pushing straight through and improves holding power.
Clear Jams Quickly
Jams happen. Most brad nailers have a tool-free jam release, so just slide open the nose cover, remove the stuck nail, and close it back up. Always disconnect air or remove the battery first.
Safety and Maintenance Tips
Wear Proper PPE
Always wear:
– Safety goggles to protect from flying wood chips and nail fragments
– Work gloves to shield hands from misfires and sharp edges
– Ear protection, especially with pneumatic models
– Dust mask in poorly ventilated areas
Never point the tool at yourself or others.
Clean After Every Use
Blow out dust and debris from the magazine and nose with compressed air. A clogged nailer jams more often and wears out faster.
Lubricate Pneumatic Models
Add 2–3 drops of pneumatic tool oil into the air inlet weekly if used frequently. This keeps internal parts lubricated and prevents rust.
Store Properly
Keep the tool dry. For cordless models, remove the battery during storage to extend its life.
Outdoor Use: What You Need to Know
Use Corrosion-Resistant Nails
Standard brads will rust outdoors. For exterior projects like trim or fencing, use:
– Galvanized brads, which are good for most outdoor uses
– Stainless steel brads, which are best for coastal areas or wet environments
The tool itself (pneumatic or cordless) can be used outside; just keep it dry and clean.
Avoid Direct Weather Exposure
Don’t leave the nailer in the rain or direct sun. Moisture can damage internal components, especially in electric and cordless models.
Frequently Asked Questions About Brad Nailers
What is a brad nailer used for?
A brad nailer is used for driving 18-gauge nails into thin or delicate materials like trim, molding, cabinet backs, and craft projects. It provides light holding power while leaving nearly invisible holes, making it ideal for finish work where appearance matters.
Can a brad nailer be used for baseboards?
Yes, a brad nailer works for baseboards when the material is thin, made of MDF, or installed with construction adhesive. For thick, solid hardwood baseboards requiring maximum holding power, a 16-gauge finish nailer is often preferred.
Do brad nails split wood?
Brad nails are specifically designed to minimize splitting. Their thin 18-gauge profile allows them to penetrate wood fibers without forcing them apart as thicker nails would. They are the go-to choice for preventing splits in thin trim, veneer, and delicate moldings.
What PSI is needed for a brad nailer?
Most pneumatic brad nailers operate effectively between 70 and 120 PSI. Starting at 90 PSI and adjusting based on nail length and material density is a common practice. Always consult your specific tool’s manual for recommendations.
How do I clear a jam in a brad nailer?
Most modern brad nailers feature a tool-free jam clearance system. Slide open the nose cover to expose the driver blade and nail channel, remove the stuck nail, and close the cover securely. Always disconnect the air supply or remove the battery before clearing a jam.
Can a brad nailer be used outdoors?
Yes, a brad nailer can be used outdoors, but you must use galvanized or stainless steel brads to prevent rust and corrosion. Keep the tool itself dry and avoid exposing it to rain or direct sunlight during storage.
Key Takeaways for Choosing and Using a Brad Nailer
A brad nailer is the right tool when precision and clean finishes matter more than raw holding power. It excels at trim work, cabinet assembly, craft projects, and temporary fixturing, anywhere you need to fasten delicate materials without splitting or visible damage.
Pair it with wood glue for stronger joints, test your depth settings on scrap before starting, and maintain the tool regularly for consistent performance. Whether you choose pneumatic for speed, cordless for portability, or electric for simplicity, a brad nailer delivers professional results on projects where appearance is everything.
Ready to take your finish work to the next level? Start with a simple project like installing quarter-round or building a small jewelry box to get comfortable with your brad nailer. You’ll quickly see why this tool is a favorite among woodworkers and DIYers alike.