Fix RIDGID Framing Nailer Leaking Air
You’re setting up for a framing job, connect your Ridgid nailer to the compressor, and immediately hear a hiss—air is leaking. Worse, the trigger won’t respond. This is a common but frustrating issue with models like the Ridgid R350RHE and R350RHF, especially when air escapes from the top or around the trigger. Left unaddressed, an air leak can reduce driving power, waste compressed air, and eventually render the tool useless. The good news? Most air leaks stem from worn seals, stuck valves, or lack of lubrication. These are problems you can diagnose and fix at home with basic tools and a few replacement parts. This guide walks you through identifying the source, repairing key components, and preventing future leaks to keep your Ridgid framing nailer running strong.
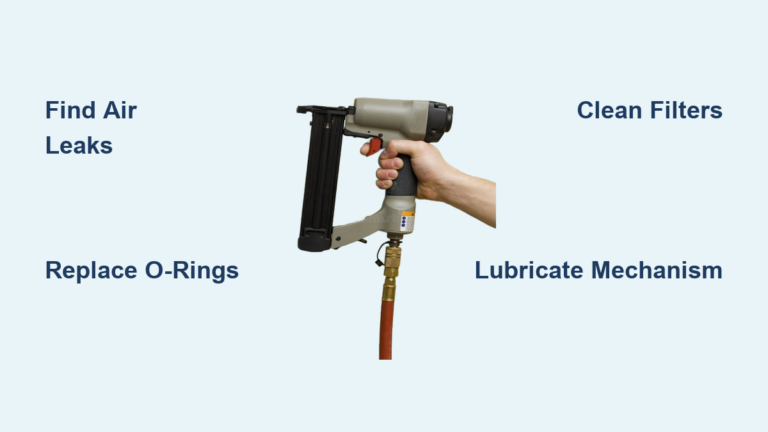
Identify the Leak Location
Check for Top-of-Tool Air Hissing
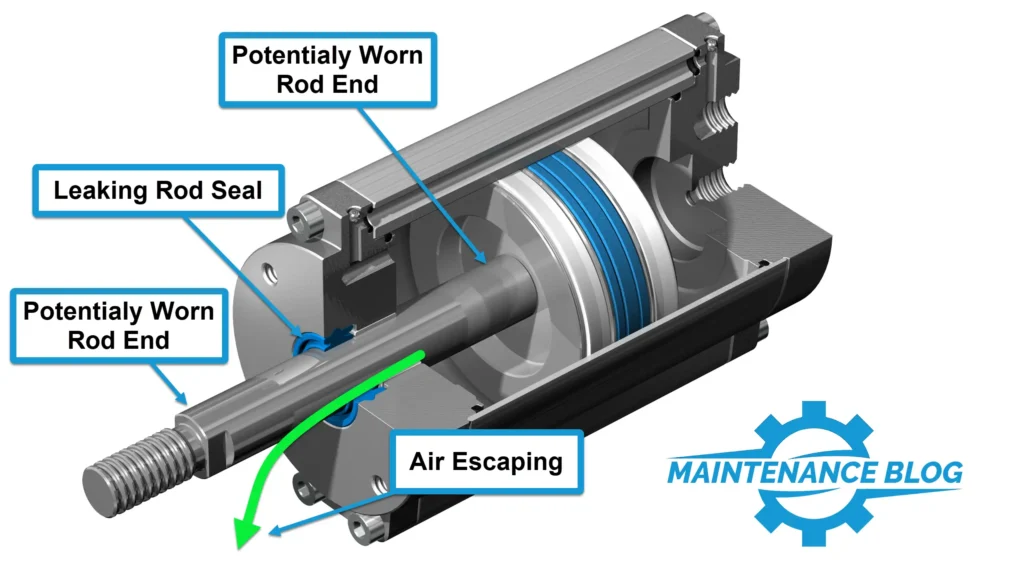
If air spews from the top of the nailer as soon as the hose connects, especially with no trigger response, the issue likely lies in the internal valve or piston seal. This symptom often points to a stuck or failed valve that can’t regulate airflow. The R350RHF model has been reported with this exact behavior shortly after purchase, even with a known-good air hose. Since no visible damage may be present, internal inspection is required. This isn’t a minor seep—it’s a continuous, high-volume leak indicating a major internal failure.
Listen for Trigger Area Air Escape
A hissing sound near the trigger is one of the most common air leak signs. It means air is escaping through the trigger valve assembly, usually due to worn O-rings or degraded seals. Because the trigger is activated hundreds of times per day, these components wear faster than others. If the leak worsens when you pull the trigger, or if the tool fires inconsistently, replace the O-rings or the entire valve. Ignoring this can lead to complete valve failure and loss of function.
Prepare for Safe Disassembly
Disconnect Air Supply Before Inspection
Always disconnect the air hose before disassembling the tool. Residual pressure can cause sudden part ejection or injury. Confirm the system is depressurized by pulling the trigger after disconnecting. This simple step prevents accidents and is required before any maintenance on pneumatic tools.
Remove the Magazine for Better Access
Taking off the magazine creates more working room around the trigger housing. It also reduces the tool’s weight during inspection. This step makes it easier to handle small parts like pins and grommets without losing them.
Inspect the Trigger Valve Mechanism

Remove the Grommet and Retaining Pins
Once the air is off and the magazine is removed, access the trigger assembly:
1. Remove the grommet on the trigger side
2. Drive out the retaining pin(s) with a punch
3. Take out the trigger assembly
Keep track of small parts in a magnetic tray so nothing gets lost during the repair.
Check the Trigger Valve for Sticking
Now examine the trigger valve. Some models have a threaded valve, while others use roll pins. If the valve doesn’t move freely or feels gritty, it may be stuck due to debris or dryness. Clean it with a dry cloth or compressed air. Never use solvents that could damage seals. If it still doesn’t slide smoothly, replacement is necessary. When the trigger valve leaks air, the nail gun won’t work properly until the valve is replaced.
Replace Worn O-Rings and Seals
Examine All Seals for Damage
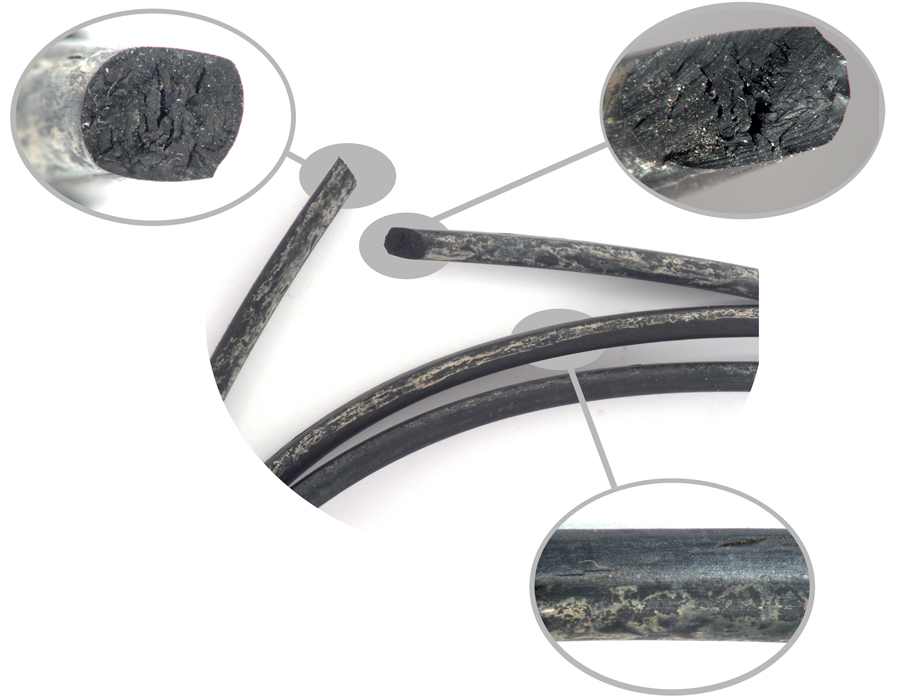
With the trigger and valve removed, inspect every O-ring and seal on the valve and within the housing. Look for:
– Cracks
– Flattening
– Swelling
– Discoloration
Even if only one seal looks damaged, replace all O-rings at once. They degrade together, and mixing old and new seals increases future failure risk. Use a Ridgid-specific O-ring kit, which includes all necessary seals and often comes with lubricant.
Install New Seals with Proper Lubrication
Apply a tiny amount of lubricant to each new O-ring before installation:
– Use pneumatic tool oil for best results
– Vaseline is an acceptable substitute in small quantities
Avoid over-lubricating, as excess grease can attract dust and clog valves. Gently press each O-ring into place, ensuring no twisting or pinching. Reassemble the valve, trigger, and pins in reverse order.
Replace a Faulty Trigger Valve
Remove Threaded or Pin-Held Valves
Some Ridgid models, like the R350RHE, have a threaded trigger valve. Use a wrench to unscrew it carefully. Others use roll pins that you tap out with a punch and hammer. Note the orientation before removal.
If the valve body shows corrosion, pitting, or deformation, do not attempt to repair it. Replace it entirely. A damaged valve won’t seal properly, even with new O-rings.
Install the New Valve and Test Fit
Before full reassembly:
1. Clean the valve housing with a dry cloth
2. Apply a light coat of Vaseline to the new O-ring
3. Thread or seat the new valve
4. Hand-tighten only—overtightening can crack the housing
Reinstall the trigger, pins, and grommet. Reattach the magazine. Now you’re ready to test.
Lubricate to Prevent Sticking

Use Pneumatic Tool Oil Weekly
Lack of lubrication is a silent killer of pneumatic tools. Dry valves stick, seals crack, and air leaks develop. Prevent this by applying 2–3 drops of pneumatic tool oil into the air inlet once a week during heavy use. Run the tool briefly to distribute oil through internal passages.
Avoid Over-Greasing Seals
While lubrication is essential, too much grease causes problems:
– Attracts dirt and debris
– Can gum up valve movement
– Leads to inconsistent cycling
Use only the amount provided in O-ring kits or a pea-sized dab of Vaseline during reassembly. Less is more.
Check Warranty Coverage
Verify Lifetime Warranty Eligibility
RIDGID offers a full lifetime warranty on many tools, including framing nailers. However, you must have registered the tool within 90 days of purchase. Visit ridgid.com/warranty to check your coverage.
If your R350RHE or R350RHF is under warranty, do not disassemble it. Instead:
1. Contact RIDGID customer support
2. Describe the air leak and lack of trigger response
3. Request repair or replacement
Tampering with a warranted tool may void your coverage.
Test After Repair
Reconnect Air and Listen for Leaks
After reassembly:
1. Reconnect the air hose
2. Set your compressor to 100 psi (within the 70–120 psi operating range)
3. Listen for leaks
If air still escapes from the top, the piston seal or upper housing gasket may be compromised. These require deeper disassembly and are best handled by a service center if you’re unsure.
Verify Trigger Response
Pull the trigger several times. It should:
– Fire immediately
– Cycle cleanly
– Show no air leakage at rest
If the trigger is sluggish or leaks persist, recheck O-ring seating and valve alignment.
Prevent Future Air Leaks
Inspect Seals Monthly
Schedule a quick monthly check:
– Remove the magazine
– Visually inspect the trigger area
– Look for oil residue or dry seals
– Re-lube if needed
Catching wear early prevents sudden failures on the job.
Store with Dry Air and Oil
Before storage:
– Blow out moisture from the tool using compressed air
– Inject 2–3 drops of oil into the air inlet
– Store in a dry, temperature-controlled environment
Moisture causes rust and seal degradation, two leading causes of air leaks.
When to Seek Professional Help
Consider Service for Persistent Leaks
If you’ve replaced O-rings and the valve but air still leaks from the top, the issue may be deeper:
– Damaged piston cylinder
– Cracked valve housing
– Failed upper seal
These require specialized tools and expertise. Contact a certified RIDGID service center for diagnosis and repair.
Use Genuine RIDGID Parts
Always use genuine RIDGID replacement parts. Aftermarket O-rings or valves may not seal correctly, leading to repeat failures. Original parts ensure proper fit, material quality, and performance.
Frequently Asked Questions About Ridgid Framing Nailer Air Leaks
Why is air leaking from the top of my Ridgid R350RHF?
Air leaking from the top of an R350RHF usually points to a faulty or stuck internal valve or piston seal. Worn O-rings and lack of lubrication are common culprits. Disconnect the air supply and inspect the trigger valve assembly for debris or binding. Clean or replace the valve as needed.
Can I fix a Ridgid framing nailer air leak myself?
Yes. Most air leaks stem from worn O-rings, stuck valves, or improper lubrication. With basic tools and a Ridgid O-ring kit, you can disassemble the trigger housing, replace seals, and restore function. However, if the tool is under warranty, contact RIDGID first to avoid voiding coverage.
How often should I oil my Ridgid framing nailer?
Apply 2–3 drops of pneumatic tool oil into the air inlet once a week during heavy use. Run the tool briefly to distribute oil through internal passages. Over-lubricating can attract dust and cause valve sticking, so use only small amounts.
What psi should I run my Ridgid framing nailer at?
The Ridgid R350RHE operates within a 70–120 psi range, with a minimum air supply of 0.17 ft³/cycle at 100 psi. Setting your compressor to around 100 psi provides optimal performance for most framing tasks.
Is my Ridgid nailer covered under warranty?
Many RIDGID tools come with a full lifetime warranty, but only if registered within 90 days of purchase. Visit ridgid.com/warranty to verify eligibility. If covered, do not disassemble the tool—contact customer support for repair or replacement.
When should I take my Ridgid nailer to a service center?
If air still leaks after replacing O-rings and the trigger valve, deeper internal damage may exist. Cracked valve housings, damaged piston cylinders, and failed upper seals require specialized tools and expertise. A certified RIDGID service center can diagnose and fix these issues safely.
Key Takeaways for Fixing Ridgid Framing Nailer Air Leaks
Air leaks in Ridgid framing nailers like the R350RHE and R350RHF are usually fixable with O-ring or valve replacement and proper lubrication. Start by identifying the leak source—whether it’s the top of the tool or the trigger area—then disassemble safely, replace worn seals, and reassemble with light lubrication. Always disconnect the air supply before any maintenance, and use only genuine RIDGID parts for reliable performance. Check your warranty status before opening the tool, since lifetime coverage may save you the repair entirely. With regular maintenance and proper storage, your Ridgid nailer will deliver leak-free operation for years to come.