Fix Brad Nailer Leaving Marks
If your brad nailer is leaving dents, dings, or wide indentations on your woodwork, you’re not alone. The issue of a brad nailer leaving marks plagues both DIYers and professionals, especially when working with softwoods like pine. These blemishes aren’t always due to user error—sometimes the tool itself is the culprit. Whether you’re seeing nose contact dents on trim or wide staple-sized impressions from a combination tool, these marks force extra sanding and wood filler, undermining a clean finish. The good news? Most marking problems are preventable. This guide breaks down exactly why brad nailers leave marks, how to diagnose the cause, and what you can do right now to stop them.
Identify the Mark Type First
Before applying fixes, determine the kind of mark you’re dealing with. The solution depends entirely on whether the dent comes from nose contact or driver impact.
Check for Nose Dents
Nose dents appear as small, circular or oval impressions directly in front of the nail head. They happen when the metal or hard plastic nose of the nailer presses into the wood before or during firing. These are common on soft pine, especially if you’re using a model without a cushioned tip or if you’re applying too much downward pressure.
Visual clue: The dent is centered just ahead of the nail, not surrounding it.
Spot Driver-Width Indentations
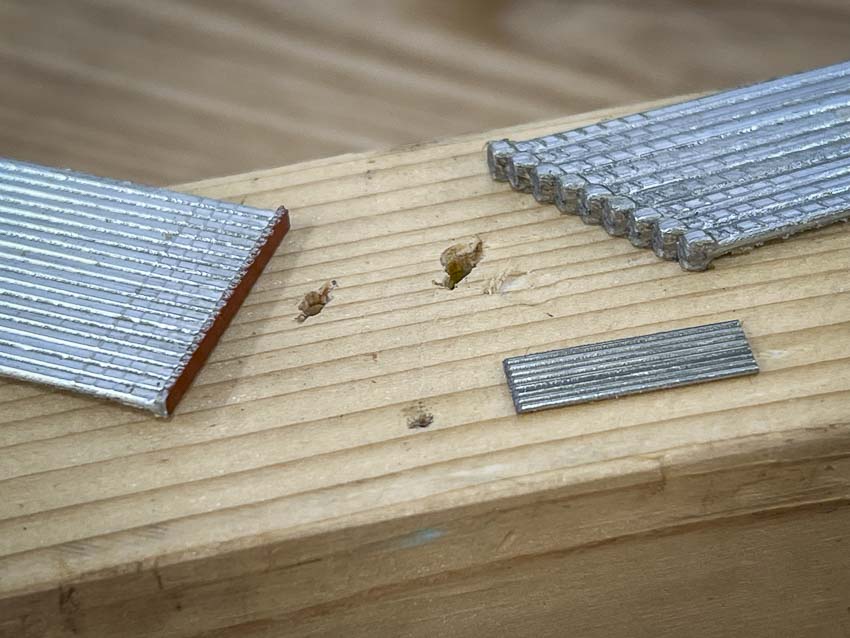
Wider, rectangular marks about 1/2 inch across are a telltale sign of a combination nailer/stapler. These occur because the driver blade is sized for staples, not narrow brad nails. When you fire a brad, the oversized driver strikes the wood, leaving a pronounced impression that matches the staple width.
Visual clue: The dent surrounds the nail like a shallow rectangle, even when using brads.
Adjust Air Pressure Correctly
Incorrect air pressure is a leading cause of nose dents, especially on soft materials.
Set Pressure to 50–60 PSI
Running your brad nailer at 40 psi may seem safe, but it often forces you to press harder to activate the safety or drive the nail fully. That extra pressure digs the nose into the wood. Increase the pressure to 50–60 psi to let the tool do the work.
Pro tip: Always test on scrap wood first. Too much pressure can over-drive nails and split thin stock.
Avoid Under-Pressurization Traps
Low pressure doesn’t just slow the tool—it changes how you use it. When the nailer feels weak, you naturally push down harder, increasing nose contact. This creates dents even on tools with no-mar tips if they’re worn or improperly fitted.
Fix: Gradually increase pressure until nails drive flush with minimal hand pressure.
Install a No-Mar Tip
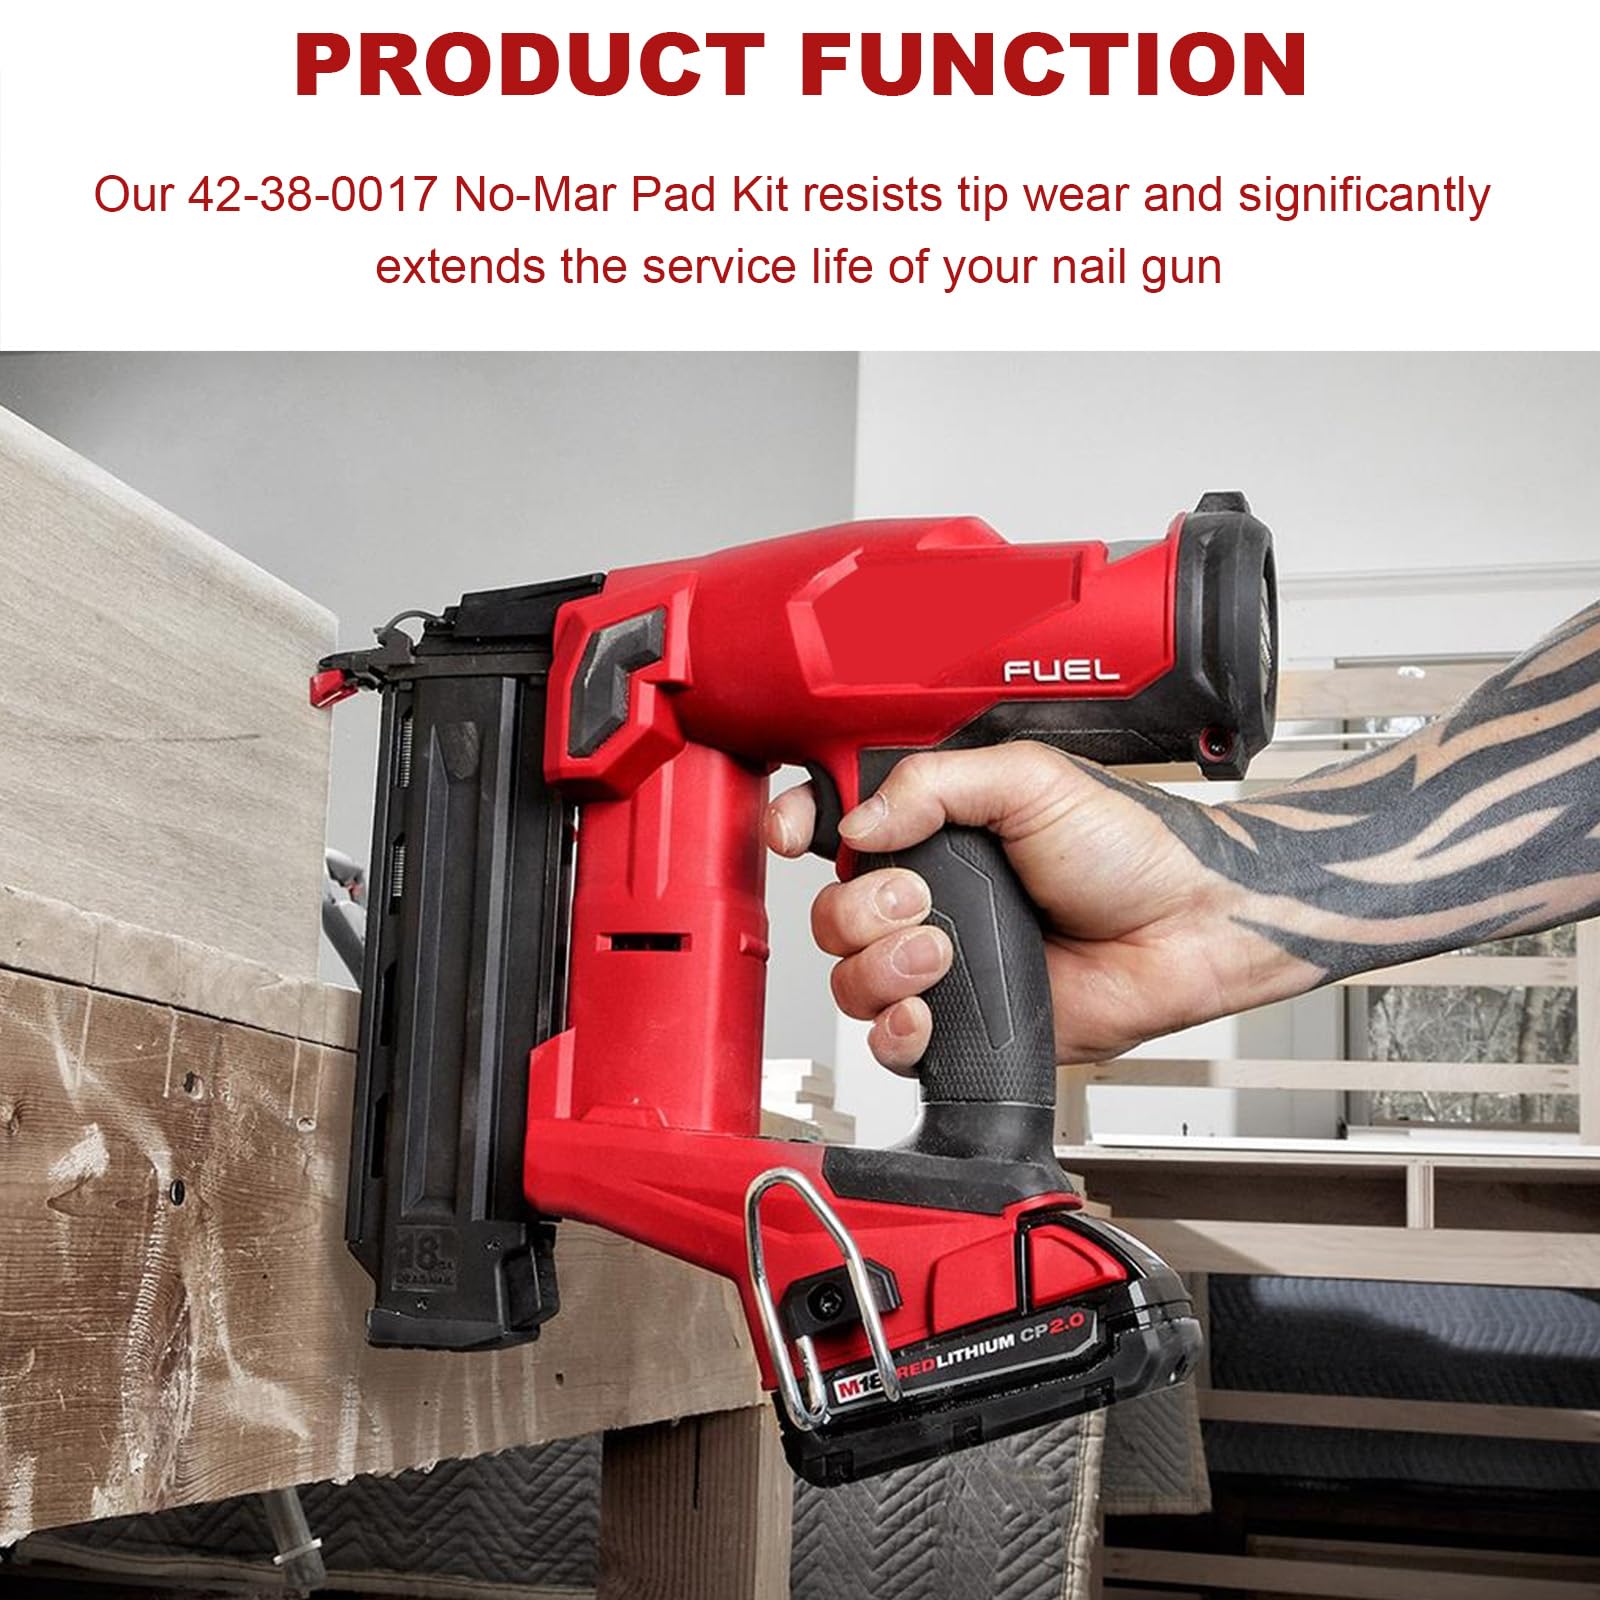
For dedicated brad nailers, a no-mar tip is the single most effective fix for nose dents.
Choose the Right Cushioning
No-mar tips are made of rubber or soft plastic and slip over the nose piece. They absorb impact and prevent metal-to-wood contact. Search for “universal brad nailer no-mar tip” or check your model’s compatibility (e.g., Craftsman, DeWalt, Bostitch).
What to look for:
– Snug fit that won’t fall off during use
– Durable material resistant to splitting
– Easy to replace when worn
Try DIY Alternatives
If you can’t find a commercial tip, use a temporary fix:
– Wrap electrical tape around the nose (2–3 layers)
– Cut a small piece of rubber from an old mouse pad or bike tube
– Use a scrap of leather secured with a zip tie
Warning: These are short-term solutions. Replace them frequently and upgrade to a proper tip when possible.
Fix Combination Tool Indentations

If you’re using a 2-in-1 nailer/stapler, wide marks are likely unavoidable and expected.
Why Pressure Doesn’t Help
Adjusting air pressure on a combination unit rarely fixes wide indentations. The issue isn’t power—it’s driver geometry. The blade is built wide to drive staples, so even at 60 psi, it slams a 1/2-inch surface into the wood when firing brads.
User reality: Many Harbor Freight and budget combo models leave these marks no matter the setting.
Don’t Grind the Driver
Some suggest grinding down the driver to reduce the impact area. Don’t do it. This ruins the tool’s ability to drive staples and may cause misfires or jams with brads. You’ll lose both functions and risk damaging the internal mechanism.
Bottom line: Modification kills versatility. Keep the tool as-is for rough jobs only.
Use the Right Tool for the Job
The best fix is often tool selection before you even start.
Save Combo Tools for Utility Work
2-in-1 nailer/staplers excel at:
– Building crates or pallets
– Attaching wire fencing
– Upholstery projects
– Subfloor nailing or sheathing
Avoid using them on:
– Trim
– Baseboards
– Cabinet faces
– Any visible wood surface
Invest in a Dedicated 18-Gauge Nailer
For finish work, use a dedicated 18-gauge brad nailer. These tools have narrow drivers matched to the nail size, minimizing surface impact. With a no-mar tip and proper pressure, they leave virtually no trace.
Cost vs. value: Yes, buying two tools costs more. But the time saved avoiding filler, sanding, and touch-ups pays off fast.
Optimize Your Firing Technique
Even the best tool can mark wood if used incorrectly.
Keep the Nose Flat
Angling the nailer increases the chance of the nose digging into the grain. Always press the base flat against the surface before pulling the trigger.
Check alignment: Look from the side to ensure full contact.
Apply Minimal Downward Force
Let the tool’s power do the work. Pressing too hard defeats the purpose of pneumatic or cordless assistance and forces the nose into softwood.
Test: If your hand hurts after a long session, you’re pressing too hard.
Fire in One Smooth Motion
Hesitation or partial contact can cause the driver to strike off-center. Engage the safety fully and pull the trigger confidently.
Calibrate Depth Adjustment
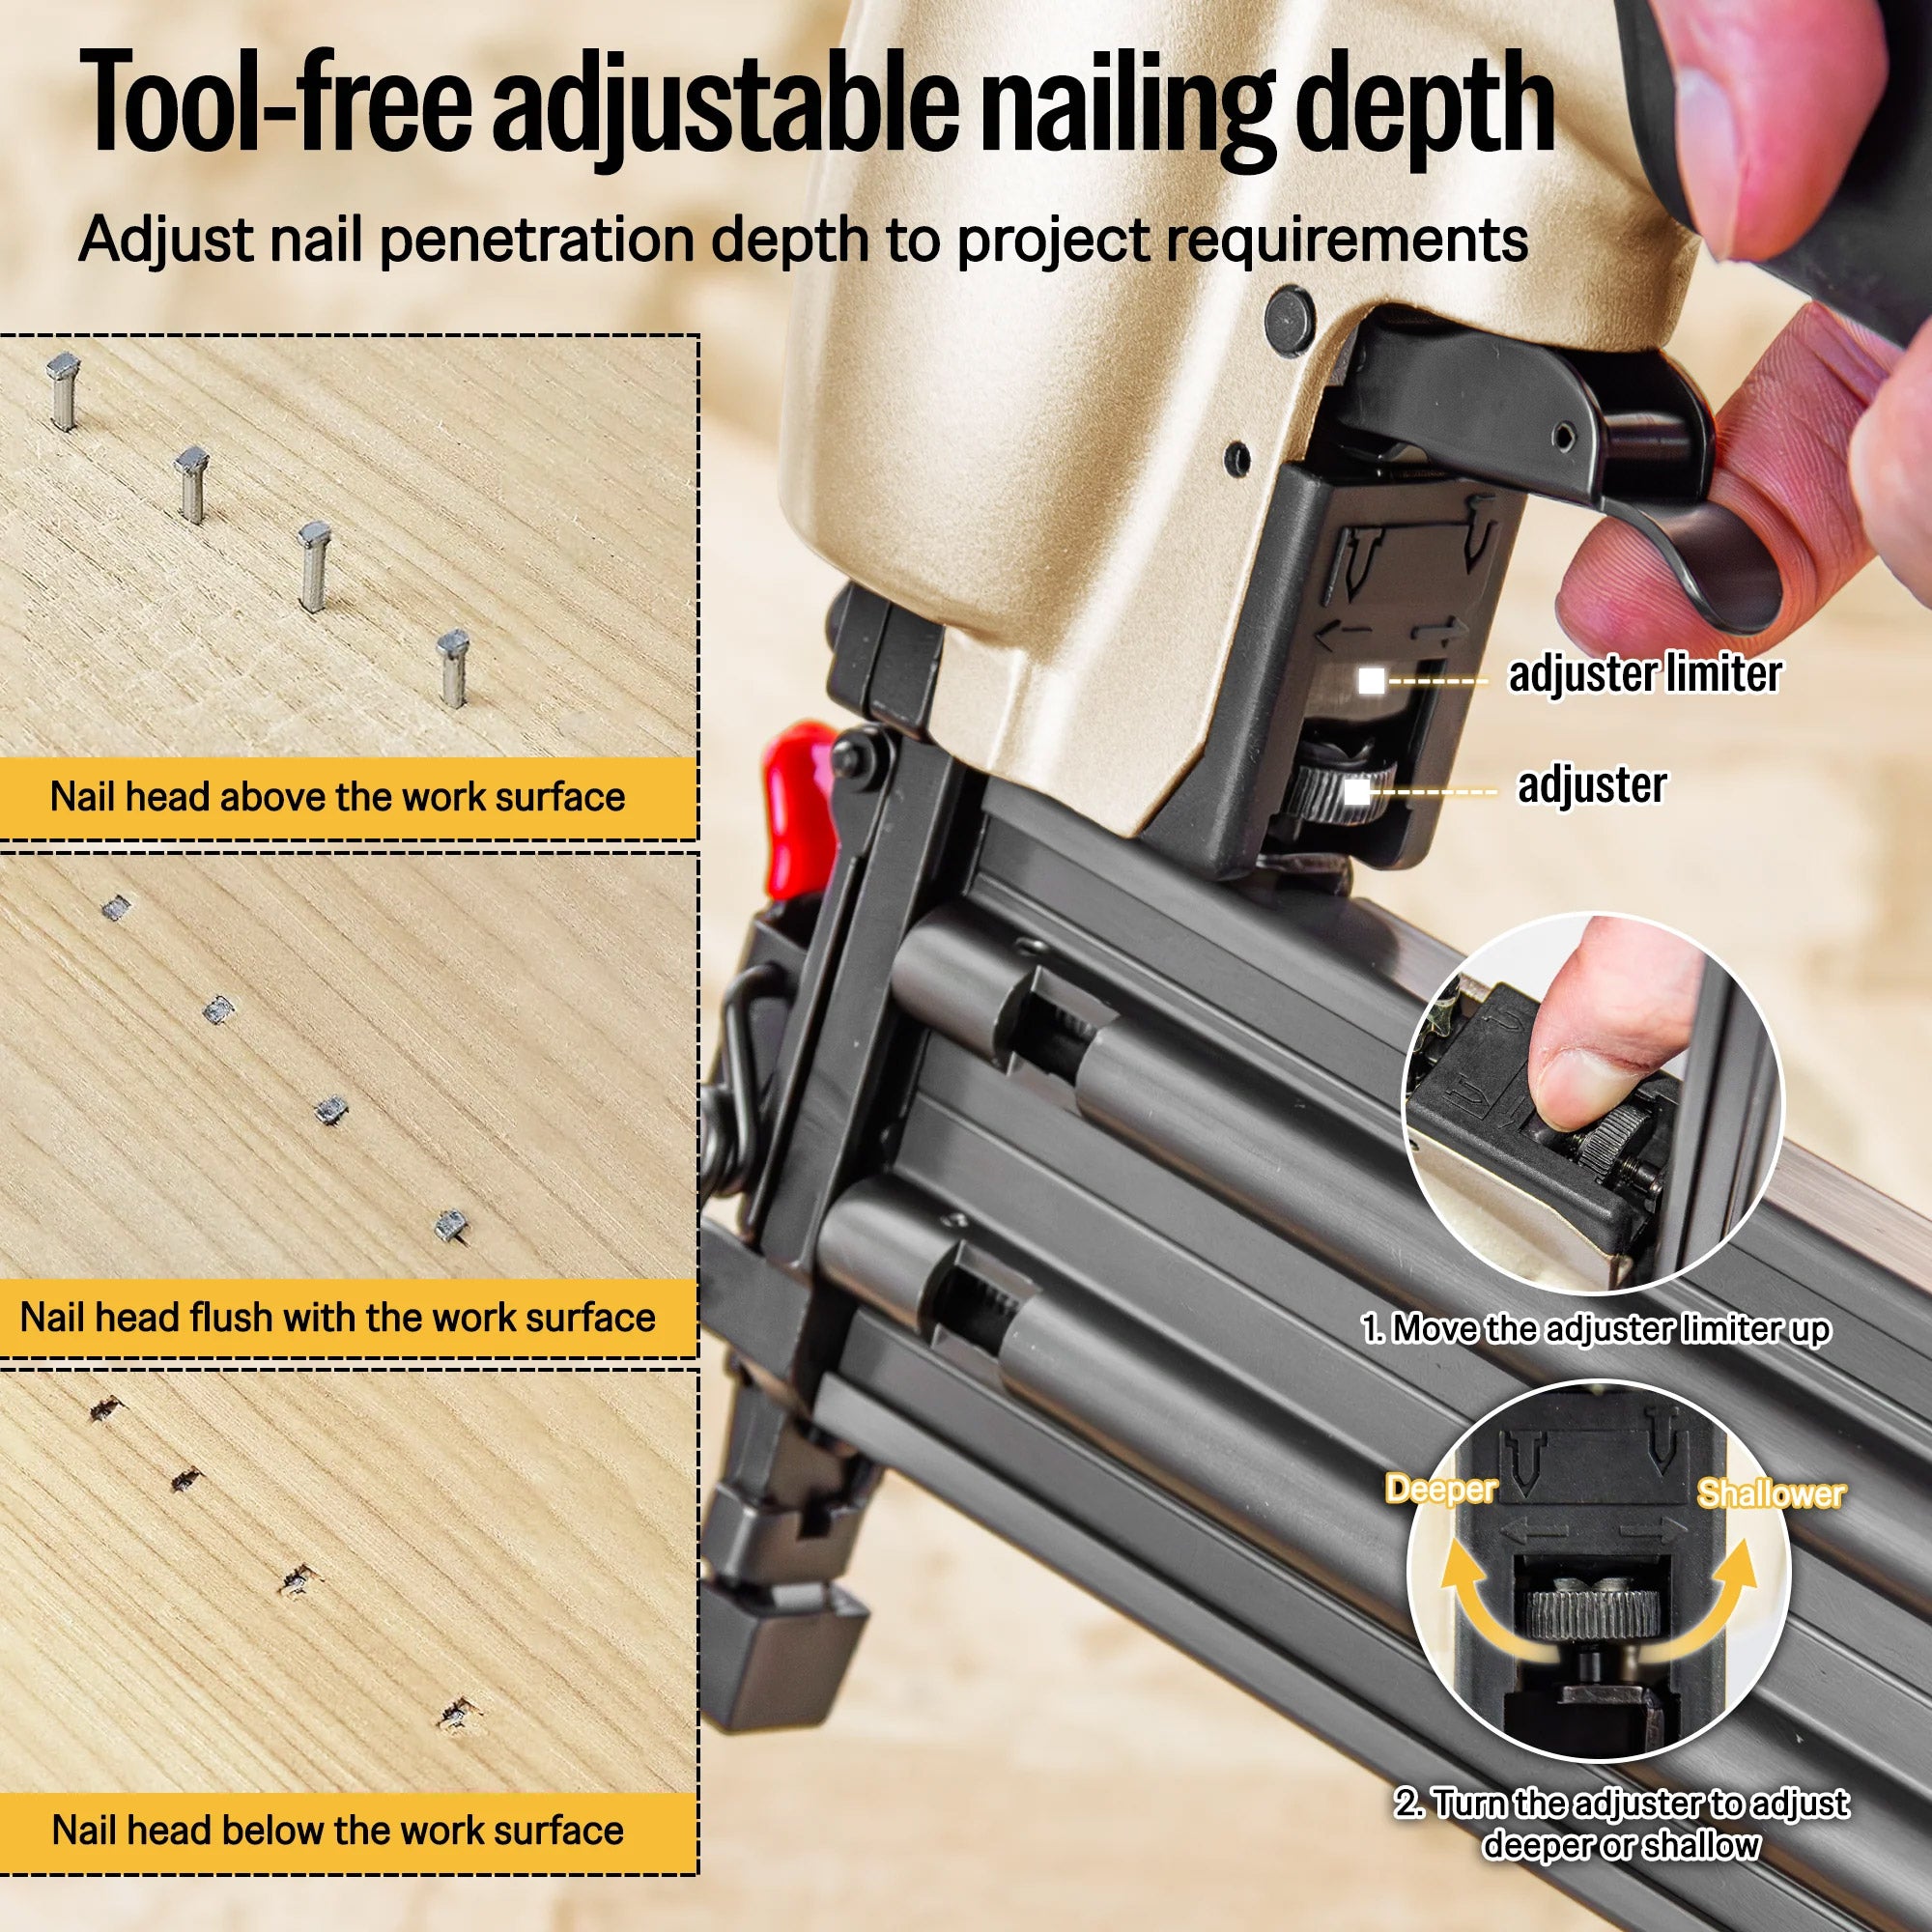
If your nailer has a depth adjustment dial, use it to control how far the nail sinks.
Set Nails Flush with the Surface
The nail head should sit even with the wood, not below it. Over-driving creates a hole that requires filling, while under-driving leaves the nail exposed and prone to snagging.
Quick check: After firing, run your finger over the nail head. It should feel smooth, not raised or sunken.
Maintain Your Nailer Regularly
Prevention beats repair. A well-maintained nailer performs cleanly and consistently.
Inspect No-Mar Tips Weekly
Worn or cracked tips lose cushioning and can start marking wood again. Replace them at the first sign of damage.
Pro habit: Carry a spare tip in your tool bag.
Clean the Nose and Driver
Dust, sap, and old adhesive build up on the nose and driver, increasing friction and impact. Wipe the tip with a dry cloth after each use.
Deep clean: Use isopropyl alcohol and a soft brush monthly.
When to Accept the Mark
Not every project demands a perfect finish.
For Hidden or Painted Surfaces
If the wood will be painted or the joint hidden (e.g., inside a cabinet frame), a small dent may not matter. In these cases, a combo tool is a practical, cost-effective choice.
For Rough Carpentry
Framing, shed building, or repair work often doesn’t require invisible fasteners. Use the tool that gets the job done fastest.
Frequently Asked Questions About Brad Nailer Marks
Why does my brad nailer leave dents on pine?
Pine is a softwood with a compressible cellular structure. When the metal or hard plastic nose of the nailer presses into the surface, or when the driver strikes, the wood dents easily. This is especially common without a no-mar tip or with insufficient air pressure that forces extra downward force.
Can air pressure stop brad nailer marks?
Increasing air pressure from 40 psi to 50–60 psi can reduce nose-contact dents on dedicated brad nailers because the tool drives nails without requiring heavy hand pressure. However, pressure adjustments do not fix wide indentations on combination nailer/staplers because the issue is driver width, not force.
Are combination nailer/staplers worth using for trim?
No. Combination units have a driver blade sized for staples (approximately 1/2 inch wide), which creates large rectangular indentations when firing brad nails. Reserve these tools for utility work like crates, fencing, or upholstery where cosmetic finish doesn’t matter.
Will a no-mar tip fit any brad nailer?
Most no-mar tips are designed as universal accessories that slip over the nose of common brad nailers. Search for “universal brad nailer no-mar tip” or check compatibility with your specific brand (Craftsman, DeWalt, Bostitch). DIY alternatives like electrical tape or rubber can work temporarily.
Can I grind down the driver on a combo tool to stop marks?
Grinding the driver is strongly discouraged. It ruins the tool’s ability to drive staples and may cause brad misfires or jams. You’ll lose the versatility that made the combo tool appealing in the first place.
How do I know if my no-mar tip needs replacing?
Inspect the tip regularly for cracks, hardening, or flattened areas. A worn tip loses its cushioning ability and can start leaving marks again. Carry a spare so you’re never caught without one mid-project.
Key Takeaways for Fixing Brad Nailer Marks
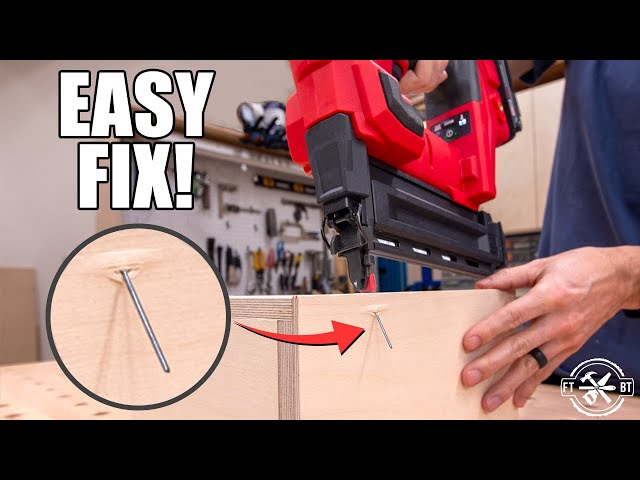
A brad nailer leaving marks isn’t a lost cause, but the fix depends on your tool and task. For dedicated brad nailers, install a no-mar tip and set pressure to 50–60 psi to eliminate most dents. For combination units, accept that wide indentations are a design limitation and reserve them for non-cosmetic jobs. Match the right tool to the job, use proper technique, and maintain your equipment regularly. Start by checking your current setup: test your pressure on scrap wood, inspect your no-mar tip for wear, and confirm you’re using a dedicated nailer for finish work. These small adjustments will save you hours of sanding and filling on every project.