How to Attach Pages Without a Stapler
You are in a rush to submit a report, quiz, or handout but the stapler is missing. Do not panic. You do not need tools or adhesives to securely bind papers together. A clever technique called the staple-less staple lets you lock pages together using only folding and tearing, and it works in seconds.
This guide walks you through exactly how to attach pages without a stapler. You will learn the four-step fold-and-tear process, discover when this method works best, and get pro tips for a secure bind every time.
The Staple-Less Staple Method
This fold-and-tear technique mechanically interlocks paper layers, mimicking a real staple. Students, teachers, and professionals use it when they need a quick, reliable way to bind documents without tools.
Align Pages Neatly
Gather all sheets you want to bind into a neat stack. Make sure the edges are aligned, especially at the top-left corner. Misaligned edges make folding harder and weaken the final hold.
A clean fold requires precision. Even a small shift in paper alignment can cause the tear to miss the fold or fail to grip all layers properly.
Hold the stack firmly on a flat surface. Use your non-dominant hand to keep the papers from slipping during the next steps.
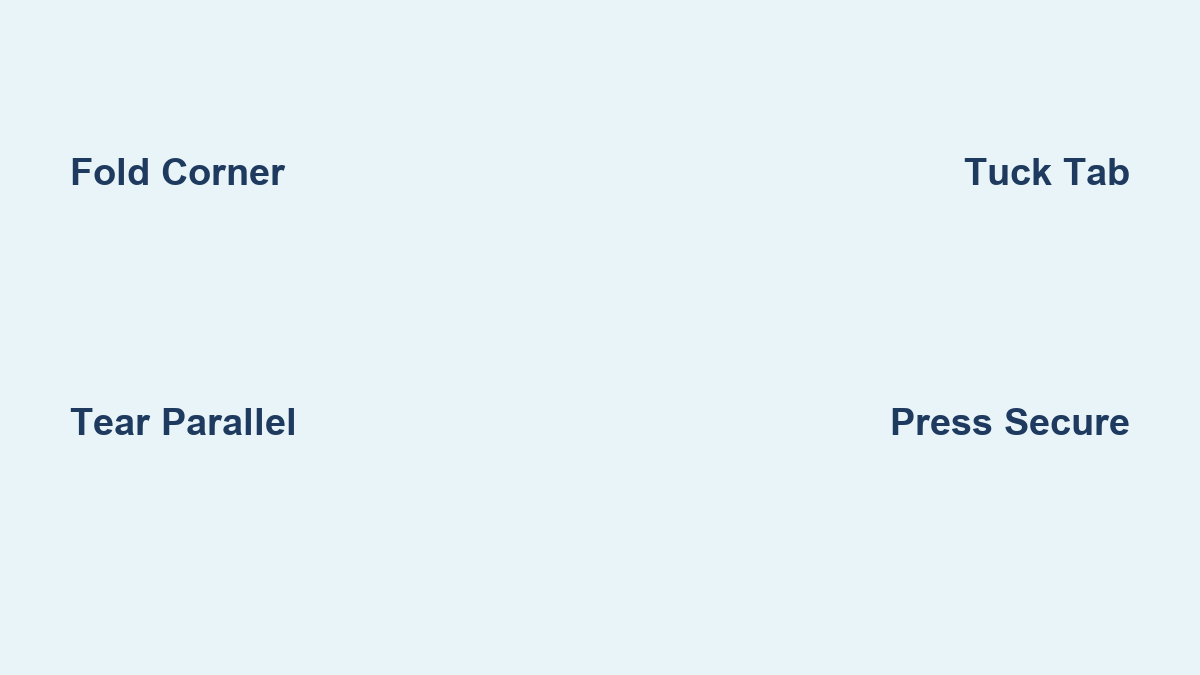
Fold Top-Less Corner Diagonally
Take the top-left corner of the stack and fold it down to form a triangle. The fold should run from the top edge to the left edge, creating a right triangle flap.
Press down hard along the crease with your fingernail or thumb. A sharp, crisp fold ensures durability and a stronger hold.
The triangle size is flexible, but aim for about 1 to 1.5 inches along each side. Too small and there is not enough material to work with. Too large and it looks bulky.
This folded flap will become the anchor point for your staple-less bind.
Make Two Small Parallel Tears
With the triangle folded up, locate the inner folded edge. Now, using your thumbnail or fingertip, make two small, parallel tears inside the folded section.
Space the tears 3 to 5 millimeters apart. Tear perpendicular to the folded edge. Cut through all layers of the folded paper. Do not let the tears extend into the main body of the document.
These are not cuts with scissors or a knife. They are hand-made rips that create a narrow paper tab between them.
Fold and Tuck the Inner Tab
Pinch the small strip between the two tears. Fold it backward, away from you, so it sticks out from the front of the triangle.
Then, push this folded tab downward and tuck it underneath the main paper stack.
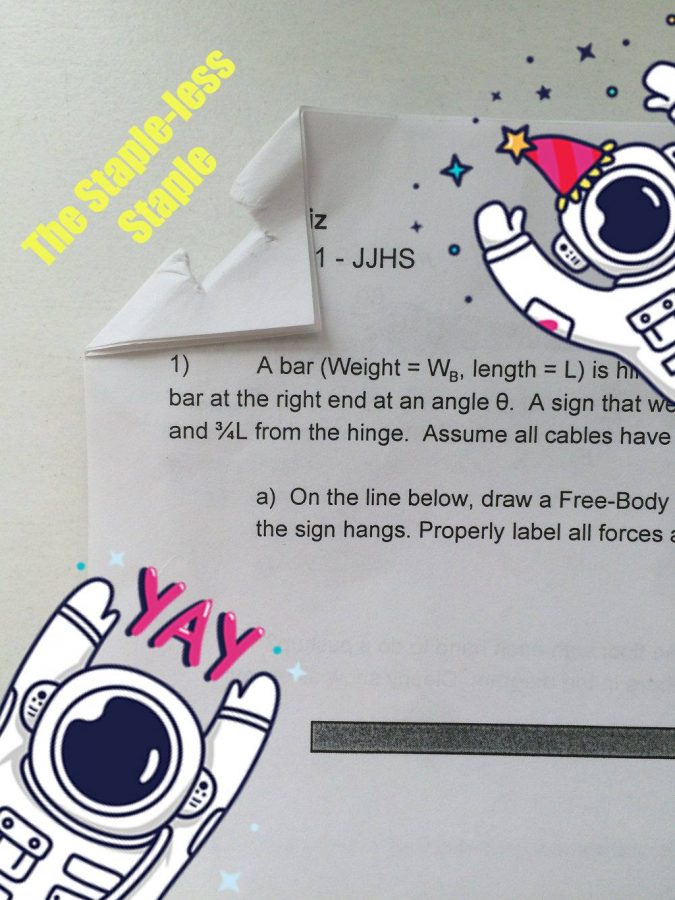
When done correctly, the tab locks the triangle in place. From the front, you will see a folded corner with no loose flaps. On the back, the tucked tab is visible.
Give the fold a final press with your finger. The bind should now resist unfolding even when you flip through the pages.
Gently try to lift the folded corner. If it stays put, the staple-less staple worked. If it loosens, redo the tears or make the fold sharper.
When This Method Works Best

This technique works best in specific situations. Understanding its ideal use cases helps you get the most secure bind.
Ideal Page Counts
The staple-less staple works best for 2 to 10 sheets of standard 20 to 24 pound printer paper. It also works with single sheets folded for self-binding.
The method becomes less effective beyond 15 sheets because tearing through thick layers becomes difficult.
For thicker stacks, repeat the method on opposite corners for added security. Using two staple-less staples on opposite corners works well for stacks of 10 to 15 sheets.
Suitable Paper Types
This method works well with standard copy paper, lightweight cardstock, and drafts or classroom handouts.
Avoid using it on glossy or coated paper. Avoid very thin paper like tissue or newsprint. It is not recommended for fragile or archival documents.
Advantages Over Other Methods
Compared to common alternatives, the staple-less staple stands out for being clean, secure, and completely tool-free.
The table below shows how it compares to other methods.
| Method | Leaves Residue | Requires Tools | Damages Paper | Security Level |
|---|---|---|---|---|
| Staple-less staple | No | No | Minimal | High |
| Paper clip | No | No | None | Low |
| Tape | Yes | Yes | Yes | Medium |
| Glue | Yes | Yes | Yes | Medium |
| Binder clip | No | No | None | Medium |
Unlike clips or tape, this method locks pages together mechanically. This makes tampering obvious and accidental separation unlikely.
Common Mistakes to Avoid
Learn what can go wrong so you can avoid these issues and get a perfect bind every time.
Tearing Too Deep
The mistake is extending tears beyond the fold into the main paper. This results in a weak hold or visible damage.
Keep tears short and fully within the folded triangle to maintain strength.
Uneven Folding
The mistake is having corners misaligned before folding. This results in only the top sheets being bound.
Smooth and square the stack before starting to ensure all pages are secured.
Skipping the Crease
The mistake is folding without pressing the crease firmly. This results in a loose, floppy corner that does not hold.
Run your nail along every fold to create a sharp edge that locks in place.
Forcing the Tab
The mistake is tearing the inner strip too wide or pulling too hard. This results in the paper ripping completely.
Use gentle pressure and make narrow, controlled tears for best results.
Real-World Use Cases
This method proves useful in everyday situations where a stapler is unavailable.
Classroom Submissions
Students have used this method to bind quizzes for neat, staple-free submission. Teachers appreciate the clean look and tamper-resistant design.
It shows attention to detail without relying on office supplies.
Office Drafts
For internal drafts or meeting handouts, the staple-less staple keeps pages together during review. It avoids the permanence of staples or the mess of tape.
Emergency Bindings
This method works at home, in libraries, or while traveling. No stapler is needed. All you need is paper and your hands.
Reversibility and Paper Damage
This method is partially reversible. You can unfold the corner and lay the paper flat again.
However, it does leave behind a visible crease and small tears where the tab was formed. This method is best for temporary or semi-permanent documents where pristine condition is not required.
Avoid using it on final copies, formal presentations, or archival materials.
Limitations to Know
While effective, the staple-less staple is not perfect for every situation.
Not for Long-Term Storage
Repeated handling may loosen the tab over time. Humidity or moisture weakens paper fibers. This method is not ideal for documents stored for years.
Requires Manual Dexterity
People with limited hand strength may struggle to make clean tears. Practice improves speed and consistency.
Less Effective on Thick Stacks
Folding and tearing through 15 or more sheets is difficult. Consider using two staple-less staples on opposite corners for stacks in the 10 to 15 sheet range.
Pro Tips for Success
Work on a desk or table. A firm base gives better control when folding and tearing.
Practice the tear-and-tuck motion on scrap paper before applying it to important documents.
For extra security on thicker stacks, add a small paper clip after applying the staple-less staple. This hybrid method keeps everything locked in place.
On drafts or collaborative documents, write your name or date on the folded triangle. It adds professionalism and makes identification easy.
Key Takeaways for Attaching Pages Without a Stapler
The staple-less staple is more than a life hack. It is a practical, eco-friendly alternative to metal staples. It reduces waste, eliminates the need for plastic clips or tape, and keeps your documents organized in seconds.
By mastering this simple technique, you gain a reliable skill that works anytime, anywhere. Whether you are a student handing in a quiz, a professional sharing a draft, or someone caught without a stapler, this method has you covered.
Next time you reach for a stapler and come up empty, remember that your hands are the best tool you have. Fold, tear, tuck, and keep moving.
Frequently Asked Questions About Attaching Pages Without a Stapler
How many sheets can the staple-less staple method hold?
This method works best for 2 to 10 sheets of standard printer paper. It becomes less effective with more than 15 sheets because tearing through thick layers is difficult.
Does this method damage the paper?
It leaves a small crease and minor tears where the tab is formed. The damage is minimal and similar to removing a regular staple. It is not ideal for formal or archival documents.
Can I use this method on glossy paper?
No. Glossy, coated, or very thin paper does not work well with this technique. The tears do not hold and the fold may not stay secure. Standard copy paper or lightweight cardstock works best.
Is the staple-less staple reversible?
Yes, partially. You can unfold the corner and flatten the paper again, but it will retain a crease and small tears. It works well for temporary documents but not for final copies.
What if my hands are not strong enough to tear the paper?
People with limited hand strength may find this technique challenging. Practice on scrap paper first. Using a fingernail or thumbnail helps create cleaner tears with less effort.
Can I use this for long-term document storage?
This method is not recommended for long-term storage. Repeated handling can loosen the tab, and moisture or humidity may weaken the hold. Use traditional staples or binding for documents you plan to keep for years.