How to Use a Pneumatic Stapler: Quick Guide
If you’ve ever struggled with a manual stapler on a big project, you know how slow and tiring it can be. A pneumatic stapler changes that completely. Powered by compressed air, this tool drives staples quickly and consistently into wood, fabric, insulation, and more, making it a must-have for construction, upholstery, and DIY tasks. Whether you’re building a deck, reupholstering a chair, or sealing crates, knowing how to use a pneumatic stapler safely and effectively can save time, reduce fatigue, and deliver professional results.
In this guide, you’ll learn everything from setup and loading to operation and maintenance. We’ll walk through staple selection, depth adjustment, common mistakes, and safety best practices so you can fire up your air compressor and tackle any fastening job with confidence.
Choose the Right Pneumatic Stapler for Your Project
Identify Your Material and Application
Not all pneumatic staplers are the same. The right model depends on your material and application. Using the wrong type can lead to poor fastening, material damage, or constant tool jams.
Wide-Mouth vs Narrow-Mouth Staplers
Wide-mouth staplers resemble large office staplers and are ideal for upholstery, fabric, and leather. They drive staples flush without tearing delicate materials. Narrow-mouth staplers have a long, slender nose for wood joinery, paneling, and framing. They shoot staples straight, allowing deeper penetration into adjacent wood pieces for strong joints.
Specialized Models for Specific Tasks
Underlayment staplers secure flooring underlayment to subfloors quickly. Fencing staplers attach wire mesh to posts with minimal effort. Packaging staplers handle heavy-duty box sealing in industrial settings.
Pick the model that matches your primary use to ensure better performance and fewer reloads or jams.
Select the Correct Staples for Your Tool
Match Crown Width to Material
Staple crown width determines surface contact and holding power. A 3/8″ crown works best for thin materials like veneer, batting, or light fabric. A 1/2″ to 9/16″ crown is ideal for plywood, sheathing, drywall, or insulation because it provides stronger grip on thick or rigid surfaces.
Choose the Right Leg Length
Staple legs must penetrate deeply enough to hold, but not so long they pierce through. The minimum length should equal the material thickness. The optimal length is slightly longer than material depth, such as 1/2″ staples for 3/8″ plywood. Avoid over-long staples because they can damage underlying structures or create safety hazards.
Use the Correct Gauge and Material
Most pneumatic staplers use 22-gauge fine-wire staples, especially Series 71. For indoor projects, galvanized steel resists rust and offers good durability. For outdoor or damp areas, stainless steel prevents corrosion in humid or wet environments.
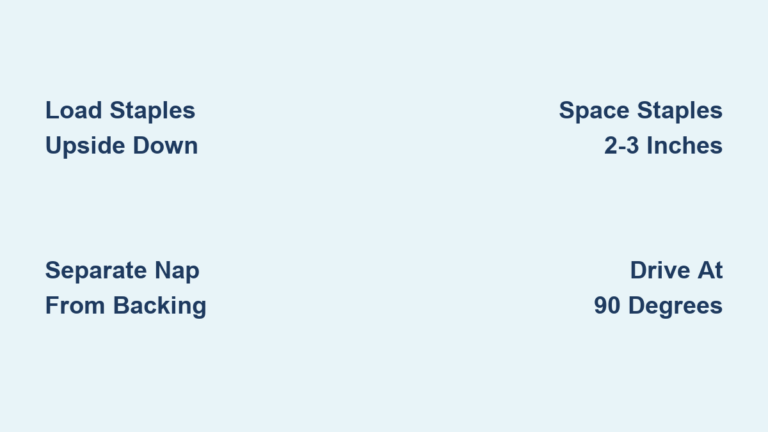
Load Staples in the Correct Direction
Staples are C-shaped and must be loaded crown-first, points forward. Some models require the stapler to be upside down during loading. Look for the tapered end on the staple strip, which should go in first.
Set Up Your Air Compressor Properly
Confirm the Correct Pressure Range
Most pneumatic staplers operate between 70 and 120 PSI. Check your tool’s label or manual for the exact range. Too low pressure causes misfires or weak staple drives. Too high pressure can overdrive staples, damage materials, or strain internal parts.
Use a regulator to set the correct pressure before connecting the tool to the air hose.
Install a Moisture Trap and Regulator
Compressed air often contains moisture that can corrode internal components over time. Attach a moisture trap between the compressor and hose. Use a regulator to maintain consistent pressure. This combination extends tool life and ensures reliable firing.
Lubricate the Stapler Before First Use
New tools need internal lubrication to run smoothly. Disconnect the air hose first. Add one drop of pneumatic tool oil into the air inlet. Reconnect the hose and point the tool away from people. Pull the trigger several times to circulate oil through the piston system.
This keeps moving parts protected and prevents dry friction that causes premature wear.
Load Staples Safely Every Time
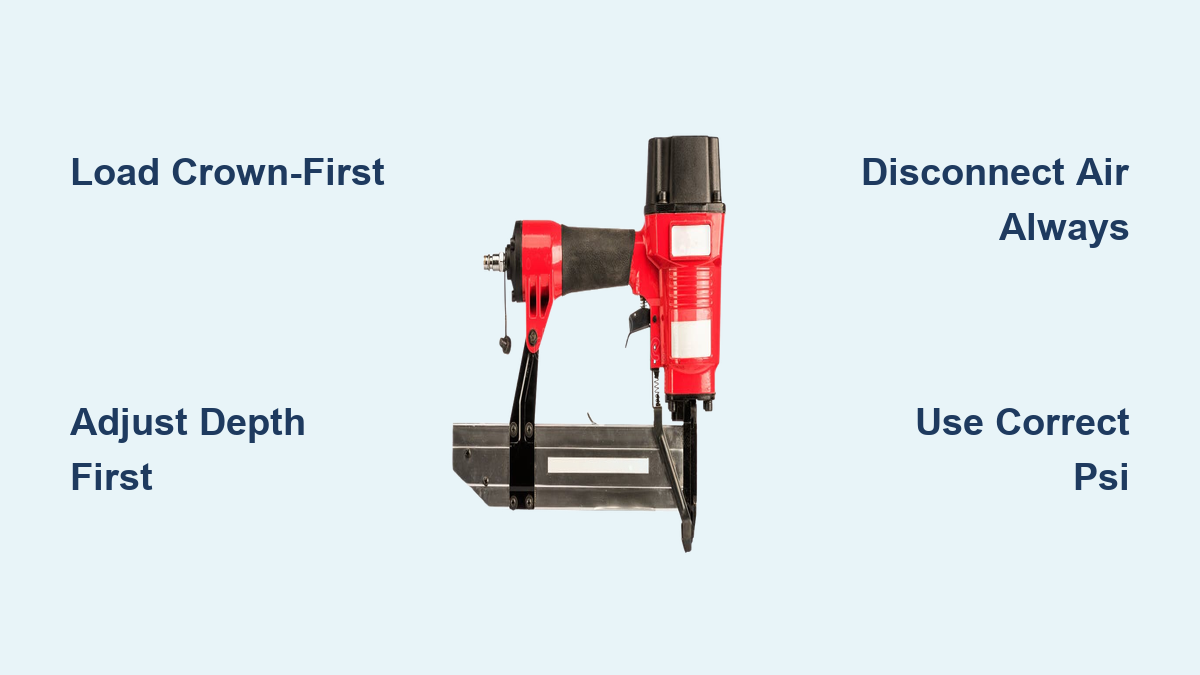
Always Disconnect Air Before Loading
Never load or clear jams with the air hose connected. Accidental triggers can fire staples at high speed, causing serious injury. Unplug the air hose from the stapler first. Open the magazine latch, which is usually located opposite the trigger. Turn the stapler upside down if required by your model.
Insert Staples Crown-First
Slide the staple strip into the magazine with the crown entering first, legs pointing forward. Push the strip all the way in until it stops. Close and lock the magazine securely, listening for a click.
Advance the First Staple Into Position
Some models automatically position the first staple. Others require you to pull back the internal pusher until it clicks into place. This ensures the first staple is ready to fire. Refer to your manual if unsure because loading varies slightly by brand.
Adjust Staple Depth for Clean Results
Locate the Depth Adjustment Mechanism
Most staplers have a dial, lever, or screw near the nose or magazine that controls how far staples are driven. Turning it one way increases depth for a harder drive. The other direction reduces depth for a softer drive.
Test Depth on Scrap Material First
Never adjust depth on your final workpiece. Use a piece of same-thickness scrap material. Fire a few staples and check whether they are fully seated, whether they protrude through the back, or whether the surface is dented or split.
Set Depth Based on Your Material
Soft materials like foam and fabric require shallow settings to avoid crushing. Hardwood or plywood needs increased depth slightly for full penetration. Drywall or thin panels requires avoiding overdriving to prevent cracks.
Aim for staples that are flush or just below the surface, secure but not damaging.
Operate with Proper Technique
Position the Stapler Correctly
Hold the tool flat and perpendicular to the work surface. Tilting causes bent staples or misfires. On edges or overhangs, support the material to prevent flexing. For precision work like box assembly, draw a centerline to guide staple placement.
Use Smooth Trigger Control
Squeeze the trigger gently and steadily. Don’t jerk or slam it. Let the air pressure do the work. Forcing the nose can damage soft materials. After each shot, lift slightly to let the tool reset before the next staple.
Keep Your Hands Safe
Keep fingers away from the nose and trigger area. Use both hands if possible for better control, especially on vertical surfaces. Never rest your hand in front of the muzzle, even with the air disconnected.
Space Staples at Proper Intervals
Follow Recommended Spacing Guidelines
One to two inches apart is standard for most applications. High-stress areas like corners and seams may need tighter spacing at one inch. Light-duty crafts can go up to two inches if strength isn’t critical.
Keep Distance from Material Edges
Maintain at least 1/2 inch from material edges to prevent splitting, especially in wood or drywall. On thin stock or fragile fabrics, increase clearance to 3/4 inch. This avoids blowouts and ensures clean, durable fastening.
Clear Jams Quickly and Safely
Recognize When a Jam Occurs
Signs include no staple fired despite trigger pull, a partially driven staple stuck in the nose, or unusual clicking or resistance. Stop immediately when you notice these symptoms.
Disconnect Air Before Clearing Any Jam
Unplug the air hose first. This is non-negotiable. Do not attempt to fire again because it can worsen the jam. Open the jam-release latch if your model has one, or open the magazine to access the blockage.
Remove the Obstructed Staple
Use needle-nose pliers or tweezers to pull out the stuck staple. Inspect the nosepiece and drive blade for debris or bends. Once clear, close the magazine and reconnect air only after confirming the path is open.
Prevent future jams by using correct staples and avoiding overloading the magazine.
Follow Essential Safety Practices
Wear Proper Protective Gear
Safety glasses protect eyes from flying staples or broken legs. Work gloves improve grip and shield hands from sharp edges. Hearing protection is useful in prolonged or industrial use. Closed-toe shoes prevent foot injuries from dropped tools.
Handle the Stapler Like a Loaded Weapon
Always point the stapler away from yourself and others. Treat it like a firearm because even without air, stored pressure can fire a staple. Never carry the tool with air connected unless actively using it.
Avoid These Common Mistakes
Using wrong PSI causes misfires or overdriving. Check your manual and adjust the regulator. Using incorrect staples leads to jams and weak holds, so use only recommended sizes. Forcing the tool damages workpieces, so let air pressure do the work. Skipping depth tests causes protruding staples, so always test on scrap first.
Maintain Your Stapler for Long-Term Reliability
Inspect Key Components Before Each Use
Check the safety latch, which must move freely and block the trigger when engaged. Test the trigger mechanism, which should respond smoothly. Verify the magazine lock ensures staples stay in place. Inspect the air hose and fittings for cracks, leaks, or loose connections.
Monitor Internal Parts for Wear
Over time, the pusher should extend when the trigger is pulled with no staples loaded. The pusher spring weakens and causes misfeeds. The gasket prevents air leaks and should be replaced if power drops suddenly.
Clean and Lubricate Monthly
Apply one drop of oil to the air inlet every few weeks, more often with heavy use. Wipe down the exterior with a dry cloth after each job. Store in a dry, dust-free place, preferably in a case.
Replace Worn Parts Promptly
Most manufacturers sell low-cost replacement parts. DIY repair is possible for pushers, springs, and gaskets. Professional service costs around $15 for basic maintenance.
Apply Your Stapler Across Different Industries
Speed Up Construction Projects
Use a narrow-mouth stapler to fasten sheathing, secure roofing felt, anchor insulation, or temporarily hold drywall. Staples save time and reduce fatigue on large jobs.
Reupholster Furniture Like a Pro
Use a wide-mouth, long-nose stapler for tight corners behind cushions. Drive staples one inch apart along frame edges. Pull fabric taut and staple in a zigzag pattern for even tension. Finish with flush staples, no snags or sharp edges.
Assemble Wood Projects Efficiently
Join box sides, cabinet panels, or frames with narrow-mouth staplers. Staples penetrate both pieces, creating strong, invisible joints. This method is ideal for temporary assembly before gluing or permanent fastening.
Boost Packaging Productivity
Industrial packaging staplers close crates and boxes up to 30% faster than manual methods. Reduce hand strain in high-volume environments. Use galvanized or stainless staples for moisture resistance.
Install Fencing with Ease
Attach chicken wire, chain link, or deer fencing to posts. No need for hammers. Just align and fire. The stapler works on both wood and metal posts with consistent results.
Tackle Craft Projects with Precision
A pneumatic stapler is great for batting, canvas, lightweight panels, or model building. Fine-gauge staples offer delicate control. Combine speed with accuracy on small-scale work.
Prevent Common Problems Before They Happen
Stop Misfires With Proper Setup
Ensure correct air pressure between 70 and 120 PSI. Use only manufacturer-approved staples. Keep the magazine fully loaded because low staple count can cause feeding issues.
Avoid Double-Firing or Skipped Shots
Some tools fire with contact actuation, meaning you press the nose then pull the trigger. Others use sequential triggers requiring safety first, then trigger. Know your model’s mechanism to prevent accidental double shots.
Fix Air Leaks Quickly
Check gaskets and O-rings regularly. Tighten air hose connections by hand without over-tightening. Replace worn seals immediately to maintain consistent power.
Key Takeaways for Using a Pneumatic Stapler
A pneumatic stapler is a powerful, efficient tool when used correctly. Choose the right model for your material, load proper staples crown-first, and always test depth on scrap before starting your project. Adjust pressure between 70 and 120 PSI based on your tool’s specifications. Maintain your stapler by lubricating the air inlet monthly and inspecting components before each use. Follow safety practices by wearing protective gear and disconnecting air before loading or clearing jams. With these steps, you’ll get fast, clean results on every project, whether you’re building, crafting, or repairing.
Frequently Asked Questions About Using a Pneumatic Stapler
What PSI should I set for my pneumatic stapler?
Most pneumatic staplers operate between 70 and 120 PSI. Check your tool’s manual for the exact range. Too low causes weak drives, while too high can damage materials.
Can I use regular staples in a pneumatic stapler?
No. Pneumatic staplers require specific staple sizes and series, typically Series 71 fine-wire staples. Using wrong staples causes jams and poor fastening.
How do I clear a jammed pneumatic stapler?
Disconnect the air hose first. Open the jam-release latch or magazine. Use pliers to remove the stuck staple. Inspect for debris or damage before reloading.
Do I need to lubricate my pneumatic stapler?
Yes. Apply one drop of pneumatic tool oil to the air inlet before first use and monthly thereafter. This prevents internal wear and ensures smooth operation.
What is the difference between a wide-mouth and narrow-mouth stapler?
Wide-mouth staplers work best for upholstery and fabric. Narrow-mouth staplers are designed for wood joinery and construction. Choose based on your primary application.