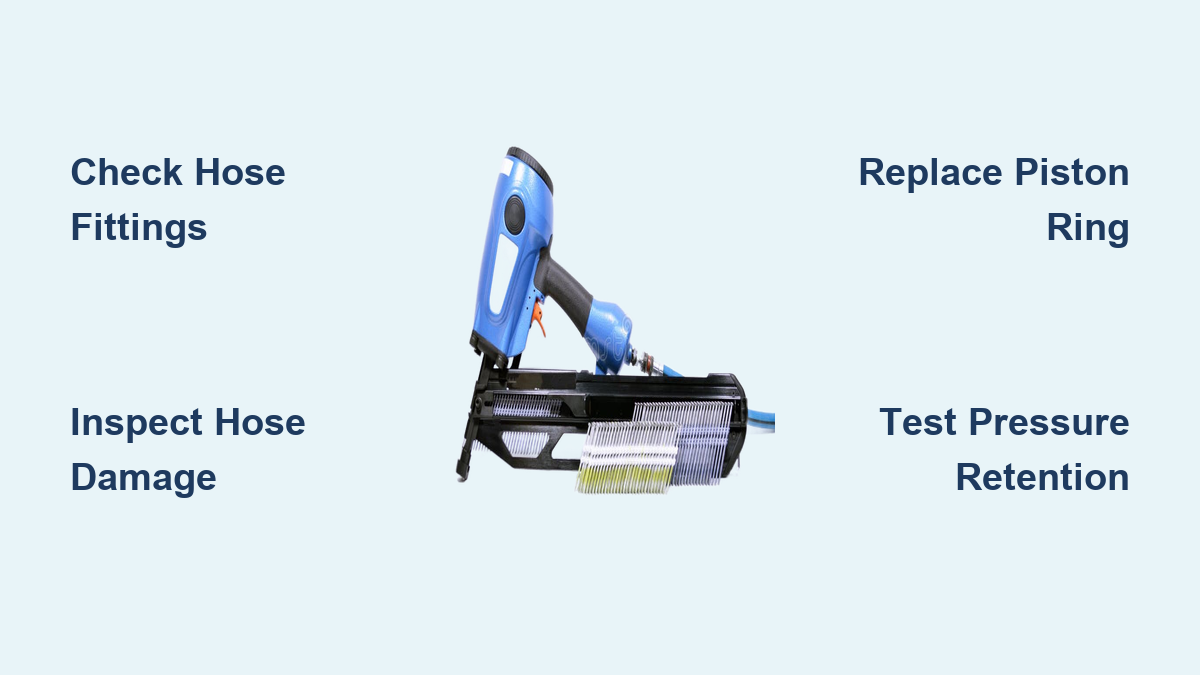
Fix Air Nailer Leaking Air: Quick Steps
Your air nailer is leaking air, and now it barely drives nails or makes a constant hissing sound that drives you crazy. You waste time troubleshooting instead of working, and weak nail drives ruin your materials. The good news is that most air leaks come from simple, affordable parts you can replace in minutes. This guide walks you through every common leak source, from hose fittings to internal seals, so you can restore full power without buying a new tool.
Check Hose Fittings First
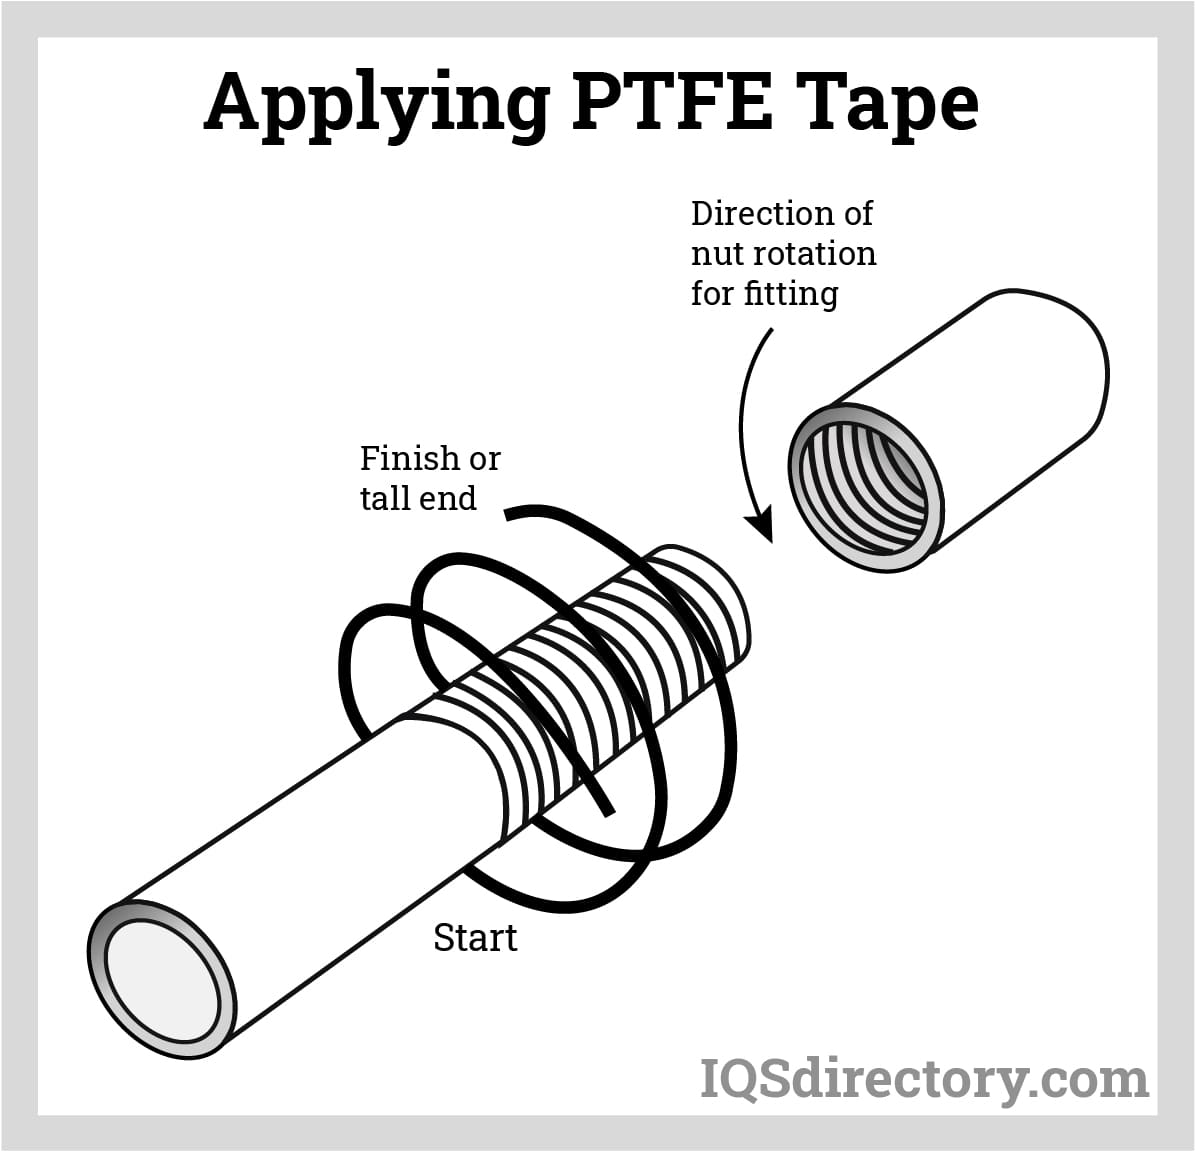
Connection points are the most common leak source and the easiest to fix.
Test for Fitting Leaks
Disconnect the hose from both the compressor and nailer, then reconnect it slowly while the system is pressurized. Listen and feel around the threaded joints for escaping air. If you hear or feel a hiss, the leak is at the fitting. This usually means thread sealant tape is missing, damaged, or improperly applied.
Apply Thread Sealant Tape
Remove the hose and inspect the male threads on both the nailer inlet and compressor coupler. If tape is absent, frayed, or loose, unwind the old remnants completely. Wrap 2 to 3 layers of Teflon thread sealant tape clockwise around the threads to prevent unraveling when tightening. Reconnect the hose and test again. A proper seal stops the hiss instantly.
Pro Tip: Never over-tighten fittings. This can strip threads or damage the O-ring inside the coupler, creating a new leak.
Inspect the Air Hose for Damage
If the leak is not at the ends, the hose body itself may be compromised.
Scan for Cracks and Punctures
Run your hands along the entire length of the hose, especially near the fittings where stress concentrates. Look for splits, bulges, or cuts from job site hazards like nails or heavy equipment. Even a pinhole leak reduces pressure and efficiency.
Replace with PVC Hose
If damage is found, replace the hose with a high-quality PVC pneumatic hose. These resist drying, cracking, and abrasion better than rubber. Avoid temporary fixes like duct tape because they fail under pressure and compromise safety.
Expert Note: Install a swivel coupler at the nailer end. It reduces twisting stress, extending hose life and preventing future leaks.
Stop Exhaust Port Air Leaks

A constant hiss from the exhaust port means internal seals are failing.
Identify Internal Seal Failure
When air leaks from the exhaust even when the tool is not firing, the piston-head ring or cylinder O-rings are likely damaged. These seals keep pressure in the cylinder during the drive stroke. If they fail, air escapes instead of powering the piston.
Replace the Piston-Head Ring
- Unplug the air supply and fire the nailer to release residual pressure.
- Disassemble the cylinder housing per your model’s manual.
- Remove the old piston-head ring and check for cracks, flattening, or brittleness.
- Install a new OEM-spec ring, ensuring it seats evenly in the groove.
- Reassemble and test.
Time Estimate: 20 to 40 minutes for most models. Replacement rings cost $5 to $15.
Seal the Top Cap and Collar
Air leaking from the top of the nailer points to a dry or cracked collar seal.
Remove and Replace the Collar
- Unscrew the top cap, which is often a hex or slotted design.
- Pull out the old rubber collar seal that sits around the driver blade.
- Slide a new collar onto the blade, then reinsert into the cap.
- Reattach the cap and test.
Warning: Never operate without the collar. It prevents air bypass and ensures proper cycling.
This repair takes under 5 minutes and costs less than $10, making it one of the fastest wins in air nailer maintenance.
Fix Trigger Valve Air Leaks
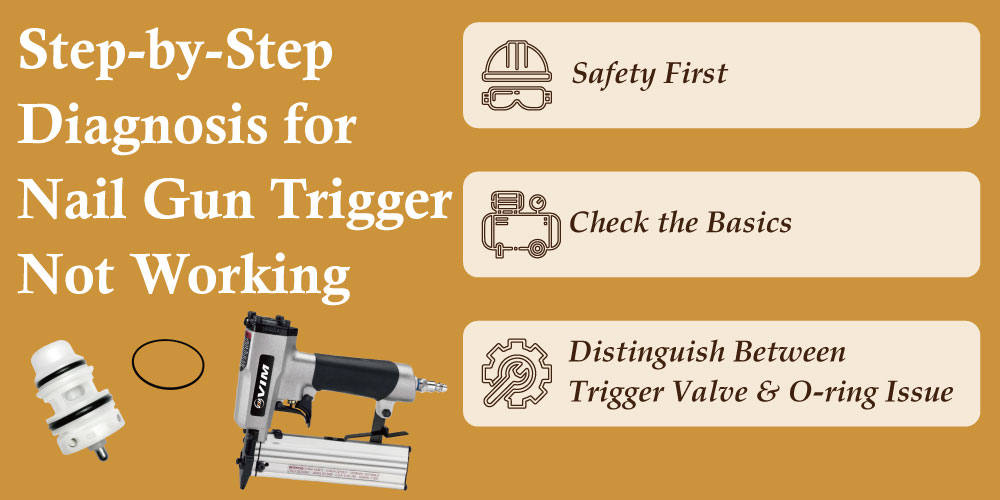
If air escapes near the trigger, the valve system is not sealing properly.
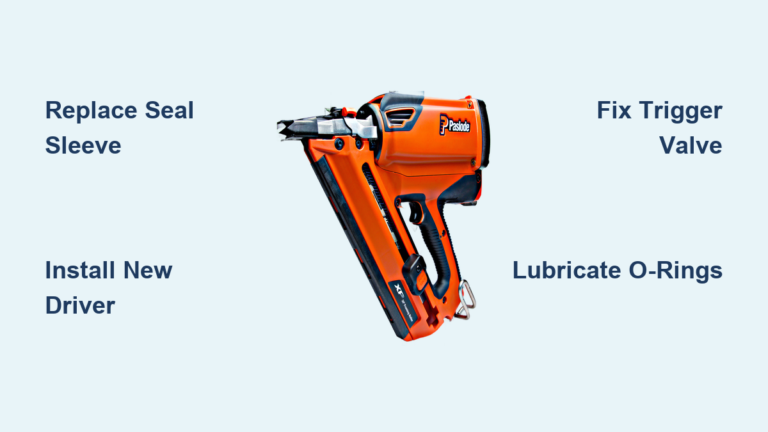
Replace Trigger O-Rings
- Depressurize the tool.
- Remove the trigger housing (screws or pins vary by model).
- Extract the valve and inspect internal O-rings for swelling, cracking, or misalignment.
- Swap in new O-rings of the correct size and material (usually nitrile rubber).
- Reassemble and test.
Common Mistake: Forcing the trigger back in without aligning the valve rod damages seals. Go slow.
Upgrade to New Trigger Assembly
If O-rings do not solve the problem, the valve body itself may be worn. Replacing the entire trigger assembly costs $20 to $40, which is far less than a new nailer. Match the part number to your model for plug-and-play installation.
Assess Body Damage Immediately
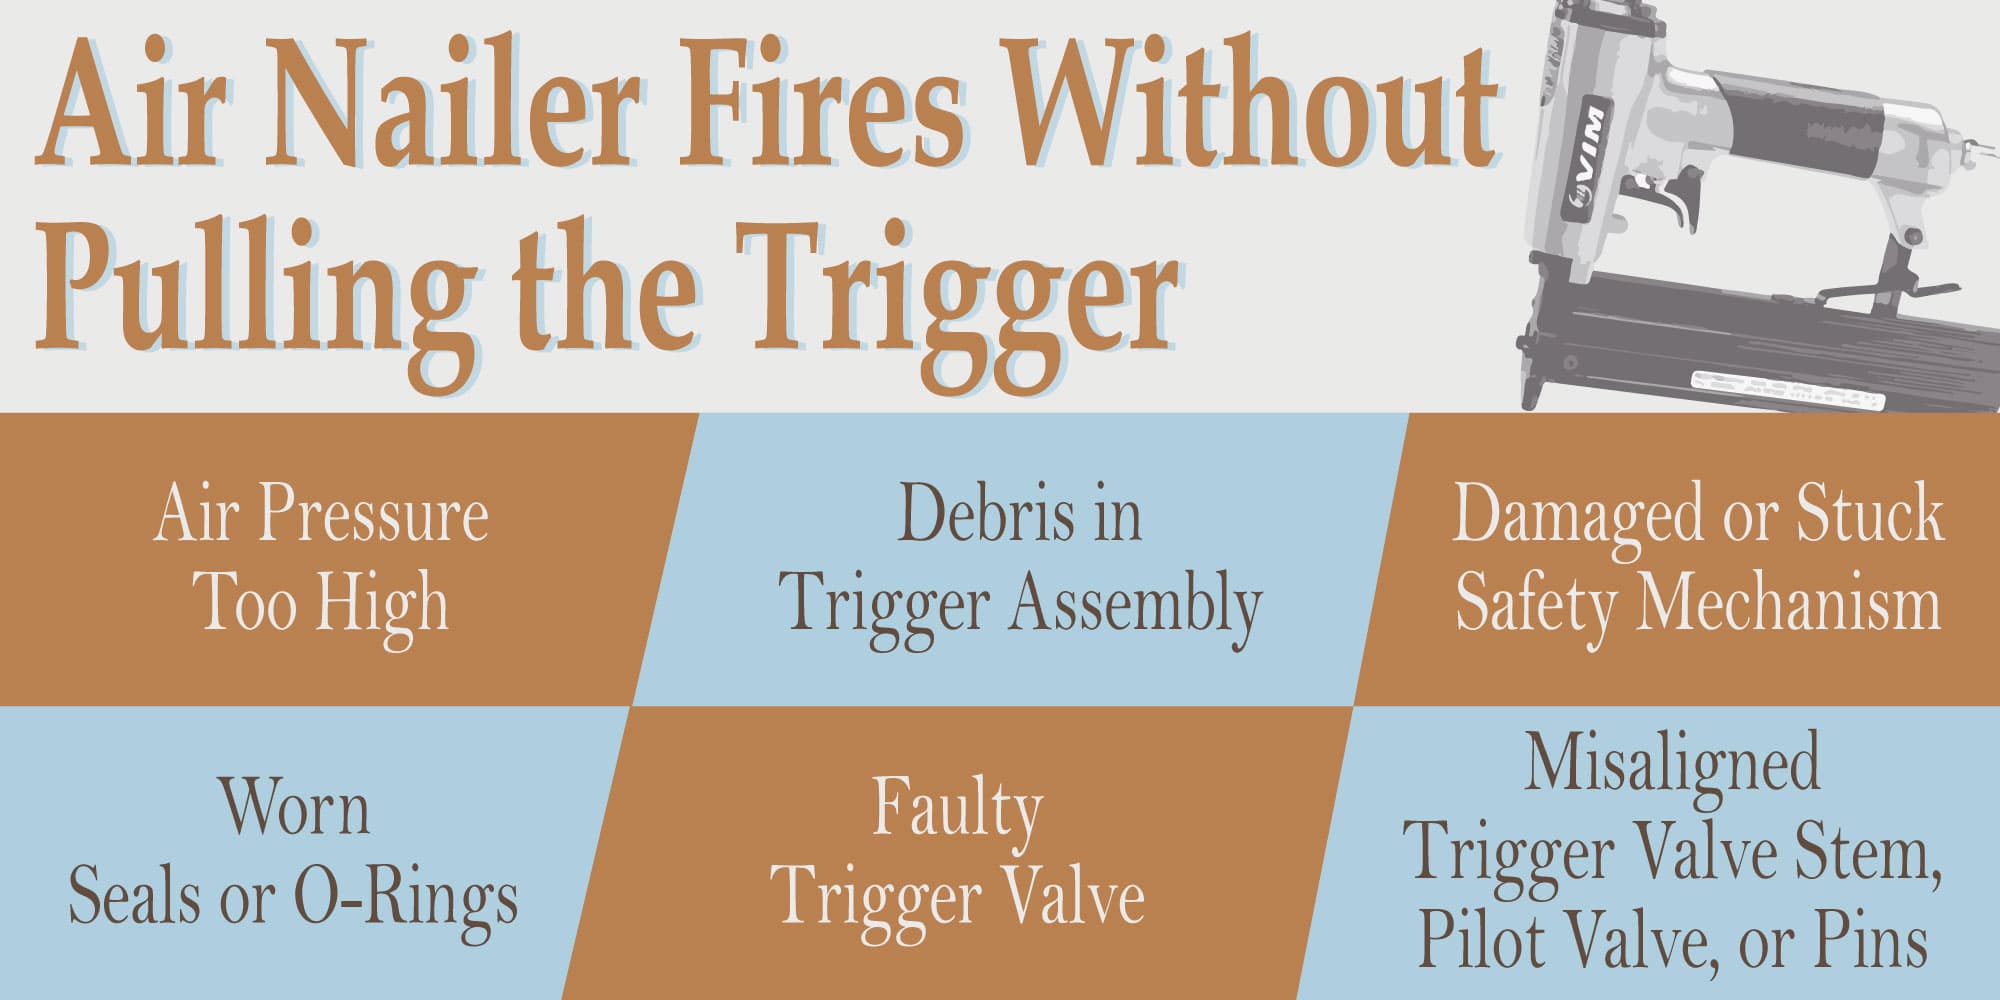
Not every leak is repairable. Structural damage changes the game.
Look for Dents and Cracks
Inspect the aluminum housing for dents, especially around the cylinder or air passages. Cracks, even hairline ones, mean the pressure chamber is compromised.
Know When to Replace
- Seals, hoses, O-rings? → Repairable.
- Dented or cracked body? → Not repairable.
Safety Rule: Never use a nailer with body damage. Under pressure, it can burst and cause serious injury. Replace the tool immediately.
Prevent Future Leaks with Maintenance

Avoid downtime with a simple care routine.
Schedule Monthly Inspections
- Check all seals for dryness or cracking.
- Examine the hose for wear, especially near the ends.
- Verify thread tape on fittings is intact.
- Listen for faint hisses during use.
Keep a Repair Kit On Hand
Store spare parts in your toolbox:
- O-rings (various sizes)
- Collar seals
- Thread sealant tape
- Piston-head rings
- Swivel couplers
Pro Tip: Apply a drop of pneumatic tool oil into the air inlet weekly. It lubricates internal seals, preventing drying and extending life.
Test Repairs Before Use
Always verify fixes to ensure safety and performance.
Perform a Pressure Retention Test
- Connect the nailer to the compressor.
- Let it pressurize fully without firing.
- Disconnect the hose.
- Wait 30 seconds. If you still hear or feel air escaping, the leak persists.
Repeat inspection until the tool holds pressure silently.
Final Check: Fire a few test nails into scrap wood. Full penetration means success.
Frequently Asked Questions About Air Nailer Leaks
Why does my air nailer leak air from the exhaust?
A continuous hiss from the exhaust port usually means the piston-head ring or cylinder O-rings have failed. These seals keep pressure in the cylinder during the firing cycle. Replacing them is affordable and restores proper function.
Can I use duct tape to fix a leaking air hose?
Duct tape is only a temporary stop-gap. It fails under pressure and creates a safety hazard. Replace the damaged hose with a high-quality PVC pneumatic hose for a permanent fix.
How do I find an air leak in my nail gun?
Start by listening for hissing sounds and running your hand near fittings, the trigger, the exhaust, and the top cap. A pressure retention test confirms whether the tool holds air after you disconnect the supply.
How much does it cost to fix an air nailer leaking air?
Most repairs cost between $5 and $40. O-rings, collars, and thread tape are inexpensive. Trigger assembly replacement is a fraction of the cost of a new nailer. Only a dented or cracked body requires full replacement.
Is it safe to keep using a nailer with a small air leak?
No. Even a small leak reduces driving power and strains the compressor. More importantly, leaks near structural damage can lead to catastrophic failure under pressure. Diagnose and repair before continued use.
Key Takeaways for Fixing an Air Nailer Leaking Air

Over 80% of air nailer leaks come from simple, affordable parts like O-rings, collars, and thread sealant tape. Start your diagnosis at the hose fittings, then move to the hose body, exhaust port, top cap, and trigger assembly. Replace seals as soon as you notice wear, and never operate a tool with a dented or cracked body. With regular inspections and a basic repair kit, you can keep your pneumatic nailer running strong for years.