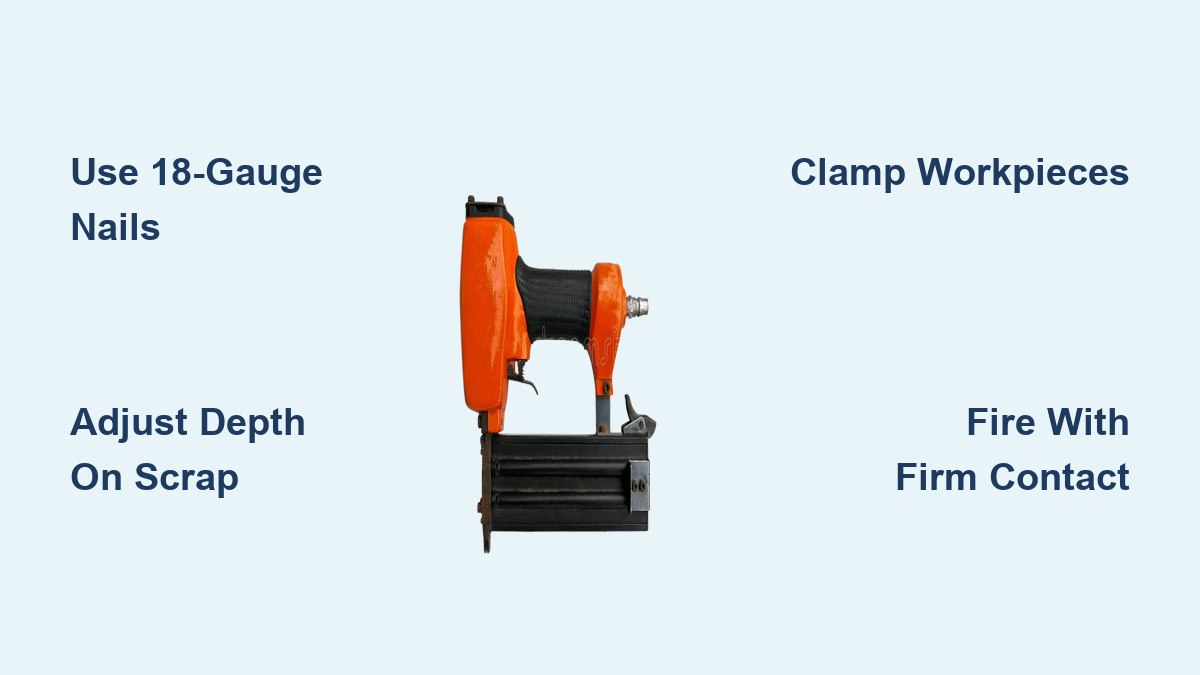
How to Use a Brad Nailer: Quick Steps
You just unboxed a brad nailer and are ready to tackle trim, baseboards, or a custom picture frame. But one wrong move can split expensive wood, jam the tool, or send a nail into your finger. A brad nailer is built for precision fastening on delicate materials, not heavy-duty construction. When handled correctly, it leaves nearly invisible nail holes and rock-solid joints. When handled carelessly, it ruins workpieces and creates real safety hazards.
This guide breaks down every critical step for using a brad nailer, from selecting the right 18-gauge nails to adjusting depth and firing at precise angles. Whether you own a cordless model like the Ryobi 18V One+ or a pneumatic version, the core principles stay the same. By the end, you will know how to load, calibrate, and fire your brad nailer like a seasoned pro.
Select the Correct Brad Nails

Even a perfectly adjusted brad nailer will fail with the wrong fasteners. Nail selection is the foundation of every successful project.
Match the 18-Gauge Standard
Brad nailers are engineered exclusively for 18-gauge nails. Never substitute 16-gauge nails, even if they look similar. The gauge number indicates thickness, so a higher number means a thinner nail. An 18-gauge brad is thinner than a 16-gauge nail. Forcing the wrong gauge will jam the magazine or damage the internal driver. Always verify the label reads “18G” or “18-gauge” before loading.
Calculate the Right Nail Length
Brad nails range from ½ inch to 2½ inches. Choosing the wrong length either weakens the joint or blows out the back of your material.
Use this proven formula:
Nail length = Combined material thickness – ¼ inch
Real-world examples:
– Joining two ½-inch boards? Total thickness is 1 inch. Use a ¾-inch brad.
– Attaching a ¾-inch baseboard to a ½-inch stud? Total is 1¼ inches. Use a 1-inch brad.
Nails too short will not grip both pieces. Nails too long will punch through the back, ruining the finish and creating a puncture hazard.
Load the Magazine the Right Way
A misloaded magazine is the number one cause of jams and misfires. Follow this sequence carefully.
Open the Magazine Safely
Locate the gray release button on the magazine. Press it and pull the cover down to expose the loading channel. Keep the battery removed during this entire process to prevent accidental firing.
Insert Nails in the Correct Direction
Grab a strip of 18-gauge brads. Orientation matters:
– Nail heads must face into the tool (toward the mechanism).
– Nail points must face out (toward the nose).
Slide the strip fully into the channel. The nails should glide in smoothly. If they bind, flip the strip and try again.
Lock the Magazine Closed
Push the cover back up over the nail strip. Press the release button again to lock it firmly. The strip should sit snug and ready to feed.
Adjust Depth and Power on Scrap Wood
:max_bytes(150000):strip_icc()/NailingTips-Depth-Guide-5d392aeaaf9d472ea6b8af1eb284f26c.jpg)
Firing blindly without calibration is the fastest way to ruin a project. Always test and tune your settings first.
Run Test Fires on Scrap Material
Clamp a scrap piece identical to your project material. This is your calibration canvas. Never skip this step.
Set Air Pressure or Power Level
On pneumatic brad nailers, adjust the air pressure at the compressor or regulator. On cordless models like the Ryobi 18V, use the power dial on the back. Start at a medium setting and adjust as needed.
Fine-Tune Depth of Drive
Locate the depth-of-drive adjustment dial near the nose. Turn clockwise to drive nails deeper. Turn counterclockwise to reduce depth.
Fire a test nail and inspect the result:
– Nail too deep? Reduce depth or power.
– Nail sticking out? Increase depth or power.
– Goal: Nail head sits flush with the surface, no indentation, no protrusion.
Repeat until you achieve a perfect flush finish.
Clamp Workpieces Before Firing
Holding wood by hand while nailing is dangerous and inaccurate. Clamping is mandatory.
Use Bar or C-Clamps
Secure both pieces firmly before firing. This keeps joints aligned and prevents shifting during the nail drive.
Why clamping matters:
– Safety: Keeps fingers far from the nail path.
– Accuracy: Prevents movement that causes misangled nails.
– Consistency: Maintains pressure for clean, even joints.
Even with clamps in place, keep your free hand well clear of the nose at all times.
Fire the Brad Nailer with Proper Technique
Correct firing technique ensures full nail deployment and prevents incomplete drives.
Press the Nose Firmly Against the Wood
The brad nailer has a safety contact tip that must be fully depressed against the surface before the trigger will activate. If the nose is not seated, the tool will not fire. Worse, it may dry-fire and damage internal components.
Hold the Trigger Until the Cycle Completes
Depress the trigger and keep it held down until the nail is fully driven and the tool resets. Releasing too early causes incomplete firing or double-nails.
Listen for the full “thwick” sound. Then move to your next position.
Nail at Precise Angles for Tight Joints
For miters, corners, and detailed trim work, angle control is everything.
Think of the Nailer Like a Steering Wheel
The nail travels in the exact direction the nose points. Aim the nose where you want the nail to go.
For picture frames with 45-degree miters:
– Angle the tool to drive through the mitered edge into the adjoining piece.
– Avoid shooting straight down, which can miss the joint entirely.
Prevent Blowout on Thin Materials
If the nail exits the side of thin material, one of three things is wrong:
– The nail is too long.
– The tool angle is incorrect.
– You are nailing too close to the edge.
Reposition or switch to a shorter brad to stay within the material boundary.
Troubleshoot Common Brad Nailer Problems
:max_bytes(150000):strip_icc()/using-an-electric-brad-nailer-1822751_final-f6146b9c4a0a4b02a381fabe0ae063e0.jpg)
Even with careful technique, issues arise. Here is how to solve them quickly.
Nail Blows Out the Side
Cause: Incorrect angle or excessive nail length.
Fix: Realign the tool with the joint path. Switch to a shorter brad when working near edges.
Nail Sinks Too Deep
Cause: Depth setting too aggressive or pressure too high.
Fix: Turn the depth dial counterclockwise. Reduce air pressure or power. Retest on scrap wood.
Nail Protrudes from the Surface
Cause: Low power, weak battery, or depth set too shallow.
Fix: Increase power, charge the battery, or adjust the depth dial. Confirm nails are feeding fully.
Joint Feels Weak or Loose
Cause: Nails too short to grip both pieces.
Fix: Switch to longer brads using the ¼-inch rule.
Tool Jams or Misfires
Cause: Wrong gauge nails loaded into the magazine.
Fix: Empty the magazine. Verify every strip is 18-gauge. Reload with correct orientation.
Follow Essential Safety Protocols
A brad nailer fires at high velocity. Respect the tool and protect yourself.
Remove the Battery When Idle
For cordless models, always remove the battery when loading, adjusting, or moving between tasks. This eliminates the risk of accidental discharge.
Never Dry Fire the Tool
Pulling the trigger without wood under the nose damages the driver and safety mechanism. If you must test, fire into a softwood block.
Wear Proper Safety Gear
Always equip yourself with:
– Safety glasses to protect against ricocheting nails and wood chips.
– Hearing protection for pneumatic models.
– Closed-toe shoes in case of dropped tools or stray fasteners.
Maintain Your Brad Nailer for Long-Term Performance
A clean, well-maintained tool delivers consistent results and lasts for years.
Clean After Every Use
Wipe down the body and nose with a dry cloth. Remove dust and resin buildup that can interfere with nail feeding.
Clear Jammed Nails Promptly
If the tool stops firing, disconnect the air supply or remove the battery first. Open the magazine and inspect for blockages. Clear gently with a thin tool, never force it.
Lubricate Pneumatic Models Weekly
Air-powered brad nailers need 2 to 3 drops of pneumatic tool oil in the air inlet each week. Cordless models like the Ryobi 18V require no lubrication.
Optimize Your Technique for Different Projects

Tailor your approach based on the job at hand for the best results.
Installing Baseboards
- Use 1½-inch brads.
- Space nails every 12 to 16 inches.
- Angle nails into wall studs for maximum hold.
- Countersink slightly and fill holes with paint-grade caulk.
Building Picture Frames
- Use ¾-inch or 1-inch brads.
- Pre-clamp all miter joints.
- Fire nails at 45-degree angles through the miter.
- Wipe away excess glue immediately.
Attaching Thin Paneling
- Use ½-inch to 1-inch brads.
- Work from the center outward to prevent warping.
- Keep nails at least ½ inch from all edges.
Frequently Asked Questions About Brad Nailers
What is the difference between a brad nailer and a finish nailer?
A brad nailer uses thinner 18-gauge nails and is designed for delicate work like trim and picture frames. A finish nailer uses thicker 15 or 16-gauge nails for heavier trim and molding where more holding power is needed.
Can I use a brad nailer for hardwood?
Yes, but you may need to increase air pressure or power settings to drive nails fully. Always test on scrap hardwood first to calibrate depth and avoid splitting.
How do I prevent wood from splitting when using a brad nailer?
Use the correct nail length (¼ inch shorter than combined material thickness), avoid nailing within ½ inch of edges, and adjust depth so nails sit flush without over-penetrating.
Do cordless brad nailers need an air compressor?
No. Cordless models like the Ryobi 18V One+ run on battery power and eliminate the need for hoses or compressors, offering greater portability.
How often should I lubricate a pneumatic brad nailer?
Add 2 to 3 drops of pneumatic tool oil into the air inlet weekly, or before each major project, to keep internal parts moving smoothly.
What causes brad nails to bend inside the magazine?
Bent nails usually result from using the wrong gauge, overloading the magazine, or dropping the tool. Always verify nail gauge and handle the nailer carefully.
Key Takeaways for Mastering Your Brad Nailer
Using a brad nailer effectively comes down to three pillars: preparation, precision, and safety. Always start with the correct 18-gauge nails sized to your material thickness. Load the magazine with proper orientation and test your depth settings on scrap wood before touching your project. Clamp every workpiece, fire with firm nose contact, and hold the trigger until each cycle completes.
Avoid the most common pitfalls: wrong nail length, incorrect angles, and hand-holding materials. With these habits in place, you will produce clean, strong, professional-quality joints on trim, molding, frames, and paneling. Power down, remove the battery, and store your tool properly after every session. Your next project will run even smoother.