How to Load a Powershot Stapler – Quick Guide
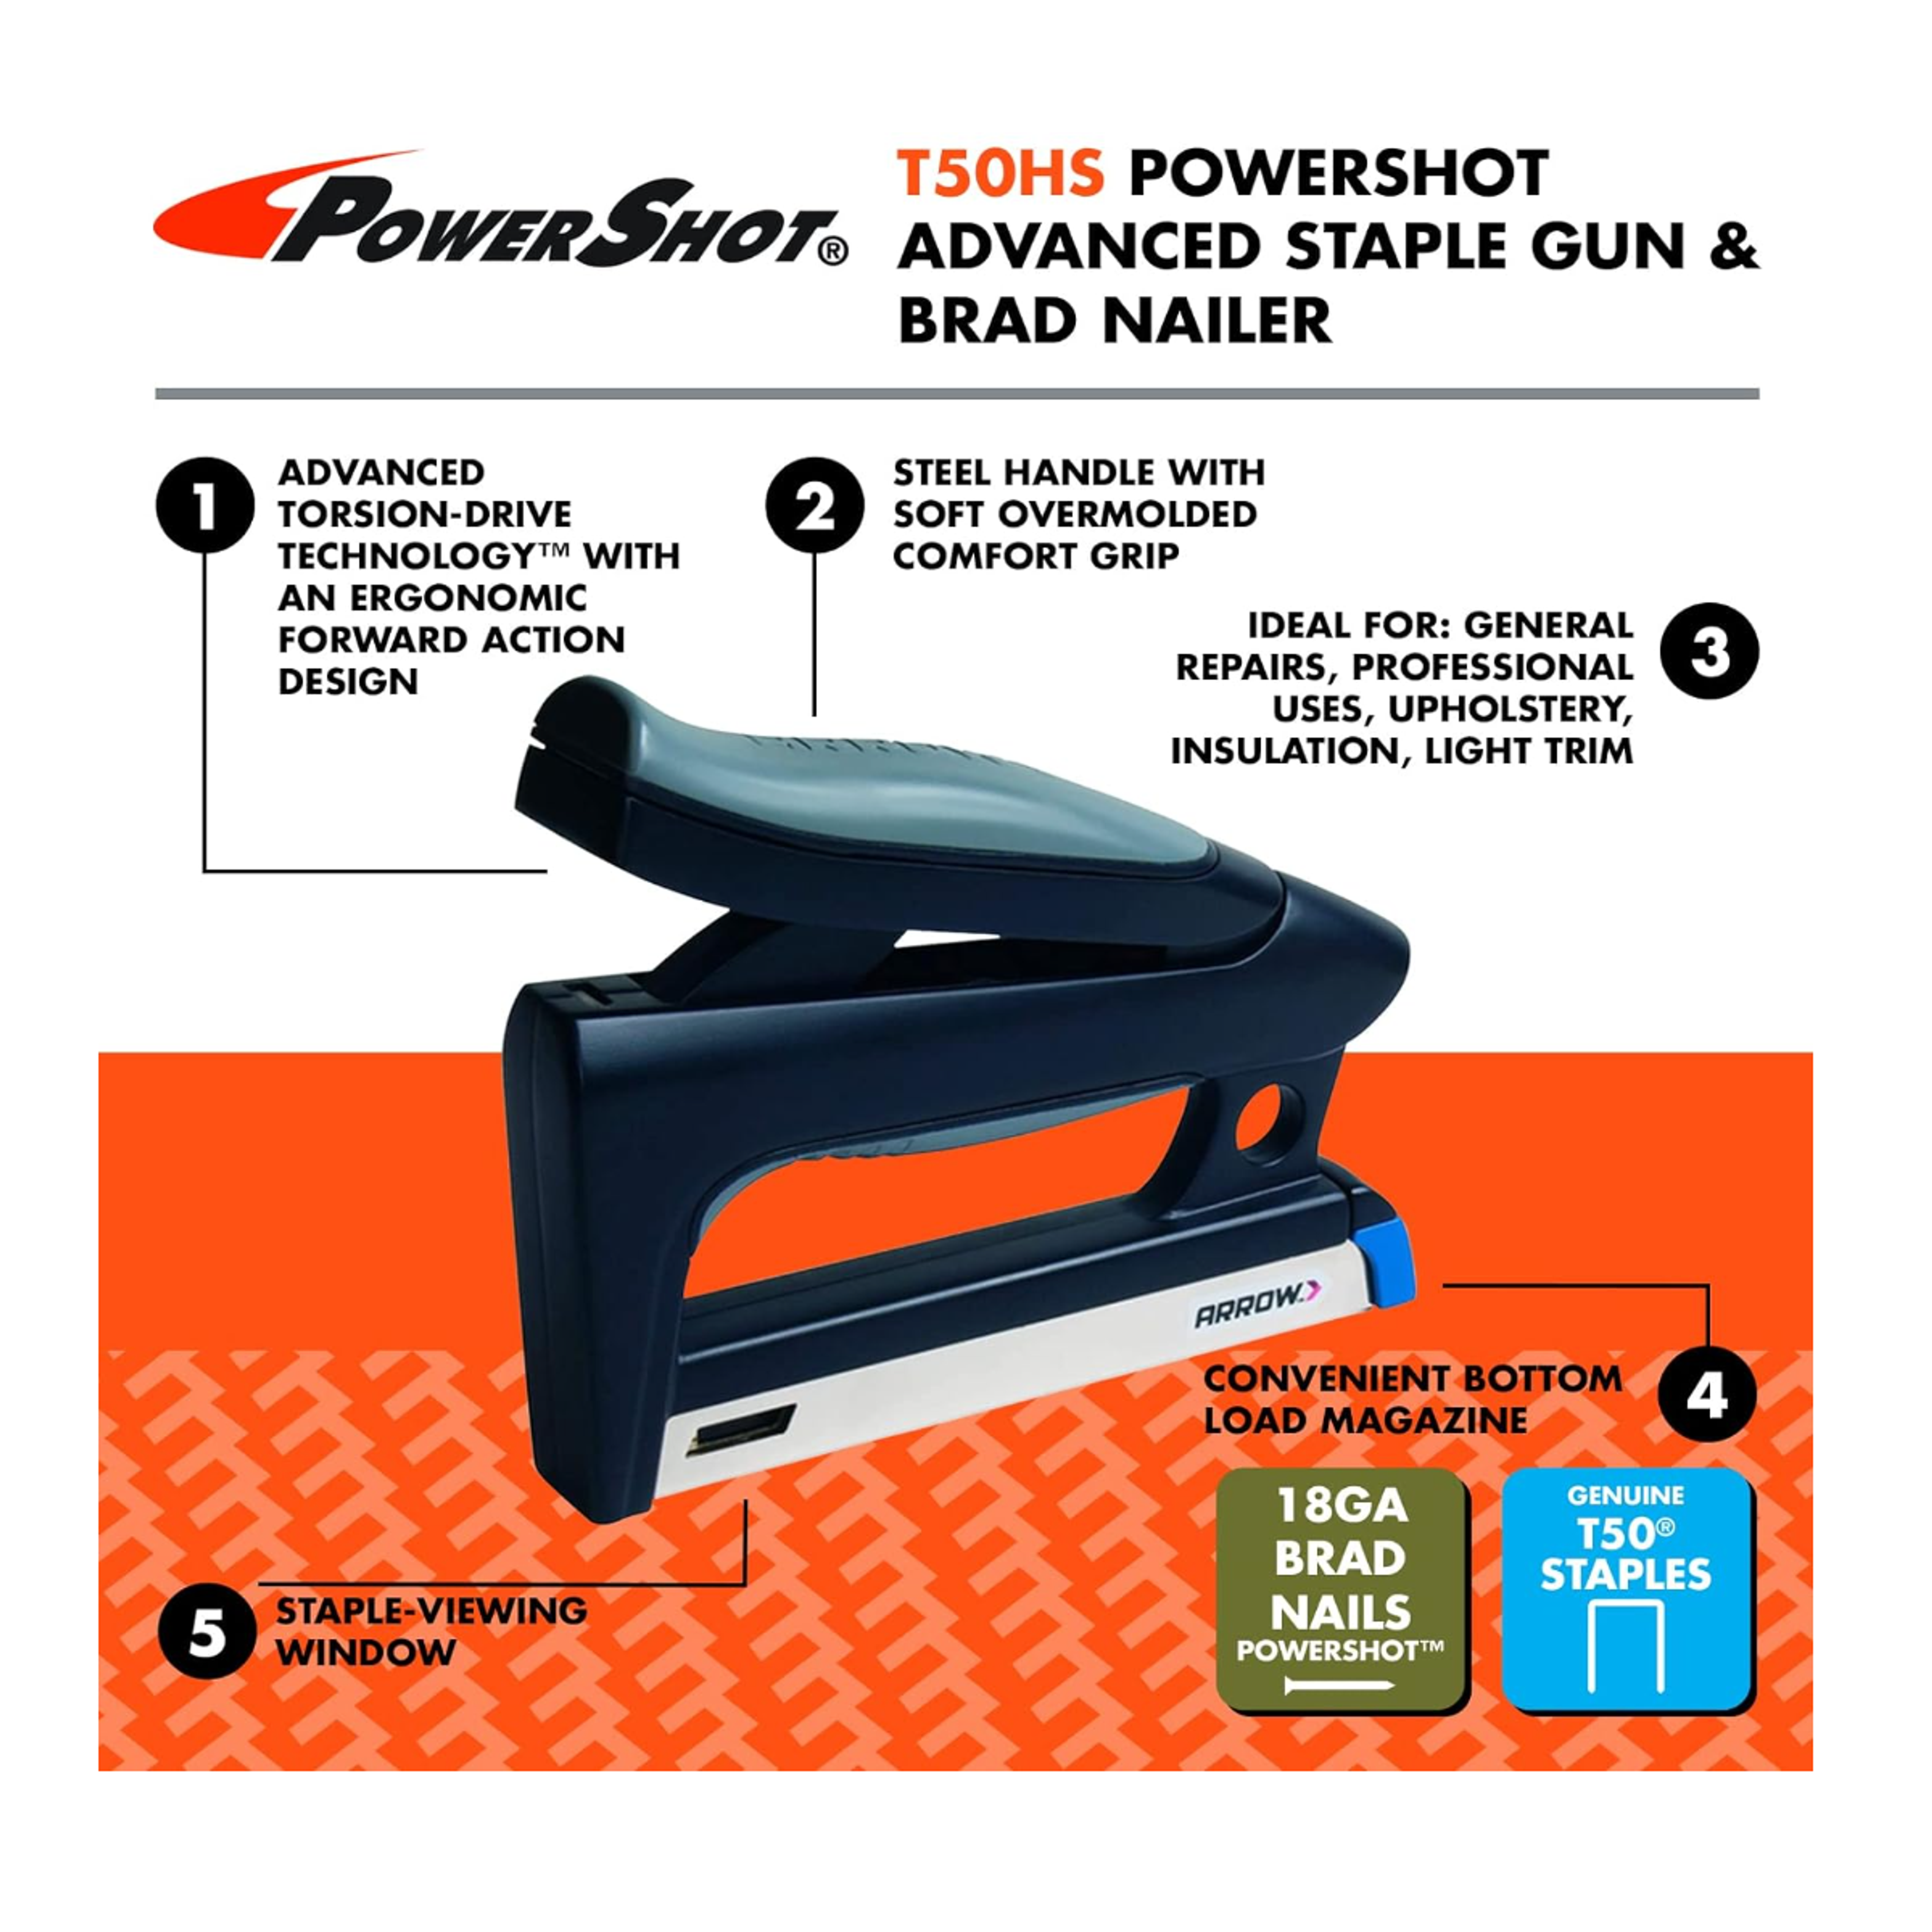
If your Arrow PowerShot stapler isn’t firing, the culprit is often a simple fix: it’s not loaded correctly. Whether you’re using the PowerShot 5700 or the T50HS model, loading the right fasteners, T50 staples or 18-gauge brad nails, properly is essential for smooth, jam-free performance. These dual-function staplers are built for versatility, tackling upholstery, insulation, trim work, and light construction with ease.
This guide walks you through exactly how to load a Powershot stapler, step by step, for both staple and brad nail use. You’ll learn model-specific procedures, avoid common mistakes, and keep your tool running like new. Whether you’re a DIYer or a pro, mastering the load means mastering productivity.
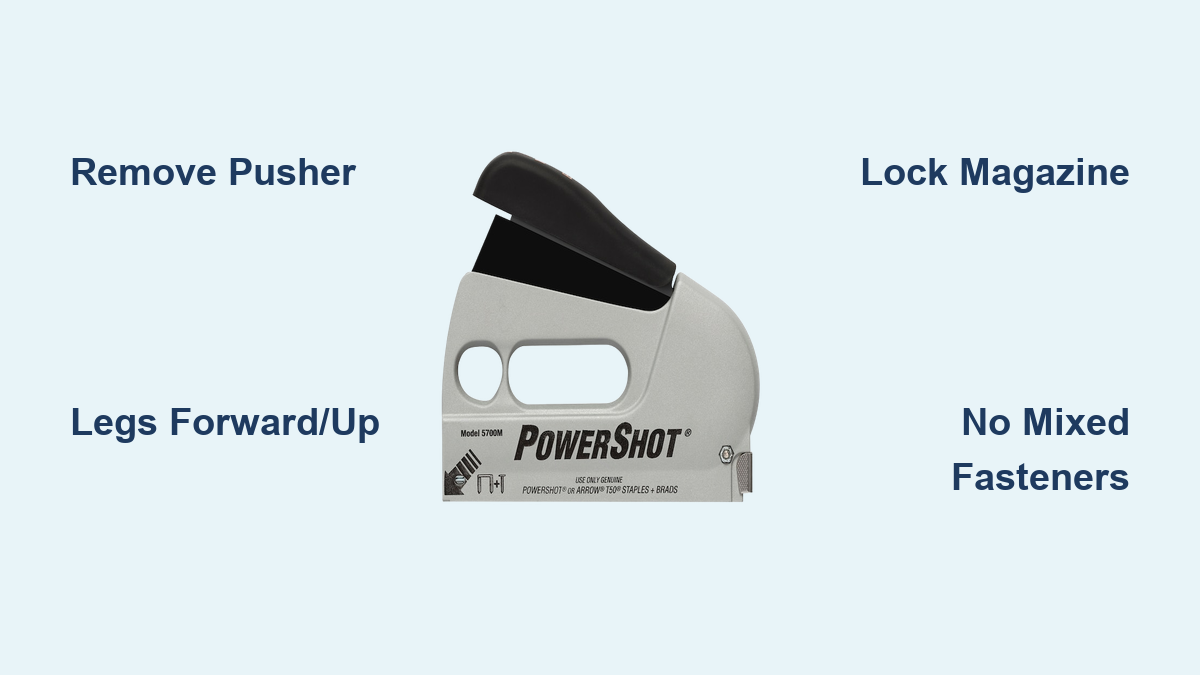
Load Staples in PowerShot 5700
The PowerShot 5700 uses a rear-load magazine design with a removable pusher. This model is known for its durability and is ideal for heavy-duty jobs.
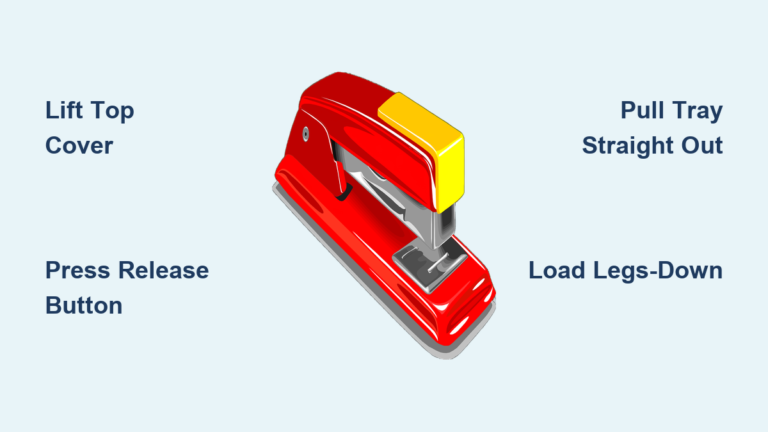
Remove the Pusher
Start by clearing the magazine. If the tool is already loaded, fire remaining staples or remove them manually. To access the magazine, locate the removable pusher at the rear of the PowerShot 5700. Press it slightly inward to release tension, then pull it straight out. Set it aside.
Warning: Never force the pusher. If it resists, check for jammed staples or debris in the rail.
Insert T50 Staples Correctly
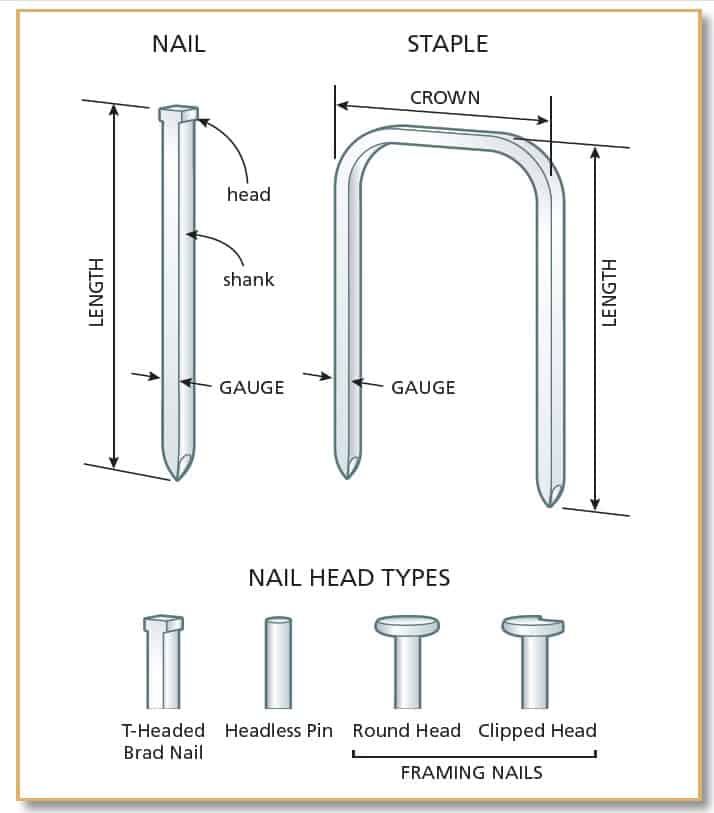
With the pusher removed, slide a full strip of 250 T50 staples into the guide rail. Position the staples so the crown faces backward and the legs point forward, toward the nose of the tool. Let gravity guide the strip into place. Do not shove it.
The key points for correct staple orientation include:
- Leg length: Use 1/4″ to 3/8″ staples (check manual for your specific job)
- Staple orientation: Legs forward, crown rearward
- Visual aid: Use the staple-viewing window on the side to confirm proper alignment
Reinsert and Lock the Pusher
Once staples are seated, reinsert the pusher into the rear of the magazine. Push it firmly until you hear a distinct click, indicating it’s locked in place. If it doesn’t seat fully, remove the staples and check for obstructions.
Pro Tip: Gently wiggle the pusher as you insert it to help it slide over the first staple.
Load Staples in T50HS Model
The T50HS features a slide-open magazine for faster reloads. This design allows full visual access, eliminating guesswork during loading.
Open the Slide Magazine
Locate the magazine latch on the side and press or slide it to unlock. Pull the magazine open to expose the loading channel. Unlike rear-load models, this design lets you see exactly where fasteners are going.
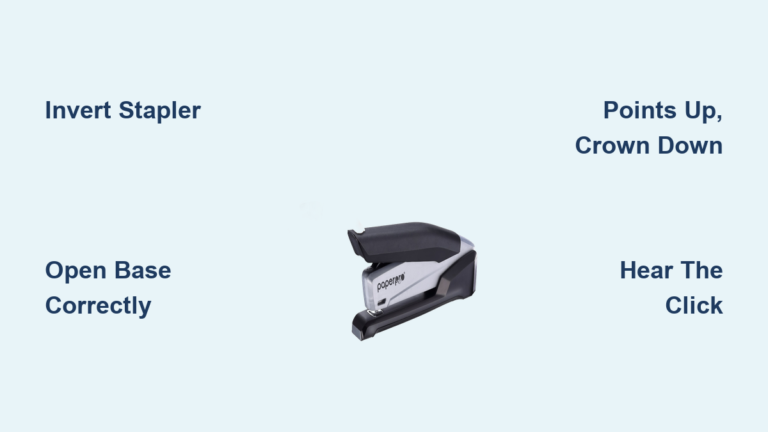
Add Staples with Legs Up
Place T50 staples into the channel with the legs pointing upward, toward the ceiling. The crown should rest flat against the base of the rail. Ensure the entire strip feeds smoothly without bending.
Critical points for correct loading include:
- Correct orientation: Legs up, crown down
- Fastener count: Supports full strips (up to 250 staples)
- Avoid overloading: Do not force extra staples beyond capacity
Critical: Loading staples legs-down is the number one cause of jams in the T50HS.
Close and Secure the Magazine
Slide the magazine shut until it clicks or locks automatically. Some models have a tactile lock indicator. Press the side to confirm it’s secure. Never operate the tool if the magazine feels loose.
Check Before Use: Tug lightly on the magazine. If it opens, relock it.
Switch to Brad Nails: Step-by-Step
The PowerShot series is dual-function, meaning you can switch between staples and brad nails. However, you must completely clear one type before loading the other.
Clear All Staples First
Before loading nails, completely empty the magazine. Mixing staples and nails causes immediate jams and can damage internal components. For PowerShot 5700, remove the pusher and clear any remnants. For T50HS, open the magazine and inspect the rail.
Fact: Even one leftover staple can block brad nail feeding.
Load 18-Gauge Brad Nails
For PowerShot 5700, follow these steps:
- Locate the nail indicator mark on the magazine side
- Insert 18-gauge brad nails (5/8″ to 1-1/4″ long) with points facing upward
- Align nails along the guide rail. Do not angle them
- Reinsert the pusher and lock it fully
For T50HS, follow these steps:
- Open the magazine
- Load brad nails with points up, aligning them with the front channel indicator
- Close the magazine until it clicks
Pro Tip: Tap the tool nose-down lightly on a soft surface to settle the first nail into position.
Confirm Correct Orientation
Both models require nail points up. The driving mechanism pushes from the back, so incorrect orientation prevents the driver blade from engaging.
Key orientation points include:
- Wrong: Points down equals misfire or jam
- Right: Points up equals smooth feeding
Visual Check: Look through the loading channel or use indicator marks.
Choose the Right Fasteners
Using incorrect fasteners is a leading cause of stapler malfunction. Arrow designs their PowerShot tools to work with specific fastener types only.
Use T50 Staples Only
The PowerShot series is designed exclusively for T50 (T-50) staples. These have a 3/8″ crown width and come in leg lengths from 1/4″ to 3/8″. Using non-T50 staples like T25 or T30 risks misfeeds and internal damage.
Common uses for T50 staples include:
- Upholstery work
- Insulation installation
- Securing wiring
Warning: Do not use galvanized or coated staples unless specified. Residue can clog the rail.
Select Compatible Brad Nails
Switch to 18-gauge brad nails when you need clean, low-visibility fastening. Acceptable lengths range from 5/8″ to 1-1/4″.
Brad nail requirements include:
- Best for: Trim, cabinetry, baseboards
- Material: Use bright steel or finish nails. Avoid hardened nails
- Nail head: Must be standard brad size (not oversized)
Note: Brad nails must be collated with paper or plastic strip, not coil-fed.
Avoid Common Loading Mistakes
Learning what not to do is just as important as learning the correct procedure. These mistakes cause most loading-related issues.
Mixing Staples and Nails
Never load both fasteners at once. The PowerShot is single-function per load. Always clear one type before switching.
Consequence: Mixed loads cause jams, misfires, and potential tool damage.
Forcing the Pusher or Magazine
If the pusher won’t insert or the magazine won’t close, stop immediately. Remove fasteners and inspect the rail for bent staples, nails, or debris. Clean with a dry brush or compressed air.
Do not hammer or pry. This can bend internal parts.
Ignoring Indicator Marks
Both models have orientation indicators. The PowerShot 5700 has a nail mark on the magazine side. The T50HS has an arrow or label on the front channel. These aren’t suggestions. They are critical for correct loading.
Operate with Forward-Action Precision
Understanding how your PowerShot works helps you use it correctly and avoid operational mistakes.
Hold the Tool Correctly
These are forward-action staplers, meaning fasteners exit the front nose. Always hold the tool with the nose pointing straight ahead. Never angle it down or sideways.
Operational guidelines include:
- Why it matters: Misalignment causes crooked staples or jams
- Best grip: Use both hands for control on dense materials
Test Fire Safely
After loading, always test fire before starting your project. Point the nose away from people and workpieces. Press the safety contact tip, then squeeze the trigger.
If nothing fires, check these items:
- Magazine lock engagement
- Fastener orientation
- Pusher seating
Safety First: Disconnect power (battery or air line) when clearing jams.
Troubleshoot Loading Issues
Even with correct loading, problems can occur. Knowing how to diagnose issues keeps your tool running smoothly.
Stapler Won’t Fire
Possible causes include magazine not fully locked, pusher not seated, or empty or jammed magazine.
To fix this issue:
- Open magazine or remove pusher
- Check for obstructions
- Reassemble and lock securely
Quick Test: Press the pusher in. Does it move? If yes, it’s not locked.
Frequent Jams
Common reasons for jams include wrong fastener type, bent or damaged staples or nails, or debris in the rail.
The solution involves:
- Clear the magazine
- Clean the guide rail with a dry cloth
- Reload with fresh, straight fasteners
Prevention Tip: Store staples and nails in a dry place to avoid rust.
Incomplete Fastener Drive
If staples or nails don’t fully seat, check power source (battery charge or air pressure). Ensure fastener length matches material thickness. Verify driver blade isn’t worn.
Rule of Thumb: Staples should penetrate but not blow through thin materials.
Maintain Your Powershot Stapler
Regular maintenance extends tool life and prevents loading issues caused by wear and debris.
Clean After Every Use
Dust, wood chips, and adhesive residue build up fast. After each job, open the magazine or remove the pusher. Wipe the rail and nose with a dry, lint-free cloth. Use compressed air to blow out debris.
Avoid water or solvents. They can corrode internal parts.
Lubricate the Guide Rail
For pneumatic or electric models, apply 1 to 2 drops of tool-specific oil to the guide rail monthly. Do not over-lubricate. Excess oil attracts dirt.
Maintenance guidelines include:
- Best oil: Lightweight pneumatic tool oil
- Frequency: Every 10,000 cycles or monthly (whichever comes first)
Inspect the Pusher and Spring
Over time, the pusher spring can weaken. If the pusher doesn’t advance staples smoothly, remove it and stretch slightly (if metal). Replace if cracked or worn.
Warranty Note: Arrow offers a limited lifetime warranty. Keep your receipt and register the tool.
Model Differences at a Glance
Understanding the differences between models helps you choose the right loading procedure for your tool.
| Feature | PowerShot 5700 | T50HS |
|---|---|---|
| Loading Type | Rear-load | Slide-open |
| Speed | Moderate | Fast reload |
| Visibility | Side window | Full visual access |
| Ease of Use | Requires pusher handling | Tool-free slide |
| Best For | Heavy-duty jobs | Frequent switching |
User Verdict: The T50HS is faster to reload. The 5700 is more rugged for continuous use.
Real-World Use Tips
These practical tips help you get the most from your PowerShot in common applications.
For Upholstery Work
Use 3/8″ T50 staples for thick fabric. Load in a well-lit area to avoid upside-down staples. Keep a spare strip handy for quick reloads.
For Trim and Baseboards
Switch to 1″ brad nails for clean finishes. Pre-drill near ends to prevent splitting. Use forward pressure to ensure full nail drive.
For Insulation and Wiring
Load 1/4″ staples for flexible duct or cable ties. Work in a straight line. Angled shots cause jams. Use the viewing window (5700) to monitor staple count.
Key Takeaways for Loading Your Powershot Stapler
Loading a Powershot stapler correctly isn’t optional. It’s the key to reliability. Whether you’re using the rear-load 5700 or the slide-open T50HS, correct orientation, full locking, and clean maintenance make all the difference.
The most critical points to remember are these. First, always remove the pusher (5700) or slide open the magazine (T50HS) before loading. Second, orient staples with legs forward (5700) or legs up (T50HS). Third, orient brad nails with points up in both models. Fourth, always lock the pusher or close the magazine fully before firing. Fifth, never mix staples and nails in the same load.
Follow these steps, avoid common errors, and your Arrow PowerShot will deliver precision with every trigger pull. For model-specific details, always consult your manual. But this guide covers everything you need to load, switch, and operate with confidence.
Frequently Asked Questions About Loading a Powershot Stapler
What type of staples does a PowerShot 5700 use?
The PowerShot 5700 uses T50 staples exclusively. These have a 3/8″ crown width and come in leg lengths from 1/4″ to 3/8″. Using other staple types risks damaging the tool.
How do you load brad nails in a PowerShot stapler?
For both models, you must first remove all staples from the magazine. Then load 18-gauge brad nails with the points facing upward. Ensure the nails align with the indicator marks on the magazine. Finally, close and lock the magazine securely.
Why does my PowerShot stapler keep jamming?
Jamming usually results from incorrect fastener orientation, mixed fasteners in the magazine, or debris in the guide rail. Check that staples or nails are loaded correctly, the magazine is fully locked, and clean any debris from the rail.
Can you use T50HS staples in a PowerShot 5700?
Yes, both models use the same T50 staples. The difference is in loading orientation. The 5700 requires legs forward (crown backward), while the T50HS requires legs up (crown down).
How often should I clean my PowerShot stapler?
Clean the magazine after every use to prevent dust and debris buildup. Wipe the rail and nose with a dry cloth. Use compressed air for hard-to-reach areas. Regular cleaning prevents jams and extends tool life.
What’s the difference between PowerShot 5700 and T50HS loading?
The 5700 uses a rear-load system with a removable pusher. The T50HS uses a slide-open magazine on the side for faster reloads. Both accept the same fasteners, but orientation differs slightly between models.