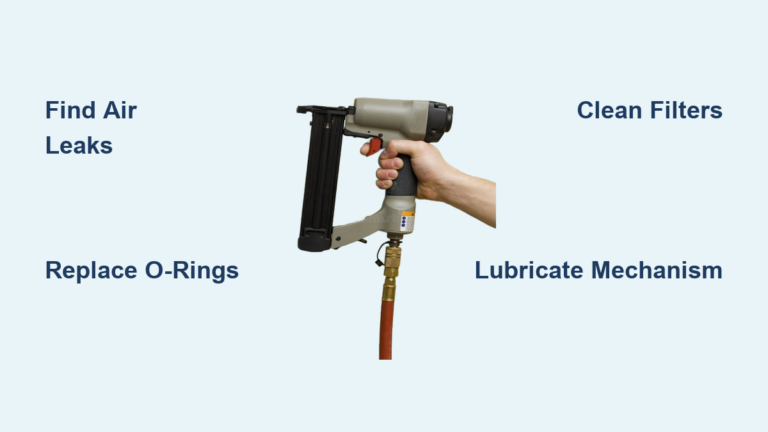
How an Air Nailer Works: Quick Guide
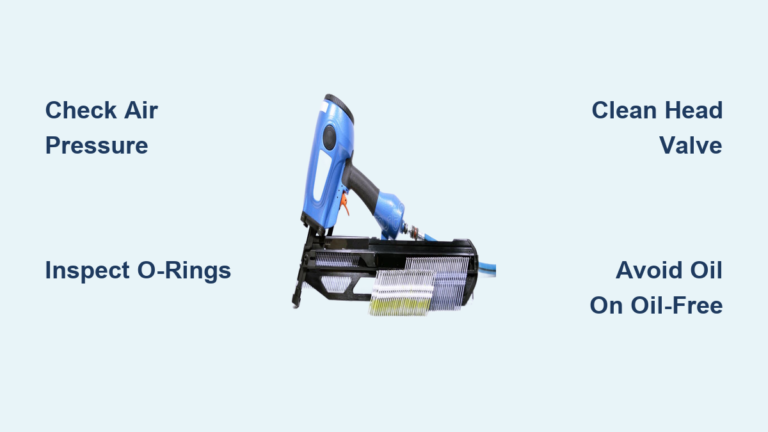
If you’ve ever felt the rapid-fire punch of a pneumatic nailer sinking fasteners into wood, you’ve witnessed compressed air doing the heavy lifting. An air nailer works by channeling pressurized air into a cylinder to drive a piston downward, striking nails at high velocity. Unlike manual hammers or battery-powered tools, pneumatic nailers depend on an external compressor to supply the force behind every shot. This design delivers unmatched speed, consistency, and power on professional job sites.
The magic happens through a split-second cycle of pressure changes that move a piston up and down inside the tool. Pull the trigger, and air pressure shifts to slam the piston forward. Release the trigger, and stored air pressure resets the system for the next nail. Learning how this cycle works helps you fix jams faster, prevent costly damage, and keep your tool running at peak performance. In this guide, we’ll walk through every stage of the firing process, break down the key components, and share maintenance tips that extend tool life.
Core Operating Principle
Compressed Air Drives the Piston
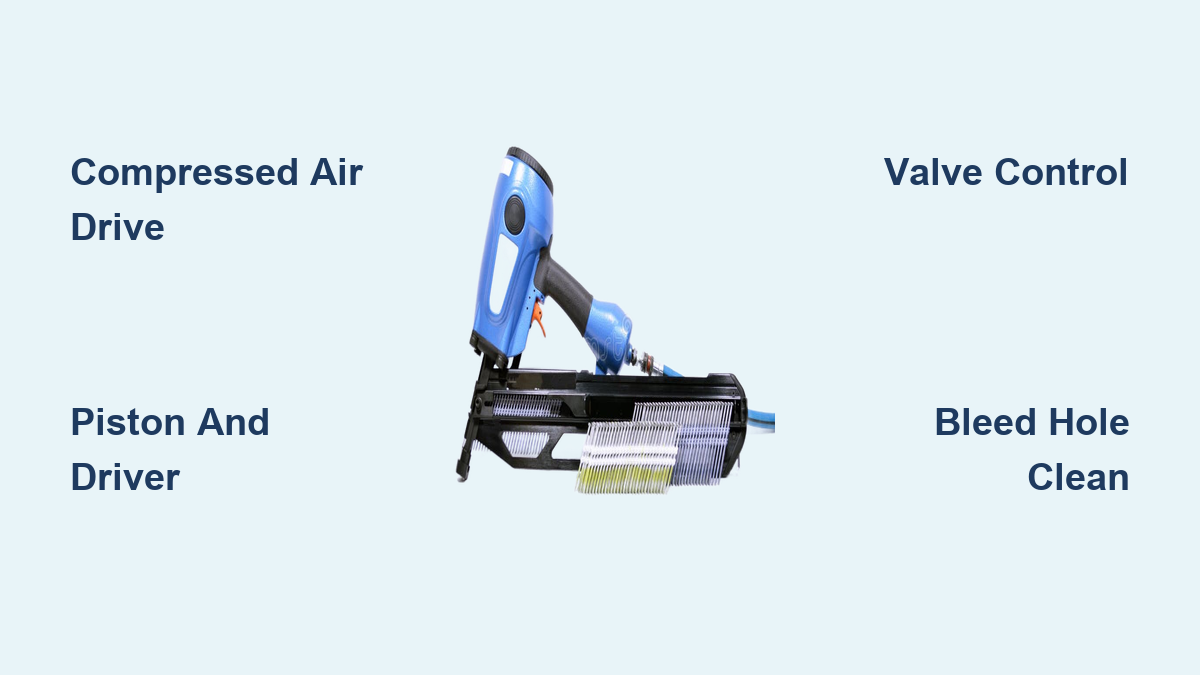
At the heart of every pneumatic nailer lies a simple but powerful concept: compressed air moves a piston to drive nails. The tool connects via hose to an air compressor that pumps high-pressure air, typically between 60 and 90 PSI, into the nailer’s internal reservoir. This constant supply of pressurized air fuels each firing cycle. Instead of relying on motors or springs alone, the system uses controlled bursts of air to create precise, repeatable impacts. Top-tier models can fire up to 20 nails per second, outpacing battery-powered alternatives in both speed and reliability.
Impact Cylinder Launches the Nail
Inside the tool, the piston sits within a sealed cylinder connected to a long metal blade called the driver. When pressurized air is directed above the piston, it forces the entire assembly downward with tremendous force. The driver strikes the head of the nail, pushing it through wood or other materials at speeds reaching 1,400 feet per second. This impact-based mechanism mimics a hammer but delivers far greater consistency. Once the nail is driven, the system automatically reverses the pressure to reset the piston, readying the tool for the next trigger pull.
Key Components Breakdown
Air Supply System
Compressor Generates Pressure
The air compressor is the powerhouse behind the nailer. Whether electric or gas-powered, it draws in atmospheric air and compresses it using piston cylinders. As the compressor runs, it stores pressurized air in a tank, delivering it through a hose to the nail gun. Without sufficient CFM (cubic feet per minute) and PSI output, the nailer will misfire or stall. For example, a roofing nailer may need 2.5 CFM at 90 PSI, while a finish nailer runs efficiently on 1.0 CFM at 80 PSI.
Hose Delivers Air to Tool
A durable air hose links the compressor to the nailer, allowing pressurized air to flow continuously into the tool’s reservoir. Even small leaks or kinks in the hose can reduce performance. Always use a hose rated for your tool’s PSI and keep connections tight to prevent pressure loss.
Internal Mechanics
Piston and Driver Assembly
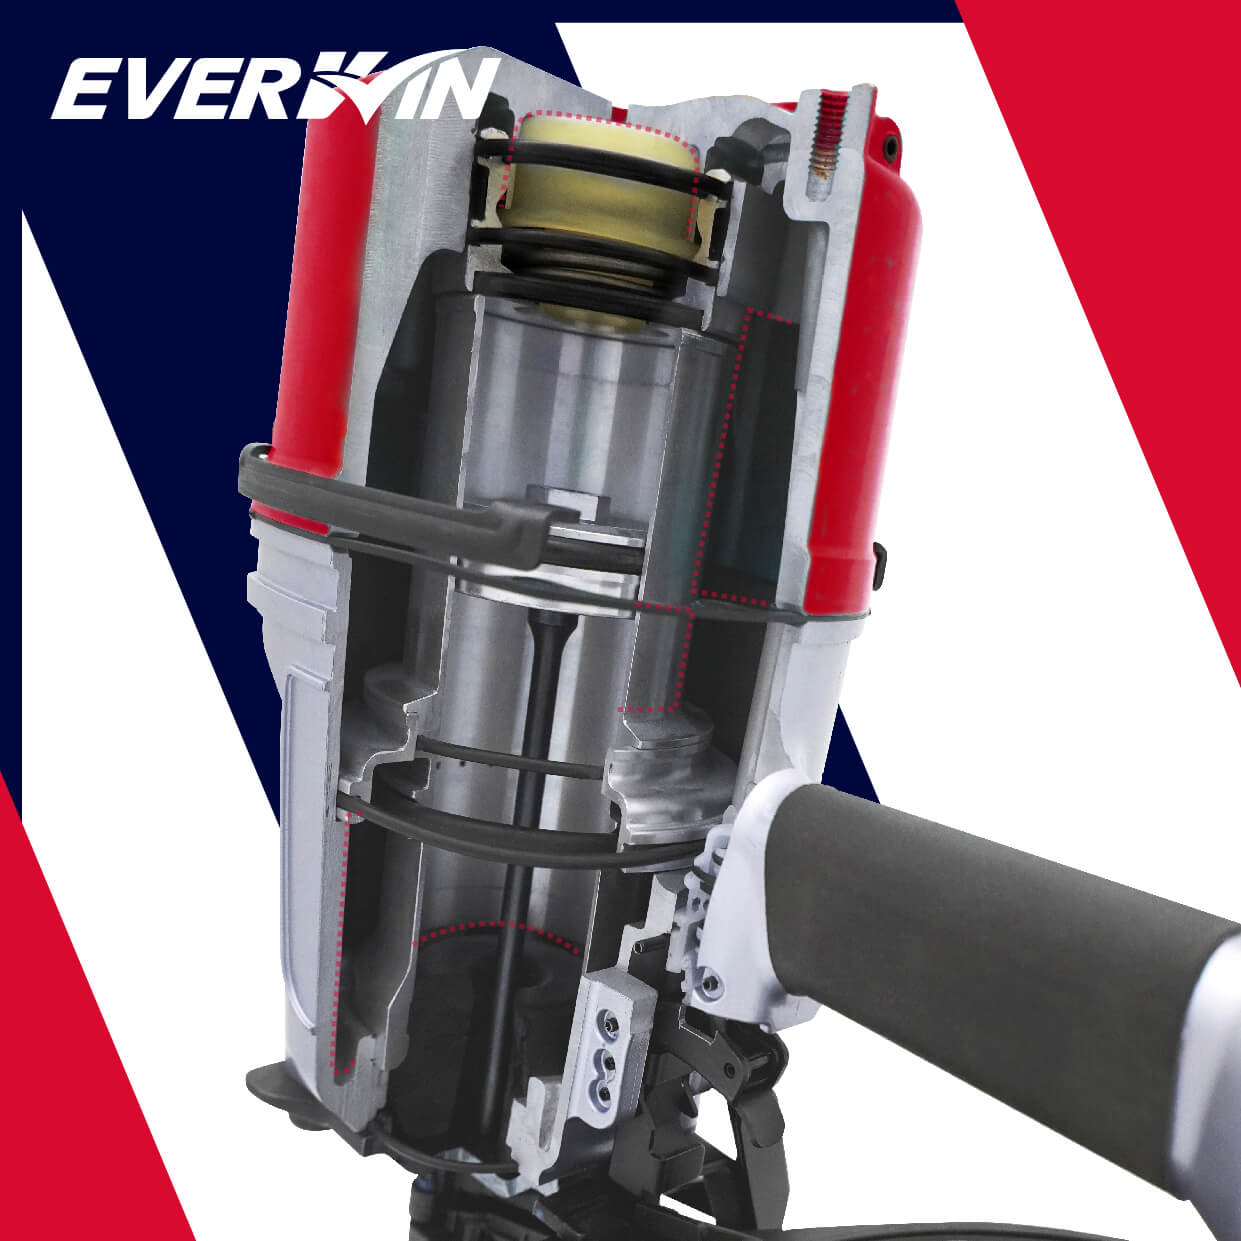
The sliding piston is the engine of the air nailer. Attached to its base is the driver blade, which extends down into the nose of the tool. When air pressure pushes the piston down, the driver follows, striking the nail directly. This direct-transfer design ensures maximum energy delivery with minimal lag. High-speed operation means these parts must be precisely machined and well-lubricated to prevent wear.
Head Valve Controls Airflow
Positioned just above the piston, the head valve (or valve plunger) acts as a gatekeeper for compressed air. In the resting state, equal pressure on both sides of the valve, plus a small spring, keeps it sealed against the piston head. This blocks air from entering the top chamber. When the trigger is pulled, pressure above the valve drops, allowing the valve to rise and open the path for air to rush in and push the piston down.
Return Air Chamber Resets the Piston
As the piston moves down, it compresses the air beneath it. This displaced air escapes through small bleed holes in the cylinder wall and flows into the return air chamber. Pressure builds in this chamber during the stroke. When the trigger is released, this stored pressure pushes the piston back up, resetting the tool. This clever design eliminates the need for heavy return springs in most modern models.
Trigger Valve Initiates Firing
Pulling the trigger activates the trigger valve, which cuts off air supply to the top of the head valve and vents pressure. This sudden imbalance allows the head valve to lift, opening the main airway to the piston. Releasing the trigger restores pressure, closing the valve and preparing the system for the next shot.
Step-by-Step Firing Cycle
Resting State: Pressure Balanced
When the tool is idle, compressed air fills the reservoir and flows around the bottom of the head valve. It also enters the channel above the valve through the trigger valve. Since pressure is equal on both sides, the spring pushes the valve down, sealing the piston chamber. No air reaches the top of the piston, so it stays at the top of the cylinder, ready but inactive.
Visual cue: Driver blade is fully retracted, nose clear.
Trigger Pull: Valve Opens
As you pull the trigger, the trigger valve shifts, blocking air flow to the top of the head valve and venting that area to the atmosphere. Now, only the high-pressure air below the valve remains, creating an upward force. This overcomes the spring tension, lifting the head valve off its seat.
Pro tip: A weak or sticky valve can delay this step, causing misfires.
Downward Stroke: Nail Is Fired
With the head valve open, compressed air floods into the space above the piston. The pressure above now exceeds the pressure below, forcing the piston and driver to accelerate downward. The driver strikes the nail, launching it into the workpiece at extreme speed.
Fact: Nails can reach 1,400 feet per second, more than twice the speed of sound.
Air Displacement: Charging the Return
As the piston descends, it compresses the air in the lower cylinder. This air escapes through tiny bleed holes into the return air chamber. The longer the stroke, the more air is forced in, increasing pressure for the reset phase.
Warning: Clogged bleed holes prevent reset. Clean them regularly.
Trigger Release: Piston Resets
When you release the trigger, the trigger valve resets, restoring air pressure above the head valve. This pushes the valve back down, sealing the piston chamber. With no downward force, the high pressure in the return air chamber pushes the piston upward. Exhaust air above the piston escapes through the exhaust port at the top.
Result: Driver retracts, tool is ready for the next nail.
Performance and Specifications
Speed and Efficiency Metrics
Pneumatic nailers outperform manual hammers and many battery tools in speed and consistency. A high-end model can complete 20 full cycles per second, firing and resetting 20 times every second. This translates to drastically reduced job times, often cutting labor in half compared to hand nailing.
Real-world impact: Framing a wall takes minutes instead of hours.
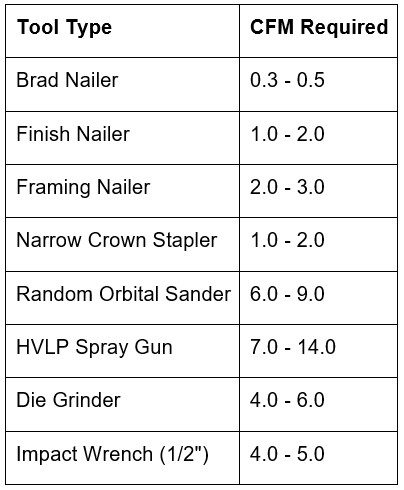
Air Requirements by Tool Type
Matching your compressor to your nailer is critical. Too little airflow causes jams and weak drives.
| Nailer Type | CFM Required | PSI Range |
|---|---|---|
| Finish Nailer | 0.5 – 1.0 | 60 – 90 |
| Palm Nailer | 1.0 – 2.0 | 70 – 90 |
| Flooring Nailer | ~2.0 | 90 |
| Roofing Nailer | 2.2 – 2.5 | 90 |
Tip: Always check your nailer’s label. Underpowered compressors are a top cause of malfunctions.
Maintenance Essentials
Lubrication Keeps It Running
Even “oil-less” air nailers benefit from regular lubrication. Without it, metal parts rub dry, leading to scored pistons and failed seals.
How to Oil Your Nailer
- Use air tool oil, 3-in-1 oil, or silicone oil.
- Apply 3 drops into the air inlet every 8 hours of use.
- Fire the tool a few times to distribute oil.
Neglect consequence: Seized mechanisms and costly repairs.
Cleaning Prevents Jams
Dust, debris, and old oil sludge can clog the bleed holes and valve passages, preventing proper reset.
Cleaning Procedure
- Disconnect from air supply.
- Remove magazine and clear any nails.
- Use compressed air or a fine wire to clear bleed holes.
- Wipe internal surfaces with a clean cloth.
- Reassemble and lubricate.
Expert note: Stuck drivers are often due to clogged return chambers, not broken parts.
Common Failures and Fixes
Valve Isn’t Sealing
If the head valve doesn’t seal, pressure leaks and the piston won’t fire.
- Cause: Worn seals, dirt, or damaged plunger.
- Fix: Clean or replace the valve assembly.
Piston Won’t Retract
The driver stays down after firing? Likely a reset issue.
- Check: Clogged bleed holes, low air pressure, or damaged O-rings.
- Solution: Clean holes, increase PSI, or replace seals (often 60–70 durometer metric O-rings).
Tool Misfires
No nail drive despite a trigger pull?
- Diagnose: Weak compressor, kinked hose, or faulty trigger valve.
- Test: Try on another compressor to isolate the problem.
Pneumatic vs. Battery Nailers

Why Pneumatic Still Dominates
Despite advances in battery tech, pneumatic nailers remain the choice for industrial work. They’re faster, lighter (without battery weight), and more cost-effective over time.
| Feature | Pneumatic | Battery-Powered |
|---|---|---|
| Speed | Up to 20 cycles/sec | Slower, variable |
| Weight (tool only) | Lighter | Heavier (battery included) |
| Portability | Tethered | Cordless freedom |
| Cost | Lower upfront | Higher initial investment |
| Best For | High-volume job sites | Remote or quick repairs |
Reality check: Battery tools are convenient, but not yet equal in power or speed for heavy framing.
Safety and Longevity Tips
Always Follow Safety Protocols
Air nailers fire at lethal speeds. Never point them at people or body parts.
- Wear safety glasses and hearing protection.
- Use nose contact safety if equipped.
- Keep hands clear of the nose during firing.
Extend Tool Life with Care
- Lubricate regularly. Don’t wait for problems.
- Drain moisture from the compressor tank daily.
- Store properly. Hang the tool, don’t lay it down with nails loaded.
Pro habit: Do a quick visual check before each use. Look for leaks, cracks, or loose parts.
Frequently Asked Questions About Air Nailers
What PSI should an air nailer run at?
Most pneumatic nailers operate efficiently between 60 and 90 PSI. Finish nailers typically run at lower pressures (60–90 PSI), while roofing and flooring nailers need closer to 90 PSI. Always check your tool’s specifications to avoid underpowering or overpressurizing the system.
Can you use an air nailer without a compressor?
No. Pneumatic nailers require an external air compressor to generate the pressurized air that drives the piston. Without a compressor, the tool cannot function. This is the main trade-off compared to battery-powered alternatives, which offer cordless convenience.
How often should you oil a pneumatic nailer?
A standard recommendation is 3 drops of air tool oil every 8 hours of continuous use. Apply the oil directly into the pneumatic connector hole, then fire the tool a few times to distribute it. Even “oil-less” models benefit from occasional lubrication to prevent seal degradation.
Why does my nailer not retract after firing?
A driver that stays down usually points to clogged bleed holes or a weak return air chamber. Dirt and debris can block the small passages that allow air to reset the piston. Cleaning these holes with compressed air or a fine wire typically restores proper function.
What is the difference between a finish nailer and a framing nailer?
Finish nailers use thinner nails (15 or 16 gauge) for trim work and require 0.5 to 1.0 CFM. Framing nailers drive thicker nails for structural work and need higher CFM ratings. Both run on similar PSI ranges, but framing tools are built for heavier-duty cycles.
Are pneumatic nailers safer than battery-powered models?
Both carry risks, but pneumatic nailers include mechanical safety features like nose contact triggers that prevent accidental firing. The high nail velocity (up to 1,400 fps) means strict safety protocols are essential regardless of power source.
Key Takeaways for Understanding Air Nailers
An air nailer converts compressed air into rapid mechanical impact through a precise cycle of pressure shifts. The piston, head valve, and return air chamber work together to deliver speed, power, and reliability that battery tools can’t yet match. Understanding these internal mechanics helps you diagnose jams, perform proper maintenance, and extend tool life significantly.
Your next step: Perform a quick maintenance check on your air nailer today. Lubricate the air inlet, inspect the hose for leaks, and clear any visible debris from the nose. A few minutes of care now prevents hours of downtime later.