Paslode Nailer Flashing Green Light: What It Means
Your Paslode framing nailer fires once, sparks, then shuts down with a flashing green-red light. The fan still runs, the spark looked fine, and the handle felt hot. This exact sequence points to a specific internal fault, not a dead battery or bad fuel cell. Many contractors hit this wall mid-project and assume the tool is shot. It usually isn’t.
Below you’ll learn what the flashing pattern means, which component causes it 90% of the time, how to test that component with a multimeter, and where to buy a genuine replacement without getting scammed online.
Decode the Flashing Green-Red Light Pattern
What the alternating lights signal
A solid green light means ready. A solid red means low battery or charging. A flashing green-red sequence means the tool started normally, attempted ignition, detected a fault, and locked itself out for safety. This is a post-ignition shutdown, not a startup failure.
The microprocessor monitors fan speed, spark quality, and coil response during every shot. If any reading falls outside expected parameters, even briefly, the system refuses to fire again until power cycles.
Why one successful fire triggers the lockout
The hot handle you noticed is the biggest clue. Excessive heat during a single shot means current draw spiked beyond normal range. This happens when a component works at the edge of failure: it passes the first cycle, overheats instantly, and trips thermal protection. The fan keeps running because it’s on a separate circuit that isn’t affected yet.
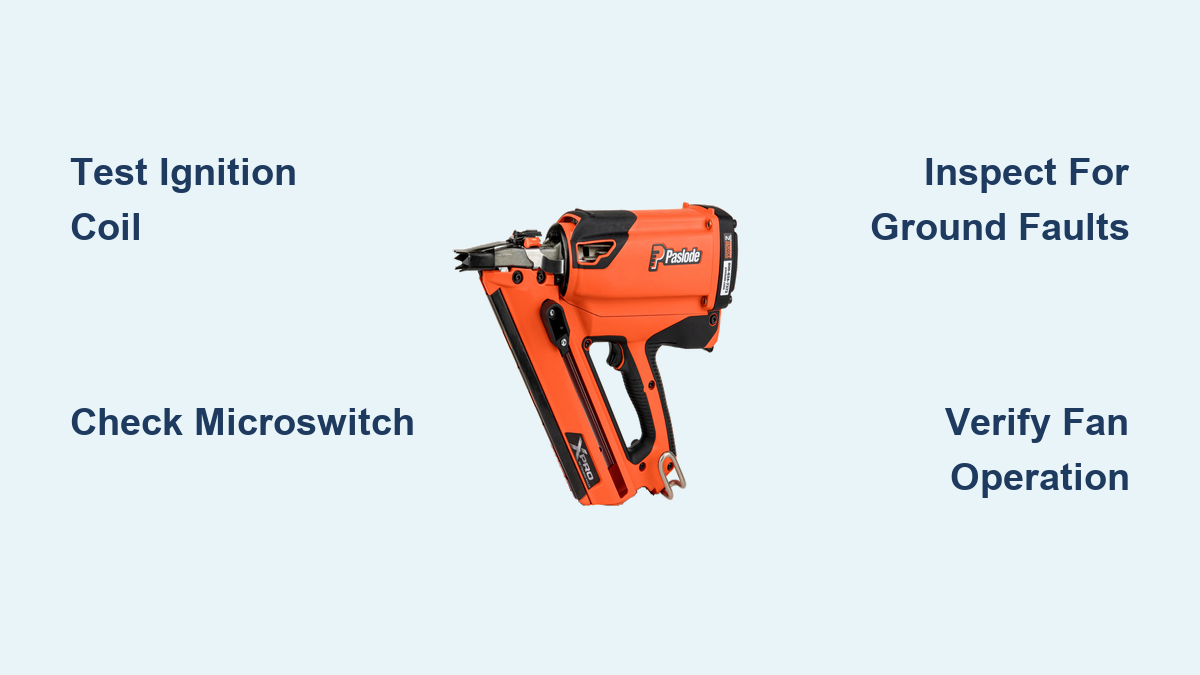
Test the Ignition Coil First
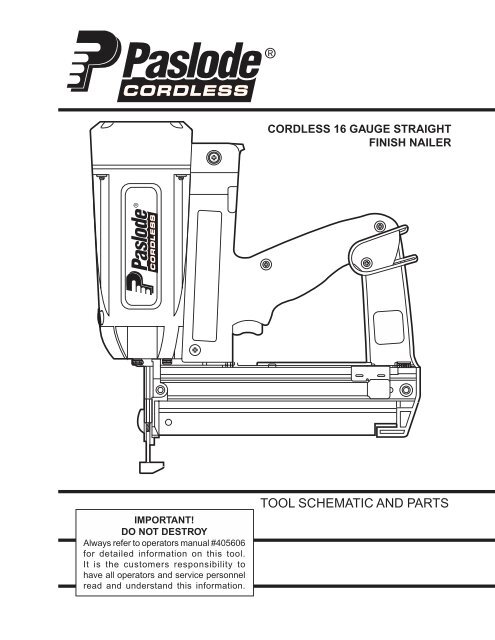
Why the coil is the most likely cause
The ignition coil generates the high-voltage pulse that sparks the fuel cell. When its internal windings start shorting, the coil can produce one good spark, overheat within milliseconds, and trigger the safety shutdown. This matches your symptoms exactly: one fire, hot handle, then locked out.
Coils degrade from heat cycles, vibration, and age. The damage is often invisible from the outside, so you can’t diagnose it by looking alone.
How to test the coil with a multimeter
- Remove the battery and detach the head assembly.
- Locate the coil wrapped around the spark plug area.
- Set your multimeter to resistance mode (ohms).
- Touch the probes to the coil’s two terminals.
- Read the result:
– Normal range: 2.0 to 3.5 ohms (varies by model).
– Near zero ohms: shorted coil, replace it.
– Infinite resistance: open circuit, replace it. - Test for grounding: touch one probe to a terminal and the other to the metal housing. Any continuity means the coil is shorted to ground.
If resistance looks borderline but symptoms continue, replace the coil anyway. Coils can pass static tests but fail under real voltage load.
Check the Head Assembly Microswitch
What this small switch controls
A microswitch sits on the front of the head assembly. It tells the tool’s computer that the head is properly seated. If this switch is loose, corroded, or internally damaged, it can allow one cycle and then send a false signal on the next attempt.
How to verify the switch works
- Power off the tool and remove the head.
- Reattach the head loosely so you can reach the switch.
- Press the switch manually with your finger.
- Power on and try to fire while holding the switch.
- If the tool fires only while you press the switch, the microswitch is faulty.
Replace the switch if contacts look corroded, the lever doesn’t snap back crisply, or resistance readings jump around when you wiggle it.
Inspect for Hidden Wire Grounding
Where shorts hide inside the tool
Heat and vibration wear down wire insulation, especially near the head and handle junctions. A wire that grounds to the metal chassis intermittently can let one ignition through, then trip the system on the second attempt.
How to find a ground fault
- Disconnect the battery and open the outer casing.
- Focus on wires near the fan motor, coil, and trigger assembly.
- Look for melted insulation, pinched wires, or black carbon marks.
- Set your multimeter to continuity mode.
- Touch one probe to each wire and the other to the bare metal frame.
- Any beep or low resistance reading means a ground fault.
Wiggle the wires while testing. Intermittent shorts only show up when the cable moves.
Verify Fan Operation Under Real Load
Why the fan matters beyond cooling
The fan is part of the safety interlock, not just a cooling feature. The microprocessor checks fan speed before, during, and after every shot. If the fan slows or stalls at any point, the tool shuts down to prevent overheating or incomplete combustion.
How to test fan function properly
- Reconnect the head and lay the tool on its side so the fan spins freely.
- Pull the trigger without engaging the safety: the fan should start within one second.
- Hold for five seconds: speed should stay steady.
- Engage the safety and pull the trigger to fire.
- Watch the fan during ignition: it must keep running.
- After firing, the fan should run for two to three seconds to clear exhaust gases.
If the fan hesitates, slows mid-cycle, or stops early, check the motor brushes, battery voltage, and blade clearance. A weak battery mimics fan failure, so always test with a fully charged unit.
Replace the Coil: Best Sources and Installation Steps

Where to buy a genuine Paslode coil
Use only OEM parts. Aftermarket coils often fail within weeks and can damage other components.
Paslode.com (Official)
Enter your model number on the site, navigate to Parts or Support, and find the exploded diagram for your tool. The coil is listed under the head assembly section. You can order directly or find a nearby dealer through the dealer locator.
Authorized Local Dealers
Use the dealer locator on Paslode.com with your zip code. Many dealers stock common coils and offer same-day shipping or in-store pickup. Some provide bench testing if you want confirmation before buying.
Trusted Online Retailers
Amazon, eBay, and HVAC supply sites list Paslode coils, but verify the seller. Look for “OEM” in the listing and confirm the part number matches your tool. Search by part number (such as 901152 or 901153) for the fastest match.
Step-by-step coil replacement
- Remove the battery.
- Unscrew and detach the head assembly.
- Open the handle casing (usually Phillips screws).
- Locate the coil: a black cylinder near the spark plug.
- Disconnect the two wires from the coil terminals.
- Unscrew the mounting bracket and remove the old coil.
- Seat the new coil and reconnect the wires.
- Reassemble the tool and test fire.
This takes 15 to 25 minutes with basic hand tools. Take a photo of the wire routing before disconnecting anything.
Prevent Overheating and Future Lockouts

Follow the 30-30 firing rule
Continuous firing traps heat in the head assembly. Limit yourself to 30 nails in a row, then rest the tool for 30 seconds. This gives the coil and fan time to dissipate heat before the next cycle.
Keep vents and fan blades clean
Dust and nail debris block airflow fast. After every job, blow out the vents with compressed air and wipe the fan blades with a dry cloth. Restricted airflow makes the fan work harder and shortens coil life.
Replace fuel cells and check air filters regularly
Dirty fuel and clogged filters cause incomplete combustion, which raises internal temperatures and speeds up coil wear. Swap fuel cells every 1,000 to 1,500 nails and inspect the air filter monthly.
When to Contact Paslode Directly
Warranty coverage and service options
Most Paslode framing nailers carry a five-year warranty. If your tool is within that window, contact Paslode before opening the casing. Unauthorized internal repairs can void coverage.
How to reach support:
– Website: paslode.com/support
– Phone: 1-800-PASLODE (1-800-727-5633)
Have your model and serial number ready. Both are printed on the label near the battery compartment. Support can confirm warranty status, walk you through diagnostics, or arrange a parts shipment.
Frequently Asked Questions About Paslode Framing Nailer Flashing Green Light
Why does my Paslode framing nailer flash green and red after one shot?
The flashing green-red pattern indicates a post-ignition fault. The microprocessor detected an issue during or immediately after firing and locked the tool out. A hot handle combined with this pattern strongly suggests the ignition coil failed under load.
Can a bad coil cause my Paslode to fire once then stop?
Yes. A degrading coil can produce one good spark, overheat instantly, and trigger the safety shutdown. The tool may seem fine on the first shot, but the coil’s internal resistance has already crossed the failure threshold.
How do I know if the coil is bad without a multimeter?
If the tool fires once, the handle gets hot, and the green-red flash starts, the coil is the prime suspect. You can confirm by swapping in a known-good coil from a working Paslode of the same model. If the problem disappears, the original coil was faulty.
Where is the best place to buy a replacement Paslode coil?
Paslode.com is the most reliable source. Enter your model number to find the exact part and locate authorized dealers nearby. Avoid unbranded coils from third-party sellers, as they often fail quickly.
Will Paslode fix my nailer under warranty if I already opened it?
Opening the casing usually voids the warranty. Contact Paslode support before any internal work if your tool is less than five years old. They may cover the repair or ship parts at no cost.
How long does it take to replace a Paslode ignition coil?
Plan on 15 to 25 minutes for the full job. You need a Phillips screwdriver, a multimeter for testing, and a clean workspace. Take photos of wire routing before disconnecting anything to avoid reassembly errors.
Key Takeaways for Fixing Your Paslode Framing Nailer Flashing Green Light

The flashing green-red light after one shot almost always traces back to the ignition coil. Test it with a multimeter, and if resistance is off or the handle ran hot, replace it with an OEM part from Paslode.com or an authorized dealer. Check the head microswitch and wiring for ground faults while you have the tool open, then verify the fan runs properly under load. Once the new coil is installed, follow the 30-30 firing rule and keep the vents clean to prevent the same failure on your next job.
If your tool is still under five years old, call Paslode support before opening the casing to protect your warranty coverage.