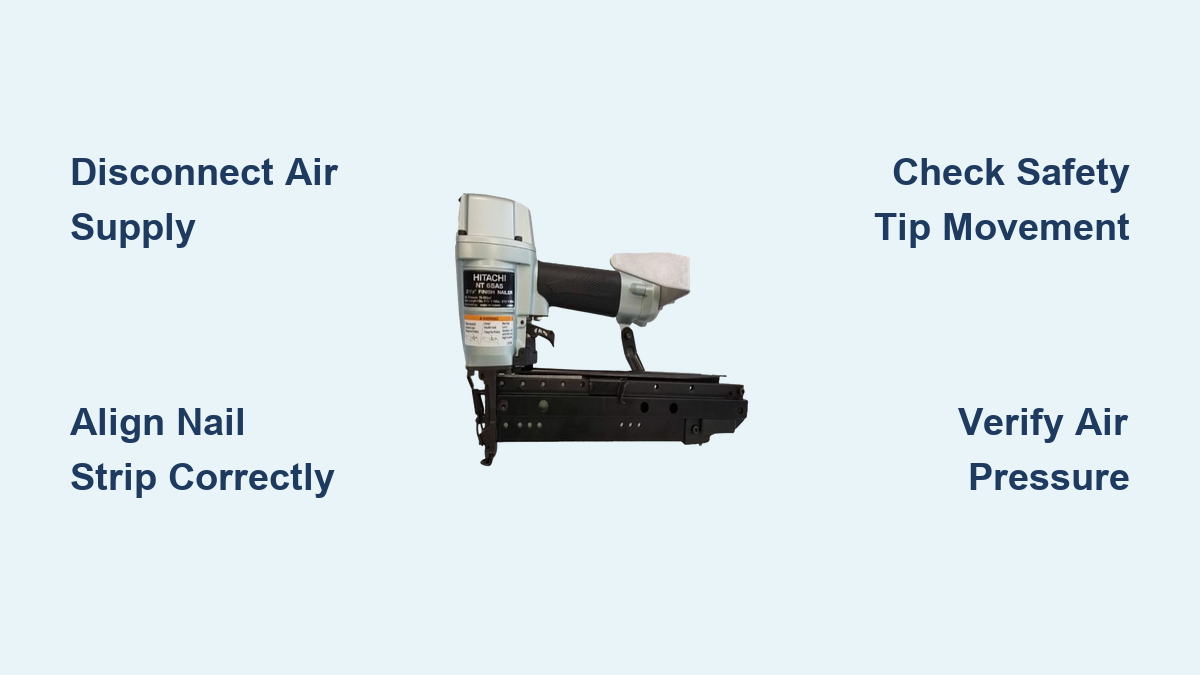
How to Load Hitachi Finish Nailer
A Hitachi finish nailer that refuses to fire or drives nails halfway often traces back to one simple issue: improper loading. Even a slight misalignment in the magazine can stop the tool from cycling, leaving you frustrated in the middle of a project. For models like the Hitachi NT65MA4(S), loading correctly means more than just dropping in a nail strip. It requires proper alignment, correct air pressure, and a fully functional safety mechanism.
This guide breaks down the exact steps to load a Hitachi finish nailer accurately, prevent jams, and troubleshoot the most common loading failures. You will also learn how to verify the tool is ready to fire safely before every use.
Disconnect the Air Supply Before Loading
Before you touch the magazine or handle any nails, disconnect the air hose from the nailer. This is a non-negotiable safety step. A pressurized pneumatic tool can fire unexpectedly during loading, causing serious injury.
- Shut off the compressor and unplug it if possible.
- Pull the trigger briefly to release any trapped air in the line.
- Listen for hissing or movement. Silence confirms the tool is depressurized.
Skipping this step puts your hands near the firing mechanism with full pressure still active. Never rush this step, even for a quick reload.
Prepare the Magazine for Nail Insertion
Retract the Follower Mechanism
The follower is the spring-loaded pusher inside the magazine. It must be pulled back to open space for the nail strip.
- Locate the magazine latch or release lever, usually near the rear of the tool.
- Slide or lift the latch to unlock the magazine.
- Pull the follower rearward and lock it using the built-in catch.
If the follower will not stay back, the internal spring may be damaged. Inspect it before continuing.
Align the Nail Strip Correctly
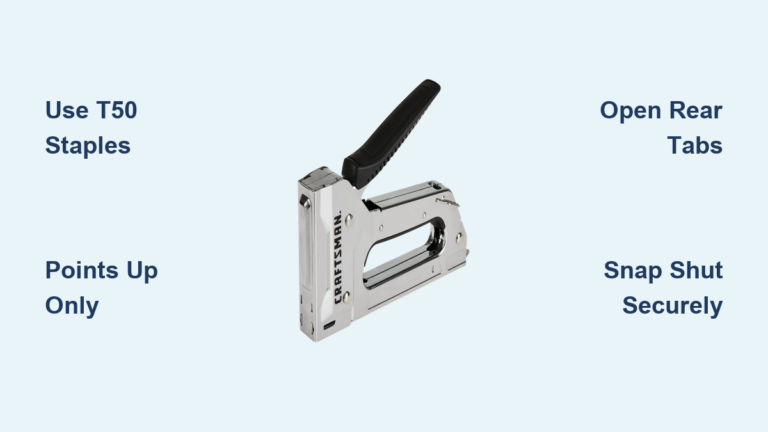
Hitachi finish nailers use 15- or 16-gauge angled strip nails. For the NT65MA4(S), correct orientation is critical:
- Nail heads must face toward the front of the tool, aligned with the driver blade.
- The strip feeds nail-point-first into the nose.
- Nails must sit flat in the magazine channel with no twisting or tilting.
Even one crooked nail can jam the driver or block the safety tip from functioning.
Insert Nails and Lock the Magazine

Load the Nail Strip Fully
With the follower locked back:
- Drop the nail strip into the magazine from the top.
- Push the strip forward until the first nail seats fully in the driving position.
- Keep the strip straight. Any binding or kinking will cause misfeeds.
Pro Tip: If the strip resists sliding in, check for debris in the channel. A quick blast of compressed air usually clears the obstruction.
Re-engage the Magazine Lock
Once the strip is seated:
- Release the follower slowly so it presses gently against the nail strip.
- Slide or snap the magazine latch back into place.
- Tug the nail strip lightly to confirm it is held securely.
An unlocked magazine shifts during operation, leading to misfires and inconsistent nail depth.
Verify the Safety Tip and Nail Alignment
Check Safety Tip Movement
The contact safety tip at the front of the nailer must move freely. After loading:
- Press the tip against a flat surface. It should retract smoothly.
- Make sure the nail strip is not blocking its travel path.
- If the tip sticks, realign the nails or clear debris from the nose.
The tool will not fire if the safety tip cannot fully depress.
Confirm Nail Position Visually
Look straight down at the nose:
- The first nail should sit directly under the driver blade.
- No part of the strip should ride above the magazine rails.
- If nails appear crooked, unload and reload with correct orientation.
Most misfeeds start with this simple visual check being overlooked.
Reconnect Air and Run a Test Cycle
Restore Air Supply Safely
- Reconnect the air hose to the nailer intake port.
- Ensure the connection is tight with no audible leaks.
- Open the compressor valve and let pressure build to 70–100 PSI.
Operating below 70 PSI causes weak drives. Exceeding 100 PSI can damage internal seals.
Perform a Dry Fire Test Without Nails
This test isolates loading problems from internal mechanical failures:
- Disconnect the air supply.
- Remove all nails from the magazine.
- Reconnect the air supply.
- Press the safety tip against scrap wood.
- Pull the trigger.
- Expected Result: A sharp pop or hiss as air releases and the piston cycles.
- No Sound or Resistance: The problem is internal, likely the trigger valve, piston, or seals.
If the tool cycles without nails but failed with them loaded, the issue was a jammed or misaligned nail strip.
Troubleshoot Common Loading Failures
Trigger Pulls with Zero Resistance
If the trigger feels loose and nothing happens:
- Likely Cause: A blocked or damaged trigger valve.
- Fix Steps:
- Disconnect air before any disassembly.
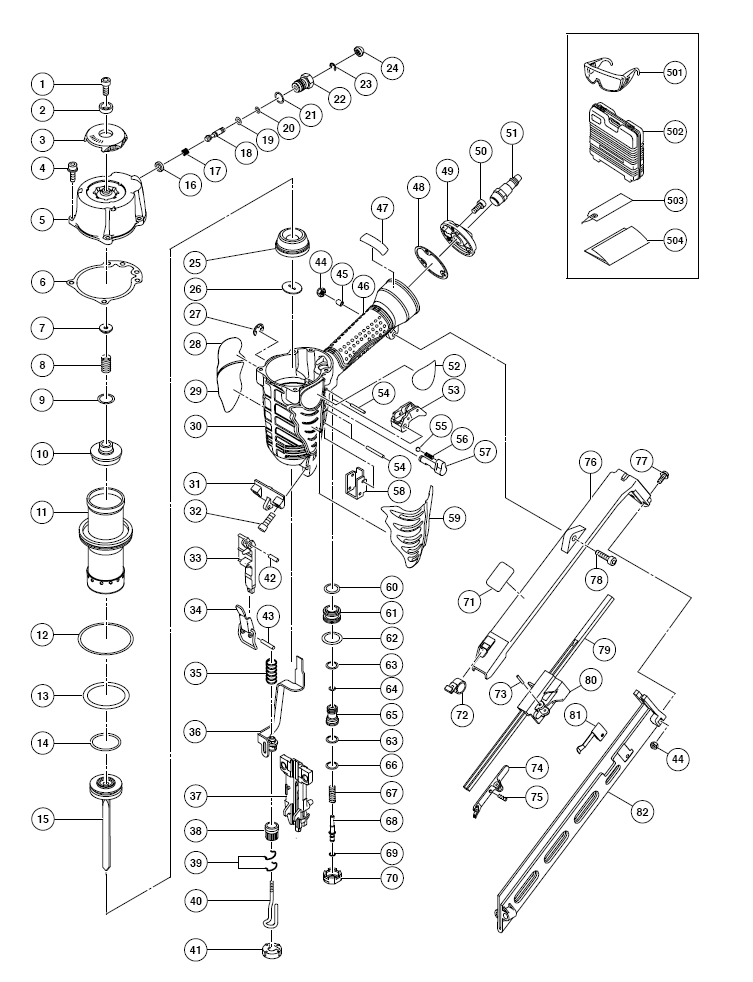
- Open the trigger housing per the model manual.
- Inspect for dirt, moisture, or cracked seals.
- Clean with compressed air or a soft brush.
- Reassemble and test.
Avoid chemical solvents. They degrade rubber seals and O-rings.
Tool Has Air but Will Not Fire
Even with proper pressure and loaded nails:
- Check the Safety Tip: It must be fully depressed against the workpiece.
- Verify the Nail Strip: Look for jams, bends, or backward orientation.
- Reload the Strip: Remove and reinsert with correct alignment.
A single bent nail can halt the entire firing mechanism.
Intermittent Firing or Random Misfires
Common causes include:
- Low PSI (below 70): Increase compressor output.
- Kinked Air Hose: Replace if damaged.
- Moisture in the Line: Drain the compressor tank and add an in-line filter.
- Over-Lubrication: Excess oil traps debris. Clean and re-lube sparingly.
Maintain Your Nailer for Reliable Loading
Lubricate on a Regular Schedule
Prevent valve clogs and keep the piston moving smoothly:
- Add 2–3 drops of pneumatic tool oil into the air inlet daily before use.
- Cycle the trigger a few times to distribute oil internally.
- Focus lubrication on the trigger valve and piston areas.
Warning: Too much oil attracts dust and forms sludge. Stick to the recommended amount.
Clean the Magazine Weekly
- Disconnect air and unload all nails.
- Wipe the magazine channel with a dry cloth.
- Blow out dust using low-pressure compressed air.
- Inspect for burrs or wear that could snag nail strips.
A clean magazine feeds smoothly every time you load.
Store the Tool Properly
- Empty the magazine after each use.
- Store in a dry location with the magazine latch open.
- Cover the nose to keep debris out.
Proper storage prevents corrosion and reduces spring fatigue over time.
When to Call for Professional Service
Stop DIY troubleshooting if you have:
- Verified air pressure is within 70–100 PSI.
- Confirmed correct nail orientation and seating.
- Cleaned the trigger valve thoroughly.
- Performed the no-nail test with no cycling response.
At this stage, the issue likely involves worn seals, a damaged piston, or internal valve failure. Contact Hitachi service support or a certified pneumatic tool technician. Provide your model number (such as NT65MA4(S)) for accurate parts and repair estimates.
Further disassembly without experience can void your warranty or cause additional damage.
Frequently Asked Questions About Loading a Hitachi Finish Nailer
Why does my Hitachi finish nailer not fire after loading?
The most common causes are insufficient air pressure (below 70 PSI), a nail jam in the magazine, or a safety tip that is not fully depressed. Start by disconnecting air, reloading the nail strip with correct orientation, and verifying compressor output.
What PSI should I use for a Hitachi NT65MA4(S)?
The recommended operating pressure is 70 to 100 PSI. Running below this range results in weak drives and incomplete cycles. Exceeding it risks damaging internal seals.
How do I know if my nail strip is loaded correctly?
The first nail should sit directly under the driver blade with nail heads facing forward. The strip must lie flat in the magazine channel with no twisting. If the safety tip cannot move freely, the strip is likely misaligned.
Can I use any 15-gauge nails in my Hitachi finish nailer?
Use only nails that match your model’s specifications. The NT65MA4(S) accepts 15-gauge angled finish nails. Mismatched nail lengths or angles will cause jams and misfeeds.
How often should I oil my Hitachi finish nailer?
Apply 2–3 drops of pneumatic tool oil into the air inlet before each use. Over-oiling attracts debris and can block the trigger valve, so avoid excess.
What does it mean if the trigger pulls with no resistance?
This usually indicates a blocked or damaged trigger valve caused by dirt, moisture, or worn seals. Disassemble the trigger housing, clean with compressed air, and inspect seals. Replace any cracked components.
Final Thoughts on Loading Your Hitachi Finish Nailer
Loading a Hitachi finish nailer correctly prevents most operational problems before they start. The three keys are proper alignment, verified air pressure, and a fully functional safety tip. Always disconnect air before loading, orient nails correctly, and confirm the safety mechanism moves freely after every reload.
With regular cleaning, proper lubrication, and routine inspection, your nailer will feed reliably for years. If issues persist after following these steps, professional service is the safest and most effective next step.