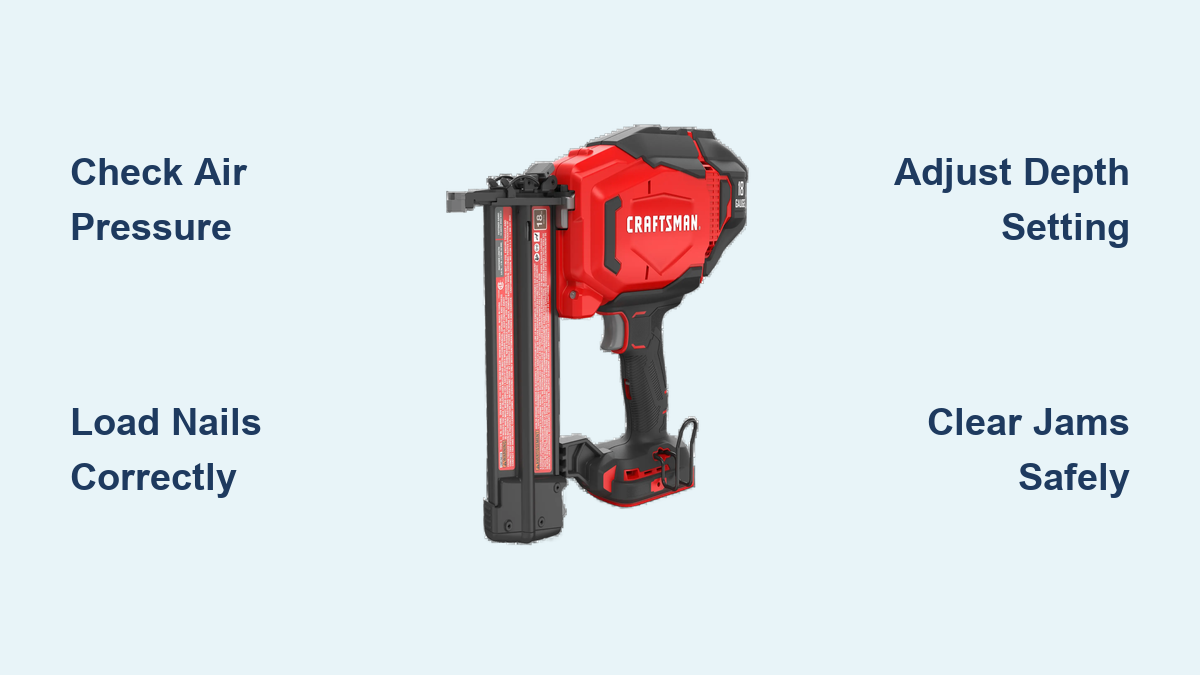
How to Use Craftsman Brad Nailer
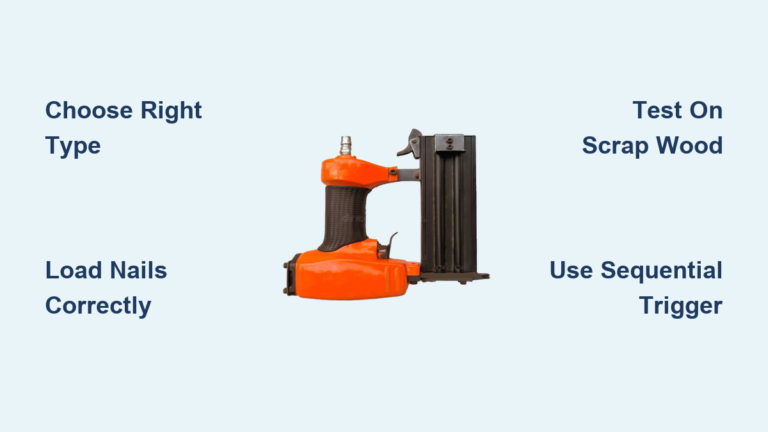
You just unboxed your new Craftsman brad nailer, and you’re ready to tackle trim work, baseboards, or cabinetry, but you’re not sure where to start. Using a brad nailer can save you hours compared to hammering nails by hand, but only if you know how to operate it safely and effectively. Whether you’re a DIYer or a weekend warrior, mastering the Craftsman brad nailer is key to clean, professional-looking results. This guide walks you through setup, loading, operation, troubleshooting, and safety best practices so you can get straight to nailing with confidence.
Prepare Your Brad Nailer Before First Use
Proper preparation ensures smooth operation and prevents frustrating jams or misfires on your first project.
Check Air Supply and Pressure
Most Craftsman brad nailers are pneumatic, meaning they require an air compressor to function.
• Connect the nailer to your compressor using a standard 1/4-inch air hose fitting.
• Set the compressor output between 70 and 100 PSI, depending on the material you are fastening.
• Use a moisture trap in the air line to prevent water buildup that can damage internal parts.
Pro Tip: Test airflow by pulling the trigger briefly with no nails loaded. A sharp burst of air confirms a proper connection.
Inspect the Tool for Damage
Look over the nailer before use to catch any issues early.
• Check the nose, trigger, and exhaust for debris or visible dents.
• Ensure the safety tip moves freely without sticking.
• Verify the magazine latch is secure and functioning.
If the tool was stored for a long time, apply 2 to 3 drops of pneumatic tool oil into the air inlet to lubricate internal components.
Load 18-Gauge Brad Nails Correctly
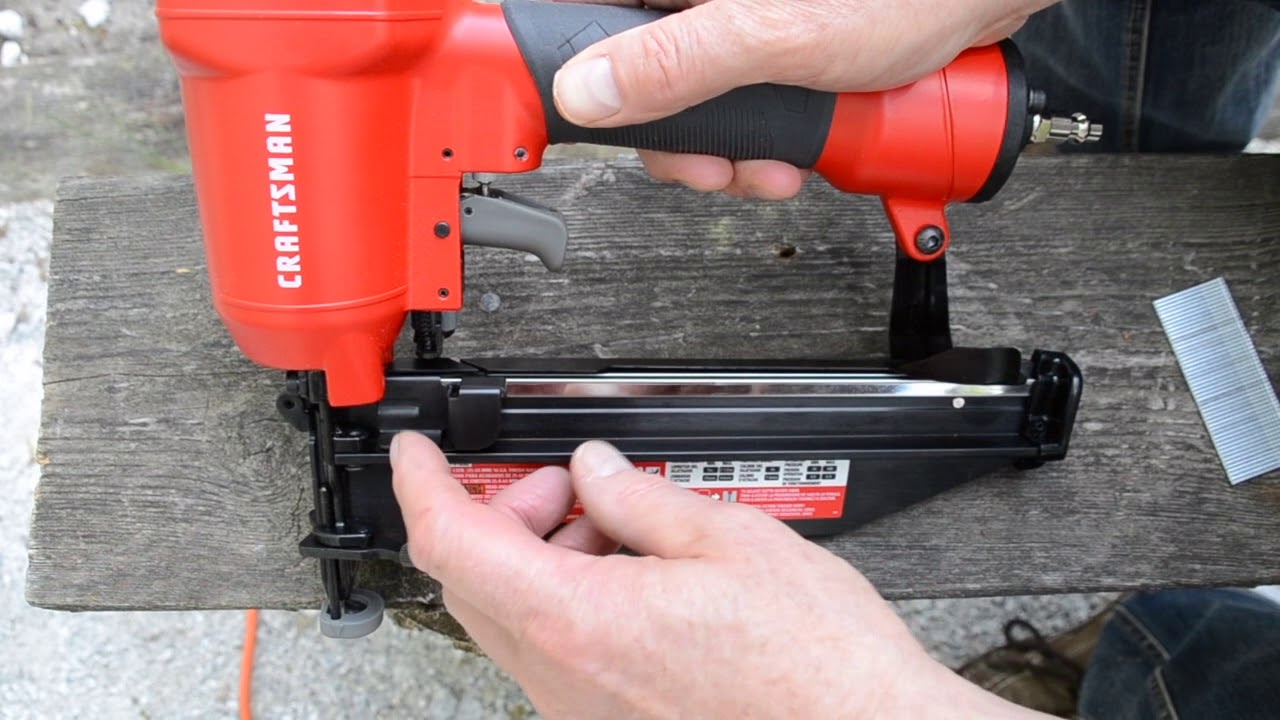
Using the correct nails is critical, since Craftsman brad nailers typically accept 18-gauge brad nails from 5/8 inch to 2 inches in length.
Open the Magazine
• Slide the latch on the side or rear of the magazine to release it.
• Pull the follower back to open the nail channel for loading.
Visual Cue: The follower is the metal piece at the end of the nail track. Pulling it back compresses the spring and opens space for the nail strip.
Insert the Nail Strip
• Place a strip of collated brad nails into the magazine, pointed end first.
• Make sure nails face the correct direction by consulting the arrow indicator on the tool.
• Release the follower slowly so it presses against the last nail in the strip.
Common Mistake: Loading nails backward causes jams. Always align the nail strip with the feed path arrow before closing.
Close and Test the Feed
• Slide the magazine latch back into place until it clicks.
• Rattle the tool gently. You should hear nails move freely but not slosh around.
• Give a quick dry fire into a scrap block to confirm feeding works smoothly.
Adjust Depth and Safety Settings
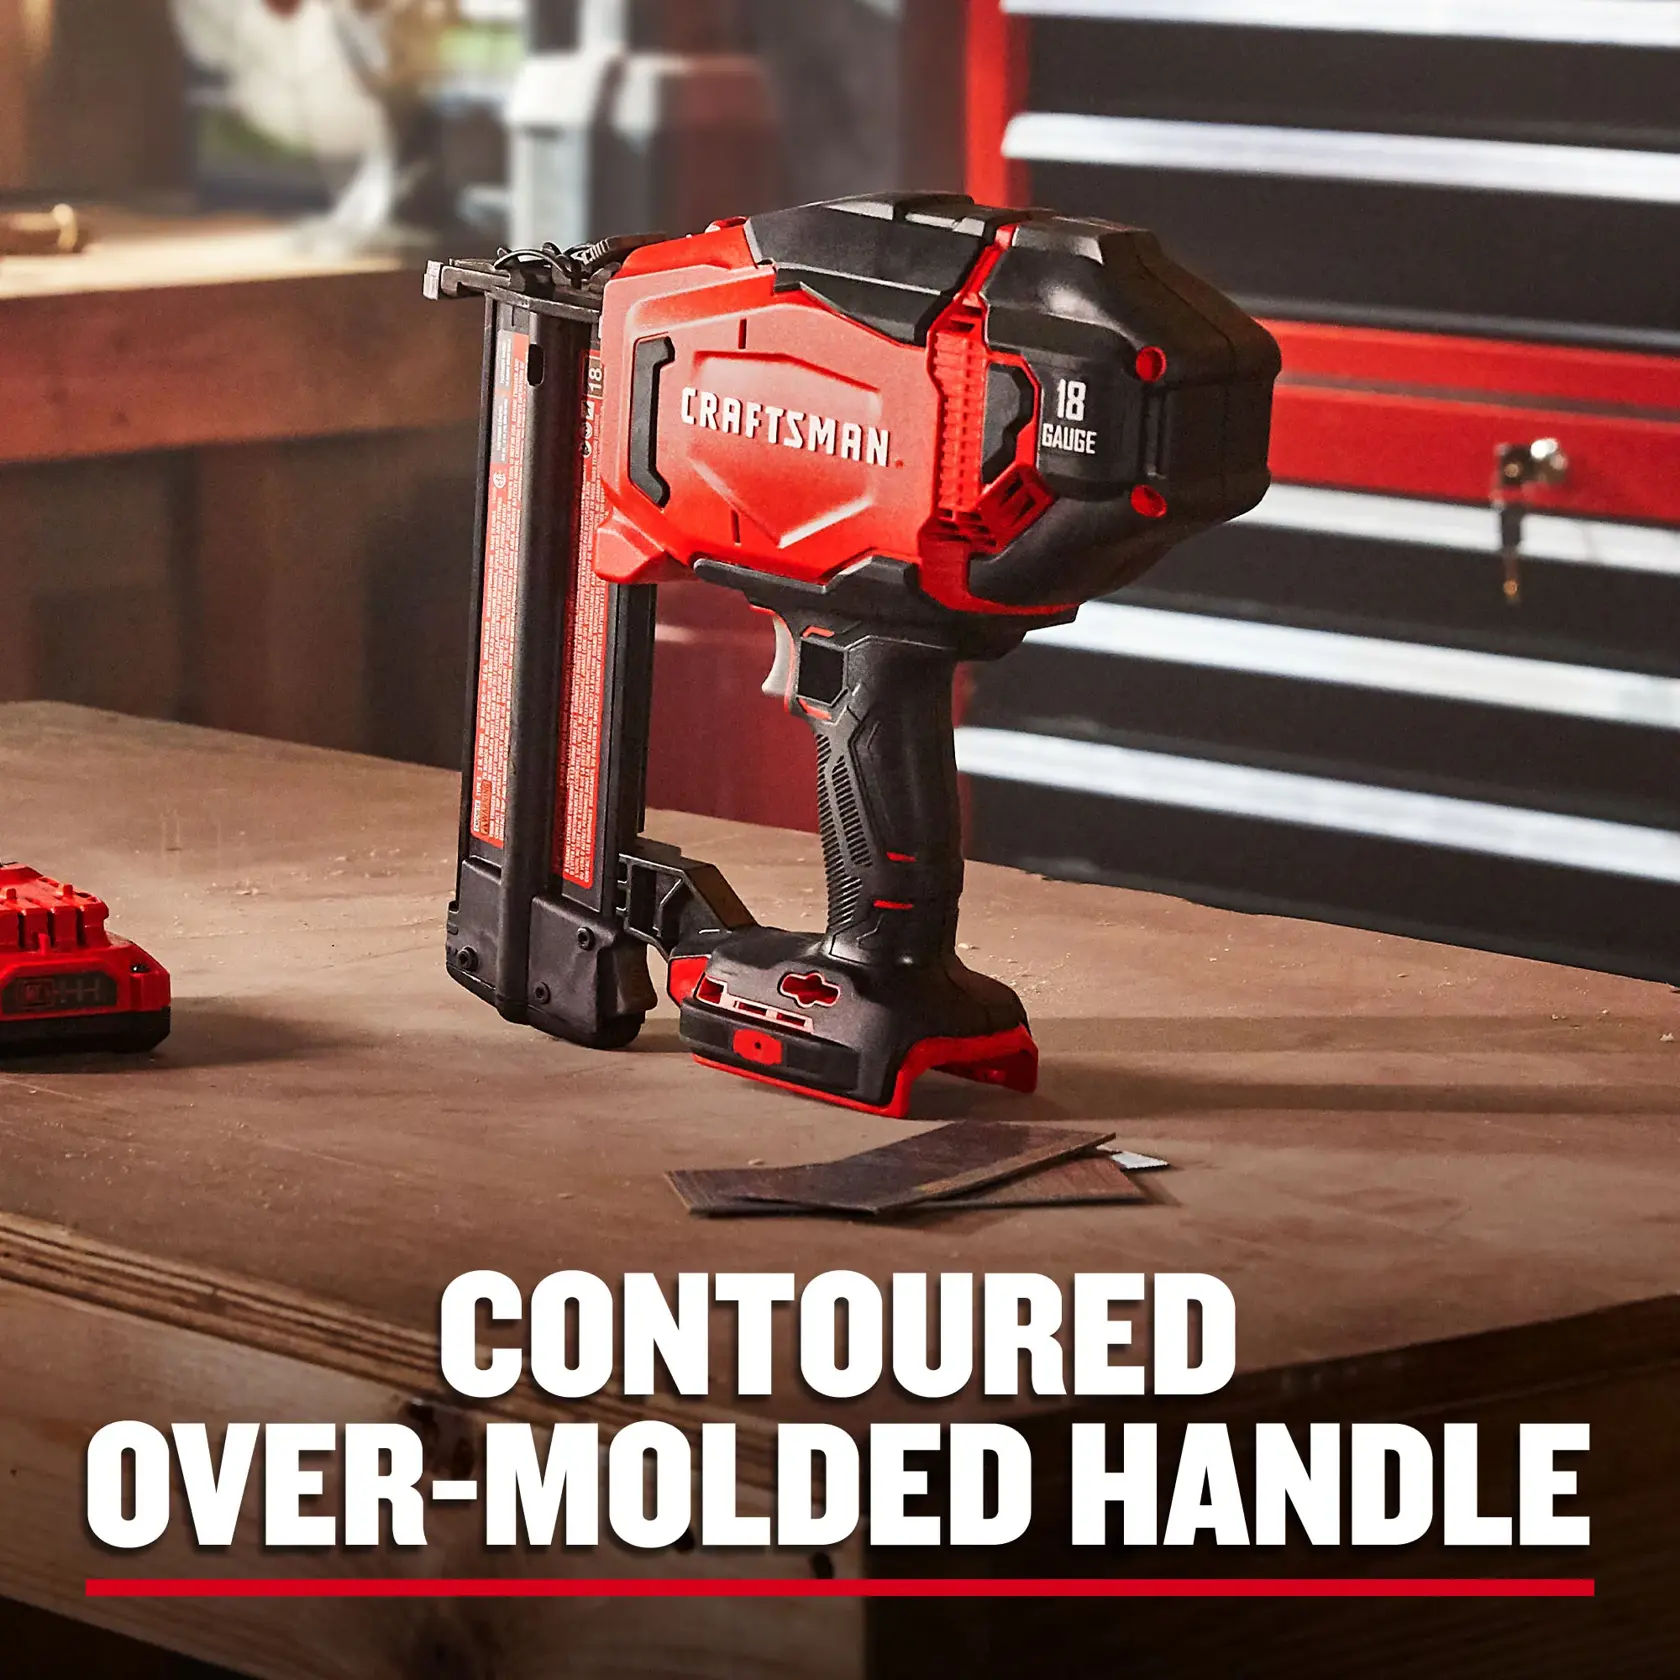
Proper depth prevents split wood or nails that sit too high above the surface.
Set the Depth Adjustment Dial
• Locate the depth control dial near the nose or handle of the nailer.
• Turn clockwise for deeper penetration, counterclockwise to reduce depth.
• Start in the middle setting and test on scrap wood matching your project material.
Rule of Thumb: The nail head should sit just below the surface in softwood and flush in hardwood.
Choose Your Firing Mode
Most Craftsman models offer two trigger modes for different tasks.
• Sequential (Safe Mode): Press the safety tip, then pull the trigger. Ideal for precision work.
• Contact (Bump Firing): Press and hold the trigger, then push the safety tip to fire. Faster for long runs.
To switch modes:
1. Power off the compressor completely.
2. Slide the switch on the trigger housing to your chosen setting.
3. Reconnect air and test on scrap wood before starting your project.
Safety Note: Beginners should start with sequential mode to avoid accidental discharges.
Fire the Brad Nailer with Proper Technique
Now you are ready to nail. Technique matters as much as setup for clean results.
Grip and Position the Tool
• Hold the nailer firmly with both hands whenever possible.
• Keep fingers away from the nose and trigger when not actively firing.
• Press the safety tip fully against the workpiece before pulling the trigger.
Why It Matters: Partial contact can cause misfires or double shots that damage your material.
Drive the Nail Step by Step
For sequential mode:
1. Press the safety tip firmly to the wood.
2. Pull the trigger to fire.
3. Release both to reset for the next nail.
For contact mode:
1. Pull and hold the trigger.
2. Bump the safety tip against the surface to fire each nail.
3. Release the trigger to stop firing.
Pro Tip: Maintain consistent pressure against the work surface. Jerky motion causes jams or misaligned nails.
Space Nails Properly
• Space brads 6 to 8 inches apart for most trim applications.
• Place nails near edges but stay at least 3/8 inch from the end to prevent splitting the wood.
Clear Nail Jams Safely and Quickly

Nail jams are common but easy to fix if you follow proper safety steps.
Stop and Disconnect Air First
• Always disconnect the air hose before clearing any jam.
• This prevents accidental firing during maintenance.
Open the Magazine and Clear the Nose
• Release the latch and pull back the follower.
• Remove any stuck or deformed nails from the feed path.
• Look into the nose for visible obstructions.
• Use needle-nose pliers to remove jammed nails. Never use your fingers.
• If the driver blade is stuck, gently tap it back with a punch and mallet.
Warning: Forcing parts can cause damage. If the jam persists, consult the manual or contact a service center.
Maintain Your Craftsman Nailer for Long-Term Use
Regular care extends tool life and prevents unexpected downtime.
Clean After Each Use
• Wipe down the body with a dry cloth to remove dust and debris.
• Blow out dust from the magazine and nose with compressed air.
Lubricate on a Regular Schedule
• Add 1 to 2 drops of pneumatic oil into the air inlet every 4 to 5 hours of use.
• Fire a few shots into a rag to distribute oil throughout internal components.
Store Your Nailer Properly
• Empty the magazine before long-term storage.
• Keep in a dry place, preferably in a protective case.
• Use a protective cap over the nose if one is available.
Troubleshoot Common Brad Nailer Problems
Even well-maintained nailers can act up. Here is how to fix frequent issues.
Nails Will Not Fire
Check Air Supply
• Ensure the compressor is on and building pressure to the correct PSI.
• Verify the hose is fully seated and the shutoff valve is open.
Inspect for Nail Jams
• Even a partial jam can block firing. Clear the feed path as described above.
Confirm Safety Engagement
• The safety tip must compress fully. Dirt or debris can block movement, so clean it with a wire brush.
Nails Are Crooked or Misfired
Verify Nail Quality
• Use cleat-collated or wire-collated nails rated for 18-gauge nailers.
• Avoid mixed brands or damaged strips that can cause feeding issues.
Check Nail Direction
• Nails must feed with the correct orientation. Follow the arrow on the magazine.
Examine the Driver Blade
• A bent driver blade causes misfires. Replace it if you notice visible damage.
Air Leaks from the Nailer
Tighten Connections
• Check the air fitting and hose connection for tightness.
• Replace worn O-rings if air escapes from the base of the tool.
Inspect Internal Seals
• Persistent leaks may indicate worn piston seals, which require professional service.
Follow Essential Safety Tips Every Time
Using a brad nailer safely protects both you and your project from harm.
Wear Protective Gear
• Safety glasses protect against flying debris or nail fragments.
• Hearing protection reduces fatigue from compressor and tool noise.
• Work gloves improve grip and protect hands, but keep them away from the trigger area.
Mind Your Target and Surroundings
• Always point the nailer away from people when carrying or handling it.
• Be aware of walls, pipes, and electrical lines behind your work surface.
Never Point the Tool at Yourself
• Treat the brad nailer like a firearm and keep it pointed at the work surface.
• Never rest your finger on the trigger when not actively firing.
Disconnect Before Adjusting
• Always unplug the air hose before loading, unloading, or clearing jams.
Maximize Performance with Pro Techniques
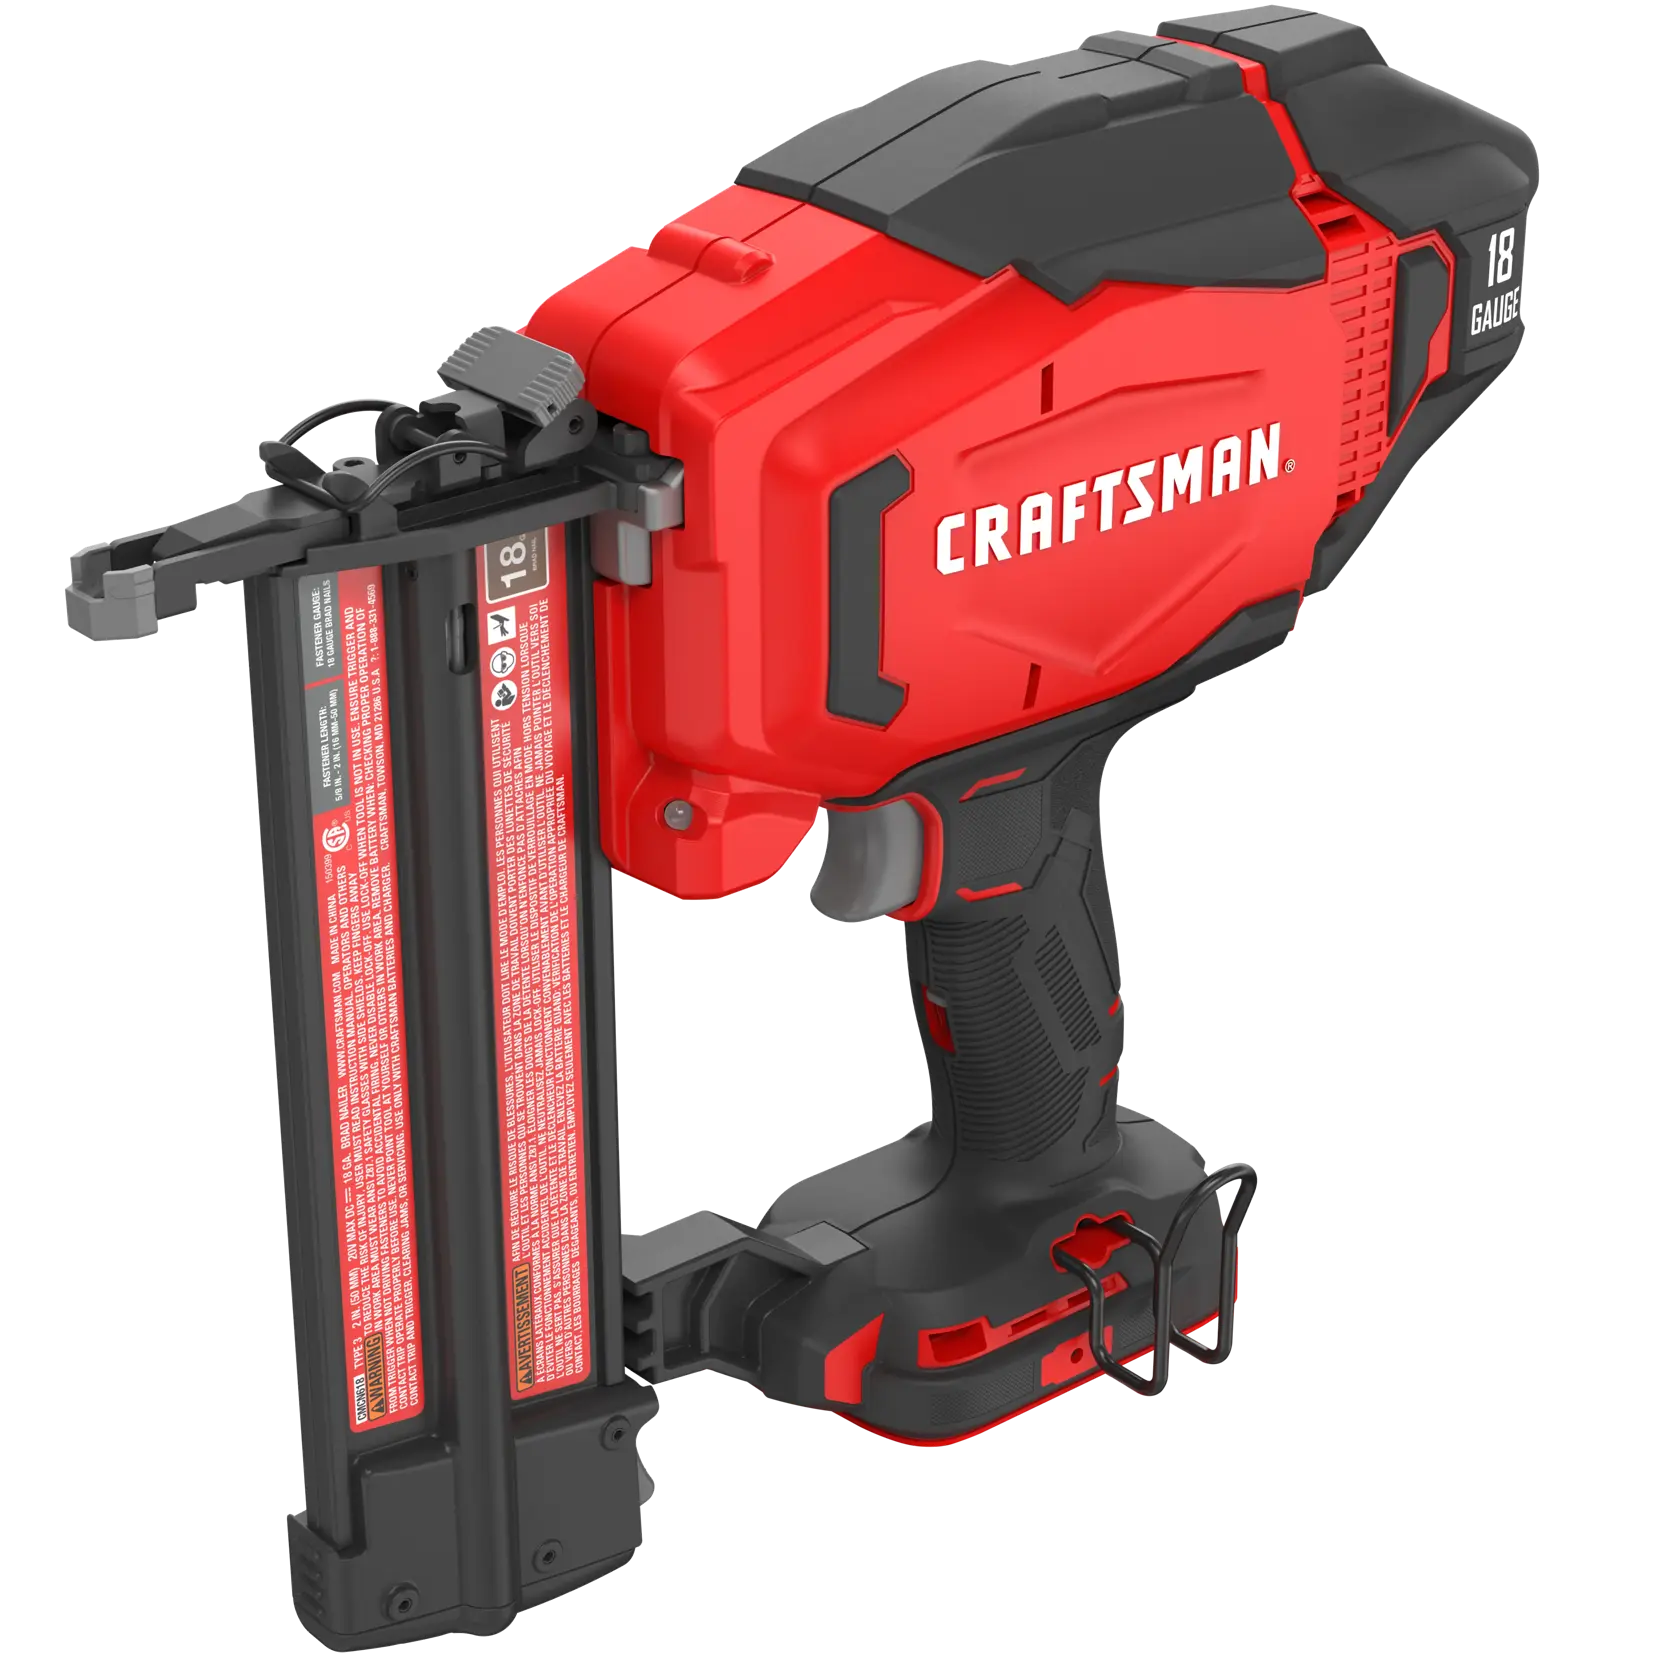
Once you have mastered the basics, refine your skills for even better results.
Pre-Drill Pilot Holes for Hardwoods
• Dense woods like oak or maple may split under brad nail pressure.
• Pre-drill pilot holes slightly smaller than the brad diameter to prevent cracking.
Use Trim Clamps for Stability
• Clamp workpieces in place before nailing to prevent shifting.
• This ensures straight alignment and consistent nail placement.
Finish with a Nail Set Tool
• For visible areas, sink nails slightly and fill holes with wood putty.
• Use a nail set tool for a clean, professional finish.
Frequently Asked Questions About Using a Craftsman Brad Nailer
What PSI should I set for a Craftsman brad nailer?
Set your compressor between 70 and 100 PSI depending on the material. Start in the middle of that range and adjust based on test fires into scrap wood.
What size nails does a Craftsman brad nailer use?
Most Craftsman brad nailers accept 18-gauge brad nails ranging from 5/8 inch to 2 inches in length. Always check your specific model’s manual for exact specifications.
How do I fix a nail jam in my brad nailer?
Disconnect the air hose first, then open the magazine and pull back the follower. Remove stuck nails with needle-nose pliers and check the nose for obstructions before reconnecting air.
Can I use a Craftsman brad nailer without a compressor?
No. Most Craftsman brad nailers are pneumatic and require an air compressor with a 1/4-inch hose connection to operate properly.
What is the difference between sequential and contact firing modes?
Sequential mode requires you to press the safety tip and pull the trigger for each nail, offering more control. Contact mode lets you hold the trigger and bump the safety tip to fire rapidly, which is faster for long runs.
How often should I oil my brad nailer?
Add 1 to 2 drops of pneumatic oil into the air inlet every 4 to 5 hours of use, or before each major project, to keep internal parts lubricated.
Key Takeaways for Mastering Your Craftsman Brad Nailer
The Craftsman brad nailer is a reliable tool for precise, damage-free fastening when used correctly. Always start with proper preparation, including checking your air supply and inspecting the tool for damage. Load the correct 18-gauge nails in the right direction and adjust the depth setting on scrap wood before starting your project. Practice your firing technique on scrap material to build confidence and avoid costly mistakes on visible trim work. Most importantly, prioritize safety by wearing protective gear, disconnecting air before adjustments, and keeping the tool pointed away from yourself and others. With these habits in place, you will achieve smooth, professional results on every project.