How to Fix DeWalt Stapler Not Working
If your DeWalt stapler is not working, you are not alone. Whether it is a cordless DCN681, a versatile 5-in-1 Staple Gun, or another DeWalt model, failure to fire, jamming, or sudden shutdowns are common complaints. The good news? Most issues have simple, fast solutions, often taking less than 5 minutes.
This guide cuts through the noise with step-by-step fixes, model-specific insights, and proven troubleshooting strategies drawn from real user reports and technical manuals. You will learn how to diagnose jams, reset stuck mechanisms, fix wiring defects, and prevent future failures without guesswork.
Check Power and Loading First
Before diving into complex repairs, rule out the most common causes: no power or empty magazine. These account for over 60 percent of not working cases.
Confirm Battery or Power Source
For cordless models like the DCN681, start by removing and reinserting the battery to reset connections. Try a fully charged, genuine DeWalt 20V battery because knockoffs often fail under load. Clean the battery contacts on both the tool and the pack with a dry cloth.
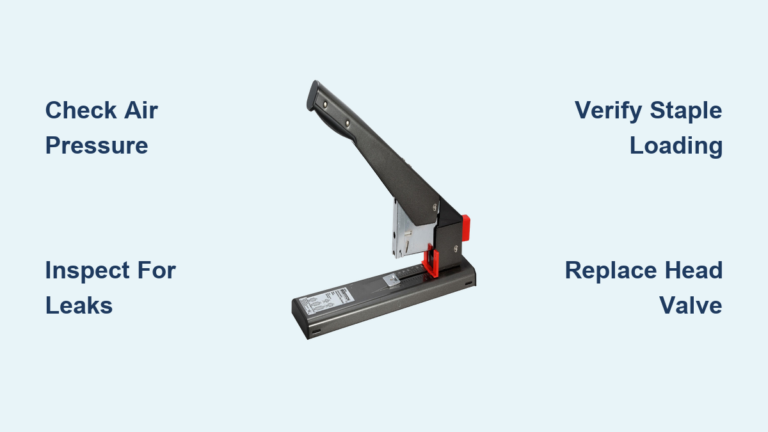
For pneumatic models like the DW451S2, ensure your air compressor delivers 70 to 100 PSI. Check for kinks, leaks, or disconnected hoses, and drain moisture from the compressor tank regularly.
If the tool powers on but the motor stalls after a click or partial spin, skip ahead to the wiring short fix, which is common in DCN681 units.
Verify Staple Chamber Status
An empty or misloaded magazine is the number one reason for non-firing. Take these steps now. Remove the battery or unplug the tool. Open the magazine release. Look inside to confirm staples are present. If loaded, check the orientation: points up, flat crown down. Push staples fully in until you hear a distinct click.
Never force staples. If they do not slide in smoothly, clear and reload completely. Using incompatible staples, such as wide crown staples or brads in staple mode, causes jams and misfeeds. Stick to 18-gauge narrow crown staples for DCN681, and always match fasteners to your specific model.
Clear a Jammed Stapler Fast
Jammed staples block the driver blade and stop operation. This is the second most frequent cause after empty magazines.
Recognize Jam Symptoms
Watch for these clear signs. The trigger pulls but no staple fires. There is partial staple ejection. The magazine will not open or close. You hear a clicking sound with no action. There is resistance when opening the chamber.
If you see any of these, a jam is likely. One user reported that their stapler fires once then nothing, and they cannot open the magazine.
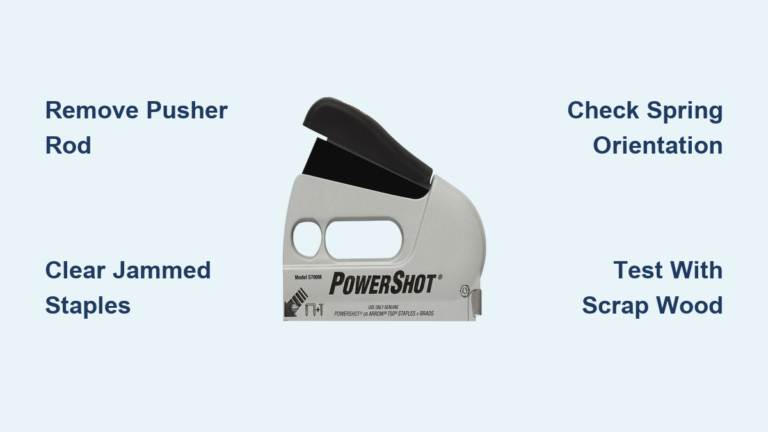
Remove Jammed Staples Safely
Follow these steps to clear obstructions without damaging your tool.
- Disconnect power by removing the battery or unplugging.
- Open the magazine release by sliding or pressing the latch near the nose.
- Inspect the nose and channel for bent or broken staples.
- Use needle-nose pliers to gently extract stuck staples. Avoid screwdrivers because they can scratch rails or break plastic latches.
- Check the driver blade. It should be in the up, retracted position. If stuck down, proceed to the next section.
- Clean the chamber by wiping out debris or blowing with compressed air.
- Reload correctly by inserting fresh, straight staples with points up.
- Test on scrap wood.
Pro Tip: Carry needle-nose pliers on job sites. They are the number one tool for fast jam removal.
Fix Stuck Magazine on DCN681
One of the most frustrating issues is when the magazine will not open, trapping jammed staples inside.
Why It Happens
Several factors cause this problem. Internal pressure from a misaligned staple creates blockage. The driver blade may not be fully retracted. Debris in the rails or lack of lubrication contributes to seizing. Spring fatigue from long-term storage with staples loaded also plays a role.
Never pry open a stuck magazine with a screwdriver. This can crack the housing or break the latch, voiding your warranty.
Unlock a Seized Magazine
Try these non-destructive methods first.
- Remove the battery.
- Gently shake the tool to dislodge loose fragments.
- Tap the base on a soft surface like a workbench covered with cloth. This often resets the internal mechanism.
- Apply a drop of WD-40 along the magazine seam and near the release. Wait 5 to 10 minutes, then try sliding it open.
- Pull firmly but smoothly. Do not yank.
If the magazine remains stuck after these attempts, contact DeWalt support or visit an authorized service center. For new or under-warranty units, this is a covered issue.
Reset the Driver Blade
A stuck driver blade prevents staple ejection, even if the motor runs.
Diagnose Blade Position
After clearing a jam, look into the nose. The driver blade should be flush or slightly recessed, not protruding. If it is stuck in the down position, the mechanism is jammed.
Free the Striker Mechanism
- Remove the battery.
- Hold the trigger down.
- Gently tap the base of the stapler on a padded surface.
- Repeat 2 to 3 times if needed.
- Check if the blade retracts.
This resets the internal spring and piston. Once free, reload and test on scrap material.
Set Adjustment Dials Correctly
On the DeWalt 5-in-1 Staple Gun, wrong settings cause 90 percent of jams and misfires.
Use the Right Selector Settings
Two dials control performance. The Duty Selector adjusts power for material thickness. Set it to Light, Medium, or Heavy based on your workpiece. The Fastener Type Selector switches between staples and brads. It must be set correctly, and you should never change it with staples loaded.
Correct Setup Steps
- Clear all fasteners from the magazine.
- Set the Duty Selector to match your material.
- Slide the Fastener Type Selector to Staples or Brads as appropriate.
- Load staples only after settings are confirmed.
Critical: Changing dials with staples inside causes internal misalignment and jams. Double-check both dials every time you switch materials or fasteners.
Lubricate for Smooth Operation
Neglecting lubrication leads to sticky rails, increased jams, and premature wear.
Lubricate Key Moving Parts
Perform this maintenance every 1,000 shots or monthly with regular use. Parts to oil include the magazine rails, driver blade shaft, and trigger pivot point.
To apply lubricant, wipe parts clean with a dry cloth. Apply 1 to 2 drops of light machine oil. Work the magazine in and out several times to spread the oil. Fire a few test shots on scrap.
Avoid heavy grease or WD-40 as lubricant because they attract dust and gum up over time.
Use the Right Staples
Wrong fasteners cause jams, misfeeds, and internal damage.
Approved Staples by Model
For the DCN681, use 18-gauge narrow crown staples ranging from 1/4 inch to 1-1/2 inches. Avoid wide crown, clipped-joint, or glued staples. The 5-in-1 Staple Gun accepts staples and 18-gauge brads up to 2 inches, but avoid mixing types. The DWLHF2025K uses heavy-duty 18-gauge staples and performs poorly with off-brand or damaged fasteners.
Never use rusty, bent, or dirty staples. Never use staples with adhesive. Never mix brands or lengths in the same load. Inspect each strip before loading because one bent staple can ruin a day is work.
Fix DCN681 Wiring Short
If your DCN681 fires once or twice then stops, you likely have a manufacturing defect involving internal wiring rubbing against the motor flywheel.
Spot the Wiring Short
Watch for these symptoms. LEDs light up. The motor starts but stops after a partial turn. The tool works again after sitting for 30 to 60 minutes. This happens even with new, sealed units. This is not user error. It is a known design flaw.
Repair the Short in 5 Minutes
- Remove all screws and open the housing.
- Locate the wiring loom near the motor.
- Inspect for wear. Look for frayed insulation or burn marks where wires touch the flywheel.
- Wrap exposed wires with electrical tape, covering each wire individually.
- Re-route the bundle away from the flywheel.
- Secure with tape or zip tie to prevent future contact.
- Reassemble and test.
Most users report full, lasting function after this fix. This is a temporary but reliable workaround. Still, file a warranty claim because DeWalt covers this defect.
Prevent Future Failures
Avoid downtime with these simple habits.
Follow Preventative Best Practices
Always clear before switching settings. Use only DeWalt-recommended staples. Lubricate monthly. Store with an empty magazine to prevent spring fatigue. Inspect staples before loading and discard bent or rusty ones. Avoid rapid, continuous firing to prevent overheating. Check battery health because weak cells mimic mechanical faults.
Pro Tip: Keep a mini toolkit including needle-nose pliers, a spare battery, oil, and electrical tape.
When to Contact DeWalt Support
Some issues require professional help.
Seek Warranty or Service If
The magazine remains stuck after safe attempts. Internal damage is visible. A wiring defect is confirmed. The tool fails after basic fixes.
DeWalt offers a 3-year limited warranty on tools and 1-year on batteries. The wiring short is a manufacturing defect and is covered. Contact the DeWalt Service Hotline at 1-800-4-DEWALT or visit www.dewalt.com to register and find authorized service centers.
Never force disassembly because it may void your warranty.
Quick Troubleshooting Flowchart
Use this decision tree for fast diagnosis.
- No power? Check battery, charger, or air supply.
- Magazine empty? Reload with points up.
- Jam visible? Clear with pliers.
- Magazine stuck? Tap base, apply oil, do not pry.
- Driver blade down? Tap base to reset.
- Settings wrong? Clear, reset dials, reload.
- Fires once then stops? Inspect wiring near flywheel.
- Still not working? Contact DeWalt support.
Frequently Asked Questions About DeWalt Stapler Not Working
Why does my DeWalt stapler click but not fire?
This usually indicates a jam or a stuck driver blade. Clear any jammed staples from the nose and magazine. If the driver blade is stuck in the down position, remove the battery and tap the base gently on a padded surface to reset it.
How do I fix a stuck magazine on my DCN681?
Remove the battery first. Gently shake the tool to dislodge fragments. Tap the base on a soft surface. Apply penetrating oil around the seam and wait 5 to 10 minutes. Pull smoothly to open. Do not pry with screwdrivers.
What staples are compatible with the DeWalt DCN681?
The DCN681 uses 18-gauge narrow crown staples ranging from 1/4 inch to 1-1/2 inches. Use only flat-crown or narrow-crown staples. Avoid wide crown, clipped-joint, or glued staples.
Why does my DCN681 fire only once or twice then stop?
This is likely a wiring short defect. The internal wiring rubs against the motor flywheel, causing a short circuit. Open the housing, inspect the wiring near the flywheel, wrap exposed wires with electrical tape, and re-route the bundle away from the flywheel.
How often should I lubricate my DeWalt stapler?
Lubricate moving parts every 1,000 shots or monthly with regular use. Focus on the magazine rails, driver blade shaft, and trigger pivot point. Use light machine oil and avoid heavy grease.
Can I use off-brand staples in my DeWalt stapler?
Avoid off-brand or low-quality staples. Bent, rusty, or incompatible staples cause jams and misfeeds. Stick to DeWalt-recommended fasteners for reliable operation.
Key Takeaways for Fixing Your DeWalt Stapler
Most DeWalt stapler not working issues are quick and fixable. Start by checking power and loading, which resolves over 60 percent of cases. Clear jams safely using needle-nose pliers, and never force the magazine open. Reset the driver blade by tapping the base gently. For DCN681 users, inspect the wiring near the flywheel because it is a known weak point. Use only compatible 18-gauge narrow crown staples and lubricate monthly for smooth operation. With proper maintenance and the right fasteners, your DeWalt stapler will deliver years of reliable service. Keep this guide handy for fast troubleshooting whenever problems arise.