Nailer Gauge Sizes: Complete Guide
If you’ve ever split a delicate trim piece or watched baseboards pull away from the wall months after installation, you’ve felt the consequences of choosing the wrong nailer gauge size. Selecting the correct gauge is a precision decision that balances holding power, material thickness, and finish quality. From installing crown molding to assembling fine furniture, the right gauge ensures clean results and lasting durability.
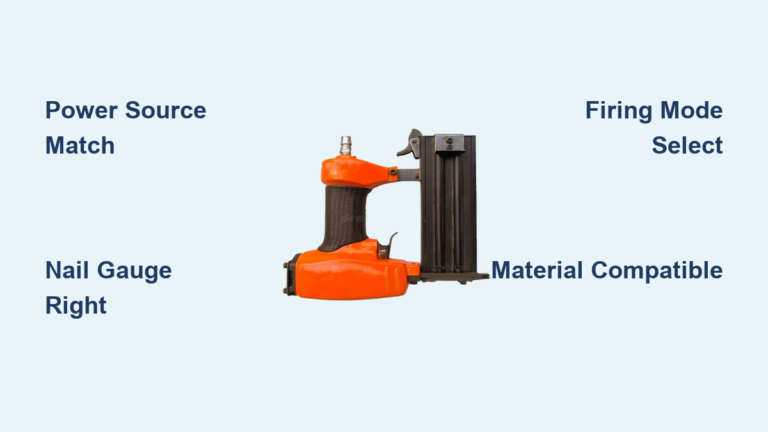
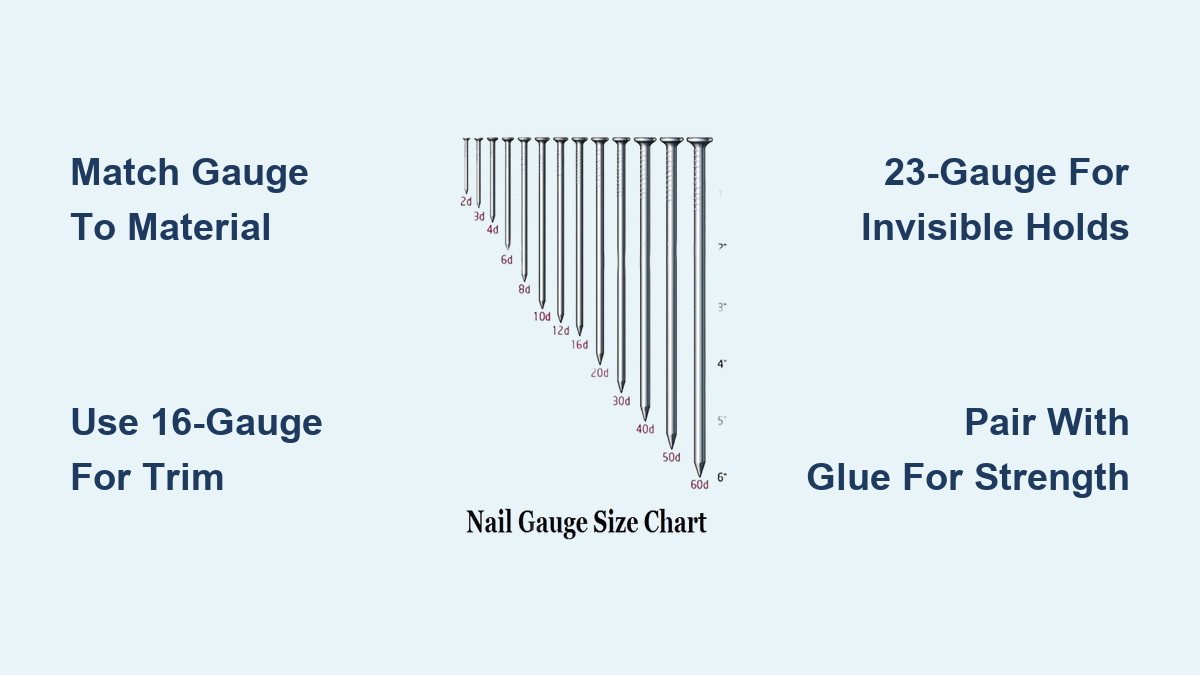
Nailer gauge refers to the diameter of the nail shank, and it follows an inverse system: the higher the gauge number, the thinner the nail. From robust 15-gauge finish nails to nearly invisible 23-gauge micro-pins, each size serves a distinct role in woodworking. This guide breaks down every common gauge (15, 16, 18, 20, 21, and 23), detailing their strengths, ideal applications, and key performance differences. You’ll learn how to match the right nail to your project, avoid common mistakes, and use professional techniques that deliver flawless results.
15-Gauge: Heavy-Duty Holding Power
Maximum Strength for Thick Materials
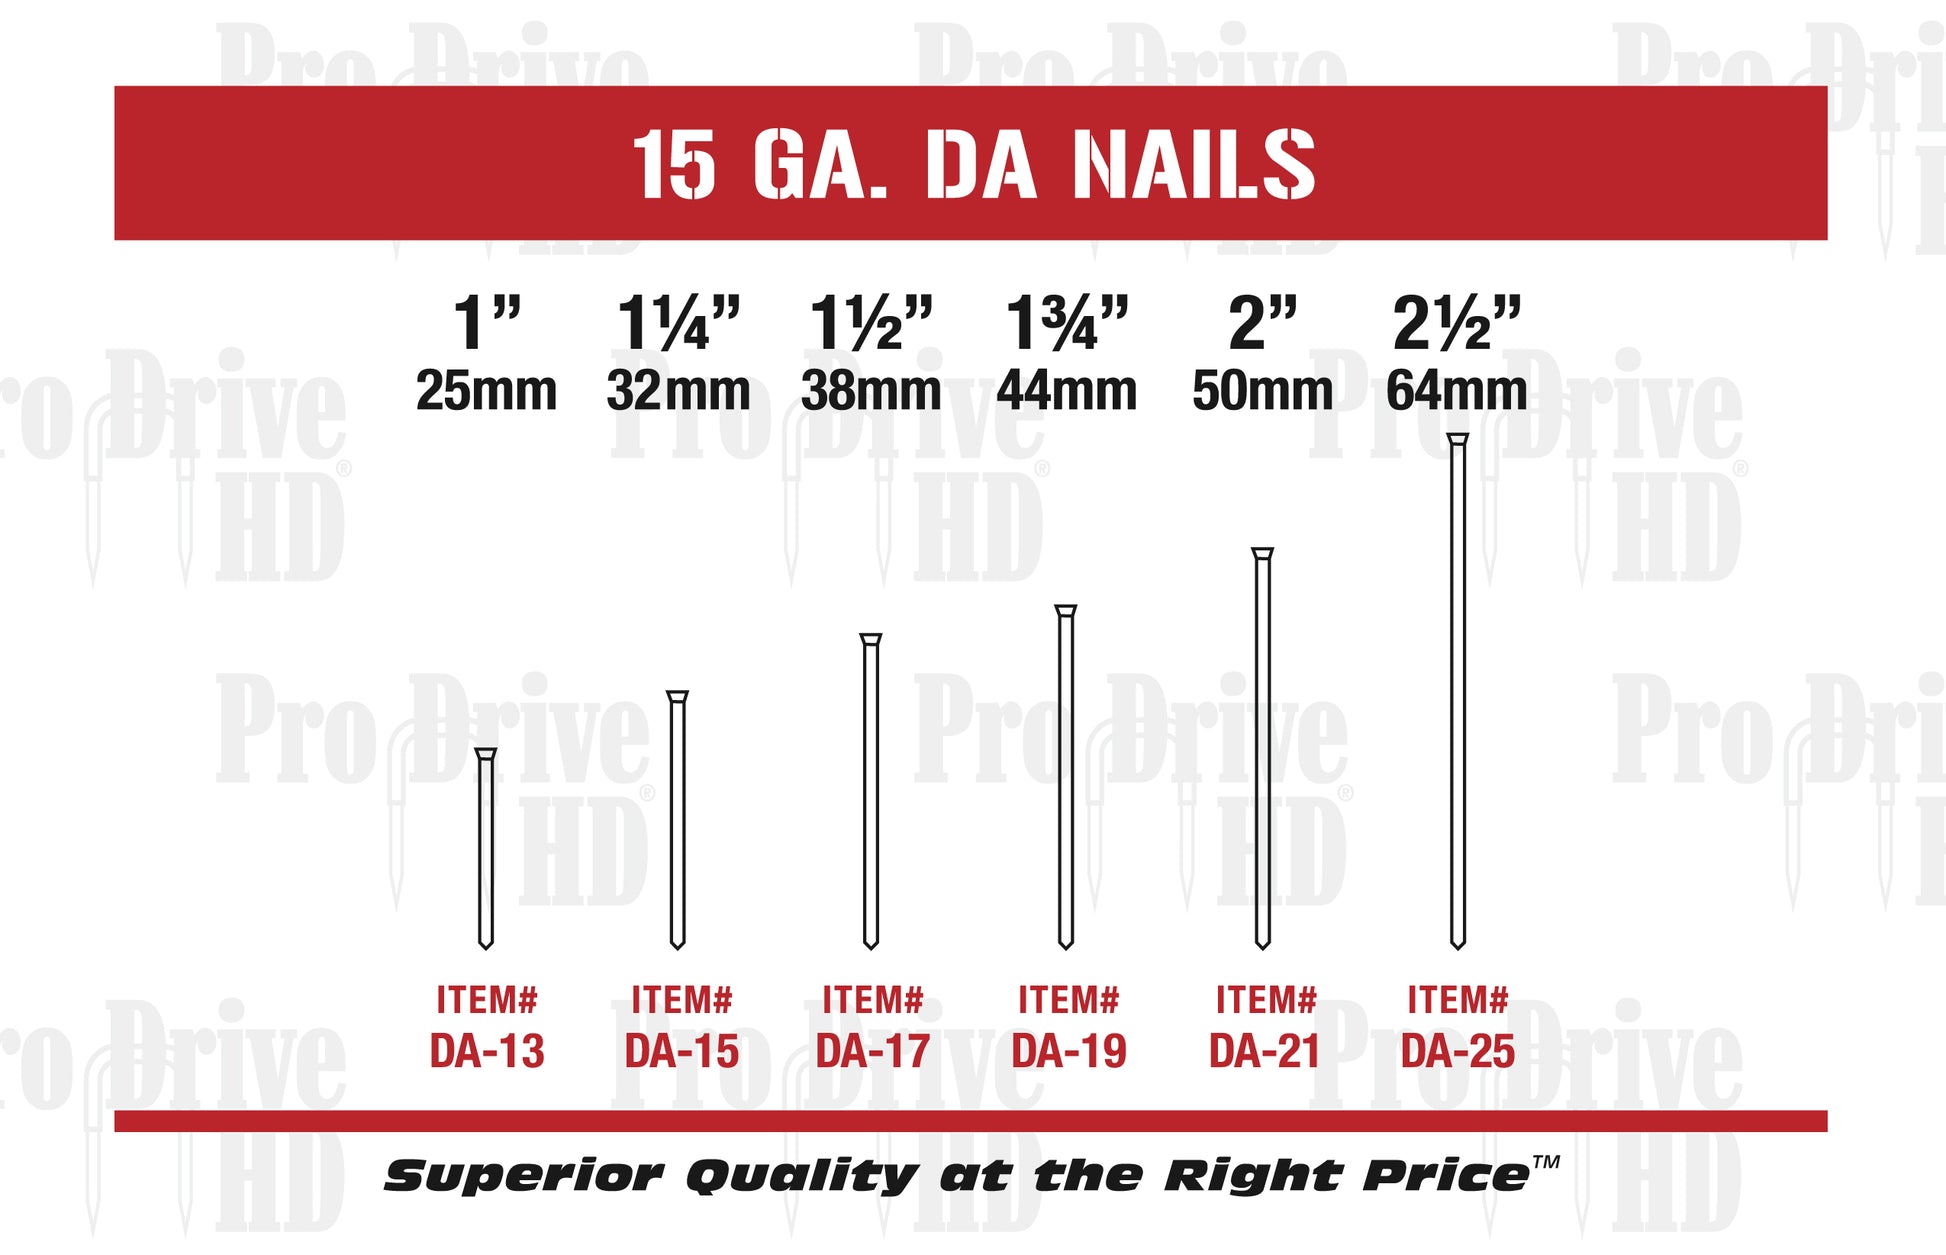
15-gauge finish nails are the strongest option in the finish nailer category. With a shank diameter of approximately 0.072 inches, these nails deliver maximum penetration and resistance to pull-out. They perform exceptionally well in dense hardwoods and thick trim installations.
- Head Type: Round
- Length Range: 2″ to 3″
- Head Diameter: 13/64″ to 3/16″
- Tool Design: Angled magazine (typically 34°)
- Hole Size: Large, requires filling and sanding
When to Use a 15-Gauge Nailer
Choose a 15-gauge nailer when:
– Installing door casings or thick baseboards
– Working with hardwood moldings over 3/4″ thick
– Fastening into structural framing behind drywall
– Needing long-term stability in high-stress areas
– Hanging heavy doors
Risks and Limitations
Despite its strength, the 15-gauge has drawbacks:
– High splitting risk on narrow or thin trim
– Leaves visible holes that demand touch-up
– Not suitable for delicate profiles or softwoods
Pro Tip: Reserve 15-gauge for exterior edges of moldings where strength matters most. Pair with glue for interior joints to reduce reliance on nails alone. Industrial models like the AFN1565 are built for penetrating power in these heavy applications.
16-Gauge: The All-Purpose Trim Nailer
Balanced Strength and Clean Finish
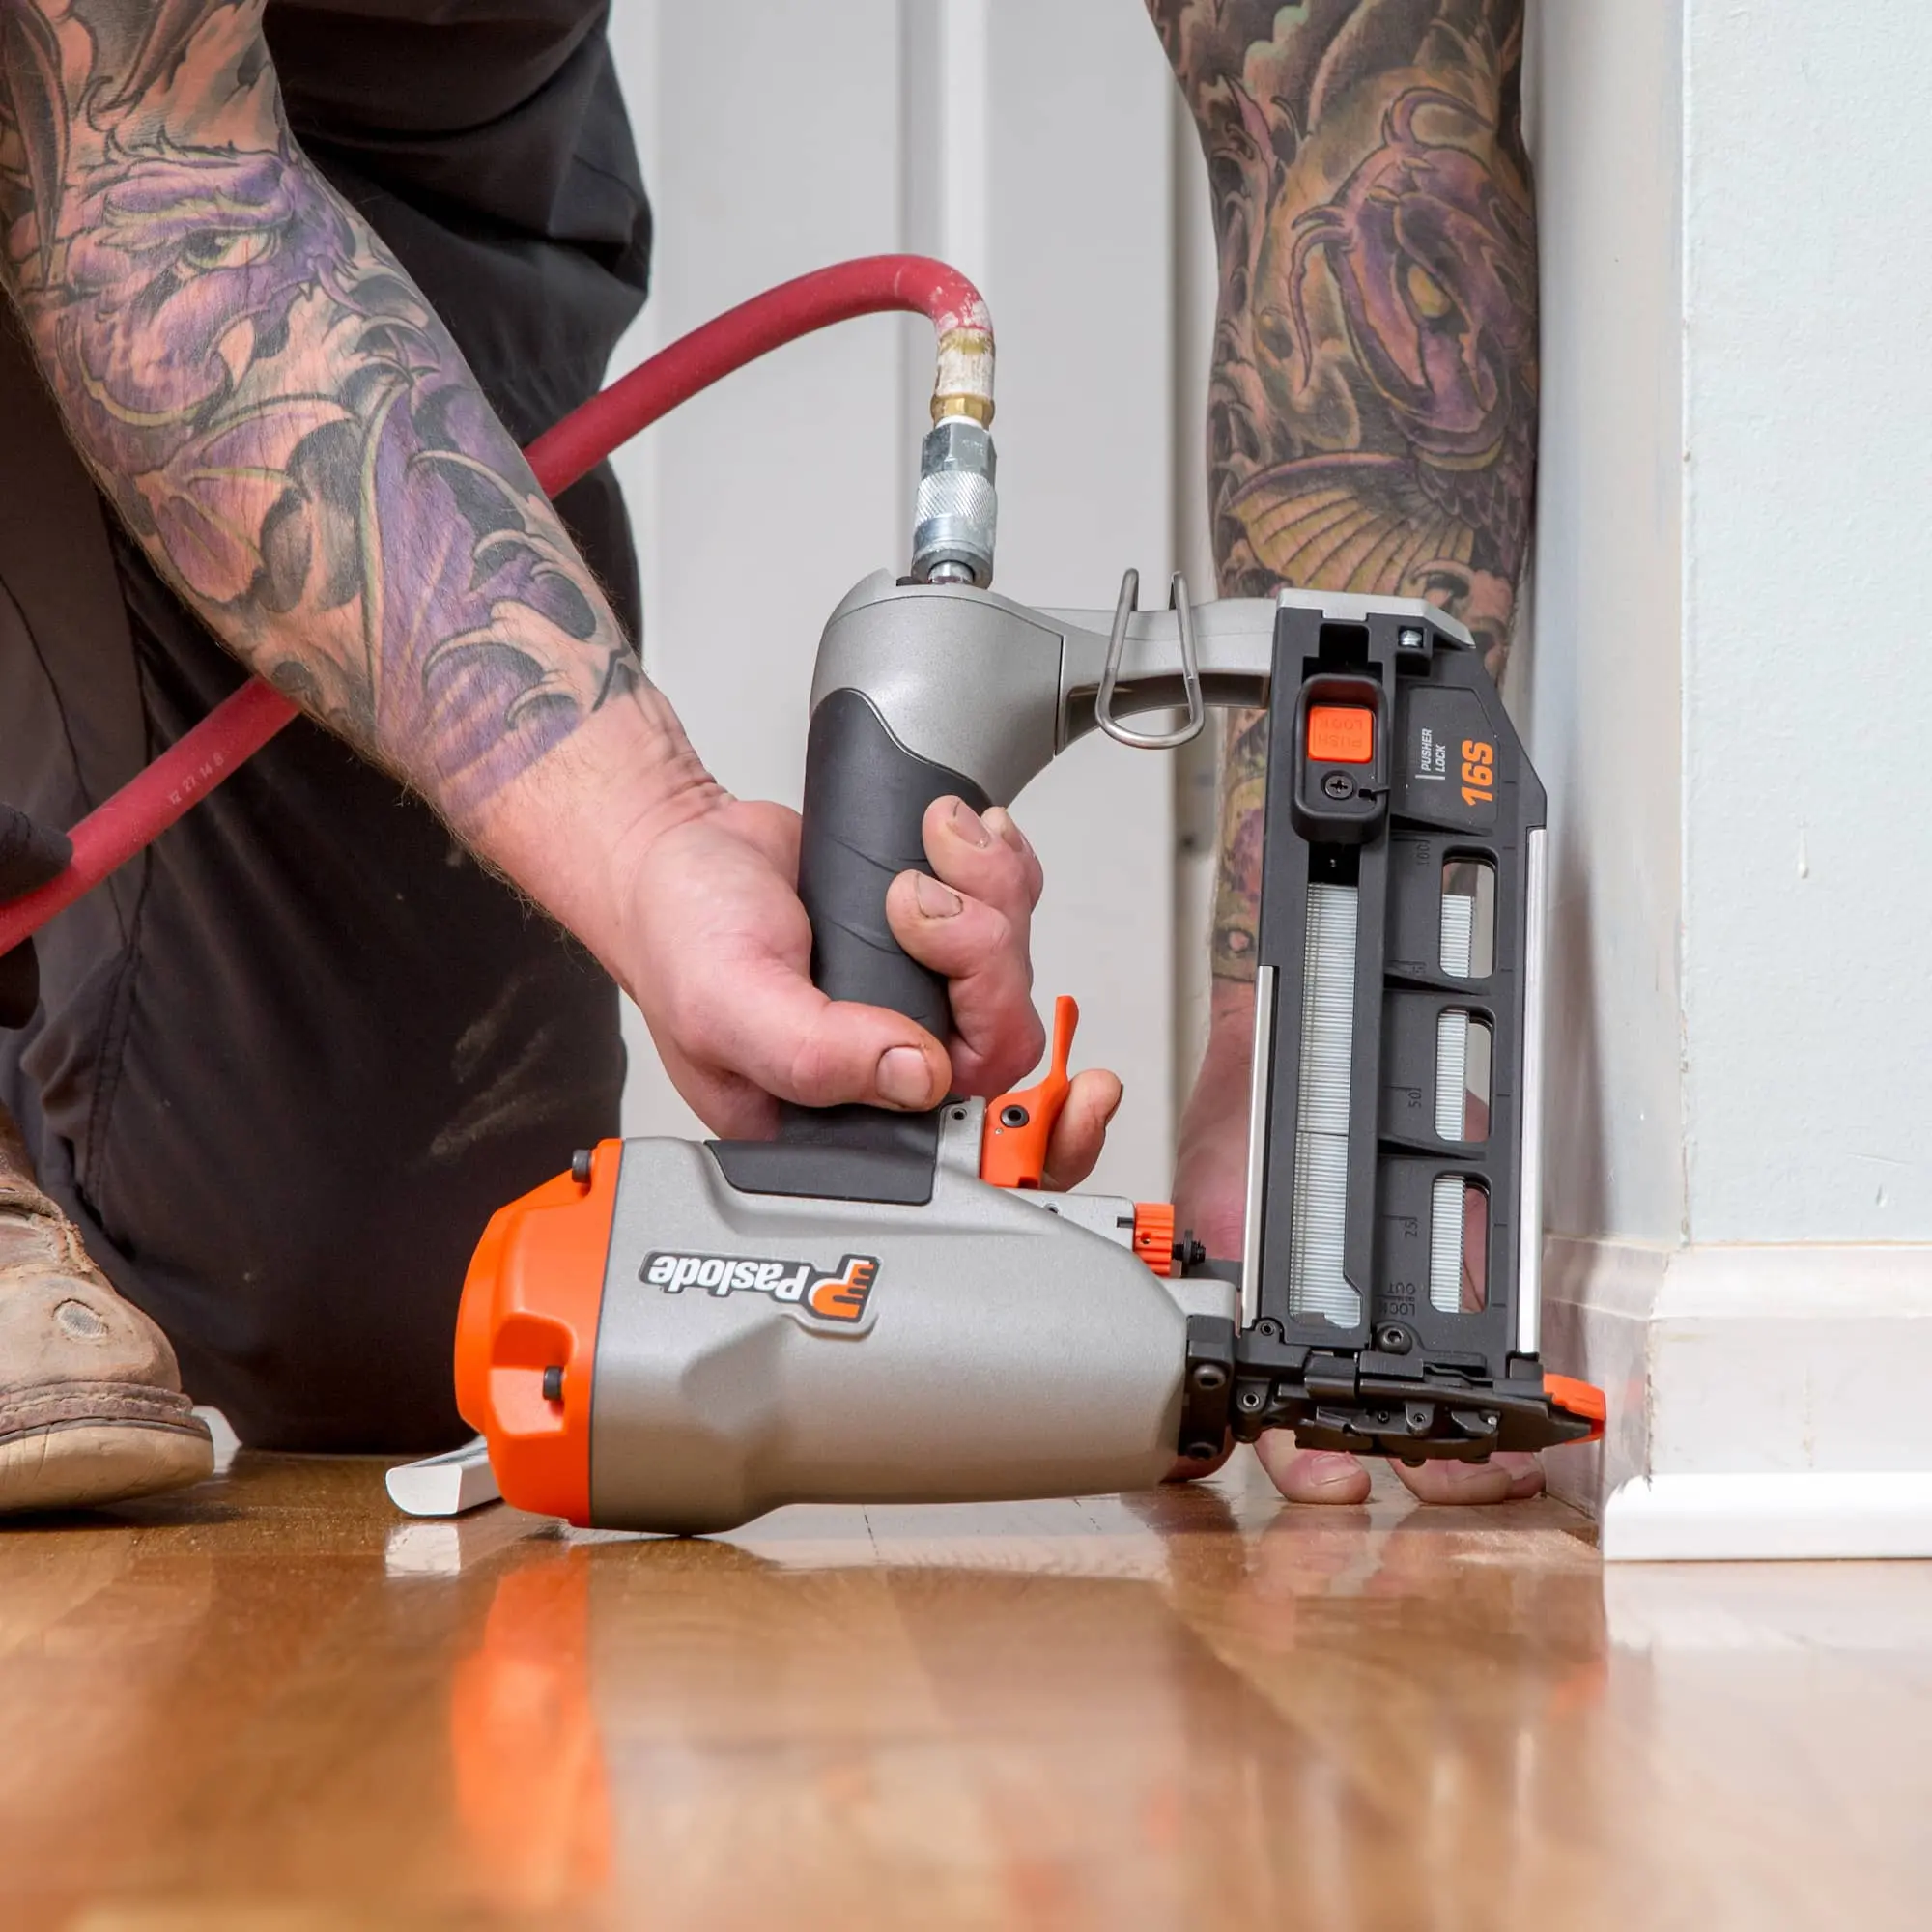
The 16-gauge nail strikes the ideal balance between holding power and minimal damage. Slightly thinner than 15-gauge, it drives a T-shaped or barrel head that countersinks cleanly without excessive splitting. This gauge is widely considered the “sweet spot” for general trim work.
- Diameter: ~0.0625″
- Length Range: 1.5″ to 2.5″
- Tool Options: Available in both angled and straight magazine designs
Ideal Applications
Use a 16-gauge nailer for:
– Crown molding
– Baseboards and base moldings
– Cabinetry assembly
– Interior door casings
– Window trim
– Smaller bed moldings
– General-purpose trim work
Why Pros Choose 16-Gauge
- Stronger than 18-gauge, cleaner than 15-gauge
- Less splitting than thicker nails
- Holes are small enough to fill easily
- Versatile across multiple materials
Expert Note: Models like the FN1665 are favored for their reliability and consistent depth control, especially on medium-density woods.
18-Gauge: Delicate Work Without Splitting
Brad Nails for Fine Trim and Moldings
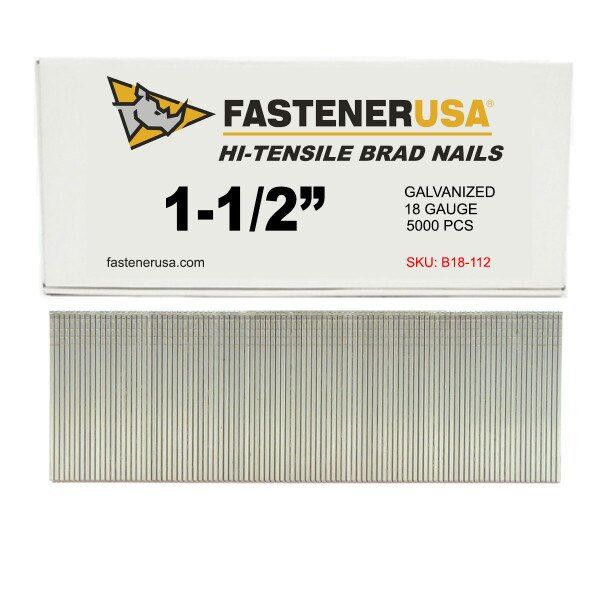
18-gauge brad nails are thin, wire-like fasteners designed for precision work where appearance matters. With a diameter around 0.047″, they leave tiny entry points that often disappear after staining or painting.
- Head Type: Small barrel or T-head
- Length Range: 5/8″ to 2″
- Common Sizes: 2″, 1-3/4″, 1-1/2″, 1-1/4″, 1″, 3/4″, 5/8″
- Coating: Galvanized steel for moisture resistance
Best Uses for 18-Gauge
- Narrow moldings (stop, cove, decorative)
- Baseboard shoe molding and base cap trim
- Picture frames and small DIY projects
- Light furniture assembly
- Attaching thin trim pieces or veneers
- Paneling installation
Critical Case: Installing Tapered Casing
When installing a Baird B112 casing (3/4″ x 3-1/4″) with a pronounced internal taper:
– Inside edge: Use 18-gauge nails only. Material is too thin for larger gauges
– Outside edge: Switch to 15- or 16-gauge with 2¼-inch nails for structural hold into framing
Warning: Never rely on 18-gauge nails for structural joints in thick plywood or hardwoods. They lack the necessary shear strength.
20-Gauge: High-End Finish Work
Nearly Invisible Fastening
20-gauge nails are among the smallest used in finish work. They provide minimal holding power but leave almost undetectable holes, making them ideal for premium cabinetry and fine furniture where aesthetics come first.
- Diameter: Very thin (~0.035″)
- Length Range: 1″ to 1.5″
- Use Case: Aesthetic-first applications
Where 20-Gauge Excels
- Delicate trim with high-gloss finishes
- Detailed joinery in softwoods or thin stock
- Furniture assembly requiring invisible fasteners
- Restoration projects needing clean repairs
Limitations
- Prone to bending in dense wood
- Not suitable for load-bearing joints
- Limited availability compared to 18-gauge
Pro Tip: Always pre-glue joints when using 20-gauge nails. The nail acts as a clamp, not a structural fastener.
21-Gauge: Micro-Pins for Clean Results
Headless or Micro-Head Fasteners
21-gauge micro-pins bridge the gap between brads and 23-gauge pins. They feature micro-heads or no heads at all, leaving a tiny dot that blends into the grain. This gauge is gaining popularity as a cleaner alternative to 18-gauge brads.
- Diameter: ~0.031″
- Hole Size: Minimal, often requires no filling
- Holding Power: Low to moderate (superior to 23-gauge)
Top Applications
- Cabinet door assembly
- Mirror framing
- Picture frame corners
- Finish and trim work requiring less visibility than brads
Dryfire Lockout: A Must-Have Feature
Because 21-gauge indents are so small, users may continue firing after the magazine empties. Tools with dryfire lockout prevent this, protecting your workpiece from driver blade marks.
Industry Note: Many pros now use 21-gauge pinners instead of 18-gauge brads for high-end trim to eliminate visible heads entirely.
23-Gauge: Invisible Tacking Only
Headless Pins for Temporary Holds
23-gauge micro-pins are the thinnest fasteners available. With no head and a diameter of just ~0.025″, they disappear into the wood grain, making them perfect for temporary positioning and delicate work.
- Lengths: 35mm and 50mm (1-3/8″ and 2″)
- Holding Power: None. Must be used with adhesive
- Function: Tacking, alignment, and clamping substitute
Best Uses
- Pinning MDF or hardboard templates
- Securing corner joints before glue sets
- Tacking fragile moldings without splitting
- Blending fasteners into visible surfaces
- Intricate finish work where no touch-up is desired
Regulatory Advantage in North America
Unlike most nailers, 23-gauge pin nailers do not require contact trips under current safety regulations. This allows for bump firing on delicate surfaces without pressing a safety tip into the wood, ideal for precise placement.
Tool Recommendation: The P635B (35mm) and P650 (50mm) are industrial-grade pinners built for reliability and clean drives.
Gauge Comparison: Quick Decision Guide
| Gauge | Nail Type | Holding Power | Hole Visibility | Best For |
|---|---|---|---|---|
| 15 | Finish Nail | Very High | High | Heavy trim, doors, framing |
| 16 | Finish Nail | High | Moderate | Crown molding, baseboards |
| 18 | Brad Nail | Moderate | Low | Delicate trim, moldings |
| 20 | Fine Nail | Low | Very Low | Furniture, detailed work |
| 21 | Micro-Pin | Low-Moderate | Minimal | Cabinets, mirrors |
| 23 | Micro-Pin | None | Invisible | Tacking, gluing, templates |
How to Choose the Right Gauge

Match Nail to Material Thickness
Rule of thumb: The nail should be three times longer than the thickness of the material being fastened.
- 1/4″ trim → Use a 3/4″ nail
- 3/8″ molding → Use a 1-1/8″ nail
- 1/2″ board → Use a 1-1/2″ nail
Always test on scrap wood first to check for splitting and hold.
Consider the Final Finish
- Paint-grade work: Slight hole visibility is acceptable. 16- or 18-gauge works well
- Stain-grade or clear finish: Opt for 20-, 21-, or 23-gauge to hide fasteners
- High-traffic areas: Prioritize holding power over invisibility. Use 15- or 16-gauge
Combine Nails with Glue
For maximum durability:
– Apply adhesive to all joints
– Use nails to clamp and align while glue dries
– This reduces stress on nails and prevents future loosening
Avoid These Common Mistakes
Using 15-Gauge on Thin Trim
Result: Split wood, ruined molding
Fix: Switch to 18-gauge or higher for narrow stock
Relying on 18-Gauge for Heavy Crown Molding
Result: Sagging or detachment over time
Fix: Use 16-gauge with 2″ nails into wall studs
Firing Empty 21/23-Gauge Nailers
Result: Driver blade dents wood surface
Fix: Use tools with dryfire lockout and check nail count frequently
Ignoring Nail Coating
Galvanized 18-gauge nails resist rust and are safe for:
– Bathrooms and kitchens
– Outdoor trim (under eaves, covered areas)
– Humid environments
Avoid uncoated steel in moisture-prone zones.
Industrial vs. DIY Nailers: What’s the Difference?
Durability Matters
| Feature | Industrial Nailer | DIY Nailer |
|---|---|---|
| Cycle Life | Up to 1,000,000 | 10,000–30,000 |
| Run Time | Continuous use | Short bursts |
| Build Quality | All-metal, heavy-duty | Plastic components |
| Best For | Pros, contractors | Homeowners, weekend projects |
Top Industrial Brands: EVERWIN, Senco, Bostitch, Hitachi
Tip: If you’re using a nailer more than a few times a year, invest in industrial-grade for longevity and reliability.
Final Tips for Flawless Results
- Always pre-drill near ends of thin moldings when using 15- or 16-gauge nails
- Keep multiple nailers on hand: One for heavy work (15/16-gauge), one for detail (18/21/23-gauge)
- Label nail bins by gauge and length to avoid mix-ups
- Clean and lubricate pneumatic tools monthly for peak performance
- Store nails in dry conditions to prevent rust and jams
Frequently Asked Questions About Nailer Gauge Sizes
What does nailer gauge size mean?
Nailer gauge refers to the diameter of the nail shank. The system works inversely: a higher gauge number means a thinner nail. For example, a 15-gauge nail is thicker than a 23-gauge pin. Gauge determines holding power, hole visibility, and suitable applications.
Which gauge nailer is best for trim work?
The 16-gauge nailer is the most versatile choice for general trim work. It balances holding power and a clean finish, making it ideal for crown molding, baseboards, and cabinetry. For delicate or narrow trim, an 18-gauge brad nailer prevents splitting.
Can I use 18-gauge nails for structural framing?
No. 18-gauge brad nails lack the shear strength needed for structural joints in thick materials. They are designed for delicate trim and light-duty applications. Use 15- or 16-gauge nails for framing and heavy structural holds.
What is the difference between 21-gauge and 23-gauge pin nailers?
Both are headless or micro-head pins, but 21-gauge pins are slightly thicker (~0.031″) and offer more holding power. 23-gauge pins (~0.025″) provide virtually no holding power and must be paired with adhesive. Both leave nearly invisible holes.
Do 23-gauge nailers require contact trips?
In North America, current regulations exempt 21- and 23-gauge pin nailers from requiring contact trips. This allows bump firing on delicate surfaces without pressing a safety tip into the workpiece, enabling precise placement.
How do I prevent splitting when nailing thin trim?
Use a higher gauge (18, 20, or 23) for thin or narrow moldings. Always test on scrap wood first, and consider pre-drilling near the ends of delicate pieces. Pairing nails with wood glue also reduces stress on the material.
Key Takeaways for Mastering Nailer Gauge Sizes
Understanding nailer gauge sizes transforms finish work from amateur to professional. The core principle is simple: match the nail diameter to your material thickness and finish requirements. Use 15- or 16-gauge for heavy trim and structural holds, 18-gauge for general delicate work, and 20-, 21-, or 23-gauge when invisibility matters most. Always pair nails with adhesive for maximum durability, and test on scrap wood before committing to your final piece. With the right gauge in hand, you’ll achieve clean, split-free results on every project.