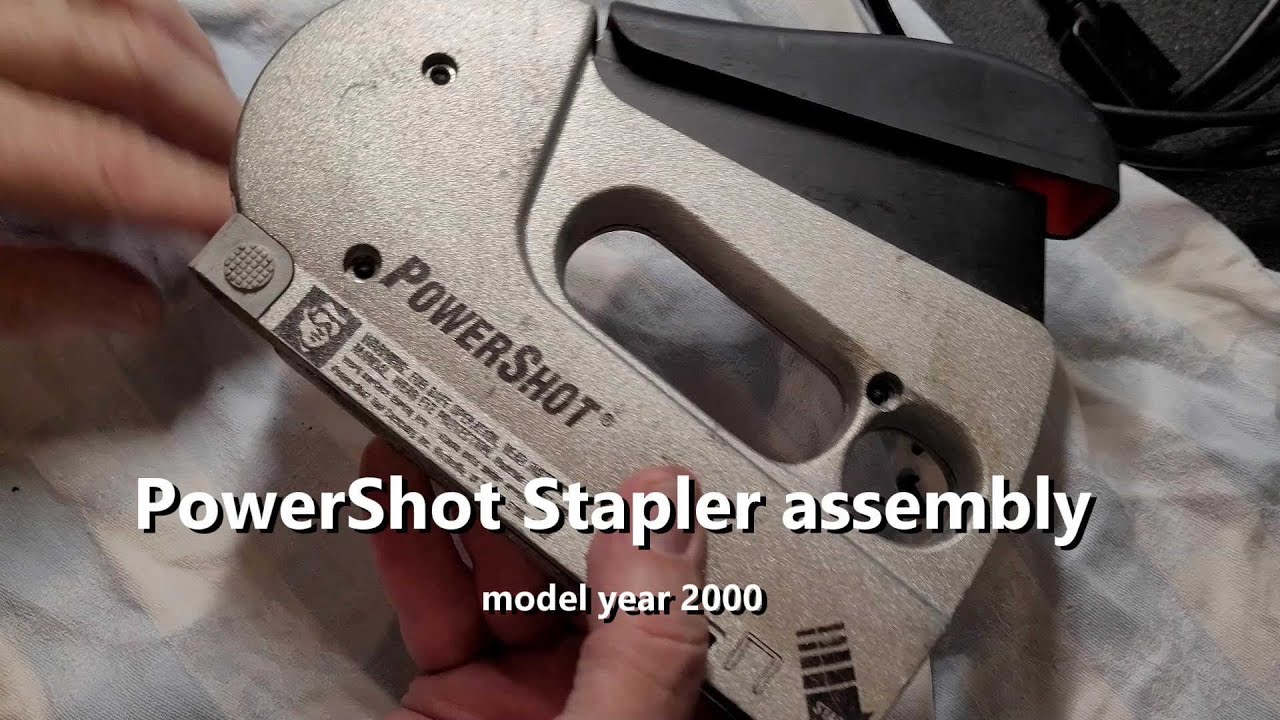
How to Fix Powershot Stapler Jam
If your Arrow PowerShot stapler has suddenly stopped firing or feels stuck mid-cycle, you are likely dealing with a staple jam, which is a common but fixable issue. The PowerShot PS5700 and similar models are prone to jams when staples misfeed, debris builds up, or internal components shift out of place. The good news is that most jams can be cleared in under 10 minutes with basic tools and the right steps. Whether you are facing a minor blockage or a full mechanical lockup, this guide walks you through safe, proven methods to restore full function without replacing the tool.
You will learn how to quickly remove jammed staples, disassemble and reassemble the internal mechanism correctly, and avoid common reassembly mistakes that cause repeat jams. We will also cover key maintenance tips to keep your PowerShot running smoothly for years.
Clear Surface-Level Jams Without Disassembly
Start here if the stapler jams during use but the handle still moves partially. This method clears visible blockages quickly and is the fastest way to get back to work.
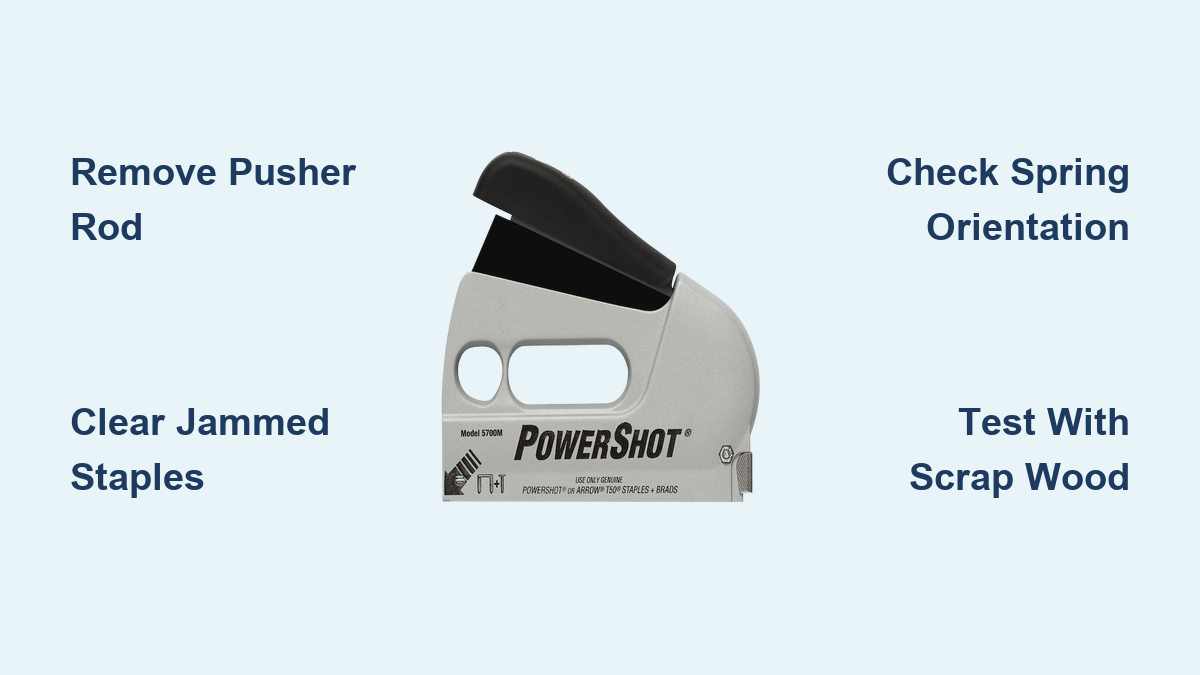
Remove the Pusher Rod First
Always begin by removing the pusher rod, which is the metal bar at the front of the stapler. Press inward on the locking tab and slide the rod forward to remove it. This unlocks access to the magazine and prevents accidental stapling during repair.
Keep the pusher rod safe because it is easy to lose and essential for reassembly.
Open the Magazine Channel
Flip the stapler over and locate the holding screw at the bottom-rear of the body. Use a flathead screwdriver to remove the screw and any accompanying nut. Once loose, gently pull down on the magazine channel, which is the staple guide rail, to detach it from the housing.
Extract Jammed Staples
With the channel removed, inspect the internal pathway. Look for partially fed staples, bent or deformed staples, or old metal fragments and buildup. Use needle-nose pliers or a flathead screwdriver to carefully pull out stuck staples. Clear the entire path from the rear magazine to the nose anvil before proceeding.
Do not force metal tools deep into the nose because you could damage the driver blade.
Reassemble and Test
Slide the magazine channel back into its rails. Reinstall the holding screw and tighten securely, but avoid overtightening because plastic threads can strip. Load a fresh strip of compatible staples, reinsert the pusher rod until it clicks, then test fire into scrap wood.
If staples feed smoothly, the jam is cleared. If the stapler still sticks, proceed to full disassembly.
Fix Deep Jams with Full Disassembly
Use this advanced method when the handle will not move, springs are loose, or previous attempts have failed. This method fully restores mechanical alignment and works even on older models.
Remove the Outer Casing
Set the stapler on a clean surface. Remove the four screws securing the left and right plastic shells. Gently separate the halves, taking care not to lose small internal parts. Lay everything flat for easy access.
Take photos at each step because reassembly is tricky and visuals help ensure correct part orientation.
Reinstall the Spring Holder and Guide
Locate the spring holder at the base. Check that the main spring is intact and not broken. Insert the plastic guide into the holder, aligning its underside pegs with matching holes in the frame.
Slide the assembly into the body by inserting the right side first and pressing down the left-side spring until it clicks into place. Ensure the guide sits flush and moves smoothly.
Position the T-Shaped Ejector
Place the T-shaped ejector into the vertical slot in the nose. It must slide freely up and down. Secure it with the metal spring at the bottom-left corner.
The ejector should snap into the groove and align with the driver blade. If it binds, realign the guide or check for obstructions.
Install the Plastic Wedge and Peg
Insert the plastic wedge into the back of the metal housing. Any markings should face forward in the same direction as the tool nose. Slide the round peg into its hole because this anchors the upper mechanism.
Seat the Horizontal Bar and Spring
Place the horizontal bar into its groove. It connects to the spring mechanism and must sit flush with surrounding metal. This bar transfers energy from the handle to the ejector.
Reconnect Hinge and Lever
Slide the hinge through the horizontal bar and the right arm of the T-ejector. Then install the lever because it attaches to a peg on the right side and lifts the ejector when the handle is squeezed.
Ensure both the lever bar and spring bar are seated below the T-piece in their slots.
Finalize Internal Components

Push the left side of the mechanism fully upward into its mount. Reattach the handle by sliding it over the pivot peg. Insert the secondary alignment peg through the housing.
Install the dual-ended spring with the straight end hooking onto the left bar. The elbow-bent end must point upward because this is critical for proper function.
Check that the pin is straight and the adjacent tab is fully depressed so its teeth engage the base. Fit the curved metal piece under the lips of its counterpart and into the small slot. Then insert the L-shaped piece into its notch because it activates the T-mechanism when the handle moves.
Installing the L-shaped piece backward causes immediate jams, so double-check orientation.
Reassemble the Shell
Carefully bring both plastic halves together. Align all pegs and slots before inserting the four screws. Tighten evenly to avoid cracking the casing.
Prevent Future PowerShot Stapler Jams
A clean, well-maintained PowerShot rarely jams. Use these habits to extend tool life and avoid repeat issues.
Clean After Heavy Use
After using 500 or more staples, remove the magazine and inspect the channel. Wipe out dust and check for rust. A dry cloth or compressed air works well for this task.
Use Compatible Staples Only
Stick to Arrow T50, A70, or PS90 series staples. Off-brand strips often have inconsistent bends or weak metal, which causes misfeeds.
Never force bent or kinked staples into the magazine.
Lubricate Moving Joints
Every few months, apply one drop of light machine oil to hinge points, lever pivots, and spring contacts. Wipe away excess to avoid attracting dust.
Check Spring Tension
If the handle feels weak or sluggish, open the casing and inspect springs for displacement or fatigue. Replace if stretched or broken because springs are available from Arrow or third-party suppliers.
Store in a Dry Place
Moisture causes rust in the channel and spring corrosion. Store the stapler in a toolbox or dry cabinet to keep it in working condition.
Recognize Critical Components
Knowing what each part does speeds up diagnosis and repair. The pusher rod drives staples forward, and failure causes jamming or failure to load. The magazine channel guides staples into the nose, and failure causes misfeeds or partial ejection. The T-shaped ejector pushes the staple out, and failure means no firing or handle sticking. The dual-ended spring powers the reset cycle, and failure means the handle will not return. The L-shaped piece links the handle to the ejector, and failure means no mechanical response.
If the handle moves but the ejector does not, the L-piece or hinge is likely misaligned.
Test After Every Repair
Always verify function before returning the stapler to service. Load a short strip of staples and fire into scrap wood, which is softer than flooring or subfloor. Watch for smooth handle return, full staple ejection, and no resistance or clicking.
If the tool binds, reopen and check spring orientation, tab engagement, and L-piece alignment.
Fire 5 to 10 staples slowly because this seats components and reveals subtle issues.
Compatible Models and Variants
These steps work on the Arrow PowerShot 5700, Arrow PowerShot PS5700, and Arrow PowerShot combo brad nailer/staplers. While minor casing differences exist across production years, the core mechanism is identical. If your model accepts T50 or PS90 staples, this guide applies.
Avoid These Common Mistakes
Even experienced users make these errors, so do not let them ruin your repair.
Never force the handle down when jammed because this can bend the ejector or dislodge springs. Always clear the blockage first.
The plastic housing cracks easily, so use light pressure when tightening screws. Hand-tight is enough.
Removing the pusher rod is not optional because it is the only way to safely access the magazine and prevent injury.
The elbow-bent end of the dual spring must face upward because installing it backward disables the reset mechanism.
Key Takeaways for Fixing Your Powershot Stapler Jam

A Powershot stapler jam is rarely a death sentence. With the right approach, even a 10- or 15-year-old unit can be restored to like-new condition. The most critical steps are removing the pusher rod first, clearing all stuck staples from the magazine channel, and ensuring proper orientation during reassembly, especially for the dual-ended spring and L-shaped piece. Always test fire into scrap wood after repair to confirm full cycling before returning the tool to service.
By mastering these steps, you save time, money, and the hassle of replacement. You also gain confidence in maintaining one of the most reliable staple guns on the market. Keep this guide handy, and never let a jam stop your project again.
Frequently Asked Questions About Powershot Stapler Jams
Why does my PowerShot stapler keep jamming?
PowerShot staplers jam most commonly due to misfed or deformed staples, debris buildup in the magazine channel, or internal components shifting out of alignment. Incomplete handle disengagement can also prevent the next staple from advancing, causing repeated jams.
Can I fix a PowerShot jam without disassembling the tool?
Yes, surface-level jams can often be cleared by removing the pusher rod and extracting stuck staples from the magazine channel without full disassembly. This method works for jams where the handle still moves partially and staples are visible in the pathway.
How do I know if the spring is causing the jam?
If the handle feels weak, sluggish, or will not return to the fully open position, the spring tension may be compromised. Open the casing and inspect the dual-ended spring for displacement, stretching, or breakage. Replace if necessary.
What staples are compatible with PowerShot models?
Arrow PowerShot staplers use Arrow T50, A70, or PS90 series staples. Using off-brand or inconsistent staples often causes misfeeds and jams because of weak metal or improper bends.
How often should I lubricate my PowerShot stapler?
Apply one drop of light machine oil to hinge points and lever pivots every few months, or after heavy use exceeding 500 staples. Avoid overlubricating because excess oil attracts dust and debris.
Is it worth repairing an older PowerShot stapler?
Yes, many users successfully restore 10- to 15-year-old PowerShot units to full functionality using these disassembly and reassembly steps. The tools are durable, and most jams stem from alignment issues rather than permanent damage.