How to Choose a Framing Nailer
Picking the wrong framing nailer can sabotage your project before you even pull the trigger. Weak joints, constant jams, and aching arms are all signs of a poor tool match. Worse, using the wrong gauge can compromise structural integrity and put safety at risk.
This guide breaks down exactly what to look for when choosing a framing nailer. You’ll learn why gauge matters more than brand, which features actually improve performance, and how to match your tool to your compressor. Whether you’re a contractor or a serious DIYer, these insights will help you buy with confidence.
Pick the Right Nail Gauge
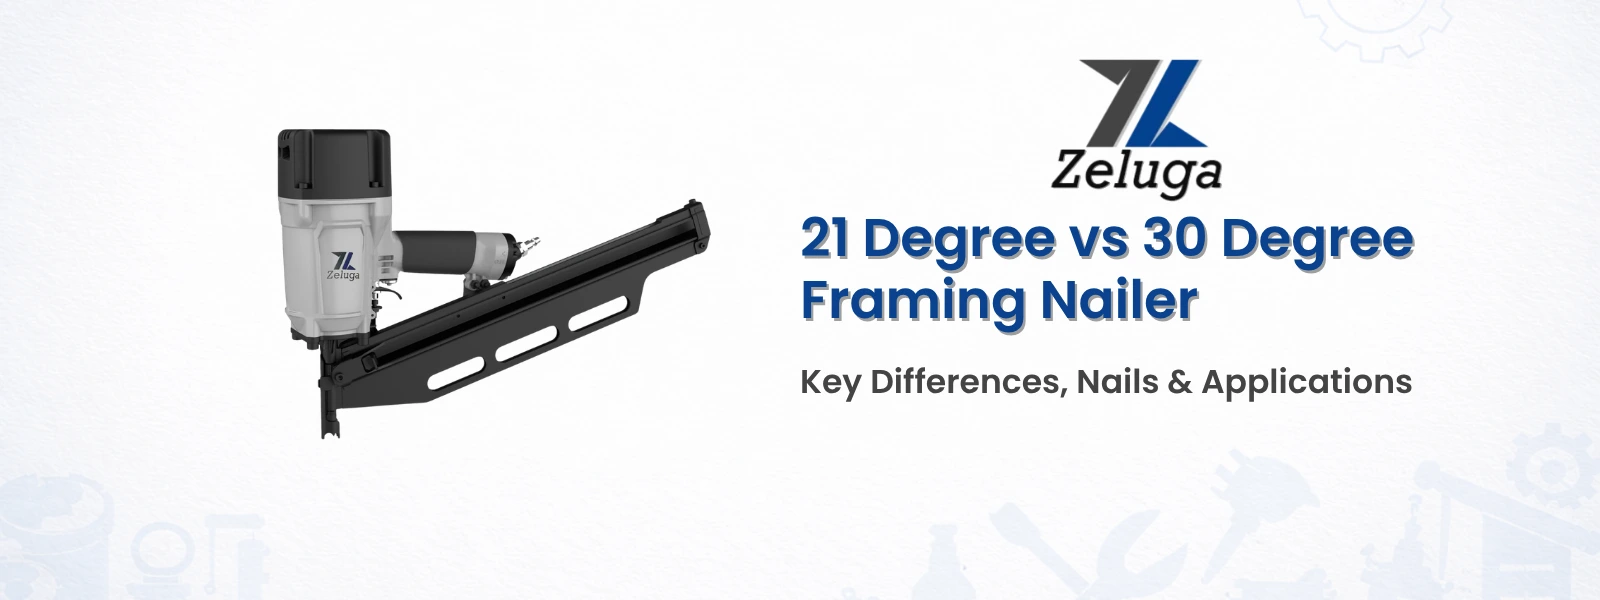
Gauge is the single most important decision you’ll make. It determines nail thickness, holding power, and whether your work will stand the test of time.
21-Gauge for Structural Work
A 21-gauge nailer is the undisputed standard for framing. These nails are thick enough to lock dimensional lumber, plywood, OSB, and engineered wood together securely. They resist shear forces and hold up under load, making them the right choice for wall frames, floor joists, roof trusses, and decking.
If your project supports weight or needs long-term durability, 21-gauge is non-negotiable. This is where industry consensus is clearest.
Avoid 30-Gauge for Framing
A 30-gauge nailer simply lacks the strength for structural applications. These tools are built for delicate trim, moldings, and cabinetry where small holes and precision matter more than holding power. Using one for framing leads to weak joints and potential safety hazards.
Experienced users consistently warn against this substitution. No matter how appealing the lighter weight or smaller holes may seem, 30-gauge will not hold framing together reliably.
Dual-Gauge Strategy for Pros
If you regularly switch between framing and finish work, consider owning both a 21-gauge and a 30-gauge nailer. This setup gives you strength for structural tasks and finesse for trim details.
For DIYers handling mostly one type of work, stick with the gauge that matches your primary project. If framing dominates your to-do list, prioritize 21-gauge.
Prioritize Must-Have Features
Beyond gauge, the right features dramatically improve performance, comfort, and tool lifespan. Don’t settle for a stripped-down model.
Built-In Air Regulator
An integrated air regulator lets you adjust driving depth on the fly by changing air pressure. This matters when switching between soft pine and dense engineered lumber. Without it, you’ll underdrive or overdrive nails, creating inconsistent results.
Users rank this as a must-have for any serious framing work. Consistent nail depth separates professional results from amateur mistakes.
Integrated Dust Port
Framing generates sawdust with every shot. A dust port directs debris away from your line of sight and keeps the tool’s internals clean. This improves accuracy, reduces cleanup time, and prevents jams caused by dust buildup.
Pair the dust port with regular cleaning for maximum benefit. It’s a small feature that pays off in tool longevity.
Weight and Balance
Even a 6-pound nailer feels heavy after hours of continuous use. Look for models with balanced weight distribution and ergonomic grips that reduce wrist strain. Some tools place heavier components near the handle, making them feel lighter during overhead work.
If possible, test the tool in-hand before buying. Comfort directly impacts how long you can work productively.
Match the Nailer to Your Air Compressor
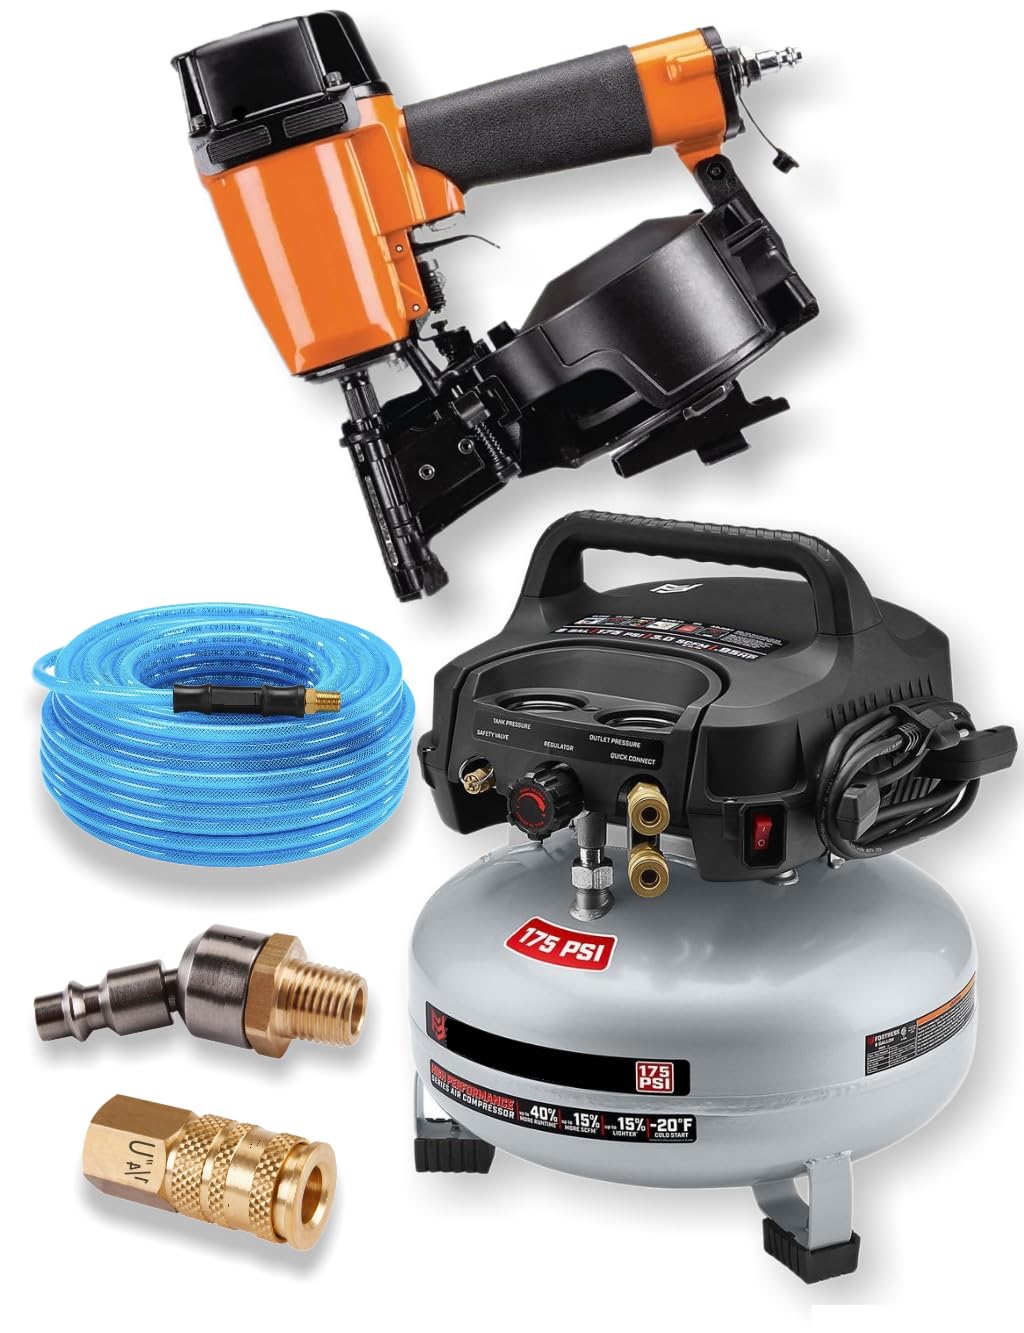
Your nailer is only as good as the air supply behind it. An undersized compressor leads to slow cycling, inconsistent depth, and frustrating downtime.
Check CFM and PSI Requirements
Every pneumatic nailer lists minimum CFM (cubic feet per minute) and PSI (pounds per square inch) requirements. Ensure your compressor meets or exceeds these specs at the tool’s operating pressure.
A typical 21-gauge framing nailer may require 5–7 CFM at 90 PSI. If your compressor only delivers 4 CFM, it won’t keep up during rapid-fire use.
Don’t Skimp on the Compressor
A high-end nailer paired with a weak compressor is a waste of money. Invest in a compressor with a large tank (6 gallons or more) and sufficient motor power (2 HP or higher) for continuous operation.
Use a 3/8-inch diameter air hose rather than a 1/4-inch line. A larger hose minimizes pressure drop over distance and keeps your tool performing consistently.
Consider Cordless Alternatives
If portability matters more than continuous duty, battery-powered nailers like the Milwaukee M18 offer freedom from hoses and compressors. They’re ideal for remote job sites, roof work, or tight spaces.
Just understand the trade-offs. Cordless models may have slower reset times and higher long-term costs for batteries and replacements.
Know the Top Recommended Models
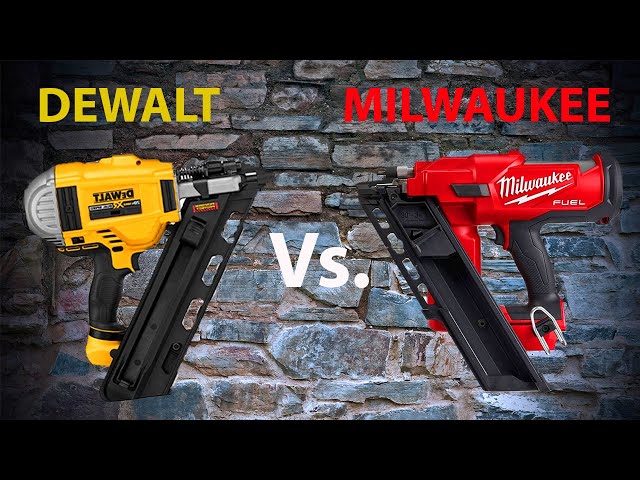
Not all nailers deliver equal performance. Based on user feedback and real-world durability, a few models stand out.
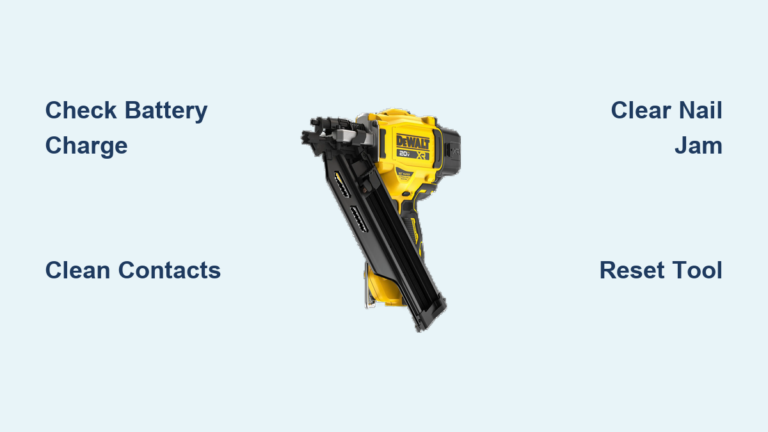
DeWalt DWFP01
The DeWalt DWFP01 is a top-rated 21-gauge pneumatic framing nailer known for its rugged build and smooth operation. Users praise its consistent nail driving and durable aluminum housing.
It includes a tool-free depth adjuster and front-loading magazine for quick reloads. Pair it with a compatible compressor, and it delivers professional results day after day.
Milwaukee M18
For jobs where mobility matters, the Milwaukee M18 21-gauge framing nailer is a game-changer. Powered by the M18 battery platform, it eliminates cords and hoses without sacrificing power.
It’s slightly heavier than pneumatic models but offers excellent depth control and a clear line of sight to the nail tip. Ideal for roofers, remodelers, and contractors working off-grid.
Match the Tool to Your Projects
Your primary work type should drive your buying decision, not brand loyalty or price alone.
Framing Requires 21-Gauge
Wall framing, decking, and sheathing demand structural integrity. Only 21-gauge nails provide the holding power these applications require. Using a lighter gauge risks failure under stress and violates building best practices.
Trim Work Needs Finer Gauges
For baseboards, crown molding, and cabinets, a 30-gauge nailer leaves minimal surface damage and prevents splitting in thin wood. Keep in mind that this tool complements, not replaces, your framing nailer.
General Carpentry Favors Versatility
If you handle a mix of tasks, a 21-gauge framing nailer still wins. It manages light structural jobs and even some heavy trim work. While it may leave larger holes, its strength and adaptability make it the smarter single-tool choice for most users.
Avoid Common Buying Mistakes
Even experienced users make avoidable errors. Learn from their lessons to save money and frustration.
Never Use 30-Gauge for Framing
This point bears repeating. A 30-gauge nailer lacks the strength for load-bearing connections. No matter how convenient or lightweight, it’s the wrong tool for framing.
Don’t Overlook Ergonomics
A poorly balanced nailer causes fatigue, reduces accuracy, and increases injury risk over time. Test the grip, check trigger reach, and consider how the tool feels when angled overhead or in tight corners.
Skip the Weak Compressor
Buying a premium nailer and pairing it with a cheap, undersized compressor defeats the purpose. The system only works when all components are matched. Calculate total cost upfront, including tool, hose, and compressor.
Ignore Dust Management at Your Peril
A nailer without a dust port quickly clogs your vision and the tool’s internals. Sawdust buildup leads to jams and premature wear. This feature is small but critical for long-term reliability.
Maintain Your Nailer for Longevity
A well-maintained nailer lasts years. Follow these simple steps to keep yours running smoothly.
Clean After Every Use
Wipe down the tool and blow out dust from the magazine, exhaust, and nose. Use compressed air or a small brush. A clean nailer fires faster and jams less.
Oil Regularly
Pneumatic tools need a few drops of pneumatic oil in the air inlet daily or after every 10,000 nails. This lubricates internal parts and prevents rust from moisture in the air line.
Inspect Key Components
Check the driver blade, O-rings, and safety tip for wear. Replace damaged parts immediately. A worn driver can cause misfires or partial nail insertion.
Follow Safety Best Practices
Safety isn’t optional. One slip can cause serious injury.
Use Proper Trigger Mode
Most nailers offer sequential (one shot per trigger pull) or contact (bump fire) modes. Sequential is safer for precision work and reduces accidental discharges. Use contact mode only when speed is essential and conditions are controlled.
Wear Eye Protection
Nails can ricochet and wood chips fly. Always wear ANSI-rated safety glasses. Consider a face shield for overhead work.
Secure Workpieces First
Never hold lumber with your free hand while nailing. Clamp materials or have a helper stabilize them. Keep fingers clear of the nail path at all times.
Frequently Asked Questions About Framing Nailers
What gauge framing nailer should I buy?
For any framing or structural work, choose a 21-gauge nailer. This gauge provides the thickness and holding power needed for dimensional lumber, engineered wood, and load-bearing applications. A 30-gauge nailer is only suitable for trim, molding, and cabinetry.
Can I use a 30-gauge nailer for framing?
No. A 30-gauge nailer is too weak for framing. It lacks the holding power to secure structural connections and creates safety risks. Experienced users consistently warn against using 30-gauge tools for any structural application.
What features are most important in a framing nailer?
The two most important features are a built-in air regulator and a dust port. The regulator controls nail depth across different materials, while the dust port keeps your work area visible and the tool internals clean. Ergonomic weight and balance are also critical for long-term comfort.
Do I need a special compressor for a framing nailer?
Yes. Your compressor must meet the nailer’s CFM and PSI requirements, typically 5–7 CFM at 90 PSI for a 21-gauge model. An undersized compressor causes inconsistent nail depth and slow cycling. Use a 3/8-inch air hose to minimize pressure drop.
Should I buy a cordless or pneumatic framing nailer?
Choose pneumatic if you have a compatible compressor and need continuous duty. Choose cordless (like the Milwaukee M18) if portability matters more than runtime. Cordless models are ideal for remote sites, roof work, or tight spaces but may have slower reset times and higher battery costs.
How do I maintain a framing nailer?
Clean the tool after every use by blowing out dust from the magazine and exhaust. Add pneumatic oil to the air inlet daily or after every 10,000 nails. Inspect the driver blade, O-rings, and safety tip regularly and replace worn parts immediately.
Final Takeaways for Choosing the Right Framing Nailer
Choosing a framing nailer comes down to three essentials. First, gauge matters most. For any structural work, 21-gauge is the only safe and effective choice. Second, prioritize must-have features like a built-in air regulator, dust port, and solid ergonomics. Third, match your tool to your compressor or go cordless with a proven system.
Avoid the trap of using a 30-gauge for framing, and always maintain your tool for peak performance. Before purchasing, run through a pre-buy checklist: confirm your primary project type, verify compressor specs, and test the tool’s feel in-hand. The right framing nailer saves time, ensures safety, and builds better structures.